Oh, the never-ending quest for snacks that kids will actually eat! I swear, some days it feels like a full-time job just keeping tiny tummies happy and nourished. My own little taste-testers, Leo and Mia, are experts at turning up their noses at perfectly good food. I’ve seen it all, from the “it’s too green” phase to the “I only eat white foods” era. It’s tough, right?
That’s exactly why I’m so excited to share my go-to recipe for Kid-Friendly Cheesy Pita Crisps! These little wonders have saved me on countless occasions. They’re quick, they’re easy, and most importantly, they disappear faster than I can make them. Seriously, these Kid-Friendly Cheesy Pita Crisps are a game-changer for busy parents like us.
I remember one afternoon, Leo had declared war on anything that wasn’t a cracker. Mia, bless her heart, was just hungry for anything cheesy. I needed a hero, a simple snack that would bridge the gap. That’s when I threw together some pita, a little sauce, and a sprinkle of cheese. The result? Pure magic! Both kids devoured them. No complaints, no battles, just happy munching sounds. It was a win!
Since then, these cheesy pita crisps have become a staple in our house. They are perfect for after-school hunger pangs or a quick lunch addition. They prove that delicious, kid-approved food doesn’t have to be complicated. Let me show you how simple it is!
Why You’ll Love These Kid-Friendly Cheesy Pita Crisps
As a parent, I know how precious time is. That’s why these cheesy pita crisps are a lifesaver. They take just minutes to prep, literally a blink, and cook up fast. This means less time in the kitchen for you. More time for everything else!
They are also super versatile. You can change them up easily, which is great for picky eaters. My kids never get bored with them. Plus, they use simple ingredients you probably have. No special grocery trips needed. They are a healthy snack option too. They give kids good energy without a sugar crash.
- Quick and easy to make.
- Uses common pantry items.
- Customizable for any child.
- A healthier snack choice.
- Kids absolutely love them.
The Magic of Kid-Friendly Cheesy Pita Crisps
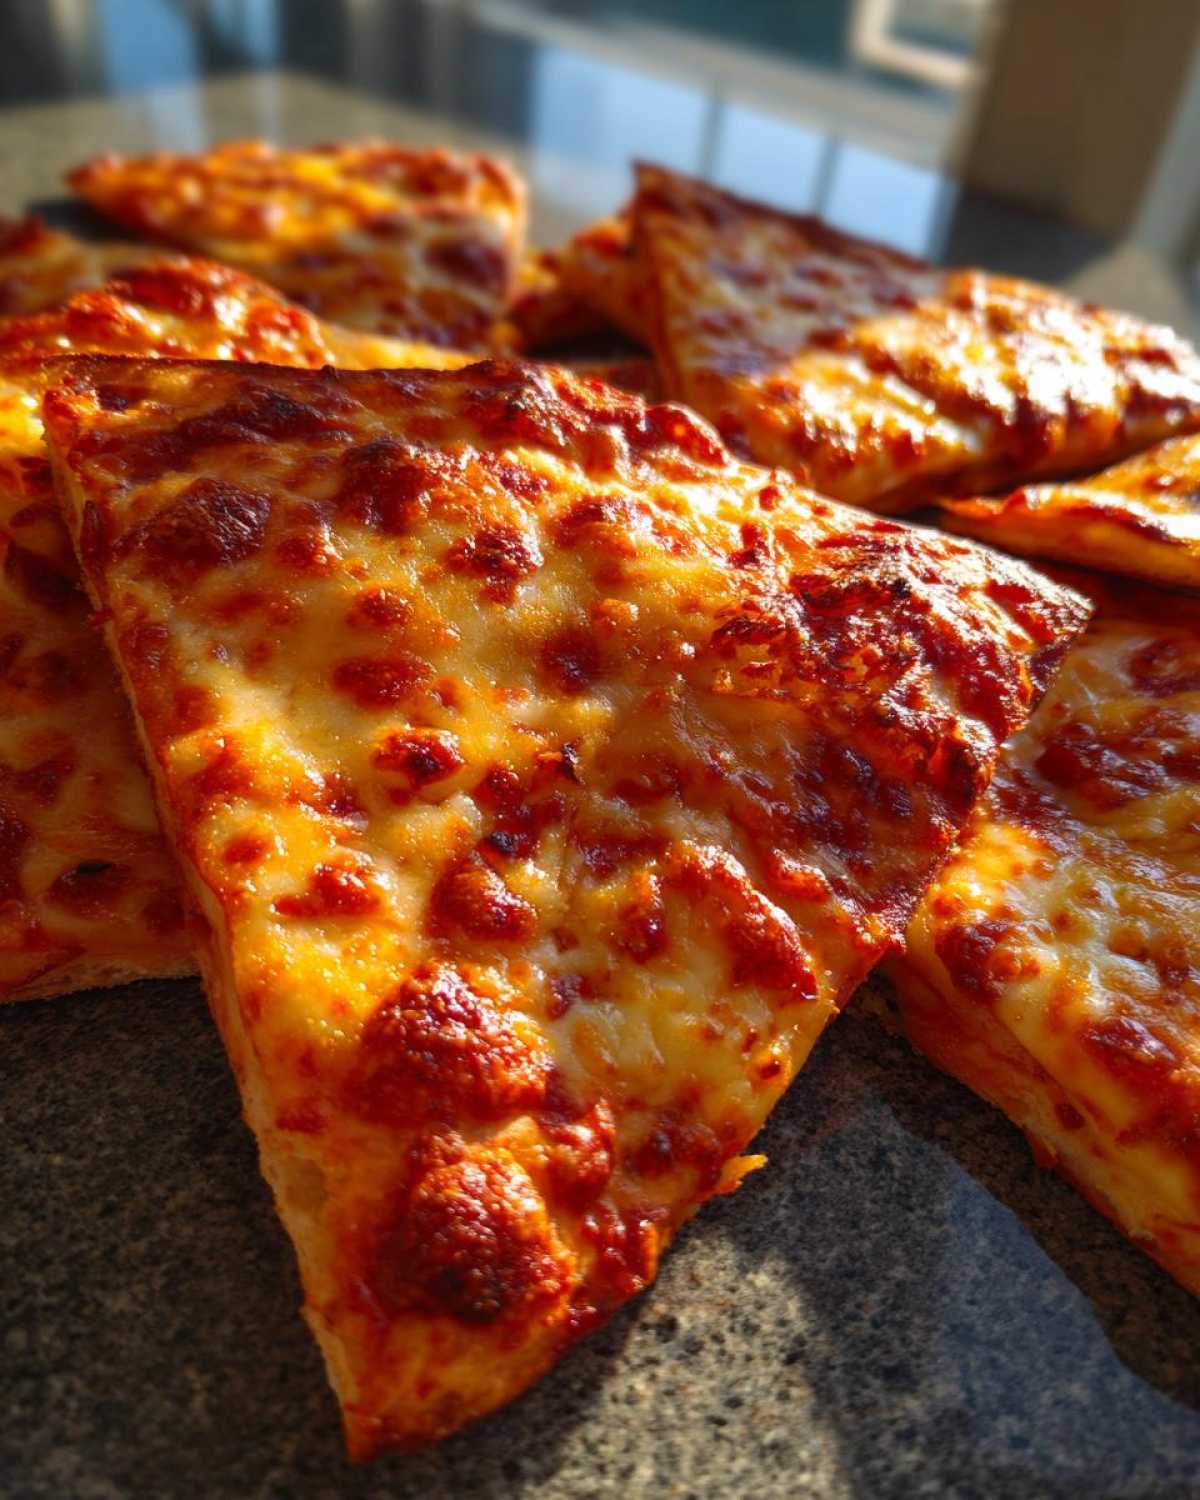
What makes these so special for kids? It’s the perfect crunch. Kids love that crispy texture. Then there’s the melty cheese. Who can resist warm, gooey cheese? The mild tomato flavor is also a hit. It’s not too strong for little taste buds. Leo loves the crunch, while Mia goes for the cheesy pull. These qualities help overcome picky eating. They make food fun and inviting.
Gathering Your Ingredients for Kid-Friendly Cheesy Pita Crisps
Okay, let’s talk ingredients! One of the best things about these Kid-Friendly Cheesy Pita Crisps is how simple the list is. You probably have most of these items in your kitchen already. I love recipes that don’t need a special trip to the store. It saves so much time and hassle, especially on those busy weeknights. We’re aiming for easy, delicious, and convenient. These ingredients deliver on all fronts. They make sure you get tasty results every time.
Each item plays an important role. They come together to create that perfect snack. These staples are friendly for little palates. They also offer good nutrition. It’s a win-win for everyone.
Essential Ingredients for Perfect Kid-Friendly Cheesy Pita Crisps
- 1 pita bread: I usually grab a standard 6-inch pita. Whole wheat is great for extra fiber.
- 2 tablespoons tomato paste: This gives a concentrated tomato flavor.
- 1/4 cup shredded mozzarella cheese: Low-moisture mozzarella melts beautifully. It also gets nice and bubbly.
- 1/4 teaspoon dried oregano: A classic herb that adds a familiar taste.
- Pinch of garlic powder: Just a tiny bit for a hint of flavor.
- Olive oil spray: Helps crisps get golden and crunchy.
How to Make Kid-Friendly Cheesy Pita Crisps
Making these cheesy pita crisps is super easy. It’s a quick process. Even little helpers can join in. I often let Leo spread the sauce. Mia loves sprinkling the cheese. It makes them feel involved. This also helps picky eaters try new foods. When they help, they are more likely to eat it. Just remember to keep safety in mind. Oven mitts are a must for tiny hands. Also, sharp knives are for grown-ups only. Follow these simple steps. You will have delicious crisps in no time. They are perfect for a snack or quick lunch. Let’s get baking!
The whole process is very straightforward. You won’t believe how fast it goes. It is truly a 15-minute recipe. From start to finish, it is that quick. This recipe is perfect for busy days.
Step-by-Step Guide to Baking Kid-Friendly Cheesy Pita Crisps
- First, preheat your oven to 375°F (190°C). Line a baking sheet with parchment paper. This makes cleanup a breeze.
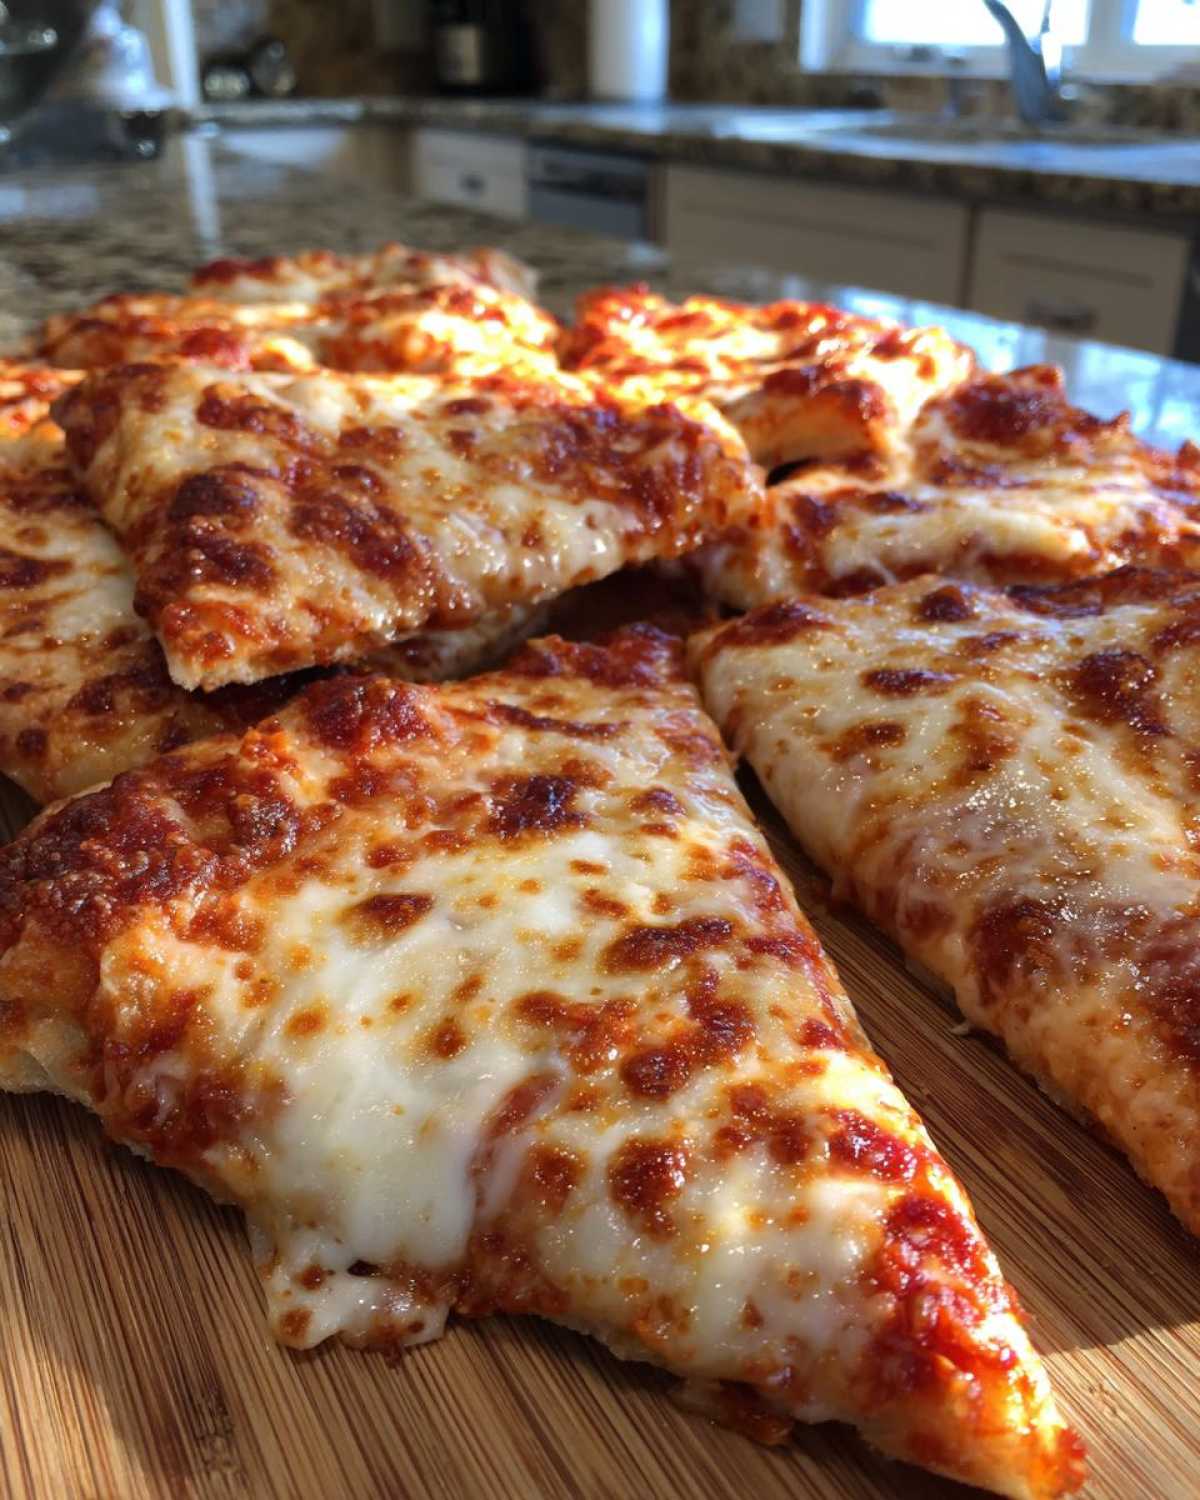
- Next, grab your pita bread. Use a sharp knife or kitchen shears. Carefully cut the pita into 8 equal wedges. Think of it like slicing a pizza.
- Arrange these pita wedges on your prepared baking sheet. Make sure they are in a single layer. Don’t let them overlap. This helps them crisp up evenly.
- In a small bowl, mix the tomato paste. Add the dried oregano and garlic powder. Stir it well until it’s all combined.
- Spread a thin layer of this tomato mixture over each pita wedge. Use a spoon or a small spatula. Don’t put on too much. A thin layer is best.
- Now for the fun part! Sprinkle the mozzarella cheese evenly. Cover each pita wedge generously.
- Lightly spray the tops of the crisps with olive oil. This helps them get golden. It also adds a nice crunch.
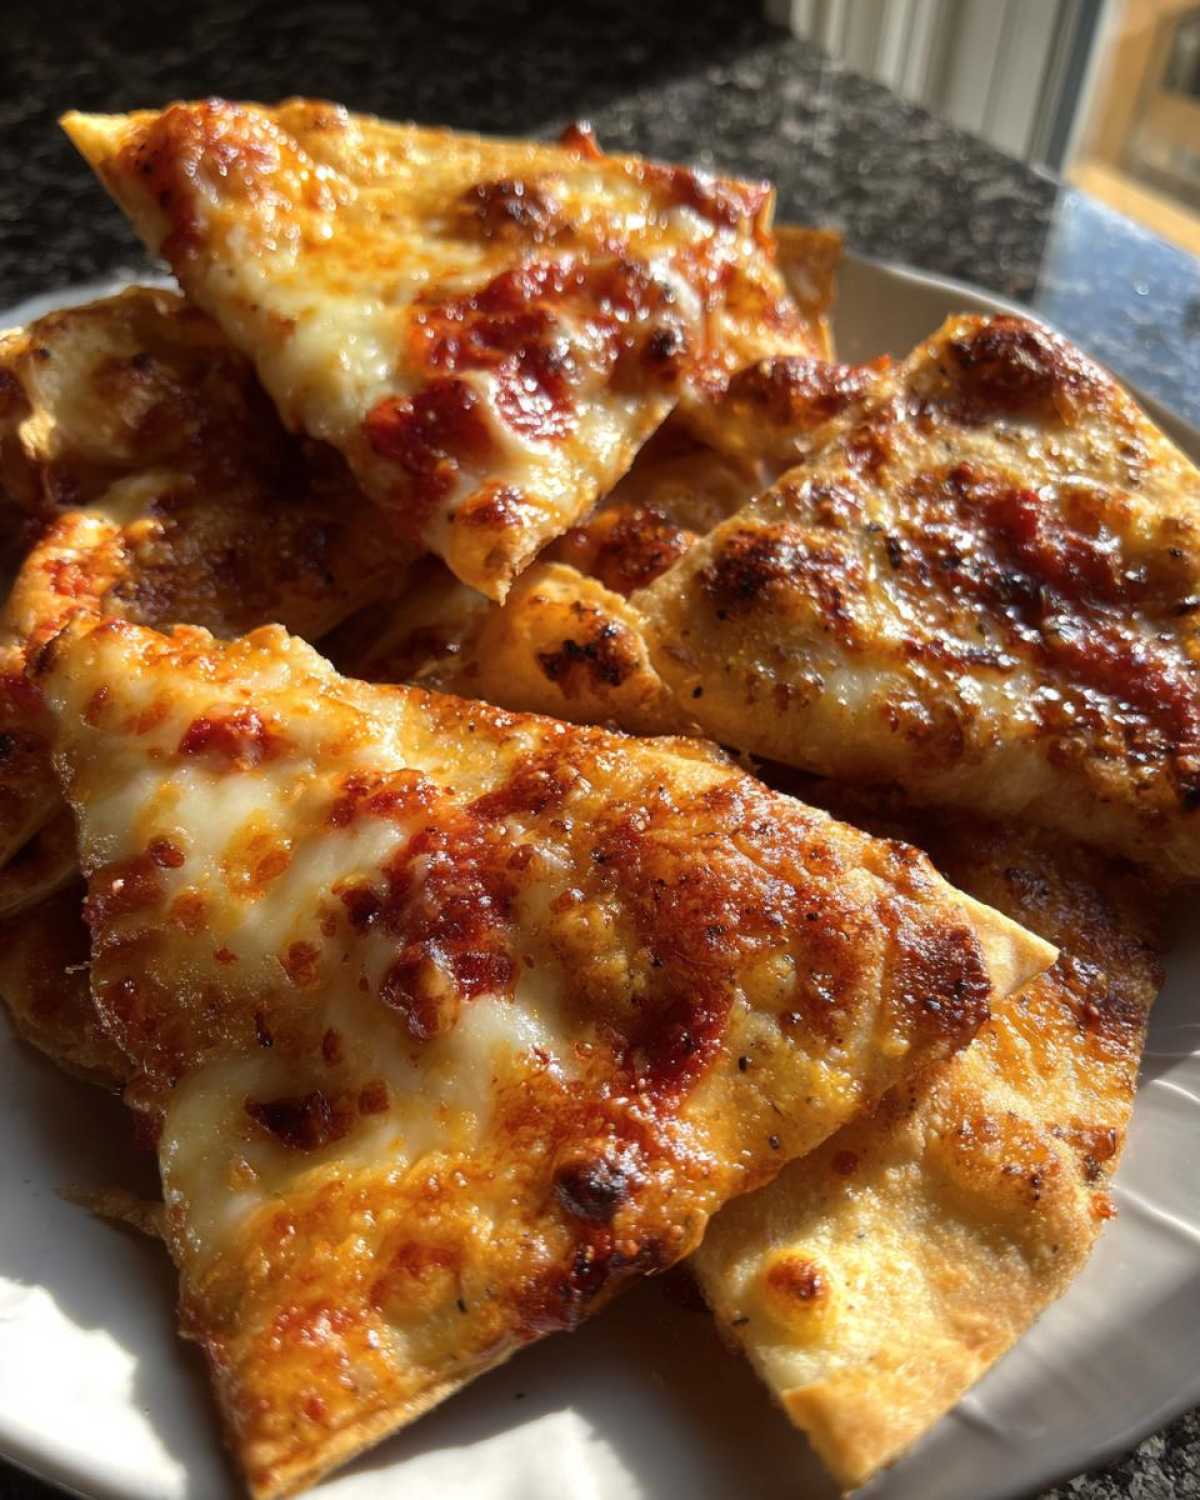
- Bake for 8-10 minutes. Watch them closely. The cheese should be melted and bubbly. The pita edges will turn golden brown. They will look crispy.
- Let them cool slightly on the baking sheet. They are hot right out of the oven. Then serve them up!
Tips for Success with Your Kid-Friendly Cheesy Pita Crisps
I’ve made these cheesy pita crisps more times than I can count. So I have picked up a few tricks. These tips will help you get perfect results. Every oven is a little different. Keep an eye on your crisps as they bake. They can go from golden to burnt quickly. Also, don’t be afraid to experiment with cheese. Mozzarella is a classic. But a mix of mozzarella and a tiny bit of cheddar works too. Just make sure the cheese is mild. Kids usually prefer milder flavors. These little things make a big difference. They ensure your crisps are always a hit.
Another tip is about the tomato paste. A little goes a long way. Too much can make the pita soggy. A thin layer is all you need. This keeps them nice and crispy. Trust me, I learned this hard way!
Making Your Kid-Friendly Cheesy Pita Crisps Even Better
For the best results, don’t overcrowd the baking sheet. Give each crisp space. This ensures they get perfectly crisp. If they’re too close, they steam instead of bake. Remember to adjust baking time. My oven runs a little hot. So, I start checking at 7 minutes. Keep an eye on them after 8 minutes. You want golden edges. For Leo and Mia, I found parchment paper is a must. It prevents sticking. It also makes cleanup super easy. That’s a win in my book!
Variations and Serving Suggestions for Kid-Friendly Cheesy Pita Crisps
One of the best things about these kid-friendly cheesy pita crisps is how adaptable they are! You can easily change them up. This keeps things interesting for your little ones. It also helps you use what you have on hand. Don’t be afraid to get creative here. Think of these crisps as a blank canvas. You can add different flavors. You can even try different toppings. It’s a great way to introduce new tastes gently. Plus, they pair well with many things. They are perfect for dipping. They also make a great side to a simple meal.
I love finding ways to make one recipe feel new. This helps avoid food boredom. It also lets me sneak in more good stuff. My kids never complain about these. They are always excited for them.
Customizing Your Kid-Friendly Cheesy Pita Crisps
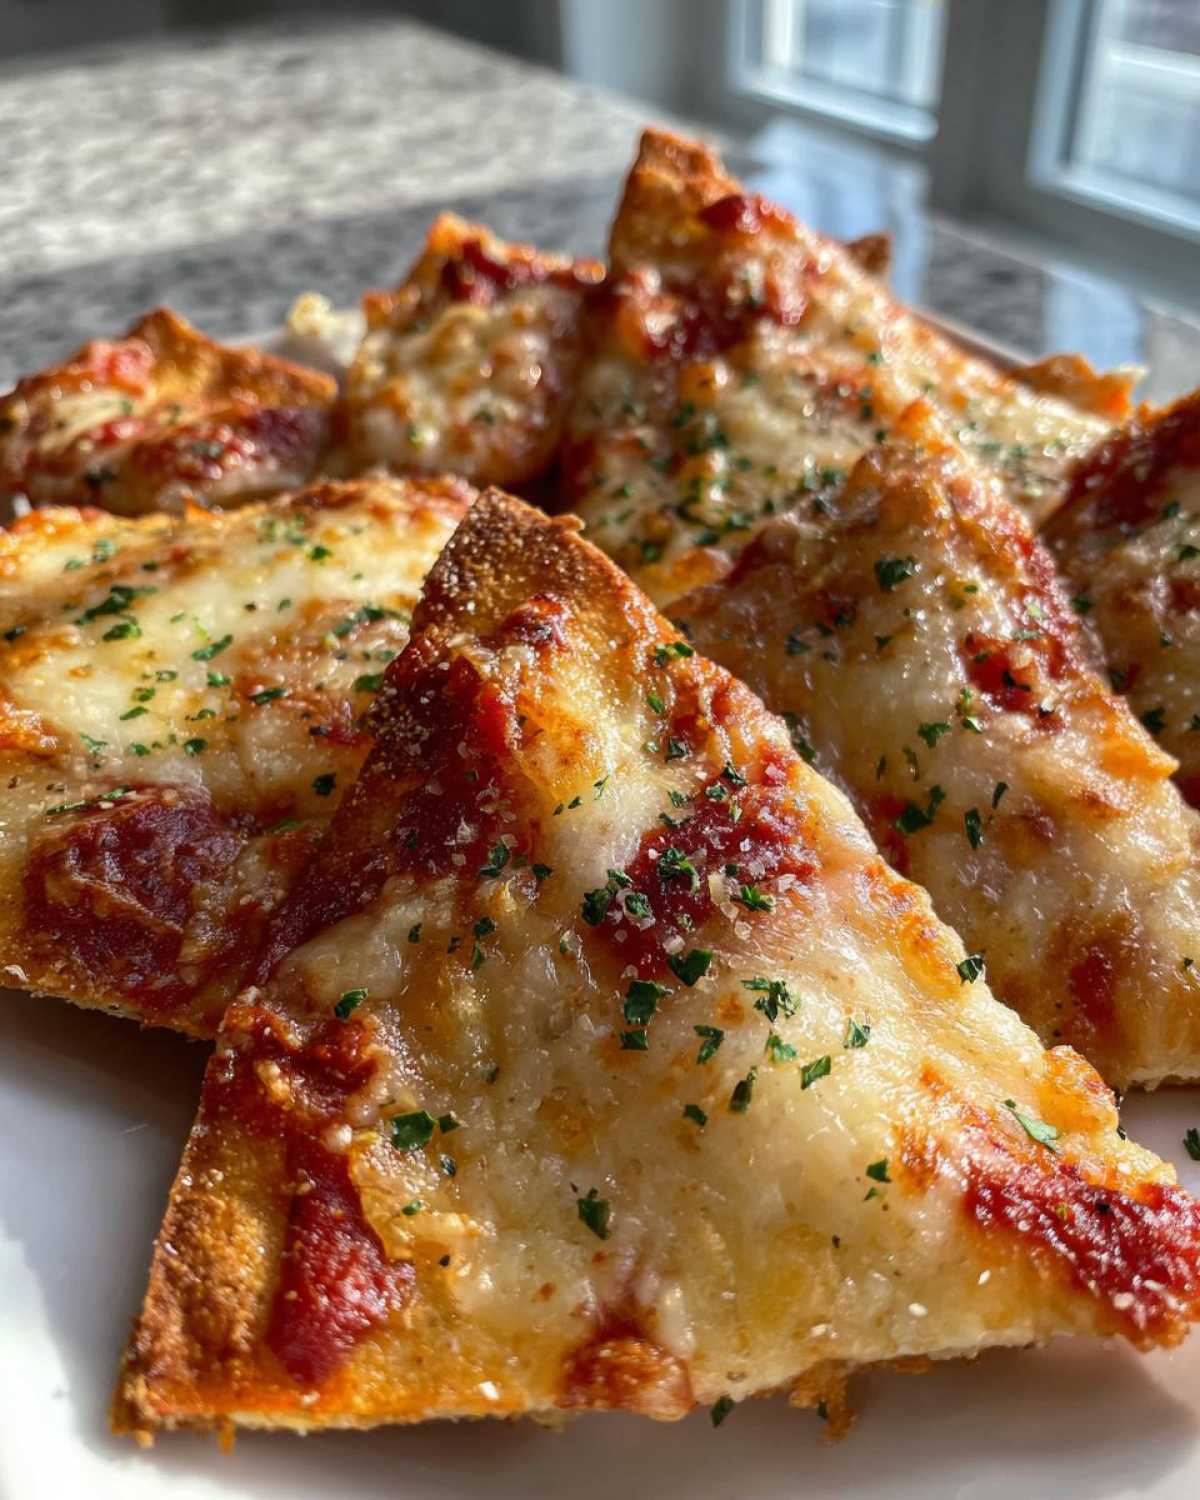
Want to mix it up? Try adding a tiny pinch of onion powder to the tomato mix. It adds a nice savory note. A sprinkle of grated Parmesan cheese works well too. It adds a salty, cheesy kick. You can also try different mild cheeses. Provolone or a mild cheddar are good choices. For a fun twist, add a tiny bit of dried basil. It gives a more pizza-like flavor. Remember to introduce new flavors slowly. This helps kids get used to them. Mia loves hers with a bit of basil. Leo prefers the simple cheese. It’s all about finding what your kids like!
Frequently Asked Questions About Kid-Friendly Cheesy Pita Crisps
As parents, we always have questions. Especially about feeding our kids! I get asked a lot about these cheesy pita crisps. So, I wanted to answer some common ones here. These answers come from my own kitchen experiences. I hope they help you feel more confident. Making these easy snacks for your family should be stress-free. Let’s dive into what parents often wonder about this recipe. I want to make sure you have all the info. This helps you get perfect results every time.
Common Questions on Kid-Friendly Cheesy Pita Crisps
Can I make these ahead of time? You can prep the pita wedges. You can also mix the sauce ahead of time. Keep them separate. Assemble and bake just before serving. This ensures they are super crispy. Baked crisps can get a bit soft if stored too long. Fresh is always best for crunch.
What kind of pita bread works best? Any standard pita bread works. I often use whole wheat for extra fiber. Avoid very thick or very thin pita. A medium thickness usually gives the best crisp. It holds the toppings well. This makes great kid-friendly cheesy pita crisps.
Are these good for toddlers? Yes, absolutely! Just make sure the crisps cool completely. They can be hot. Break them into smaller, bite-sized pieces for tiny hands. This makes them easier and safer for toddlers to eat. They are a great finger food.
Can I freeze Kid-Friendly Cheesy Pita Crisps? I don’t recommend freezing them after baking. They lose their crispness when thawed. If you want to prep ahead, freeze the unbaked pita wedges. Freeze them with just the sauce on. Then add cheese and bake from frozen. This will still give you a good crisp.
Storing and Reheating Kid-Friendly Cheesy Pita Crisps
Sometimes, against all odds, you might have a few cheesy pita crisps left over. It’s rare in my house! To keep them fresh, let them cool completely first. Then, store them in an airtight container. Keep them at room temperature for up to 2 days. For best crispness, I suggest eating them fresh. But leftovers are still tasty!
When reheating, avoid the microwave. That will make them soggy. Instead, pop them back in a toaster oven. Or use a regular oven at 350°F (175°C). Just warm them for a few minutes. Watch them until they are heated through. This brings back some of their original crispiness. They will be almost as good as new!
Estimated Nutritional Information for Kid-Friendly Cheesy Pita Crisps
I know many parents want to know about nutrition. So, I’ve included an estimate for these kid-friendly cheesy pita crisps. Please remember, these values are just estimates. They can change based on the exact brands you use. They also depend on how much you serve. This info is for two crisps. It gives you a good general idea. I hope this helps you plan your meals!
- Calories: 120
- Sugar: 2g
- Sodium: 210mg
- Fat: 5g
- Saturated Fat: 3g
- Unsaturated Fat: 2g
- Trans Fat: 0g
- Carbohydrates: 12g
- Fiber: 1g
- Protein: 6g
- Cholesterol: 15mg
Sharing Your Kid-Friendly Cheesy Pita Crisps Experience
I absolutely love hearing from you! If you make these kid-friendly cheesy pita crisps, please let me know. Leave a comment below. You can also rate the recipe. Share your creations on social media too! Tag ChildRecipe.com. Your stories inspire me. They help other parents too. Let’s build this community together. I can’t wait to see your delicious crisps!
Print
Genius Kid-Friendly Cheesy Pita Crisps in 15 Minutes: A Parent’s Happy Secret
- Total Time: 15 minutes
- Yield: 8 crisps 1x
- Diet: Vegetarian
Description
These Kid-Friendly Cheesy Pita Crisps are a quick and easy snack perfect for busy parents. They’re designed to be appealing to children, even picky eaters, and offer a simple, delicious solution for snack time.
Ingredients
- 1 pita bread
- 2 tablespoons tomato paste
- 1/4 cup shredded mozzarella cheese
- 1/4 teaspoon dried oregano
- Pinch of garlic powder
- Olive oil spray
Instructions
- Preheat your oven to 375°F (190°C).
- Cut the pita bread into 8 wedges.
- Arrange the pita wedges on a baking sheet.
- In a small bowl, mix the tomato paste, oregano, and garlic powder.
- Spread a thin layer of the tomato mixture over each pita wedge.
- Sprinkle the mozzarella cheese evenly over the pita wedges.
- Lightly spray the crisps with olive oil.
- Bake for 8-10 minutes, or until the cheese is melted and bubbly and the pita edges are golden brown and crispy.
- Let cool slightly before serving.
Notes
- You can customize these crisps with different cheeses or a sprinkle of grated Parmesan.
- For extra flavor, add a tiny pinch of onion powder to the tomato mixture.
- These are great for after-school snacks or a quick lunch.
- Prep Time: 5 minutes
- Cook Time: 10 minutes
- Category: Snack
- Method: Baking
- Cuisine: Mediterranean
Nutrition
- Serving Size: 2 crisps
- Calories: 120
- Sugar: 2g
- Sodium: 210mg
- Fat: 5g
- Saturated Fat: 3g
- Unsaturated Fat: 2g
- Trans Fat: 0g
- Carbohydrates: 12g
- Fiber: 1g
- Protein: 6g
- Cholesterol: 15mg