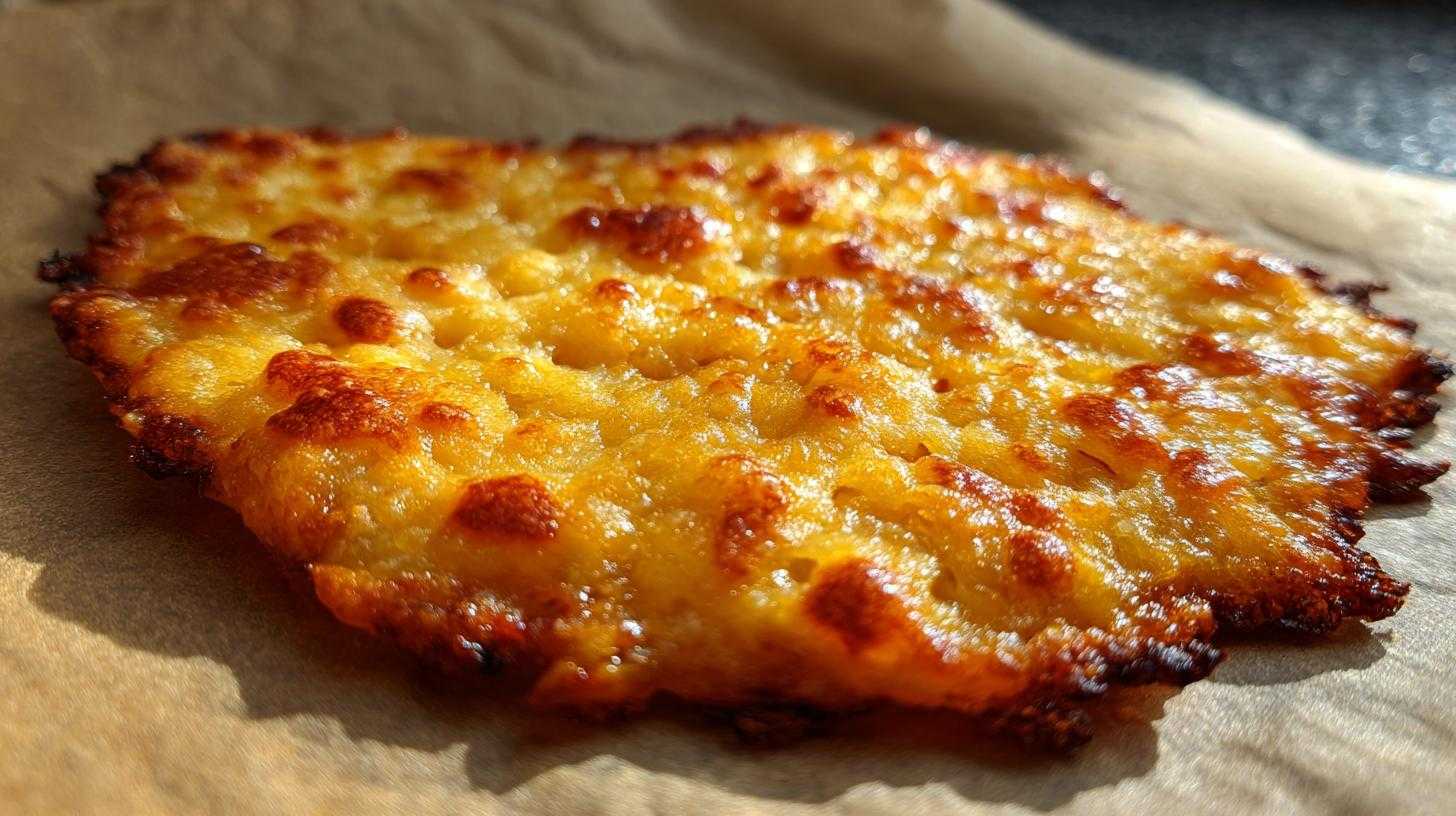
Oh, busy parents, I know the struggle! Finding snacks that are quick, easy, and that your kids will actually eat feels like finding a unicorn sometimes. That’s why I’m so excited to share this recipe for Kid-Friendly CHEESE CRISPS with you. Seriously, this is a game-changer. It’s just one ingredient! Yes, you read that right. One ingredient stands between you and a happy snack time.
I first stumbled upon this when Leo was a toddler. He was going through a phase where he only wanted crunchy things. I was desperate for something simple that wasn’t loaded with sugar. I remembered seeing something online about baking cheese. I gave it a try, and magic happened! Both Leo and Mia devoured them. Now, making these easy cheese crisps is a regular thing in our house. They’re perfect for after-school snacks or even a quick addition to their lunchboxes.
As Sarah from ChildRecipe.com, I’m all about making your life easier in the kitchen. This recipe is proof that delicious and kid-approved doesn’t have to be complicated. Let’s get baking!
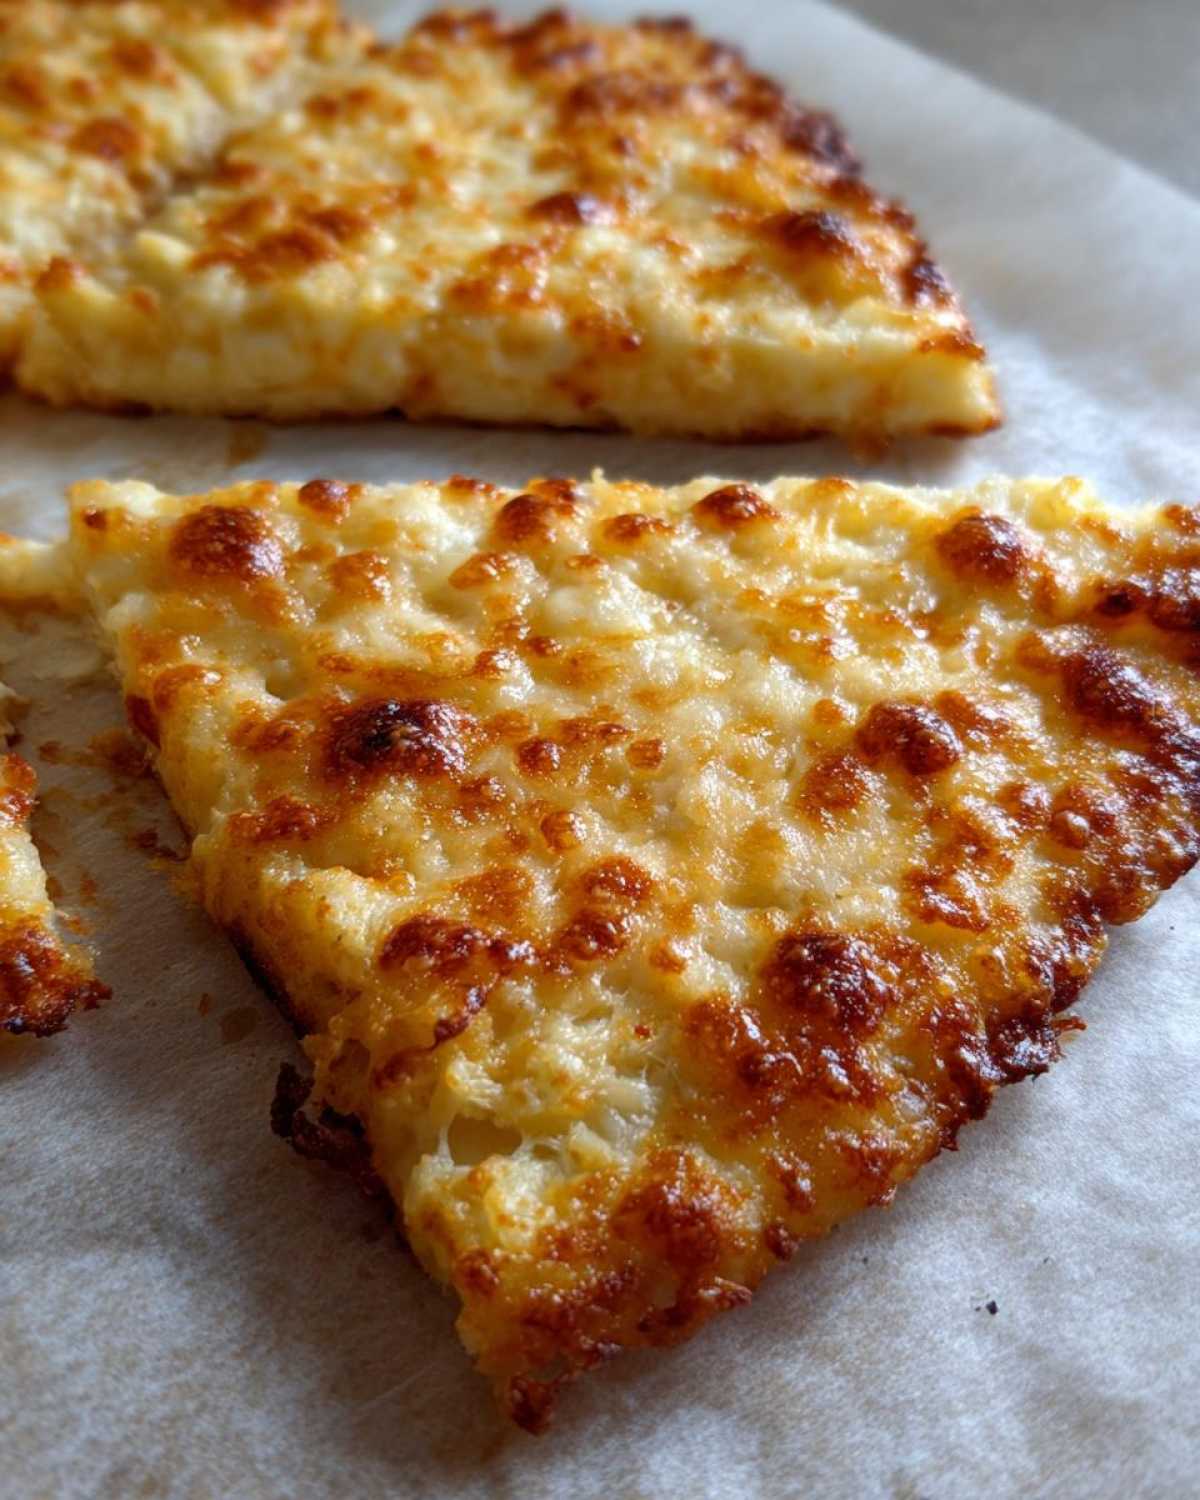
Why You’ll Love Making Kid-Friendly CHEESE CRISPS
Okay, so why do I rave about these Kid-Friendly CHEESE CRISPS so much? Because they hit all the marks for us busy parents! When you’re juggling a million things, you need snacks that deliver without demanding too much time or effort.
- They are unbelievably simple. Seriously, just one ingredient!
- They are super fast. From start to snack time is under 15 minutes.
- Kids absolutely adore them. The crunchy texture and cheesy flavor are big winners.
- You know exactly what’s in them. Just cheese, that’s it!
- They are way less messy than a lot of other snacks.
Making cheese crisps means you can whip up a batch even when you feel like you have zero energy. It’s a reliable win in the snack department, and that’s something every parent needs!
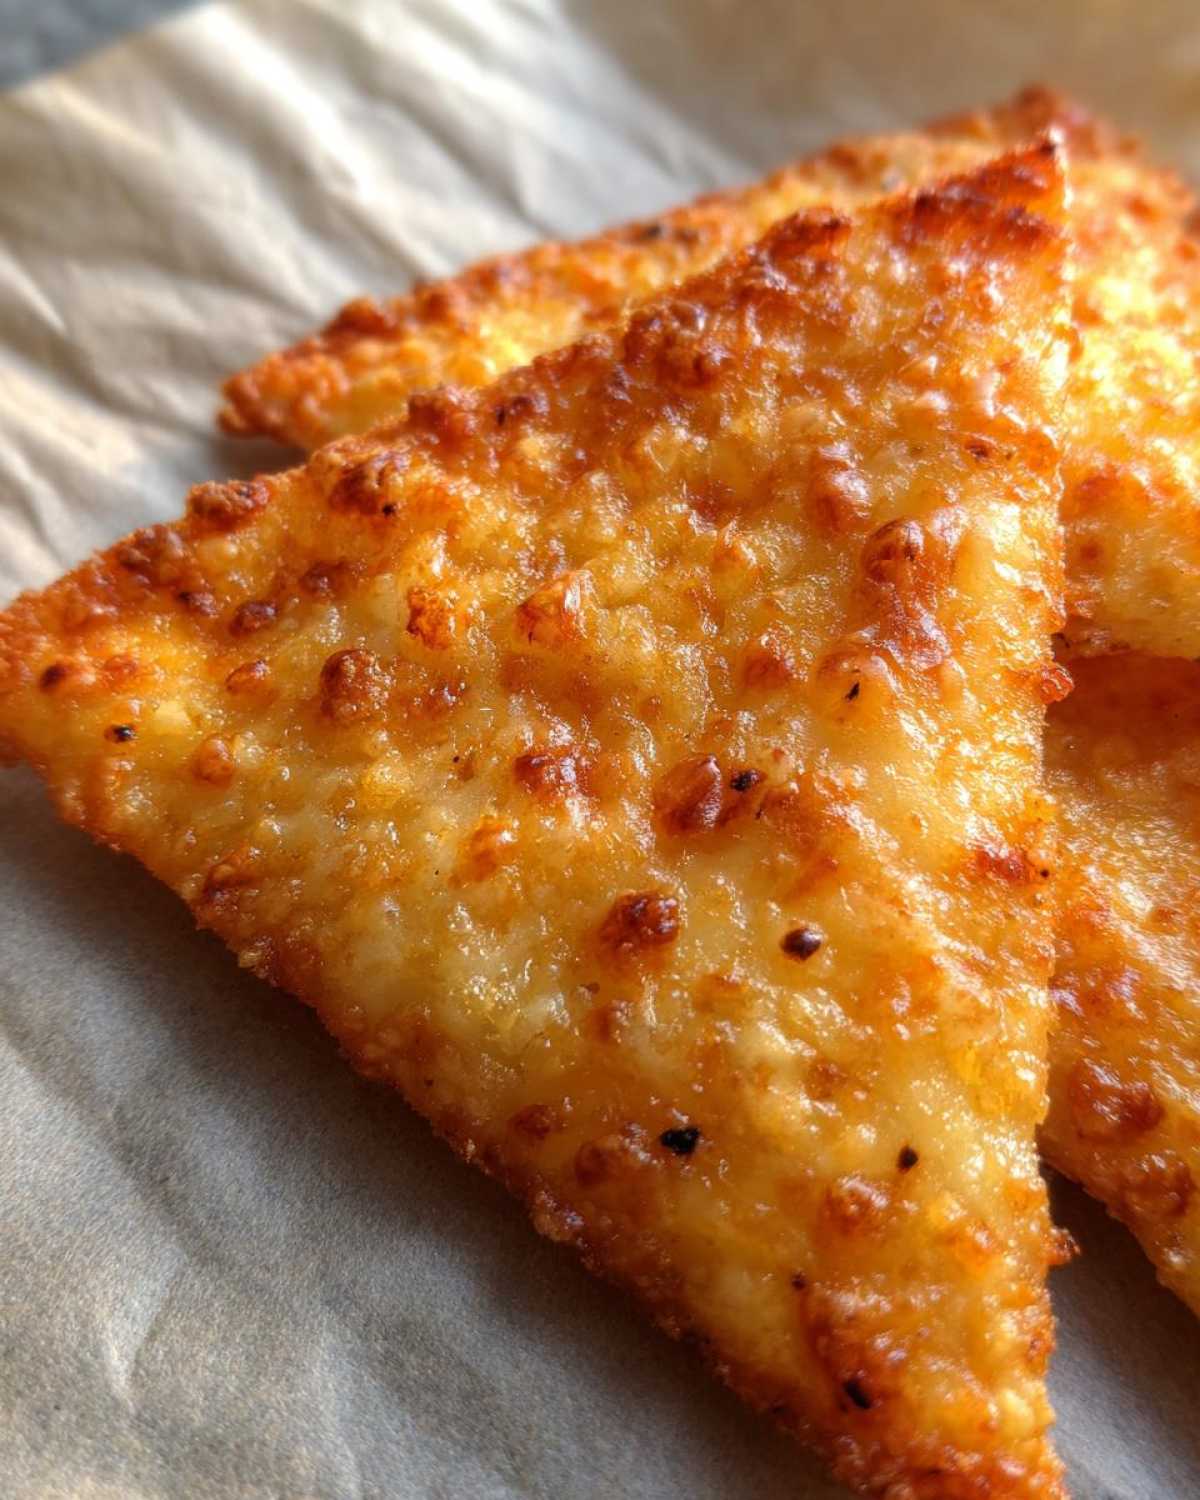
Simple Ingredients for Kid-Friendly CHEESE CRISPS
Alright, get ready for the easiest ingredient list ever! For these fantastic Kid-Friendly CHEESE CRISPS, you literally only need one thing.
- Shredded cheese
That’s it! I usually grab whatever cheese I have on hand, but my kids, Leo and Mia, really love sharp cheddar or even some grated parmesan. Just make sure it’s shredded so it melts and crisps up nicely. It doesn’t get simpler than that!
Essential Equipment for Kid-Friendly CHEESE CRISPS
You don’t need fancy gadgets for these Kid-Friendly CHEESE CRISPS. That’s another reason I love them! Most likely, you already have everything you need right in your kitchen.
- A baking sheet
- Parchment paper
That’s really it! Just a standard baking sheet and some parchment paper to prevent sticking, and you’re good to go. See? So easy!
How to Prepare Kid-Friendly CHEESE CRISPS
Making these Kid-Friendly CHEESE CRISPS is seriously simple. It’s a three-step process that even little helpers can join in on! Let’s walk through it together.
Preheat and Prep for Your Kid-Friendly CHEESE CRISPS
First things first, get your oven ready. You’ll want to preheat it to 400°F (200°C). While the oven is heating up, grab a baking sheet. Line it with parchment paper. This step is key! It makes sure your cheese crisps don’t stick and gives me perfect results every time. Trust me on this one.
Forming and Baking Your Kid-Friendly CHEESE CRISPS
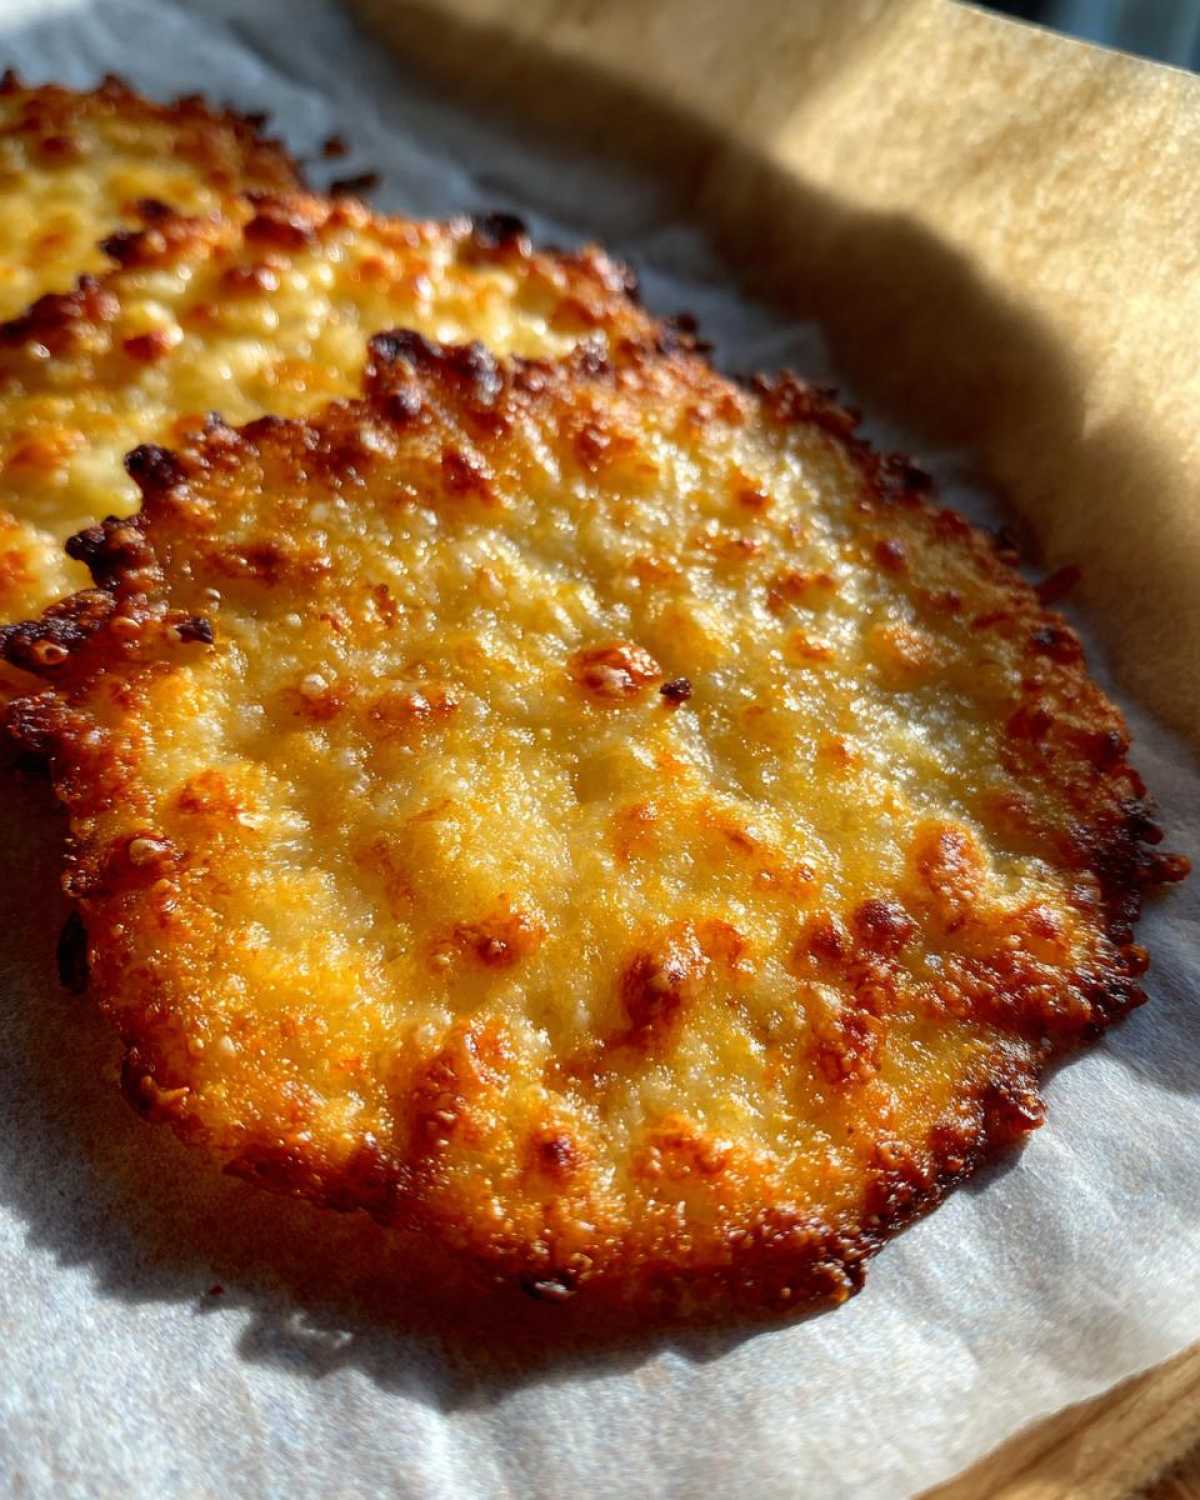
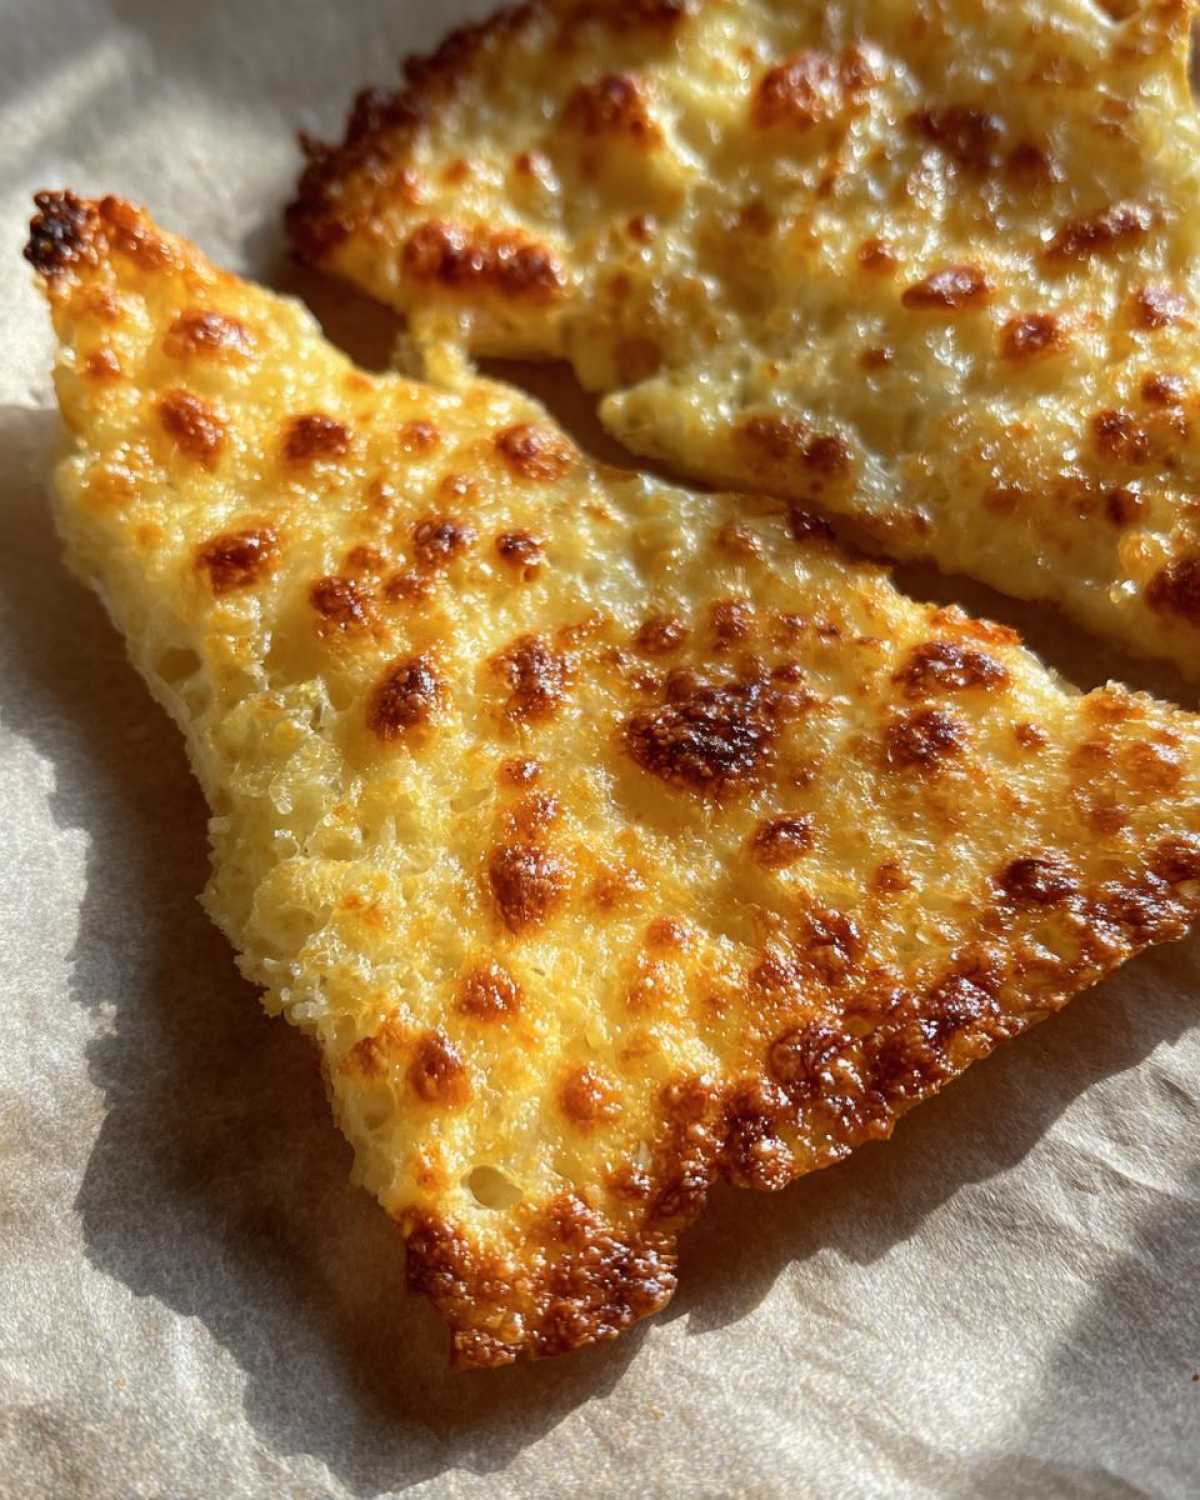
Now, for the fun part! Take small pinches of shredded cheese. Place them onto the prepared baking sheet. Think of them as little cheese puddles. Make sure to leave some space between each one. They will spread out as they bake. Pop the sheet into the preheated oven. Let them bake for about 5 to 8 minutes. Keep an eye on them! You’ll know they are ready when the edges turn a lovely golden brown color. They should look crispy around the edges.
Cooling Your Kid-Friendly CHEESE CRISPS
This next step is super important. Once your cheese crisps are baked and look nice and crispy, carefully take the baking sheet out of the oven. Now, here’s the hard part: you have to wait! Let them cool completely on the baking sheet. Trying to move them too soon will result in a gooey mess. As they cool, they’ll firm up and become perfectly crisp. This usually takes just a few minutes.
Tips for Perfect Kid-Friendly CHEESE CRISPS
While these Kid-Friendly CHEESE CRISPS are super simple, a few little tricks can make them even better. First, the type of cheese matters! As I mentioned, cheddar and parmesan are winners in our house, but try whatever cheese your little one loves. Different cheeses will give you slightly different textures.
Want to make them extra fun? Before baking, you can gently press a small cookie cutter into the cheese mounds. This gives you cute shapes! Leo thinks the star shapes are the best. Just be sure to press down lightly. Also, don’t overcrowd the baking sheet. Giving them space helps them crisp up properly.
Serving and Storing Kid-Friendly CHEESE CRISPS
Once your Kid-Friendly CHEESE CRISPS are completely cool, they are ready to enjoy! Pop them off the parchment paper and serve them as is. My kids love them straight up. If you have any leftovers (which is rare in our house!), make sure they are totally cool. Then, store them in an airtight container at room temperature. They should stay nice and crispy for a few days.
Frequently Asked Questions About Kid-Friendly CHEESE CRISPS
Got questions about making these easy cheese crisps? Don’t worry, I’ve probably asked them too! Here are some common questions I get asked about Kid-Friendly CHEESE CRISPS.
Can I use different types of cheese?
Absolutely! The best cheese for crisps is really whatever your child likes. Cheddar gives a classic flavor, while parmesan makes them extra savory and crispy. I’ve even used a mix of cheeses before. Just make sure it’s a cheese that melts well.
Why aren’t my cheese crisps getting crispy?
There could be a few reasons. Make sure your oven is fully preheated. Also, sometimes adding a tiny pinch of cornstarch to the shredded cheese can help absorb extra moisture. And always, *always* let them cool completely on the baking sheet. That’s when they really crisp up!
How long do these easy snacks last?
If stored in a truly airtight container at room temperature, they usually stay crispy for about 2-3 days. After that, they might start to soften a bit. But honestly, they disappear so fast in our house, storage isn’t usually an issue!
Can I make a big batch of these quick kids snacks?
Yes, you can! Just make sure you have enough baking sheets. Don’t try to put too much cheese on one sheet, or they won’t crisp up properly. Bake them in batches if needed. It’s worth the small extra effort to have more of these popular Kid-Friendly CHEESE CRISPS ready to go.
Estimated Nutrition Information
Here’s a quick look at the estimated nutrition for these Kid-Friendly CHEESE CRISPS. Please remember this is just an estimate! The actual values can change depending on the type of cheese you use and the exact serving size.
- Serving Size: 3 crisps
- Calories: 150
- Sugar: <1g
- Sodium: 250mg
- Fat: 12g
- Saturated Fat: 7g
- Unsaturated Fat: 4g
- Trans Fat: 0g
- Carbohydrates: 1g
- Fiber: 0g
- Protein: 9g
- Cholesterol: 35mg
It’s a simple snack, and while cheese has fat, it also offers protein and calcium, which is great for growing kids. Everything in moderation, right?
Rate This Recipe
Have you tried making these Kid-Friendly CHEESE CRISPS for your little ones? I’d love to hear how they turned out! Did your kids gobble them up like mine do? Was it as easy as I promised?
Please take a moment to rate this recipe below. Your feedback helps other parents find simple, kid-approved snacks like this one. And if you have any fun variations or tips you discovered, please share them in the comments! We’re all in this together.
Print
Kid-Friendly CHEESE CRISPS: A 1 Ingredient Triumph
- Total Time: 13 minutes
- Yield: 12 crisps
- Diet: Vegetarian
Description
Make quick and easy cheese crisps your kids will love. This simple snack uses just one ingredient. It’s perfect for busy parents.
Ingredients
- Shredded cheese
Instructions
- Preheat your oven to 400°F (200°C).
- Line a baking sheet with parchment paper.
- Place small mounds of shredded cheese onto the prepared baking sheet. Leave space between each mound.
- Bake for 5-8 minutes, or until the edges are golden brown and crispy.
- Let cool completely on the baking sheet before handling.
Notes
- Use your child’s favorite cheese. Cheddar or parmesan work well.
- Make them different shapes by using cookie cutters before baking.
- Store cooled crisps in an airtight container.
- Prep Time: 5 minutes
- Cook Time: 8 minutes
- Category: Snack
- Method: Baking
- Cuisine: American
Nutrition
- Serving Size: 3 crisps
- Calories: 150
- Sugar: <1g
- Sodium: 250mg
- Fat: 12g
- Saturated Fat: 7g
- Unsaturated Fat: 4g
- Trans Fat: 0g
- Carbohydrates: 1g
- Fiber: 0g
- Protein: 9g
- Cholesterol: 35mg