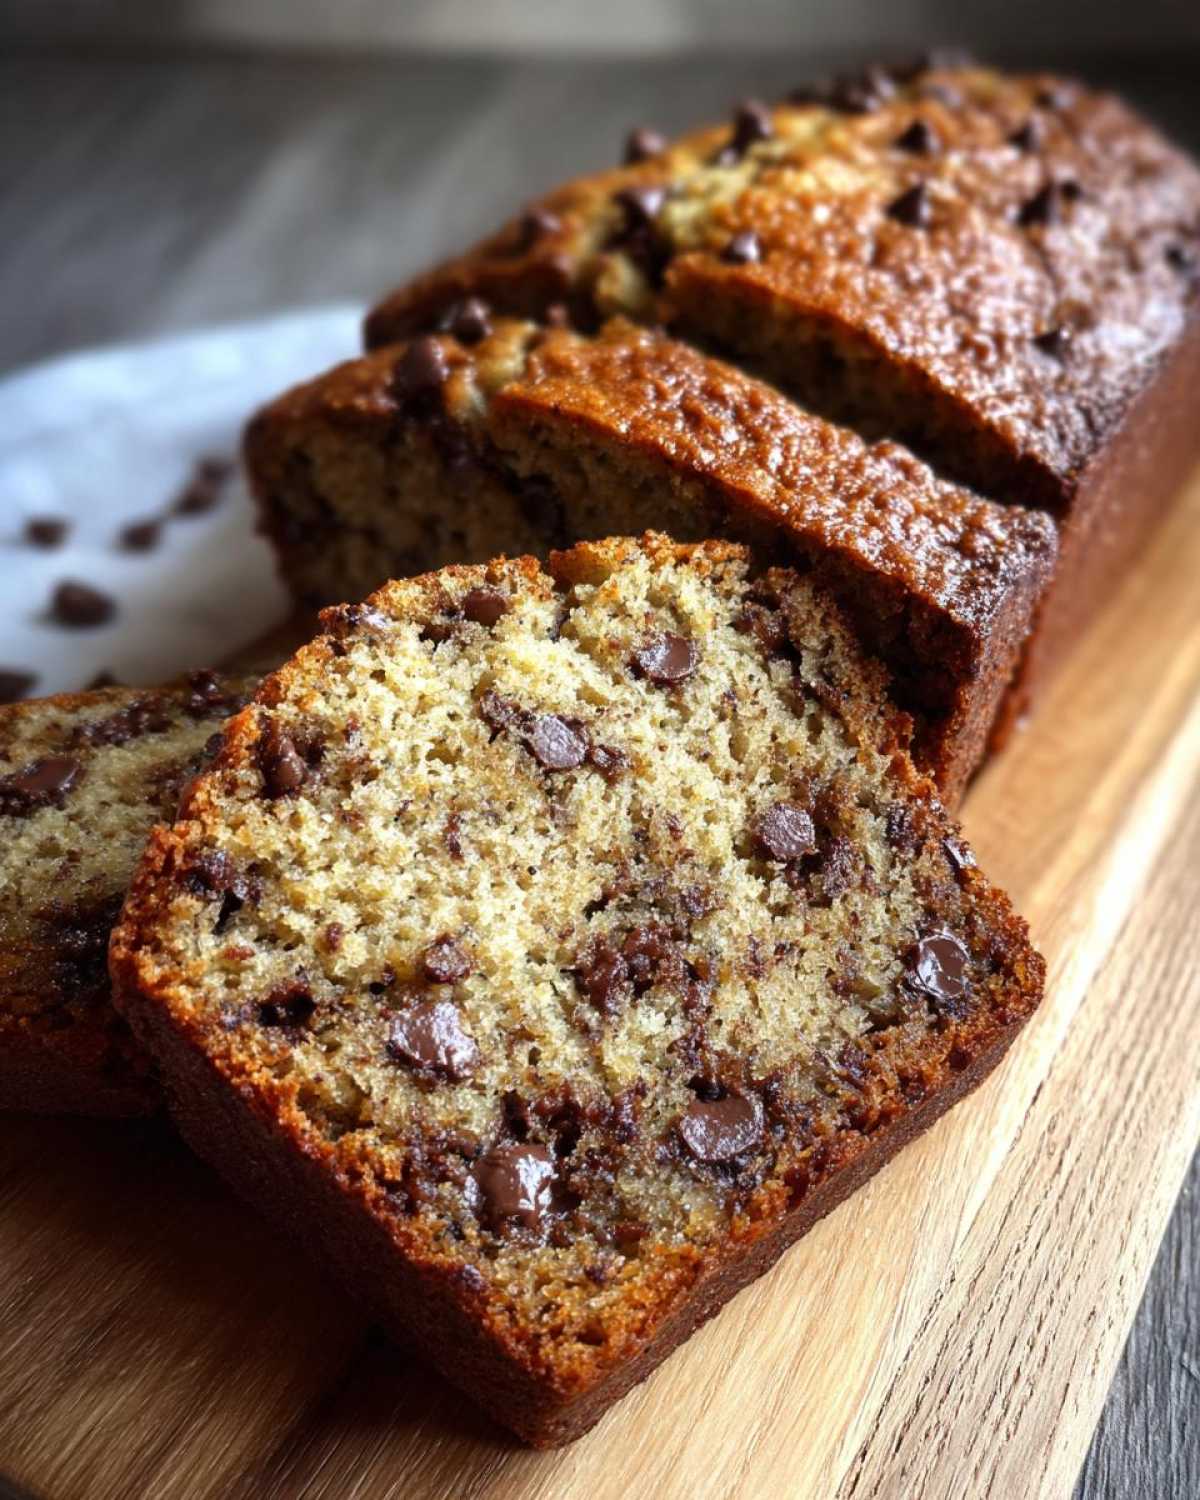
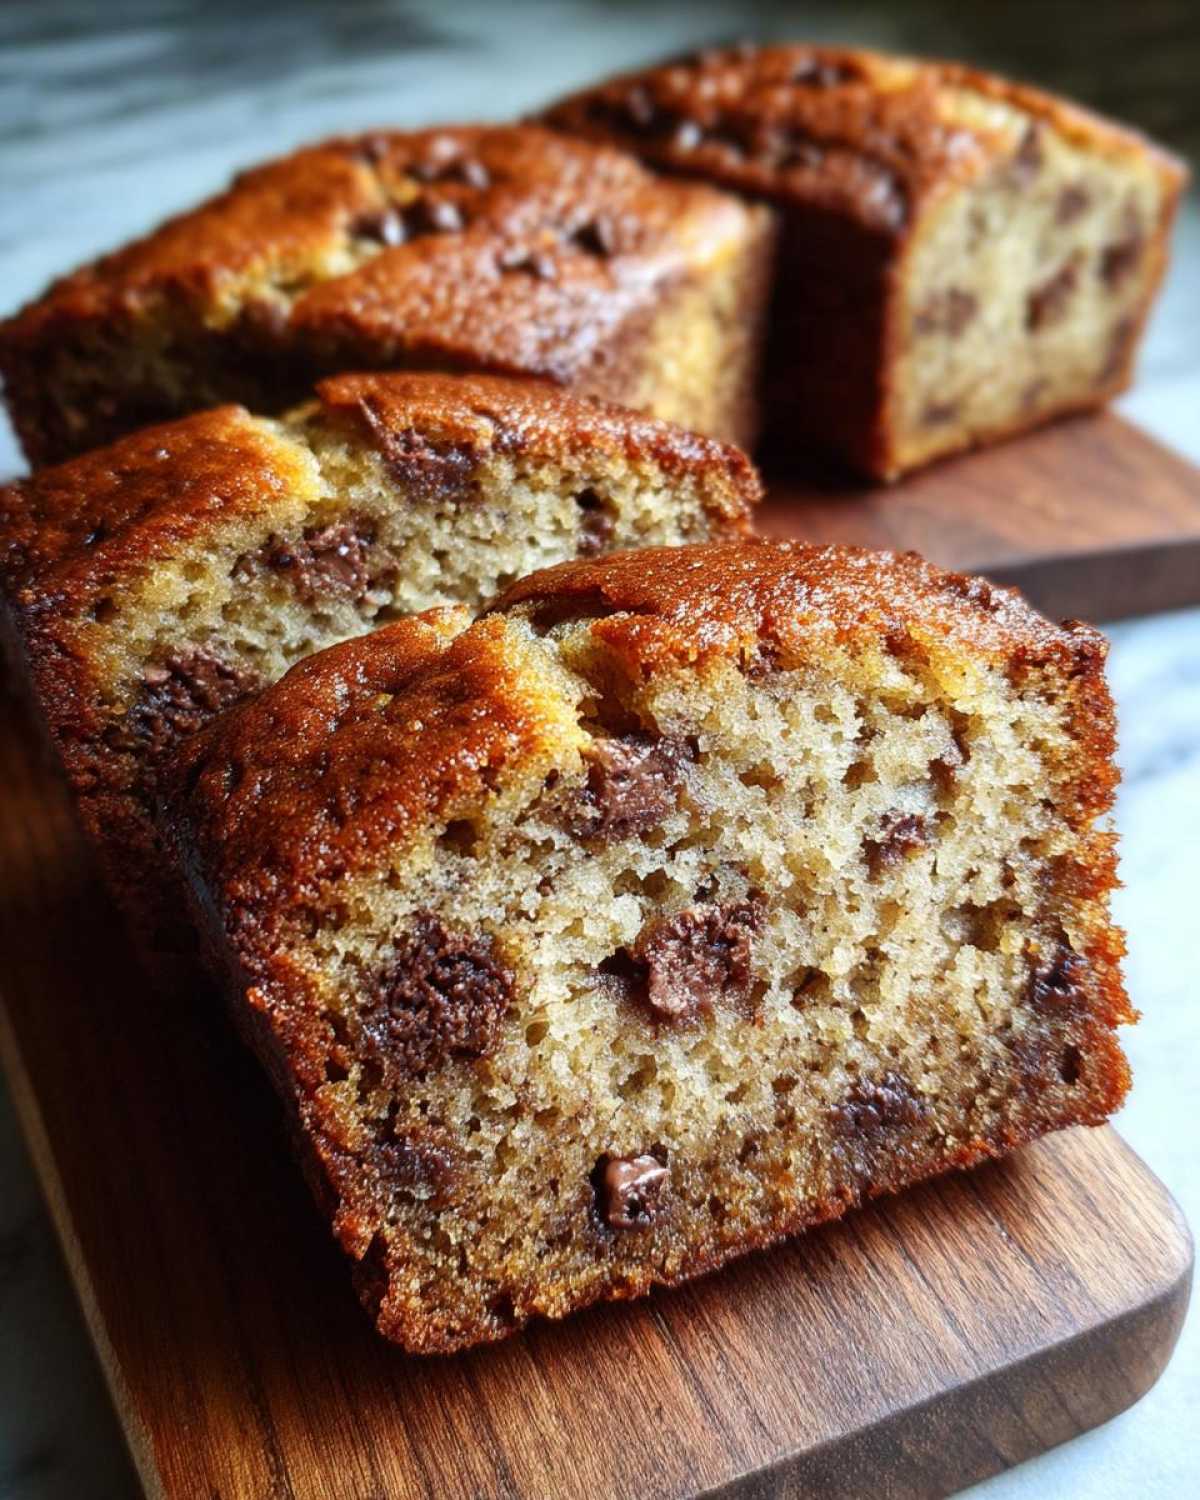
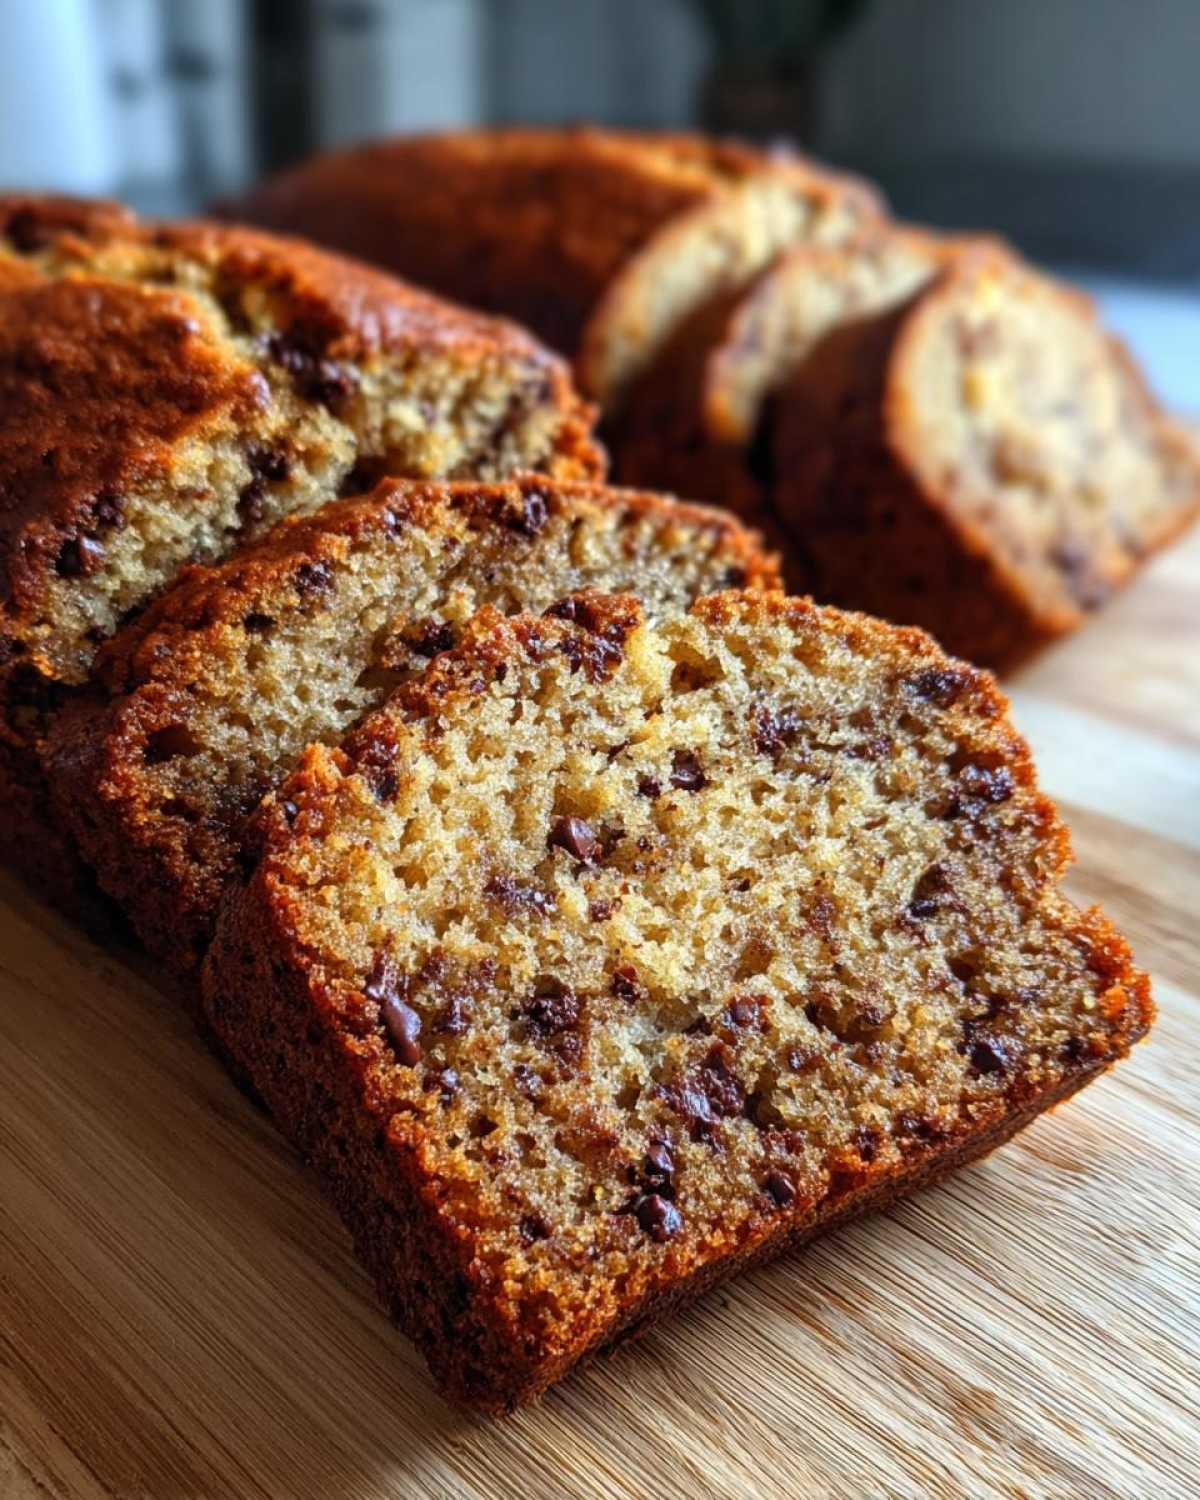
Oh, these kid-friendly banana bread mini loaves? They are a total lifesaver in my house! I remember the first time I made them. Leo, my little guy, was going through a picky phase, and I was desperate for something he’d actually eat. When these came out of the oven, warm and smelling amazing, both Leo and Mia grabbed one right away. It was such a win! This recipe is seriously easy, and the mini size is just perfect for little hands. No more half-eaten giant slices!
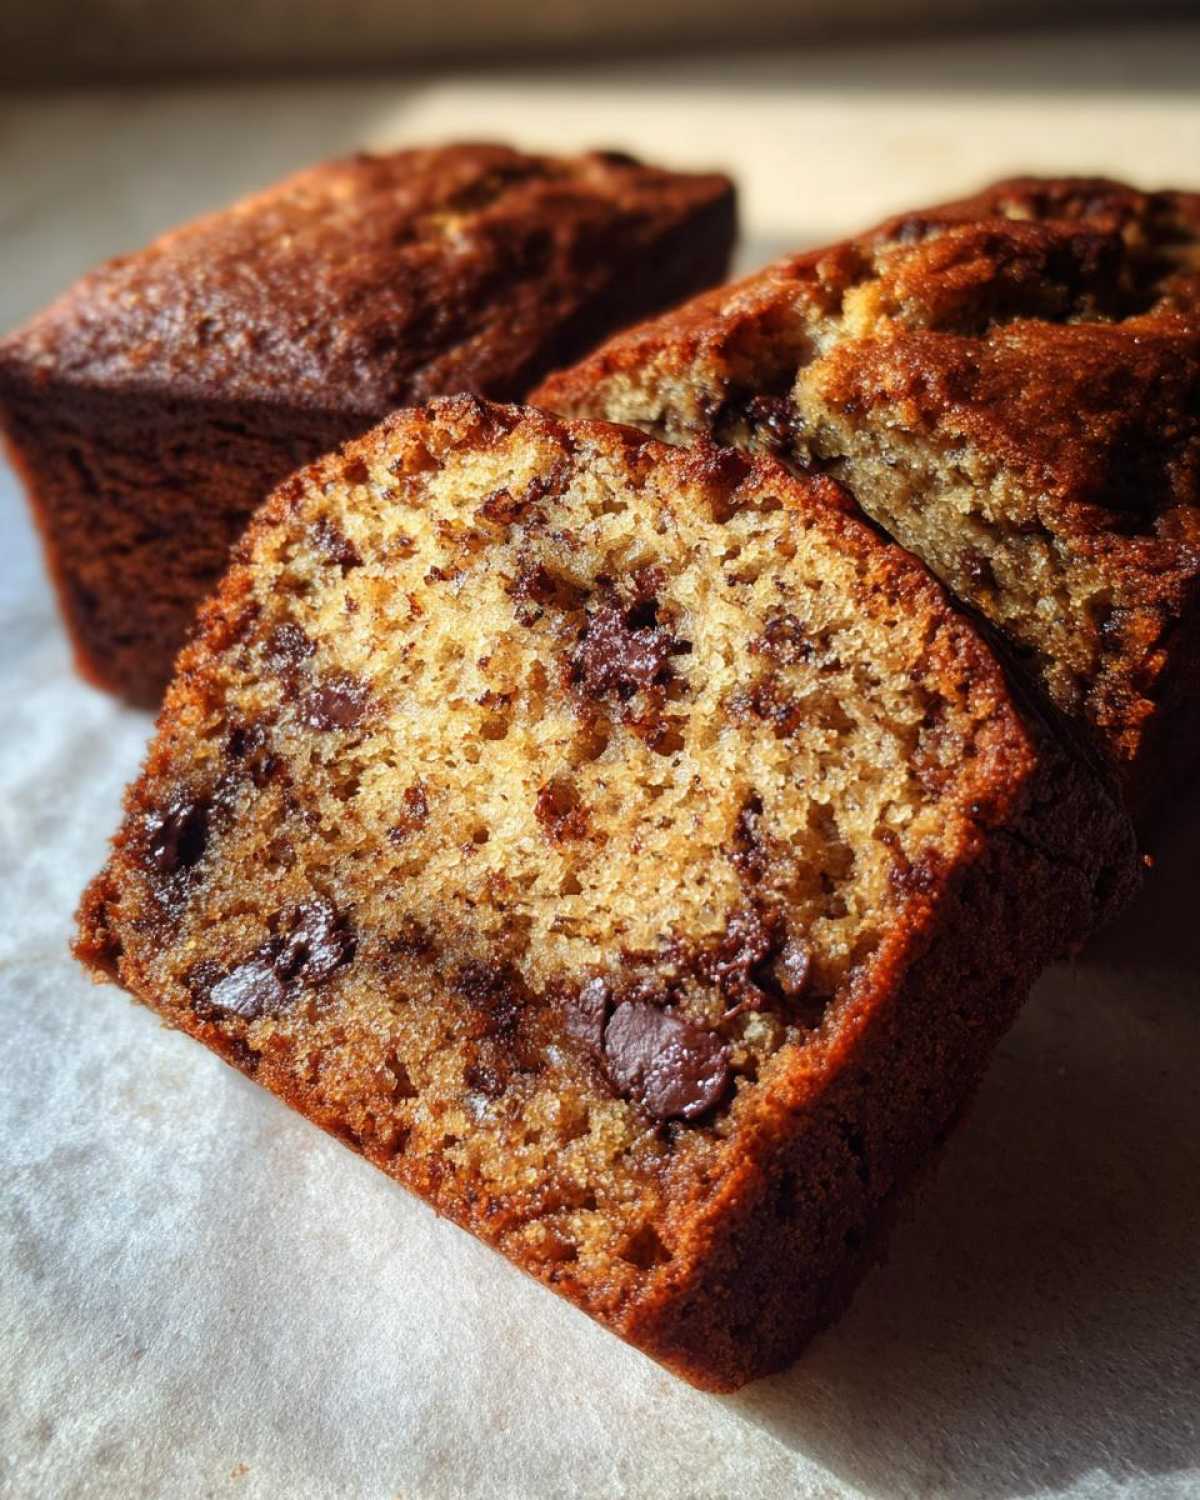
Why Your Family Will Love These Kid-Friendly BANANA BREAD MINI LOAVES
- They’re the perfect size for little hands to hold. No big slices to worry about!
- These mini loaves are amazing for snacks or packing in lunchboxes.
- The ingredients are simple things you likely have already.
- And honestly? They just taste really, really good.
Leo and Mia absolutely devour these. They ask for them all the time!
Gathering Your Ingredients for Kid-Friendly BANANA BREAD MINI LOAVES
Alright, let’s get these ingredients together! The most important thing here is using really ripe bananas. You know, the ones with lots of brown spots? Those are the magical ones that give this banana bread its amazing flavor and sweetness. You’ll need:
- 1 and 3/4 cups all-purpose flour
- 1 teaspoon baking soda
- 1/4 teaspoon salt
- 1/2 cup unsalted butter, softened
- 3/4 cup granulated sugar
- 2 large eggs
- 1 teaspoon vanilla extract
- 1 and 1/2 cups mashed ripe bananas (about 3-4 medium)
- 1/4 cup milk
- 1/2 cup chocolate chips (optional)
Ingredient Details You Need for Perfect Kid-Friendly BANANA BREAD MINI LOAVES
Now, a few notes on those ingredients. Using really ripe bananas is non-negotiable for the best taste. They’re naturally sweeter and easier to mash. I usually wait until they’re almost completely brown!
If you want to make them a little bit healthier, you could swap out some of the all-purpose flour for whole wheat flour, maybe start with half and half. For older kids, or if allergies aren’t an issue, a handful of chopped nuts like walnuts or pecans would be lovely folded in with the chocolate chips.
Measuring accurately is key in baking. I always use the spoon-and-level method for flour to make sure I don’t add too much. Just spoon the flour into your measuring cup and level off the top with a straight edge.
Step-by-Step Guide: How to Make Kid-Friendly BANANA BREAD MINI LOAVES
Okay, let’s get baking! This is the fun part. First things first, get your oven ready. Preheat it to 350°F (175°C). While it’s heating up, grab your mini loaf pan. Give each little cavity a good grease and then dust it with a little flour. This helps the mini loaves pop out easily later.
Next, in a medium bowl, whisk together your dry stuff: the flour, baking soda, and salt. Just a quick whisk to get everything mixed up nicely.
Now, in a bigger bowl, we’ll cream together the softened butter and sugar. Beat it until it looks light and fluffy. Then, add your eggs one at a time, beating after each one. Stir in the vanilla extract.
In a separate bowl, mash those ripe bananas. Stir in the milk with the mashed bananas.
Now, we’ll combine everything. Gradually add the dry ingredients to the wet ingredients, alternating with the banana mixture. Start with the dry, end with the dry. Mix until everything is just combined. Be careful not to overmix! Lumps are okay here.
If you’re using chocolate chips, gently fold them in now.
Divide the batter evenly among the prepared mini loaf cavities.
Baking Tips for Your Kid-Friendly BANANA BREAD MINI LOAVES
Pop that pan into your preheated oven. These mini loaves usually take about 20 to 25 minutes to bake. You’ll know they’re ready when a wooden skewer or toothpick inserted into the center comes out clean.
My personal tip? I always check a couple of the mini loaves in different spots of the pan, just to be sure.
Once they’re done, let them cool in the pan for about 10 minutes. This helps them firm up before you move them. Then, gently transfer them to a wire rack to cool completely. Waiting for them to cool is the hardest part!
Equipment You’ll Need for Kid-Friendly BANANA BREAD MINI LOAVES
Making these kid-friendly banana bread mini loaves doesn’t require anything fancy! You’ll definitely need a mini loaf pan; that’s what gives them their cute shape. You’ll also want a couple of mixing bowls – one for the dry stuff and one for the wet. A whisk is helpful for combining dry ingredients, and of course, measuring cups and spoons are essential for getting the right amounts of everything. That’s really about it!
Frequently Asked Questions About Kid-Friendly BANANA BREAD MINI LOAVES
Got questions about making these yummy mini loaves? Here are some common ones I get!
Can I freeze kid-friendly banana bread mini loaves?
Absolutely! Once they’re completely cool, wrap each mini loaf tightly in plastic wrap, then place them in a freezer-safe bag or container. They’ll keep in the freezer for up to 3 months. Perfect for grabbing a quick snack later!
How do I store leftover kid-friendly banana bread mini loaves?
Just place the cooled mini loaves in an airtight container at room temperature. They should stay fresh and delicious for about 3 days.
What’s the best way to mash bananas for kid-friendly banana bread mini loaves?
A fork works perfectly! Just peel the ripe bananas and use a fork to mash them in a bowl until they’re mostly smooth with a few small lumps. Don’t worry about getting them perfectly smooth.
Can I add other things besides chocolate chips?
Sure! For older kids, chopped nuts work well. You could also add a sprinkle of cinnamon or a few blueberries.
Storing and Enjoying Your Kid-Friendly BANANA BREAD MINI LOAVES
Once your kid-friendly banana bread mini loaves are totally cool, it’s time to think about keeping them fresh! For storing at room temperature, just pop them into an airtight container. They’re usually best enjoyed within about 3 days this way.
If you want them to last longer, freezing is the way to go. I wrap each mini loaf individually in plastic wrap before putting them in a freezer bag. This helps prevent freezer burn. They’ll keep well for a few months.
To enjoy a frozen one, just let it thaw at room temperature for a bit. Sometimes, I even pop them in the microwave for a few seconds for a warm treat. Leo loves his slightly warm!
Estimated Nutritional Information
Just a quick note about the nutrition details for these kid-friendly banana bread mini loaves. The nutritional values provided are estimates. The actual numbers can change depending on the specific brands of ingredients you use and any substitutions you might make. Think of it as a general idea rather than a precise measurement!
Print
Amazing Kid-Friendly BANANA BREAD MINI LOAVES in 25 Mins
- Total Time: 40 minutes
- Yield: 12 mini loaves 1x
- Diet: Vegetarian
Description
Easy kid-friendly banana bread baked into perfect mini loaves.
Ingredients
- 1 and 3/4 cups all-purpose flour
- 1 teaspoon baking soda
- 1/4 teaspoon salt
- 1/2 cup unsalted butter, softened
- 3/4 cup granulated sugar
- 2 large eggs
- 1 teaspoon vanilla extract
- 1 and 1/2 cups mashed ripe bananas (about 3–4 medium)
- 1/4 cup milk
- 1/2 cup chocolate chips (optional)
Instructions
- Preheat your oven to 350°F (175°C). Grease and flour a 12-cavity mini loaf pan.
- In a medium bowl, whisk together the flour, baking soda, and salt.
- In a large bowl, cream together the softened butter and sugar until light and fluffy.
- Beat in the eggs one at a time, then stir in the vanilla extract.
- In a separate bowl, mash the ripe bananas. Stir the milk into the mashed bananas.
- Gradually add the dry ingredients to the wet ingredients, alternating with the banana mixture, starting and ending with the dry ingredients. Mix until just combined. Do not overmix.
- Fold in the chocolate chips if using.
- Divide the batter evenly among the prepared mini loaf cavities.
- Bake for 20-25 minutes, or until a wooden skewer inserted into the center comes out clean.
- Let the mini loaves cool in the pan for 10 minutes before transferring them to a wire rack to cool completely.
Notes
- Use very ripe bananas for the best flavor.
- Mini loaves are perfect for little hands and portion control.
- Store cooled mini loaves in an airtight container at room temperature for up to 3 days, or freeze for longer storage.
- Prep Time: 15 minutes
- Cook Time: 25 minutes
- Category: Baked Goods
- Method: Baking
- Cuisine: American
Nutrition
- Serving Size: 1 mini loaf
- Calories: 250
- Sugar: 20g
- Sodium: 150mg
- Fat: 10g
- Saturated Fat: 5g
- Unsaturated Fat: 4g
- Trans Fat: 0g
- Carbohydrates: 35g
- Fiber: 1g
- Protein: 3g
- Cholesterol: 35mg