Okay, busy parents, let’s talk about the daily lunch packing scramble. Some mornings feel like a race against the clock, right? Trying to figure out what to pack that your kids will actually eat, that’s also quick and easy? It’s a challenge I know all too well. That’s why making homemade ‘Uncrustables’ for kids has been such a game-changer in my house, especially for those crazy summer mornings or back-to-school rushes.
I remember one morning, Leo was having a full-blown meltdown because he couldn’t find his favorite socks (a daily occurrence, anyone?). Meanwhile, Mia was asking for breakfast for the third time. The last thing I had time for was making a fresh sandwich. But then I remembered the stash of these homemade peanut butter and jelly delights I’d prepped and frozen. Just grab and go!
These aren’t just any sandwiches. They’re little discs of lunchtime peace, ready to thaw by the time lunch rolls around. They’re super freezer-friendly, making your life so much simpler. Trust me, as a mom who’s navigated the picky eater phase and the morning chaos, these are a lifesaver. Let me show you how easy they are to make!
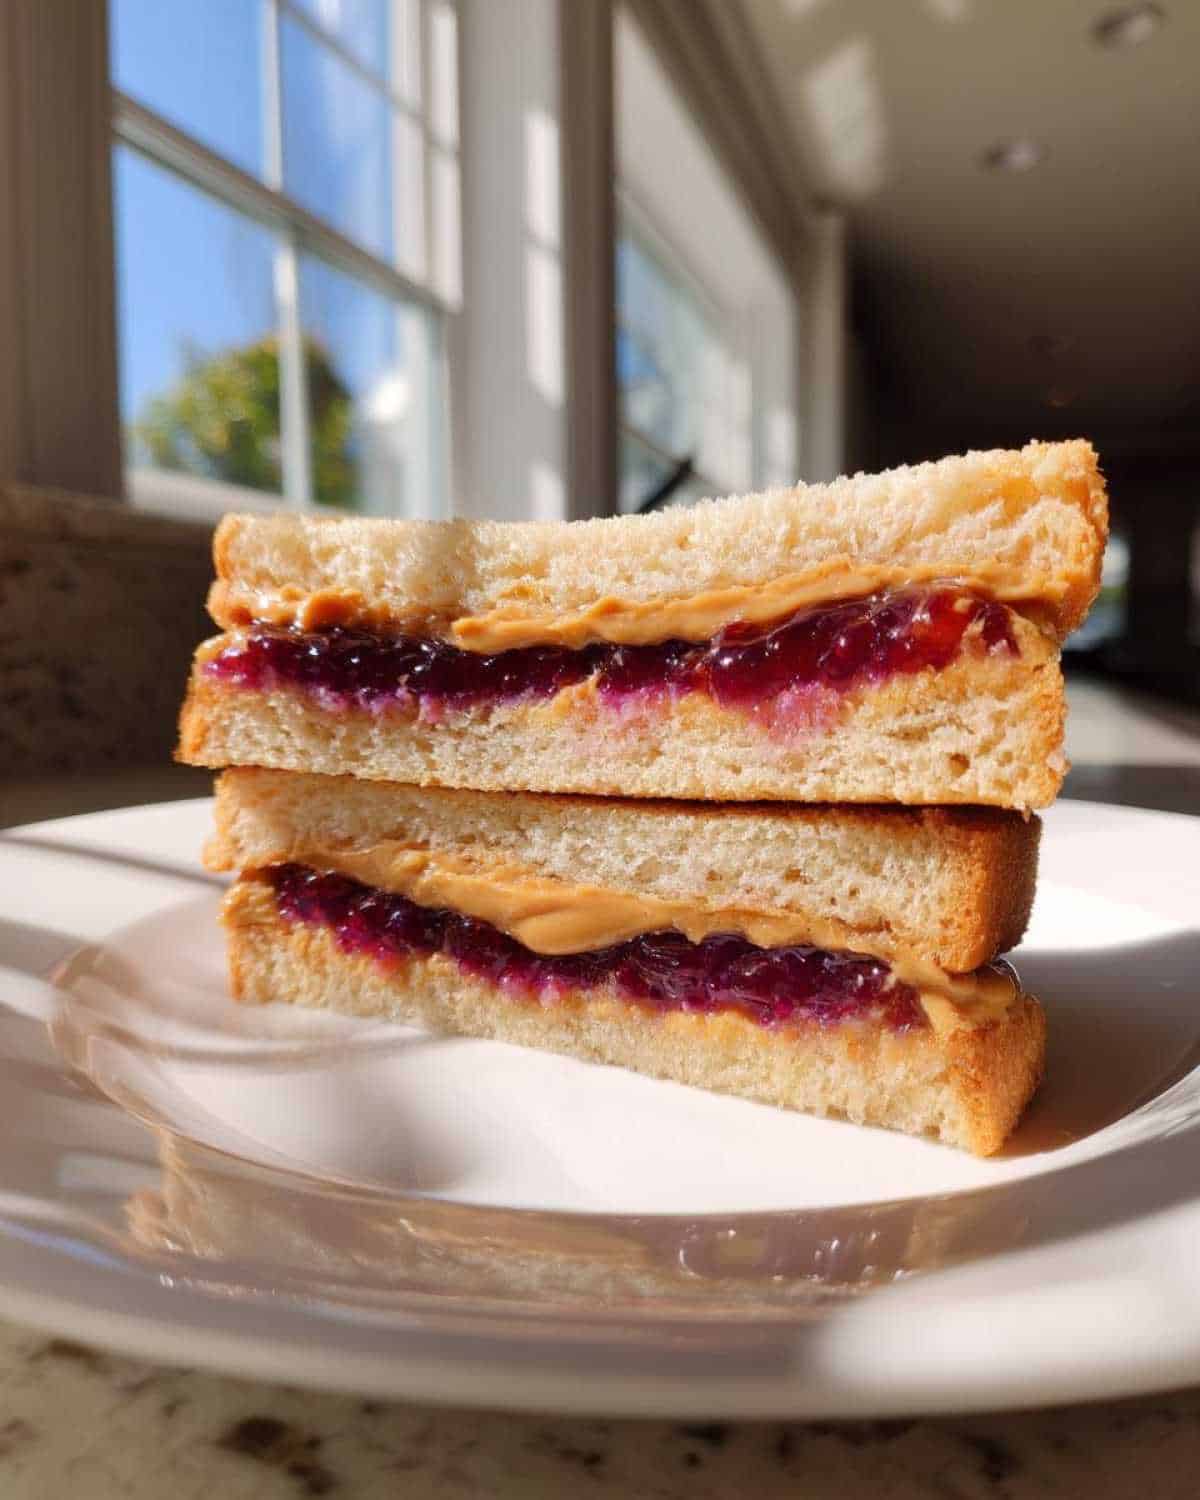
Why You’ll Love These Homemade ‘Uncrustables’
Honestly, making these homemade ‘Uncrustables’ for kids is one of my favorite kitchen hacks. They just make life easier! Here’s why I think you’ll love them too:
- They are crazy simple to make. Seriously, just a few steps and you’re done.
- Talk about convenience! You can make a big batch and have lunches ready for days or even weeks.
- They save you money compared to buying those pre-made ones at the store.
- Kids absolutely adore them. The fun shape is a big hit!
- The freezer-friendly part is key. Pop them in the freezer and grab one whenever you need it.
It’s all about making packed lunches less stressful and more appealing to those little eaters.
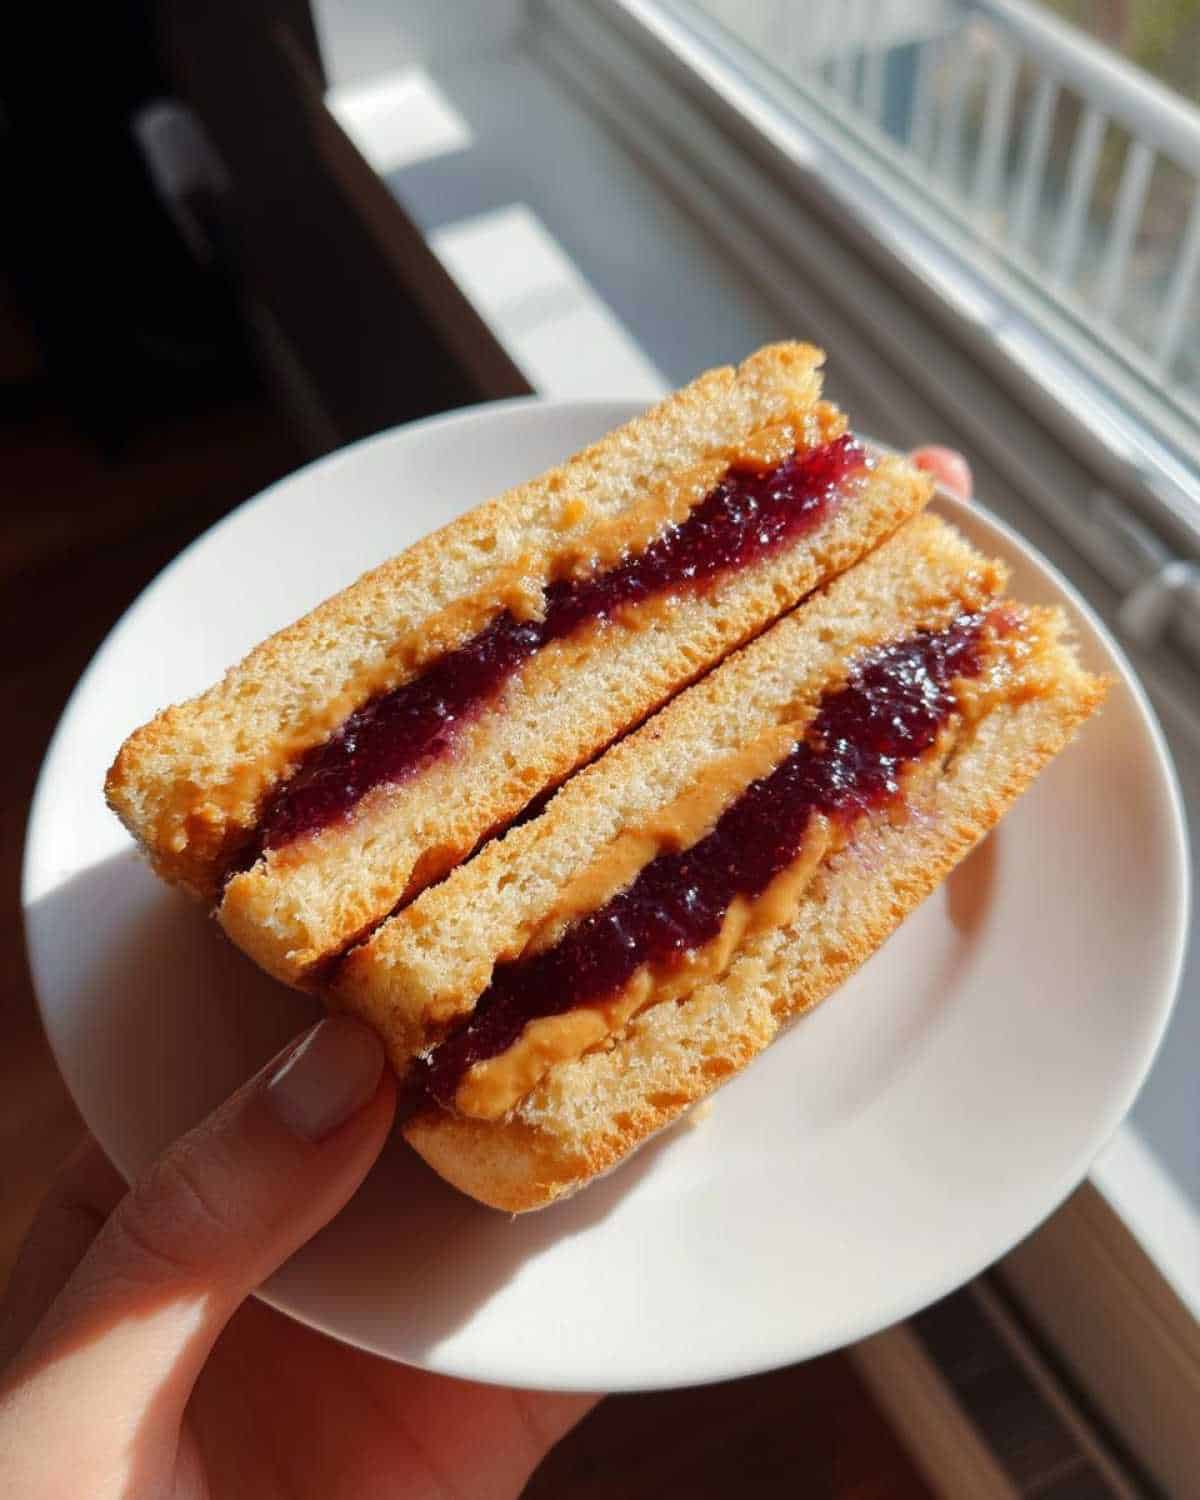
Gathering Ingredients for Your Homemade ‘Uncrustables’
Getting started on these homemade ‘Uncrustables’ for kids is super simple. You likely have most of these things already! You’ll need eight slices of your favorite soft bread. White or whole wheat works great, just make sure it’s fresh and pliable. Then grab about half a cup of peanut butter. If you need a nut-free option, any alternative spread works just as well. Lastly, you’ll need a quarter cup of jelly or jam. Pick your kiddo’s favorite flavor!
Equipment for Making Homemade ‘Uncrustables’
Alright, besides your ingredients, you’ll need a couple of simple tools to make these homemade ‘Uncrustables’ for kids look just right. The most important thing is something to cut and seal the sandwiches. A dedicated sandwich cutter works perfectly for that classic shape. If you don’t have one, a large round cookie cutter will do the trick. You’ll also want a fork handy to really press those edges down and make sure they are sealed tight before freezing.
Step-by-Step: How to Make Homemade ‘Uncrustables’
Making these homemade ‘Uncrustables’ for kids is really straightforward. Just follow these simple steps, and you’ll have a freezer full of ready-to-go lunches!
Preparing the Bread and Fillings
First, lay out your eight slices of bread on a clean counter. Make sure they are flat and ready to go. Now, grab your peanut butter. Spread about half a cup evenly over four of the bread slices. Try to get pretty close to the edges here; it helps with the sealing later. Next, take your jelly or jam. Spread about a quarter cup on the remaining four slices. Again, spread it out nicely, going close to the edges.
Cutting and Sealing Your Homemade ‘Uncrustables’
Now for the fun part! Take a jelly-covered slice and place it directly on top of a peanut butter slice. Line them up as best you can. Grab your sandwich cutter or cookie cutter. Center it over the assembled sandwich and press down firmly. This cuts out the circle and starts to seal the edges. Lift off the crusts (save them for breadcrumbs!). Now, use your fingers or a fork to go around the edge and press it down again. You want a really good seal all the way around. This is super important so the filling doesn’t leak out when they thaw.
Tips for Perfect Homemade ‘Uncrustables’
Okay, so you’ve got the basic steps down for these homemade ‘Uncrustables’ for kids. Here are a few little tricks I’ve learned along the way to make sure they turn out great every time.
First, use really soft bread. Fresh, soft bread seals much better than slightly stale bread. Trust me on this one! Also, don’t pile on too much filling. A thin, even layer works best. If you use too much peanut butter or jelly, it can squeeze out when you cut and seal them, making a mess and a weak seal.
Speaking of sealing, take your time pressing those edges. I like to use a fork after I use the cutter to make sure it’s really sealed tight all the way around. This prevents freezer burn and keeps the filling where it belongs. And finally, remember they need to thaw! Just pop one in the lunchbox frozen, and it should be ready to eat by lunchtime.
Storing Your Freezer-Friendly Homemade ‘Uncrustables’
Once you’ve made your batch of homemade ‘Uncrustables’ for kids, proper storage is key to keeping them fresh in the freezer. I like to wrap each sandwich individually. Plastic wrap works great for this; just make sure it’s wrapped snugly with no air pockets. Then, pop the individually wrapped sandwiches into a freezer-safe bag or container.
Label the bag with the date so you know how long they’ve been in there. These homemade peanut butter and jelly sandwiches will keep well in the freezer for about two to three months. Having a stash ready to go makes busy mornings so much simpler!
Frequently Asked Questions About Homemade ‘Uncrustables’
I get a lot of questions about making these homemade ‘Uncrustables’ for kids, and that’s great! It means you’re ready to make those busy mornings easier. Here are some common things people ask me.
Can I Use Different Fillings in My Homemade ‘Uncrustables’?
Absolutely! While peanut butter and jelly is a classic for these freezer meals, you can totally get creative. Cream cheese and jam is a yummy option. Some people even use ham and cheese, though I find those don’t freeze quite as perfectly as the sweeter fillings. Just make sure your filling isn’t too wet or chunky.
How Long Do Homemade ‘Uncrustables’ Need to Thaw?
This is a common question about frozen sandwiches. If you pack one frozen in a lunchbox in the morning, it usually thaws by lunchtime. That typically takes about 30 to 60 minutes at room temperature. It’s pretty convenient!
Why Are My Homemade ‘Uncrustables’ Falling Apart?
Oh no! If your homemade uncrustables are falling apart, it’s usually because of the seal. Make sure you’re pressing those edges together really firmly with the cutter and then again with your fingers or a fork. Also, double-check that you aren’t putting too much filling inside. Too much filling makes it hard to get a good seal.
Estimated Nutritional Information
I know many of you are curious about the nutrition in these homemade ‘Uncrustables’ for kids. Keep in mind that these are just estimates, as the exact values can change depending on the type of bread, peanut butter, and jelly you use. But based on standard ingredients, one sandwich is roughly:
- Calories: Around 350
- Fat: About 18g
- Protein: Roughly 12g
- Carbohydrates: Around 35g
It gives you a good idea of what’s in one of these easy lunch options. Remember, you can adjust things a bit too, like using whole wheat bread for more fiber.
Share Your Homemade ‘Uncrustables’ Success!
I really hope this recipe for homemade ‘Uncrustables’ for kids helps make your busy mornings a little easier! If you give them a try, please let me know how they turn out. Did your kids love them? What fillings did you use? Leave a comment below or rate the recipe. I love hearing about your kitchen adventures!
Print
Shockingly Simple Homemade ‘Uncrustables’ for Kids Save 3 Months
- Total Time: 15 minutes
- Yield: 4 sandwiches 1x
- Diet: Vegetarian
Description
Make homemade peanut butter and jelly sandwiches perfect for freezing and quick lunches.
Ingredients
- 8 slices of white or whole wheat bread
- 1/2 cup peanut butter or nut-free alternative
- 1/4 cup jelly or jam
Instructions
- Lay out the bread slices on a clean surface.
- Spread peanut butter on four of the bread slices, going close to the edges.
- Spread jelly on the remaining four bread slices, also close to the edges.
- Place the jelly-covered slices on top of the peanut butter-covered slices.
- Use a sandwich cutter or a large round cookie cutter to cut out the centers of the sandwiches, sealing the edges.
- Press the edges firmly with your fingers or a fork to ensure a good seal.
- Wrap each sandwich tightly in plastic wrap or place in a freezer-safe bag.
- Freeze for up to 2-3 months.
Notes
- Use soft bread for easier cutting and sealing.
- Don’t overfill the sandwiches, as the filling can leak out.
- Let the sandwiches thaw at room temperature for 30-60 minutes before eating.
- You can use different fillings like cream cheese and jam or ham and cheese.
- Prep Time: 15 minutes
- Cook Time: 0 minutes
- Category: Lunch
- Method: No-Cook
- Cuisine: American
Nutrition
- Serving Size: 1 sandwich
- Calories: 350
- Sugar: 18g
- Sodium: 300mg
- Fat: 18g
- Saturated Fat: 3g
- Unsaturated Fat: 14g
- Trans Fat: 0g
- Carbohydrates: 35g
- Fiber: 4g
- Protein: 12g
- Cholesterol: 0mg