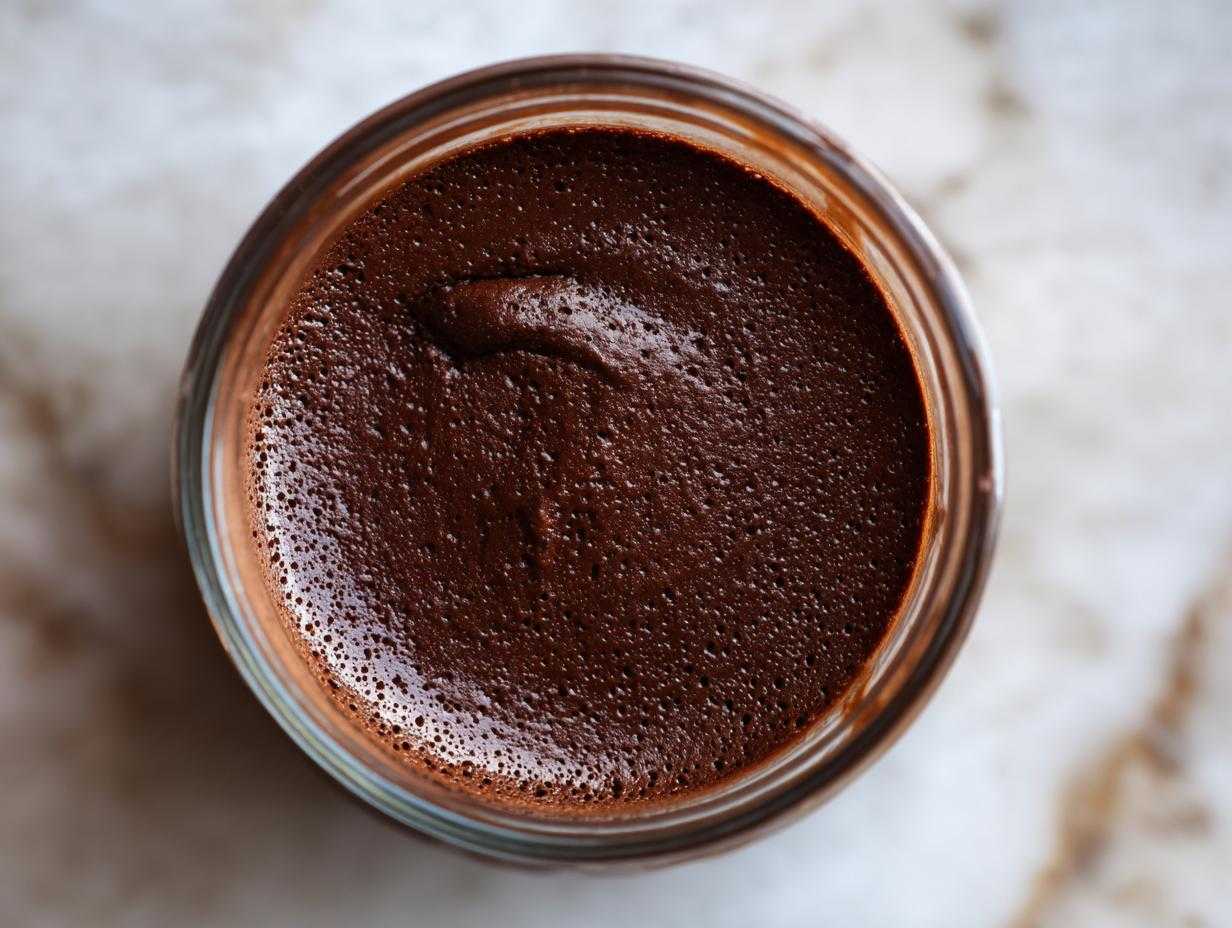
Oh, listen, if there’s one thing that instantly transports me back to pure childhood comfort, it’s a bowl of rich, warm chocolate pudding. Forget those sketchy powders in a box; we are making the real deal today! This recipe for **homemade chocolate pudding** is what stovetop magic is all about. It yields a consistency that is unbelievably creamy, deeply rich, and absolutely velvety—honestly, it blows any store-bought version out of the water. I’ve been tweaking this specific version for years, testing everything from the cocoa type to the cornstarch measurement, just to nail that perfectly silky smooth pudding every single time. Trust me, it’s worth the 25 minutes it takes.
Why This Homemade Chocolate Pudding Recipe is the Best
So, what makes this my go-to, tried-and-true chocolate pudding recipe? Well, it all comes down to the texture and the flavor depth, friend. We aren’t messing around with artificial flavors here; we are making a creamy chocolate pudding recipe that melts in your mouth. If you’ve ever been disappointed by a thin, runny pudding, don’t worry—this one thickens up beautifully thanks to the perfect ratio of cornstarch and those lovely egg yolks.
It truly is the best homemade chocolate pudding you’ll ever whip up. The beauty of this simple dessert recipe is that nearly all the magic happens right on the stovetop in under thirty minutes total. That means you get that nostalgic, decadent chocolate treat in time for a weeknight craving! It beats opening a box any day of the week, hands down. You’ll feel like a wizard when you see how quickly that smooth mixture comes together. If you’re into quick, rich recipes, you should definitely check out my 3-ingredient chocolate fudge!
Ingredients for Truly Creamy Homemade Chocolate Pudding
Gather your supplies, friends! Making this homemade chocolate pudding recipe from scratch is so satisfying because the ingredients are just everyday pantry staples, but when combined correctly, they make something truly special. You won’t need any weird stabilizers or chemical thickeners here, just good old-fashioned technique. If you’re whipping up another dish soon, make sure you check out my chocolate chip zucchini bread!
Ingredient List for Homemade Chocolate Pudding
I always lay everything out before I start turning on the heat—it just makes the process so much smoother when you’re dealing with timing on the stovetop. You absolutely need whole milk; don’t skimp here because that fat content is what gives you that essential creamy layer. And please, please use quality cocoa. We are going for deep, rich flavor, so high-quality chocolate pudding with Dutch cocoa powder is non-negotiable for the best result!
- 2/3 cup granulated sugar
- 1/4 cup unsweetened Dutch-process cocoa powder
- 2 tablespoons cornstarch
- 1/4 teaspoon salt
- 2 cups whole milk
- 2 large egg yolks
- 2 tablespoons unsalted butter
- 1 teaspoon vanilla extract
Step-by-Step Instructions for Easy Homemade Chocolate Pudding
I love how fast this comes together! This is truly an easy stovetop pudding recipe, but the crucial part is not rushing the stirring, especially when we introduce the heat. If you over-stir too fast, or if your dry ingredients clump up, you end up with a lumpy mess instead of that beautiful, velvety chocolate pudding we’re aiming for. Keep your whisk handy and your eyes on the pot—you’ll be set! If you want another great stovetop recipe, try my homemade applesauce.
Combining Dry Ingredients and Milk for Homemade Chocolate Pudding
First things first: In your medium saucepan—before you even think about turning on the stove—you absolutely must whisk together that sugar, your rich cocoa powder, the cornstarch, and the salt. Don’t just stir them! Whisk them until they look uniform. Seriously, take an extra 30 seconds here. This prevents us from getting those annoying, dry pockets of cocoa later on. Once it looks like dusty brown sugar, slowly start drizzling in the two cups of whole milk while continuously whisking until everything is totally smooth. It shouldn’t look grainy at all.
Cooking and Thickening the Homemade Chocolate Pudding Base
Now, bring that saucepan over medium heat. Keep that whisk moving constantly, scraping the sides and the bottom of the pan so nothing scorches! After about six to eight minutes, you’ll see it start to get thick and maybe just begin to bubble menacingly—that’s your cue! While that’s happening, quickly whisk your two egg yolks in a separate little bowl. Now for the important balancing act, which we call tempering: Remove the main pot from the heat and drizzle about half a cup of that hot milk mixture into your yolks while whisking the yolks like crazy. This warms the yolks up slowly so they don’t scramble! Then, pour that warmed yolk mixture right back into the main saucepan.
Put it back on low heat—medium-low is best—and stir constantly for just one or two minutes more until it’s thick enough to truly coat the back of a spoon. Crucial warning here: Do *not* let it boil once those yolks are in there, or you’ll curdle your beautiful, easy chocolate pudding!
Finishing and Chilling Your Silky Smooth Pudding
Once the pudding is perfectly coating the back of a spoon, yank it off the heat immediately! Stir in your lovely butter and that vanilla extract until everything melts together into a glossy finish. Pour this into your serving dishes or one big bowl. Here is my secret to avoiding that rubbery skin on top: Press a piece of plastic wrap *directly* onto the surface of the pudding. Don’t leave any air gap! Then, pop it in the fridge for a minimum of two hours. It needs that time to chill completely and fully set up into that perfect, silky smooth pudding.
Expert Tips for Perfect Homemade Chocolate Pudding Every Time
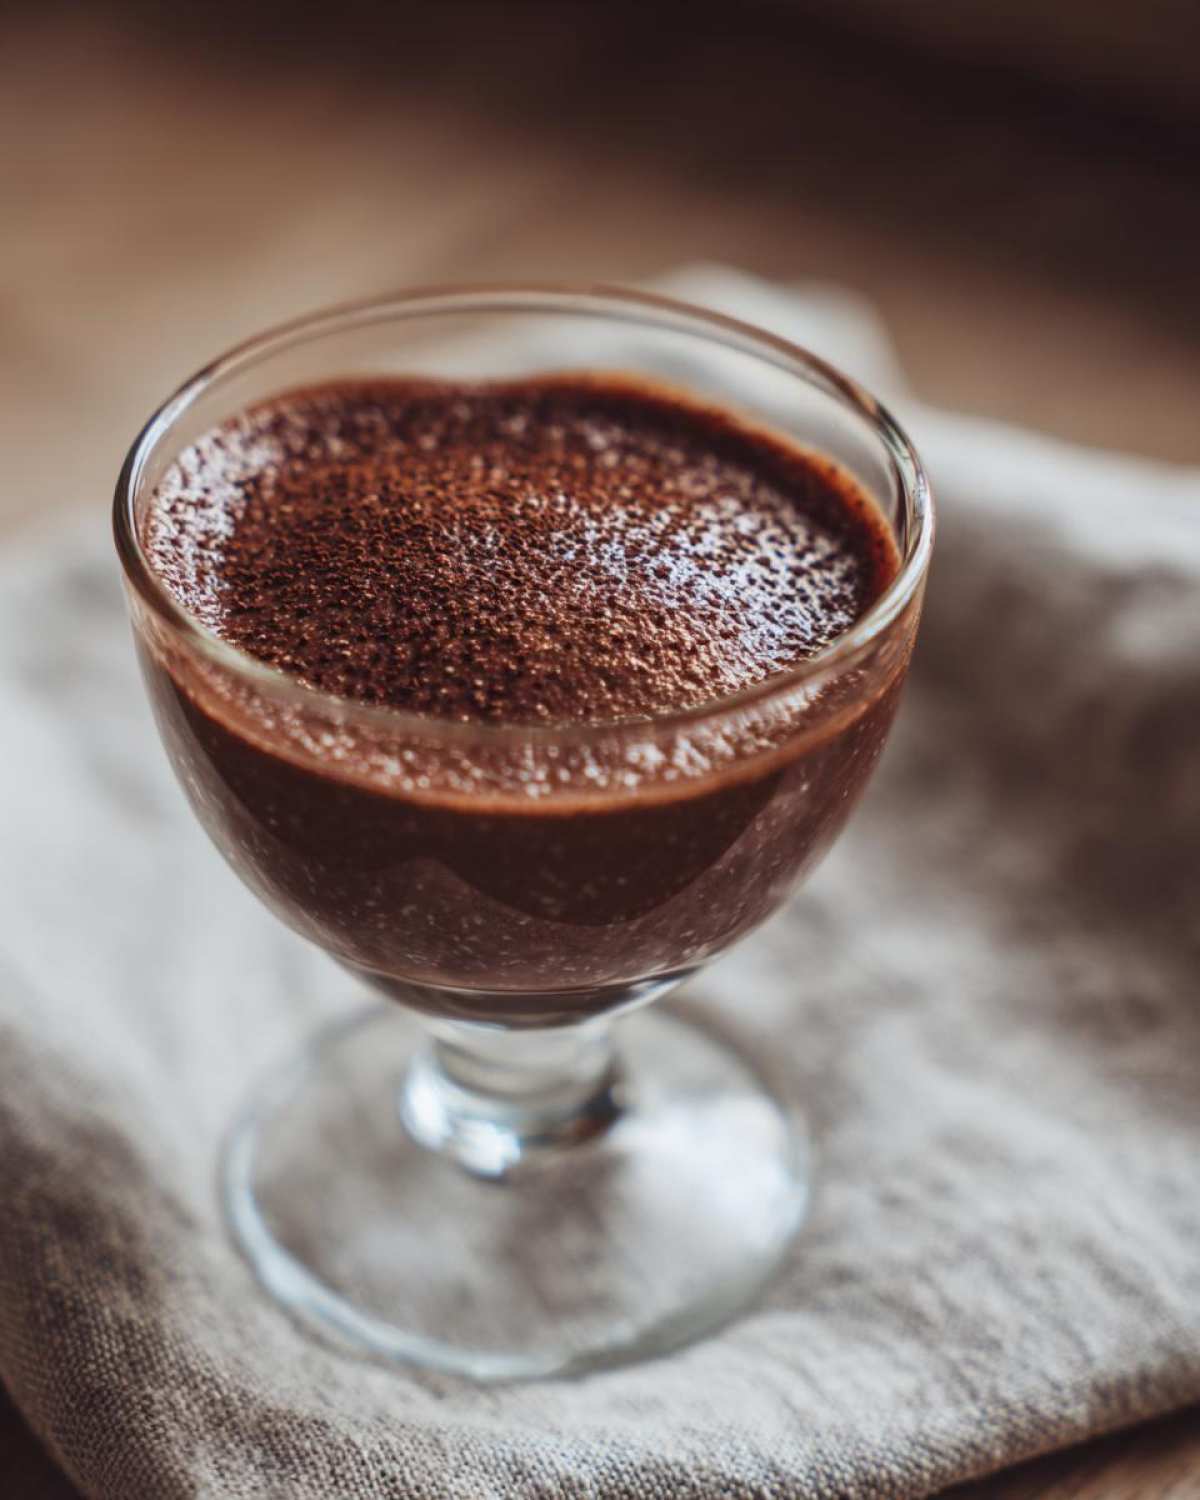
Okay, now that you have the basic steps for this homemade chocolate pudding down, I want to share a couple of pro moves that take it from tasty to unforgettable. First up: the cocoa! I swear by Dutch-process. It’s more mild, less acidic, and gives you that deep, dark, almost mysterious chocolate flavor—exactly what you want in an old fashioned chocolate pudding. You’ll notice the color is richer, too!
Secondly, let’s talk about richness—if you want a truly decadent chocolate treat, try swapping out half a cup of that whole milk for heavy cream. It makes the pudding seriously lush. Also, don’t forget about finishing it off correctly! Pressing that plastic wrap directly onto the surface is my number one trick; it saves you from hacking off the dreaded film later. For more decadent ideas, check out my overnight oats for a different kind of treat!
Ingredient Notes and Substitutions for Homemade Chocolate Pudding
I get so many questions about swapping ingredients, and honestly, I totally get it—sometimes you just don’t have exactly what the recipe calls for. Since this is a classic, foundational chocolate pudding recipe from scratch, we want to maintain that texture, but a few small tweaks can work beautifully! My grandmother always insisted on whole milk, which I stick to for that luscious feel, but I know not everyone does dairy.
If you want to make your pudding even more decadent, definitely try my heavy cream swap! As noted, substituting just half a cup of the whole milk with heavy cream amps up the silkiness immensely—it turns it into a true decadent chocolate treat. If you’re looking at alternative milk, just be careful. Skim milk works okay, but it definitely won’t give you that rich mouthfeel that whole milk provides. I haven’t tested nut milks extensively in this specific formula, but if you try almond, go slow because the thickening properties can change!
And let’s circle back to the star of the flavor show: the cocoa. I championed the use of chocolate pudding with Dutch cocoa powder because it creates a deeper, less harsh chocolate hit, which is exactly what an old fashioned chocolate pudding needs. Don’t substitute regular unsweetened cocoa unless you absolutely have to—it will change the depth of flavor, making it a little more bitter. If you’re trying to keep things lighter, check out my keto chocolate avocado smoothie idea for a totally different path!
Serving Suggestions for Your Rich Chocolate Dessert
Now that you have your perfect bowl of homemade chocolate pudding, the fun part starts: how to dress it up! This is where you turn a simple, quick homemade dessert into something truly show-stopping. Honestly, the pudding is so good on its own—just a little cold is perfection—but toppers just make it feel like a celebration.
You absolutely must try homemade whipped cream on top. It’s so easy to whip up, and that airy sweetness cuts through the richness of the chocolate beautifully. I also love adding a scattering of coarse sea salt right on top of the cream; it wakes up the chocolate flavor in the best way possible! Fresh raspberries or sliced strawberries are fantastic partners, too, bringing a bright tartness to this rich chocolate dessert. If you need another festive idea for a chocolate treat, you might enjoy these peppermint hot chocolate bombs!
Storage and Reheating Instructions for Homemade Chocolate Pudding
You’re probably not going to have leftovers because this homemade chocolate pudding disappears fast, but just in case you stash some away, let’s talk storage! You must keep it chilled—that’s the rule for any pudding made from scratch. Make sure that plastic wrap is still pressed right on top of the surface, or you’ll end up with a thick skin, and nobody wants that on their perfect pudding.
It stays delightfully fresh in the fridge for about three to four days. I personally think it’s best on day two when it’s perfectly set, but it’s still amazing on day four! Since this is an egg and milk-based dessert, we don’t really reheat it; it’s meant to be enjoyed cold, which gives you that satisfyingly firm texture. Think of it as a wonderful, cold comfort food dessert!
Frequently Asked Questions About Making Homemade Chocolate Pudding
Okay, I know that when you try a new recipe, especially one you really care about like this homemade chocolate pudding, you might run into little hiccups. That’s perfectly normal! Don’t stress if your first batch isn’t an instant knockout. That’s why I wanted to cover some common issues so you can guarantee that perfect texture for your old fashioned chocolate pudding right away. If you’re looking for another reliable recipe, you absolutely have to try my guide on an old-fashioned chocolate pudding recipe!
Why is my homemade chocolate pudding grainy instead of silky smooth?
Nine times out of ten, grittiness comes from not dissolving your dry ingredients properly at the start. Remember in Step One how I stressed whisking the cocoa, sugar, and cornstarch until they looked uniform? If you skip that, those tiny clumps of cornstarch haven’t dissolved in the milk before hitting the heat. They’ll stick together, and you’ll end up with those little grainy bits instead of that gorgeous, silky smooth pudding. Also, never let it boil vigorously after you add the yolks back in—high heat can make things seize up oddly!
Can I make this chocolate pudding recipe from scratch without egg yolks?
That’s a great question! The egg yolks are super important because they act as an emulsifier; they bring the fat and liquid together beautifully, giving you that ultra-rich, velvety mouthfeel that makes this homemade chocolate pudding so spectacular. If you absolutely must skip them, you can, but you’ll need to adjust! If you leave them out, you need to slightly increase the cornstarch—maybe bump it up to three tablespoons—to help compensate for the lost thickening power. Just know that it won’t have quite the same decadent richness, even if it sets up fine.
How long does homemade chocolate pudding take to set properly?
Setting time is all about patience; you cannot rush the fridge! I say you need a minimum of two hours—that’s the bare minimum required to get it chilled and firm enough to eat. But honestly? If you can wait until the next day, that’s when this pudding truly achieves its ultimate form. The longer it sits, the more the starches firm up, giving you that classic, spoon-standable texture that makes for the best homemade chocolate pudding. It’s worth the wait, trust me!
Nutritional Estimates for This Simple Dessert Recipe
Now, I’m not a nutritionist, and you shouldn’t treat this like gospel truth! We all know that when you cook from scratch, especially with whole milk and butter, the exact counts will jump around based on what brands you grab. But for those of you who track things, I pulled the general estimates for a single serving of this simple dessert recipe. It gives you a good ballpark!
If you are looking for alternatives or want to compare ingredients, you can always look at my general site disclaimer page regarding published nutritional numbers. Generally, it’s a fairly rich and sweet treat, but oh my goodness, it’s worth every single calorie for that comforting flavor!
Here’s what we are looking at per serving:
- Calories: 310
- Sugar: 35g
- Protein: 8g
- Fat: 13g (with 7g Saturated Fat)
- Carbohydrates: 42g
- Sodium: 150mg
It’s clearly a treat, not an everyday snack, but making your own homemade chocolate pudding means you control the quality of everything that goes in it. Enjoy it slowly, maybe with a side of berries, and don’t forget to check out my other quick favorite, the easy homemade chocolate pudding guide if you want more ideas!
Print
The Ultimate Creamy Homemade Chocolate Pudding from Scratch: Rich, Quick, and Better Than Boxed
- Total Time: 25 min
- Yield: 4 servings 1x
- Diet: Vegetarian
Description
Make rich, velvety chocolate pudding at home using simple ingredients. This easy stovetop recipe yields a silky smooth dessert that surpasses any boxed mix.
Ingredients
- 2/3 cup granulated sugar
- 1/4 cup unsweetened Dutch-process cocoa powder
- 2 tablespoons cornstarch
- 1/4 teaspoon salt
- 2 cups whole milk
- 2 large egg yolks
- 2 tablespoons unsalted butter
- 1 teaspoon vanilla extract
Instructions
- In a medium saucepan, whisk together the sugar, cocoa powder, cornstarch, and salt until combined.
- Gradually whisk in the whole milk until the mixture is smooth.
- Place the saucepan over medium heat. Cook, stirring constantly with a whisk, until the mixture thickens and just begins to bubble. This takes about 6 to 8 minutes.
- In a small bowl, whisk the egg yolks lightly.
- Remove the saucepan from the heat. Temper the egg yolks by slowly whisking about 1/2 cup of the hot milk mixture into the yolks.
- Pour the tempered yolk mixture back into the saucepan with the remaining milk mixture.
- Return the saucepan to medium-low heat. Cook, stirring constantly, for 1 to 2 minutes until the pudding is thick enough to coat the back of a spoon. Do not let it boil after adding the yolks.
- Remove from heat. Stir in the butter and vanilla extract until smooth.
- Pour the pudding into individual serving dishes or a single bowl. Press plastic wrap directly onto the surface of the pudding to prevent a skin from forming.
- Chill in the refrigerator for at least 2 hours, or until completely cold and set.
Notes
- For an extra rich flavor, substitute 1/2 cup of the milk with heavy cream.
- Use high-quality Dutch-process cocoa for the deepest chocolate color and flavor.
- If you prefer a lighter pudding, you can use 2% milk instead of whole milk.
- Prep Time: 10 min
- Cook Time: 15 min
- Category: Dessert
- Method: Stovetop
- Cuisine: American
Nutrition
- Serving Size: 1 serving
- Calories: 310
- Sugar: 35
- Sodium: 150
- Fat: 13
- Saturated Fat: 7
- Unsaturated Fat: 6
- Trans Fat: 0
- Carbohydrates: 42
- Fiber: 2
- Protein: 8
- Cholesterol: 85