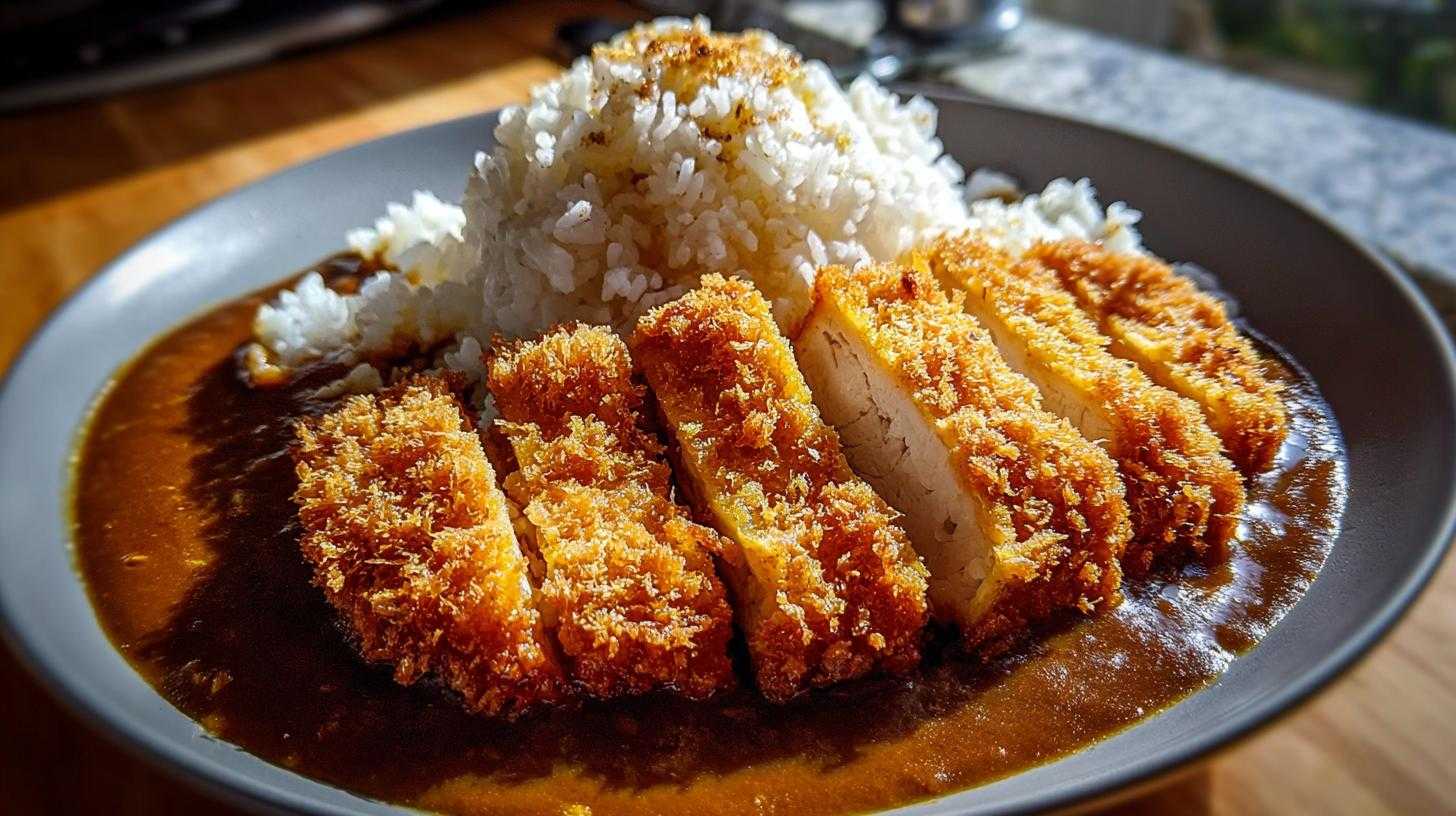
Experience the Comfort of Homemade Chicken Katsu Curry
Are you ready for a hug in a bowl?
That’s what making this Homemade Chicken Katsu Curry feels like.
It combines a satisfying crunch with rich, savory Japanese curry sauce.
Liam used to cook with such stiff precision, you know?
Now, thanks to finding his joy, our kitchen is full of life.
This dish is the perfect example of that happy change.
Why This Homemade Chicken Katsu Curry Recipe Works
This recipe brings comfort fast. It only takes about 40 minutes total!
You get that amazing texture contrast right away.
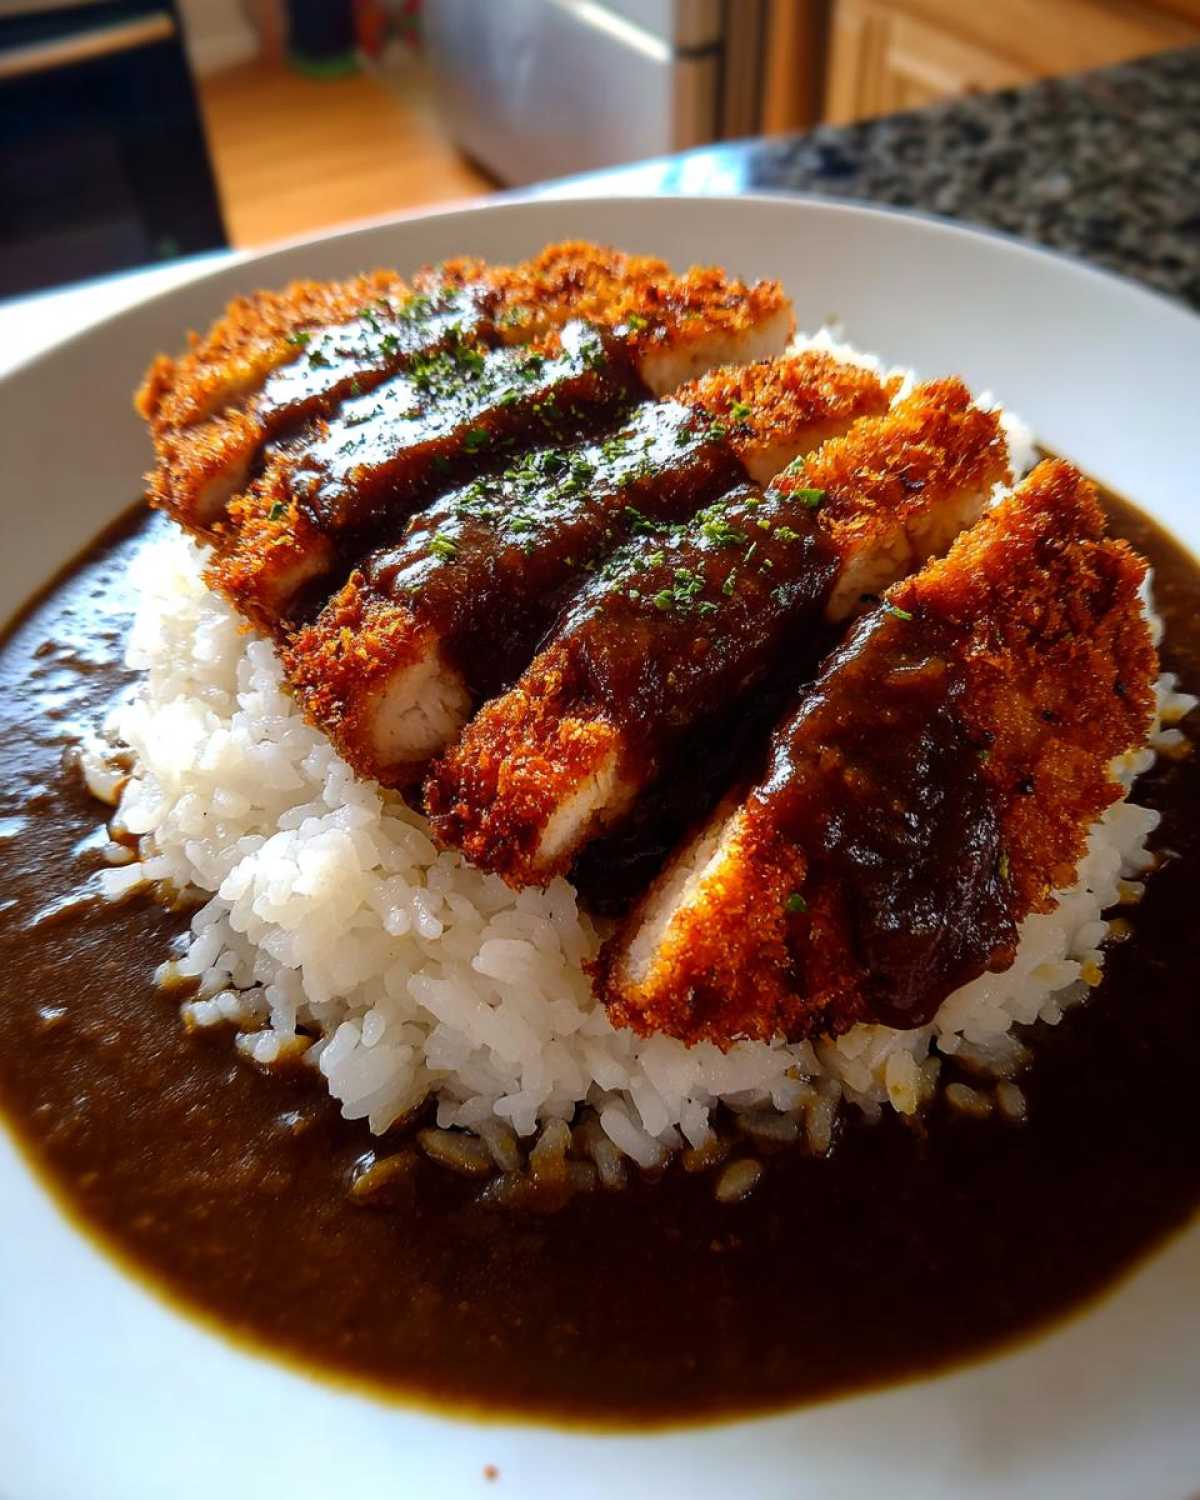
Crispy fried chicken meets silky smooth curry sauce.
It’s so easy to put together, too.
You simply prep, dredge, fry, and serve.
That’s why this Homemade Chicken Katsu Curry is a weeknight winner.
Essential Equipment for Perfect Homemade Chicken Katsu Curry
You don’t need a professional setup for this.
Just gather these few items first.
You will need shallow dishes for your dredging station.
A meat mallet helps flatten the chicken thinly.
Use a large, heavy-bottomed skillet for frying.
A wire rack helps drain off all that extra oil.
Gathering Your Ingredients for Homemade Chicken Katsu Curry
Let’s get organized for our culinary show tonight.
Gathering everything first makes cooking so much smoother.
We are making this Homemade Chicken Katsu Curry together.
The secret weapon here is definitely the breadcrumbs.
You must use Panko for that authentic, light crunch.
They make all the difference in texture, trust me on this one.
Chicken Preparation Details
Start with two nice, plump chicken breasts.
We need to pound them evenly, about half an inch thick.
This helps them cook quickly and stay tender inside.
Just a simple sprinkle of salt and pepper works well now.
Don’t over-season before the breading goes on.
Keep it light so the curry flavor shines later.
The Curry Sauce and Rice Base
For the sauce, I often grab a good quality block.
You can make your own rich Japanese curry sauce, of course.
But store-bought roux saves precious weeknight minutes.
Have about four cups of your chosen sauce warmed up.
You also need two cups of fluffy, hot white rice ready to go.
The contrast between hot rice and crisp katsu is key.
Step-by-Step Instructions for Your Homemade Chicken Katsu Curry
Now for the main performance!
Let’s turn these ingredients into our amazing Homemade Chicken Katsu Curry.
Follow these steps closely for the best result.
It’s easier than you think to nail this dish.
Remember to have your oil heating while you bread the chicken.
Timing makes all the difference here, trust me.
Preparing the Chicken Katsu Cutlets
Set up your dredging station right now, friend.
You need three bowls ready for action.
First, coat the chicken in flour completely.
Shake off any extra flour you can manage.
Next, dip it into the beaten egg mixture.
Let that excess egg drip right back into the bowl.
Now, press the cutlet firmly into the Panko breadcrumbs.
Make sure the crumbs stick everywhere, okay?
If you have extra time, chill the breaded chicken for 15 minutes.
This optional step really boosts the final crispiness.
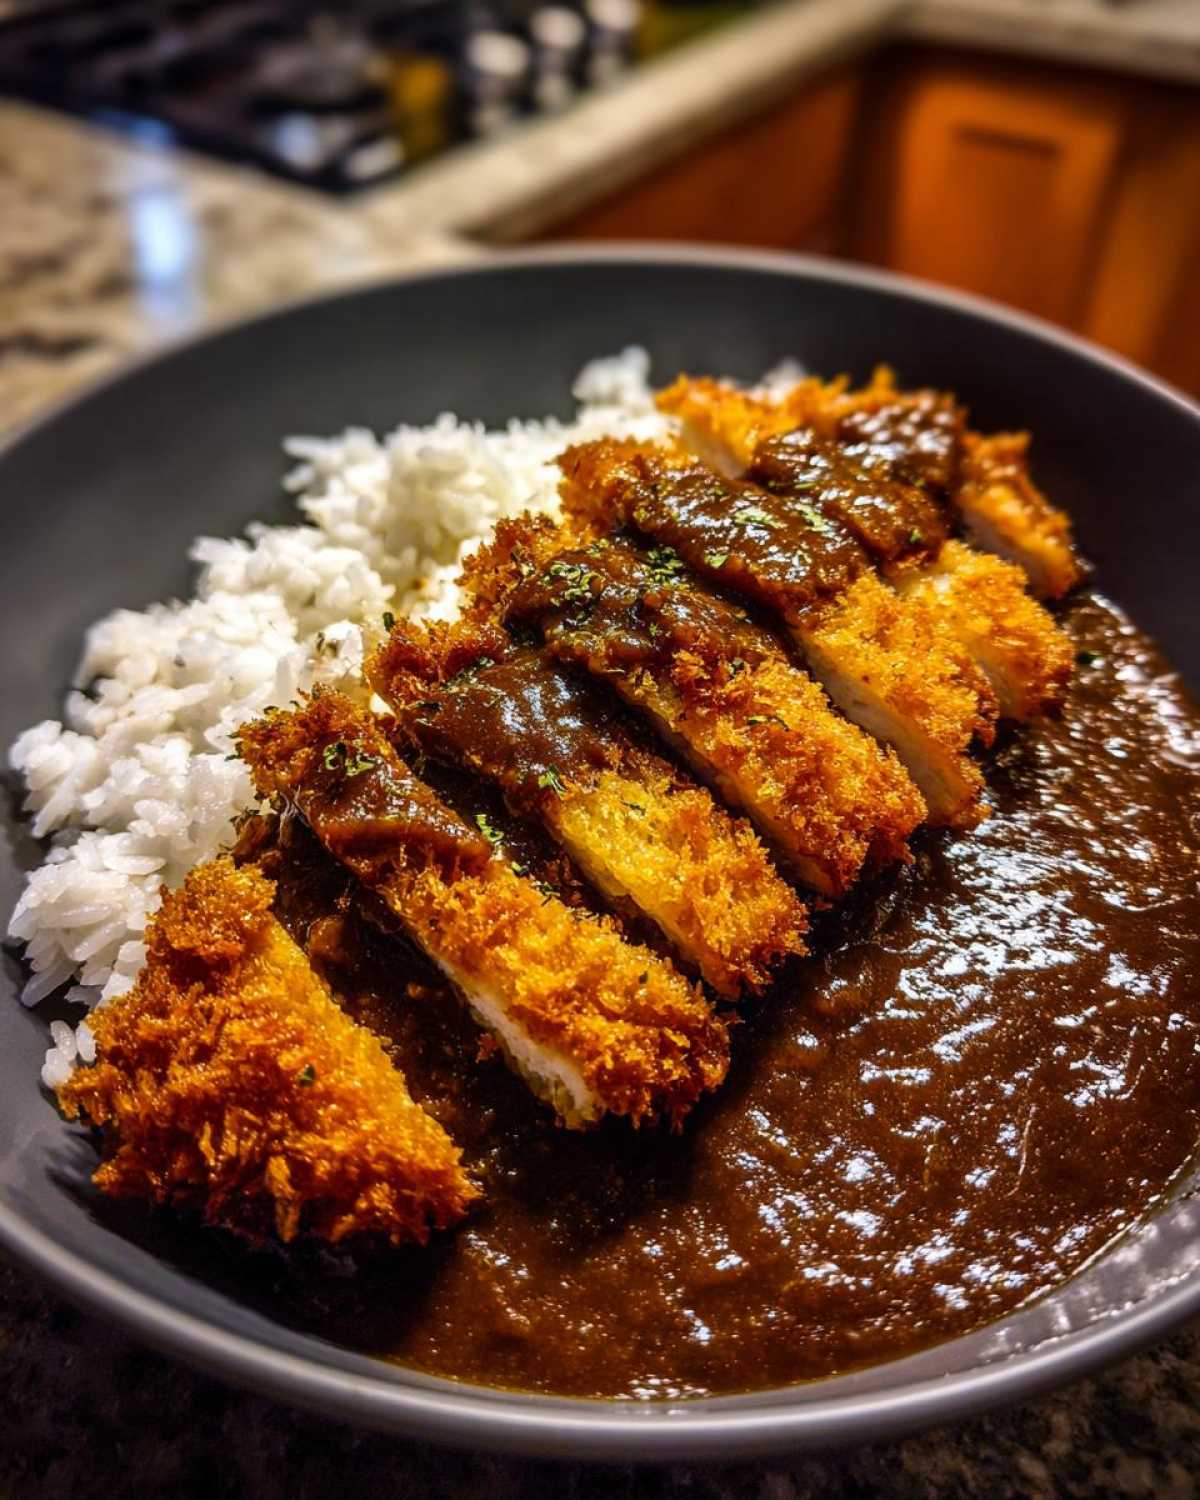
Frying the Katsu to Golden Perfection
Heat about one inch of oil in your heavy skillet.
We want that oil to hit 350 degrees Fahrenheit.
Carefully lower the breaded chicken into the hot fat.
Don’t crowd the pan; fry in batches if needed.
Fry each side for about three to four minutes.
The chicken must reach 165 degrees inside to be safe.
Once golden brown, pull the katsu out quickly.
Place it on a wire rack or paper towels to drain well.
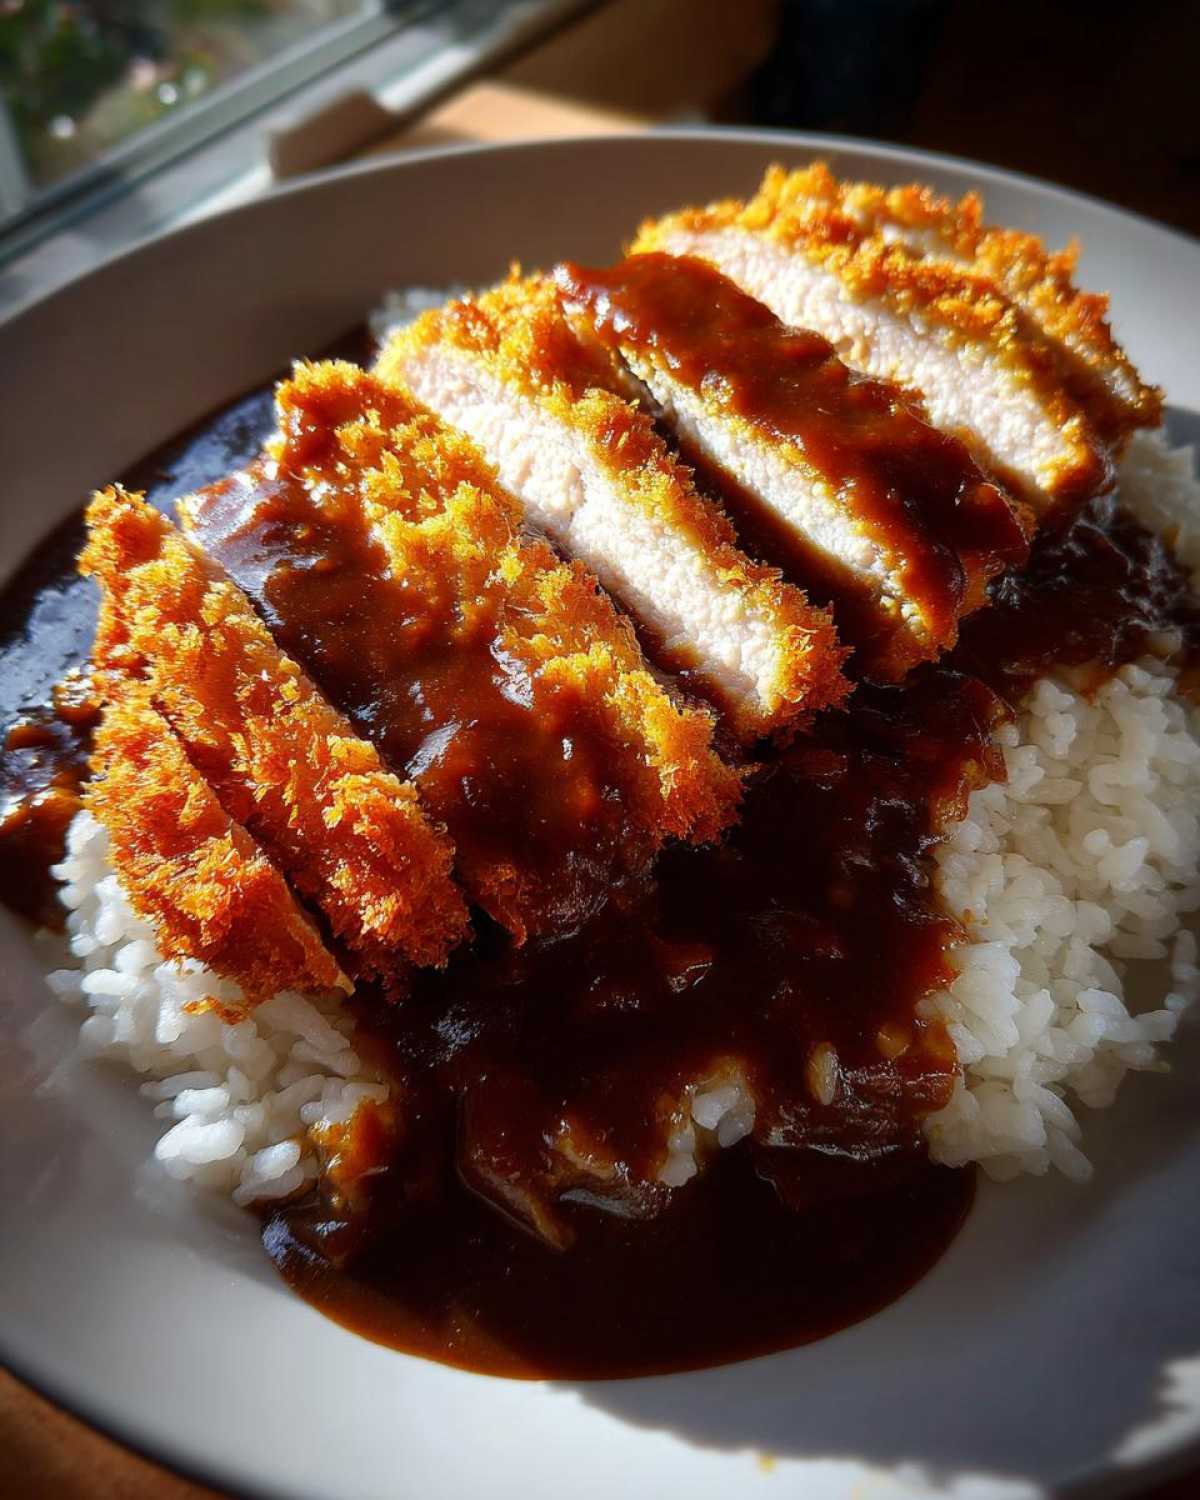
Once slightly cooled, slice the katsu into strips.
Assembly: Serving Your Homemade Chicken Katsu Curry
Time to build your perfect plate!
Start with a generous bed of hot white rice.
Layer your freshly sliced, crispy chicken on top.
Now, pour that warm Japanese curry sauce over everything.
Make sure the sauce covers most of the chicken.
Serve this masterpiece right away while it’s piping hot.
Enjoy that incredible blend of textures immediately.
Tips for Achieving Expert Homemade Chicken Katsu Curry Results
We want your results to look like restaurant magic.
A few little tweaks make this Homemade Chicken Katsu Curry shine.
Don’t just follow the steps; taste and adjust as you go.
That’s the secret Liam finally learned from me.
Cooking should always feel like a playful experiment.
Let’s make sure every bite is exactly what you crave.
Adjusting the Curry Sauce Consistency
Sometimes the store-bought sauce is just too thick.
If it seems gloppy, thin it with a splash of water.
Broth works even better for adding depth of flavor.
If it’s too thin for your liking, just simmer it longer.
Letting it bubble gently reduces the liquid fast.
This simple control makes a huge difference.
Achieving Maximum Katsu Crispiness
I mentioned chilling the breaded cutlets earlier, right?
Do that if you have an extra fifteen minutes to spare.
It really helps the coating set up firm before frying.
Also, never, ever overcrowd your hot oil.
Adding too much cold chicken drops the temperature fast.
This leads to soggy, oil-logged katsu, which we hate.
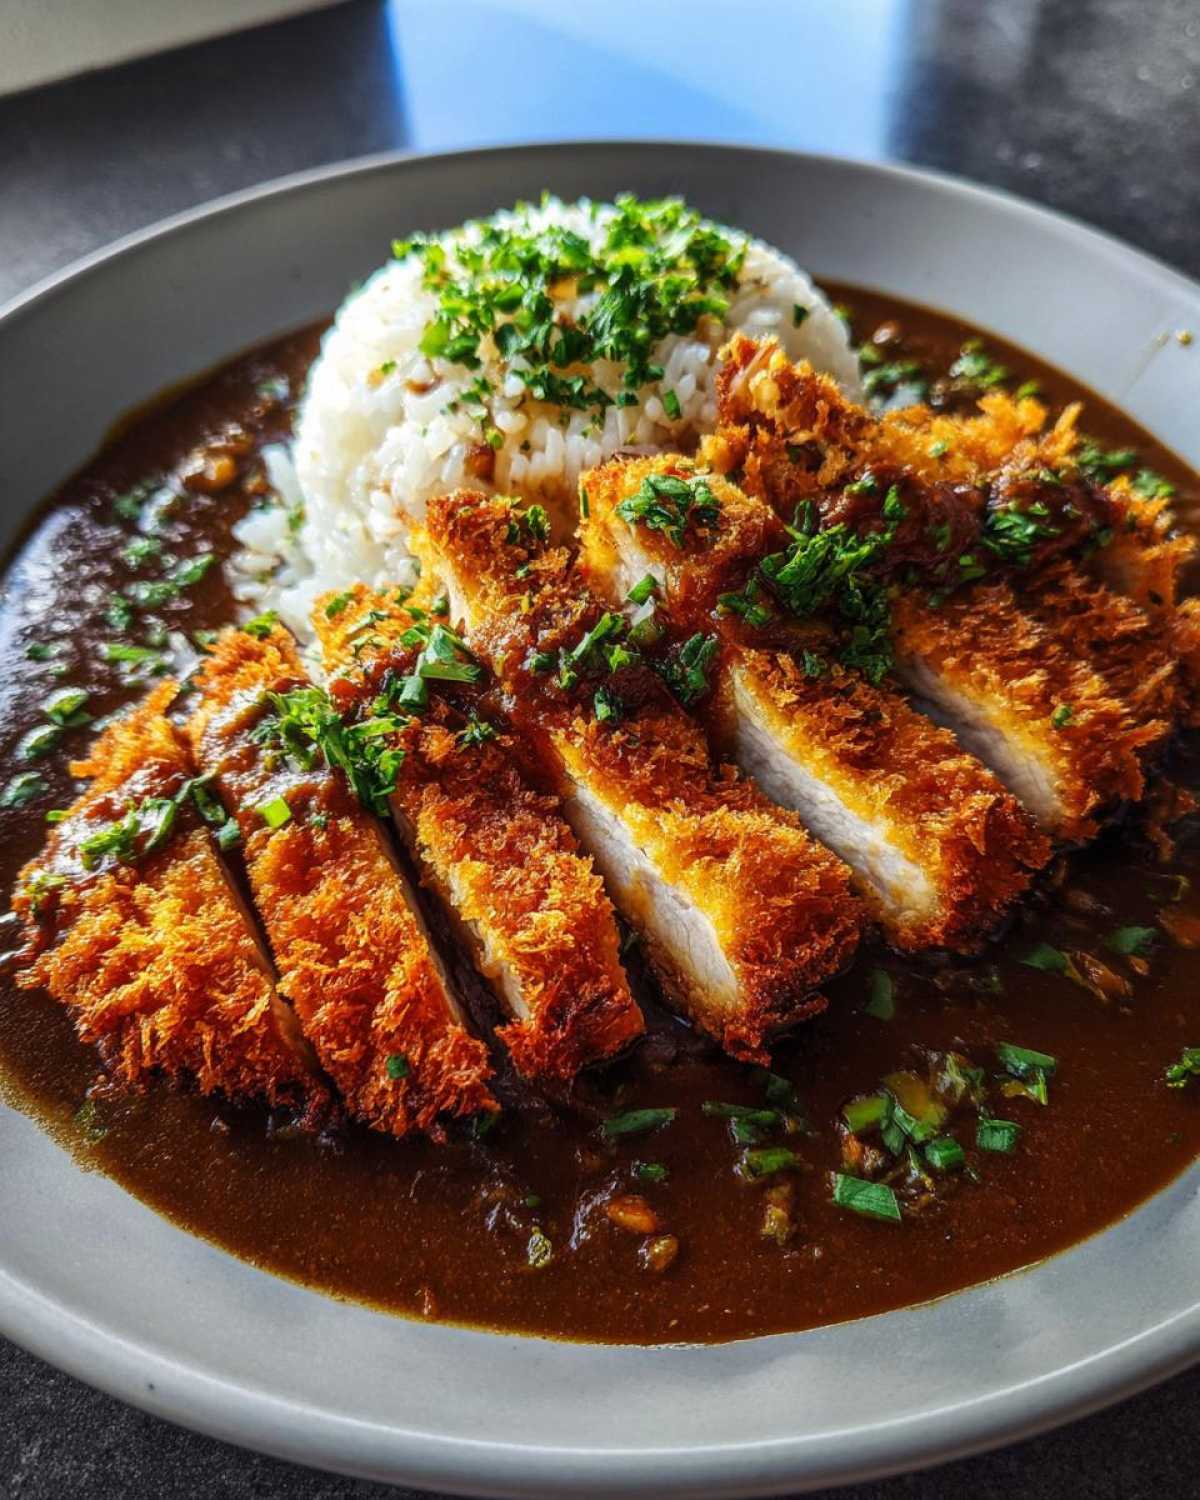
Ingredient Notes and Substitutions for Katsu Curry
Let’s talk specifics about what makes this dish tick.
The ingredients list looks short, but quality matters here.
For the breading, Panko is absolutely non-negotiable.
Regular breadcrumbs are too fine and dense, frankly.
Panko gives you those beautiful, light, airy spikes of crunch.
It’s what separates good katsu from great katsu.
Chicken Preparation Details
When you pound the chicken, aim for evenness.
Uneven pieces cook at different speeds, which is annoying.
If one side is thin, it will dry out while the thick part cooks.
Use plastic wrap when pounding for easier cleanup.
This simple step ensures tender meat every time.
The Curry Sauce and Rice Base
If you cannot find those popular Japanese curry roux blocks locally,
you can certainly make a quick version from scratch.
Sauté some onions, carrots, and potatoes until soft.
Add water or stock and let it simmer down a bit.
Stir in some curry powder, a touch of flour, and maybe some grated apple.
It won’t be identical, but it brings that savory comfort!
Frequently Asked Questions About Homemade Chicken Katsu Curry
I always get questions after my cooking demos.
It shows me what you’re curious about in your own kitchens.
Let’s tackle some common concerns about making this dish.
We want your kitchen experience to be stress-free.
Ask away, I’m here to help you succeed.
These tips make the difference between good and great.
Can I Bake or Air Fry the Chicken Katsu for Homemade Chicken Katsu Curry?
Yes, you absolutely can try baking or air frying.
It makes for a lighter meal, which is nice sometimes.
However, frying gives you that signature, shatteringly crisp texture.
Air frying often results in a slightly drier coating.
If you bake, lightly spray the breaded chicken with oil first.
Frying remains the gold standard for perfect Chicken Katsu.
What type of Japanese Curry Sauce is best for this Comfort Food?
This is where personal preference really takes over.
Store-bought roux blocks are fantastic time savers.
They provide a reliable, deeply savory flavor profile.
I suggest trying a mild or medium heat block first.
Homemade sauce offers you total control over spices.
For quick weeknights, the blocks are my secret weapon.
How do I stop my coating from falling off during frying?
This is a common frustration when making Chicken Katsu.
The key is pressing the Panko firmly onto the meat.
Also, make sure your dredging order is right.
Flour, then egg, then Panko, like we discussed.
If the oil temperature is too low, the coating slips.
Keep that oil steady at 350°F for best adhesion.
Is this Homemade Chicken Katsu Curry too heavy for a regular dinner?
It is certainly rich, which is why it’s great comfort food!
If you find it heavy, you can lighten the sides.
Serve it with a crisp, vinegary cucumber salad.
Or use less rice than you normally would.
Portion control on the delicious curry sauce helps too.
It’s all about balance in your bowl.
Storing Leftover Homemade Chicken Katsu Curry
We rarely have leftovers of this dish, honestly!
But if you do save some Homemade Chicken Katsu Curry,
store the components separately for best results.
Keep the rice, the chicken katsu, and the curry sauce apart.
To reheat the katsu, use an oven or toaster oven.
Reheating in the oven restores that needed crispness.
Warm the sauce gently on the stove top.
Estimated Nutritional Snapshot
Let’s talk briefly about the numbers here.
Nutrition facts can look like a complicated script.
For this Homemade Chicken Katsu Curry, it really varies.
The biggest factor is always your curry sauce choice.
Store-bought roux blocks vary wildly in fat and sodium.
These figures are just general guidelines, remember that.
Based on standard preparation, here are some rough estimates:
- Calories: This number changes based on the sauce.
- Protein: High, thanks to the chicken breast.
- Carbohydrates: Mostly from the white rice base.
- Fat: Depends heavily on the frying oil absorbed.
We calculate these figures based on one serving serving size.
This helps give you a starting point for planning your meal.
Always check the label on your specific curry roux product.
Enjoy the flavor first; the exact numbers are secondary.
Share Your Culinary Performance
So, how did your show go tonight?
Did you feel that inner kitchen joy spark up?
I hope you had fun making this dish.
Liam loves seeing your creations out there.
Tell us what you thought in the comments below.
Did you improvise anything fun?
We truly want to hear your stories.
Rate this recipe if it brought you comfort.
Who was your muse for this cooking session?
Was it a song, a memory, or maybe your dog?
Let us know who inspired your delicious chaos.
Happy cooking, everyone. Bravo!
Print
Amazing Homemade Chicken Katsu Curry in 40 Minutes
- Total Time: 40 minutes
- Yield: 4 servings 1x
- Diet: Vegetarian
Description
Make this comforting Homemade Chicken Katsu Curry with us! It brings satisfying crunch and rich, savory Japanese curry sauce right to your dinner table. Get ready to cook with joy and create a memorable meal.
Ingredients
- 2 Boneless, skinless chicken breasts
- 1 cup All-purpose flour
- 2 large Eggs, beaten
- 2 cups Panko breadcrumbs
- Vegetable oil, for frying
- 4 cups Japanese curry sauce (store-bought or homemade)
- 2 cups Cooked white rice
- Salt and black pepper, to taste
Instructions
- Pound the chicken breasts to about 1/2 inch thickness. Season both sides with salt and pepper.
- Set up your dredging station: one shallow dish with flour, one with beaten eggs, and one with panko breadcrumbs.
- Dredge each chicken cutlet first in flour, shaking off excess.
- Dip the floured chicken into the egg mixture, letting excess drip off.
- Coat thoroughly in panko breadcrumbs, pressing gently so the crumbs adhere well.
- Heat about 1 inch of vegetable oil in a large, heavy-bottomed skillet to 350°F (175°C).
- Carefully place the katsu into the hot oil, ensuring you do not overcrowd the pan. Fry for 3-4 minutes per side until golden brown and cooked through (internal temperature of 165°F or 74°C).
- Remove the cooked katsu and place it on a wire rack or paper towel-lined plate to drain excess oil. Slice into strips.
- Serve the sliced chicken katsu over a bed of hot white rice.
- Pour a generous amount of warm Japanese curry sauce over the chicken and rice. Serve immediately.
Notes
- You can adjust the thickness of your curry sauce by simmering it longer or adding a splash of water or broth.
- For extra crispiness, chill the breaded chicken for 15 minutes before frying.
- Taste your curry sauce before serving; some store-bought versions benefit from a pinch of sugar or a dash of soy sauce.
- Prep Time: 20 minutes
- Cook Time: 20 minutes
- Category: Main Course
- Method: Frying and Simmering
- Cuisine: Japanese
Nutrition
- Serving Size: 1 serving
- Calories: Estimate depends on curry sauce
- Sugar: Varies
- Sodium: Varies
- Fat: Varies
- Saturated Fat: Varies
- Unsaturated Fat: Varies
- Trans Fat: Minimal (if using fresh oil)
- Carbohydrates: Varies
- Fiber: Low
- Protein: High
- Cholesterol: Moderate