Halloween Monster Oreo Balls: A No-Bake Spooky Treat
Get ready for some serious Halloween fun! These Halloween Monster Oreo Balls are an absolute blast to make. They’re perfect for those spooky parties. Plus, they’re super easy. No oven needed at all! Here at Child Recipe, we believe cooking should be about joy and connection. These little monsters embody that spirit. They bring a playful energy to your kitchen. Making them is like a fun crafting session. You’ll love the smiles they bring.
Why You’ll Love These Halloween Monster Oreo Balls
- Incredibly easy to make, perfect for all skill levels.
- Completely no-bake, saving you oven time.
- A guaranteed hit at any Halloween party or gathering.
- Endlessly customizable with fun monster decorations.
- A delightful treat for both children and adults.
A Little About Our Kitchen’s Magic
My husband Liam is a technical wizard in the kitchen. I’m more of a happy accident kind of cook. When we started Child Recipe, we wanted to capture that blend. It’s about making food that feels alive. These Halloween Monster Oreo Balls are a perfect example. They’re simple enough for anyone to whip up. Yet, they’re so fun and festive. It’s about the shared laughter while making them. That’s the real magic we aim for.
Gathering Your Halloween Monster Oreo Balls Ingredients
Alright, let’s talk about what you’ll need for these spooky little guys! Liam, my husband, likes a precise list. I tend to just grab things that look good. For these Halloween Monster Oreo Balls, we’ve found a perfect balance. You don’t need anything too fancy. Most of these items are probably already in your pantry. It’s all about bringing together simple things to make something magical. Let’s get our ingredients ready!
Essential Ingredients for Halloween Monster Oreo Balls
- Oreo cookies: 24 cookies, crushed into fine crumbs.
- Cream cheese: 8 ounces, softened to room temperature.
- Semi-sweet chocolate chips: 1 cup, for coating.
- Assorted Halloween-themed candies or sprinkles: For decorating monster features.
- Green, purple, or orange candy melts: 1 cup (optional, for colored monster bases).
Ingredient Notes and Substitutions
- Oreo cookies: Classic chocolate Oreos are my favorite for these. Their color is just right. But feel free to use any flavor you have!
- Cream cheese: Make sure it’s really soft. Cold cream cheese can make the dough lumpy.
- Chocolate chips: Milk or dark chocolate chips work just as well. Use what you love!
- Candy melts: These are great for bright monster colors. If you don’t have them, just stick with regular chocolate.
Crafting Your Halloween Monster Oreo Balls
Now for the really fun part! This is where your inner artist gets to play. Making these Halloween Monster Oreo Balls is a bit like a playful art project. Liam always aims for perfection, but I love the happy accidents that happen when we just go with the flow. Let’s get our hands a little messy and create some spooky magic together!
Step 1: Preparing the Oreo Crumb Base
First, let’s turn those Oreos into fine crumbs. You can use a food processor for this. Or, pop them into a sturdy zip-top bag. Then, grab a rolling pin and go to town! You want a nice, powdery texture. Next, grab a bowl. Add your Oreo crumbs and the softened cream cheese. Mix it all up really well. You’ll feel it coming together like a dough.
Step 2: Shaping and Chilling the Balls
Time to make some little monster bodies! Roll the mixture into balls. Aim for about 1 inch in size. Try to make them all about the same. Place these balls onto a baking sheet. Make sure the sheet is lined with parchment paper. This stops them from sticking. Now, pop them into the fridge. Let them chill for at least 30 minutes. This makes them firm and easier to handle.
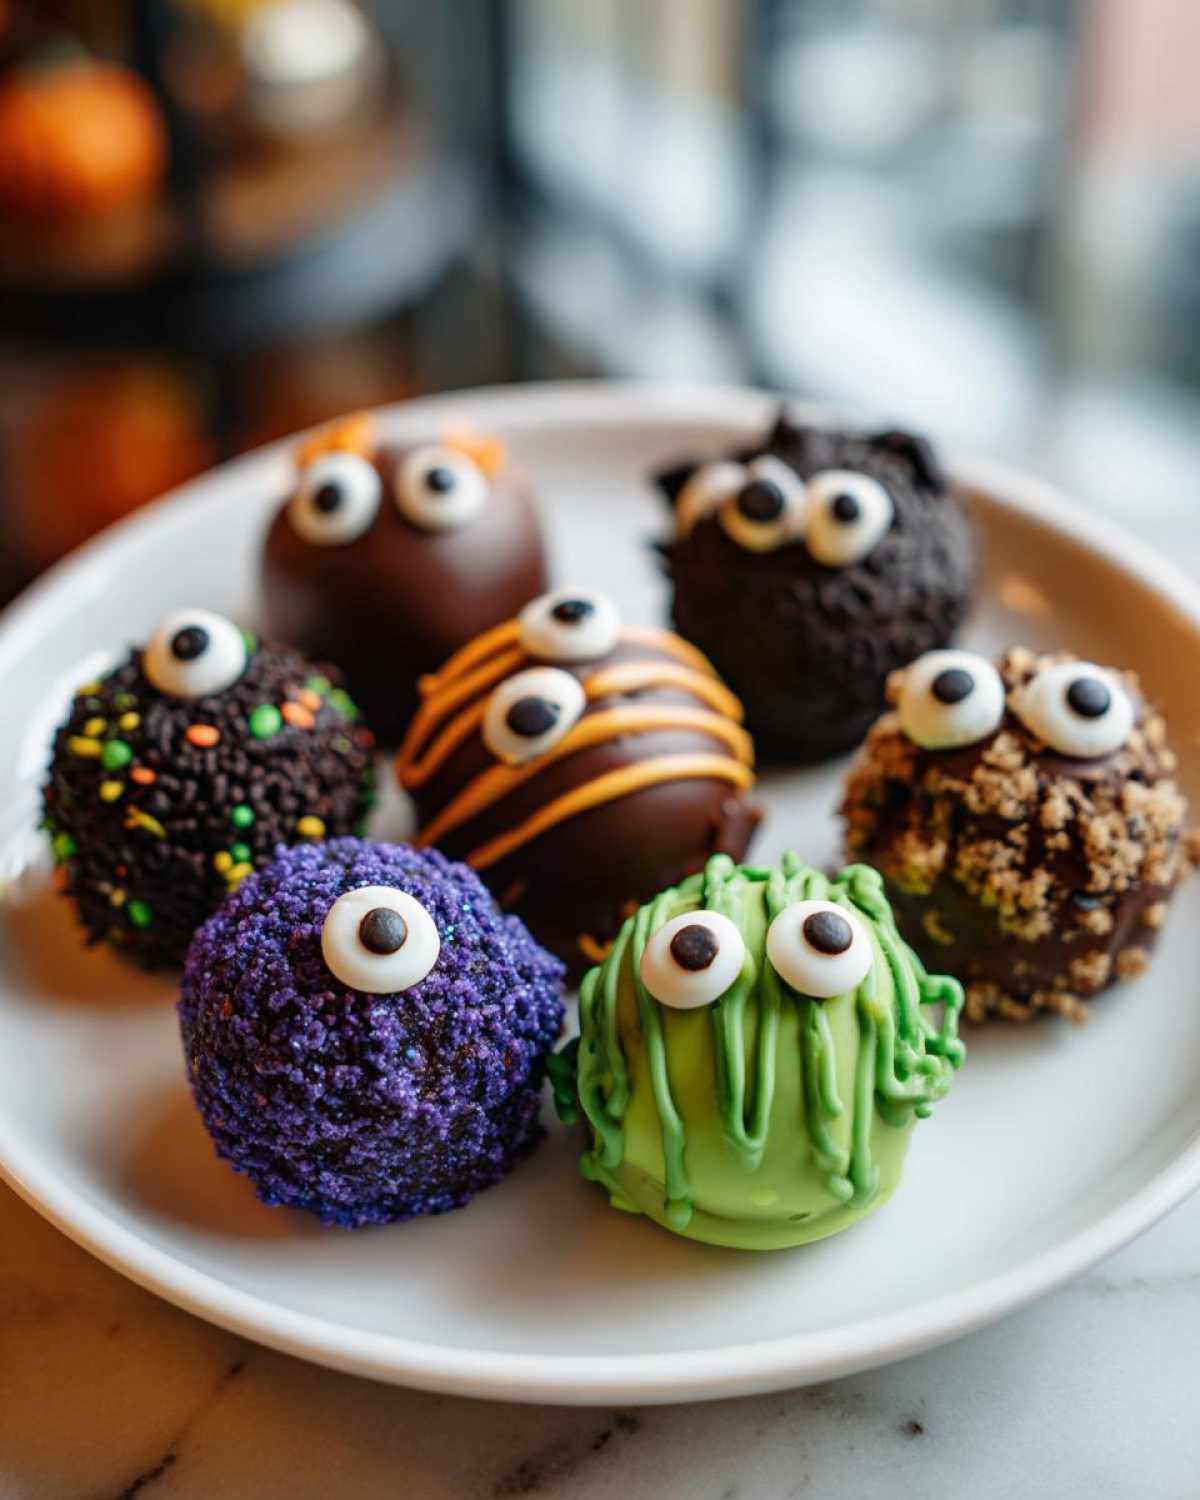
Step 3: Melting and Coating the Balls
While those balls are chilling, let’s melt our chocolate. You can use a microwave-safe bowl. Heat the semi-sweet chocolate chips in 30-second bursts. Stir well after each burst. Keep going until it’s smooth. Or, use a double boiler for a gentle melt. If you’re using candy melts for those awesome monster colors, melt those separately. Now, dip each chilled Oreo ball into the melted chocolate. Get them fully coated. Place them back on your parchment paper.
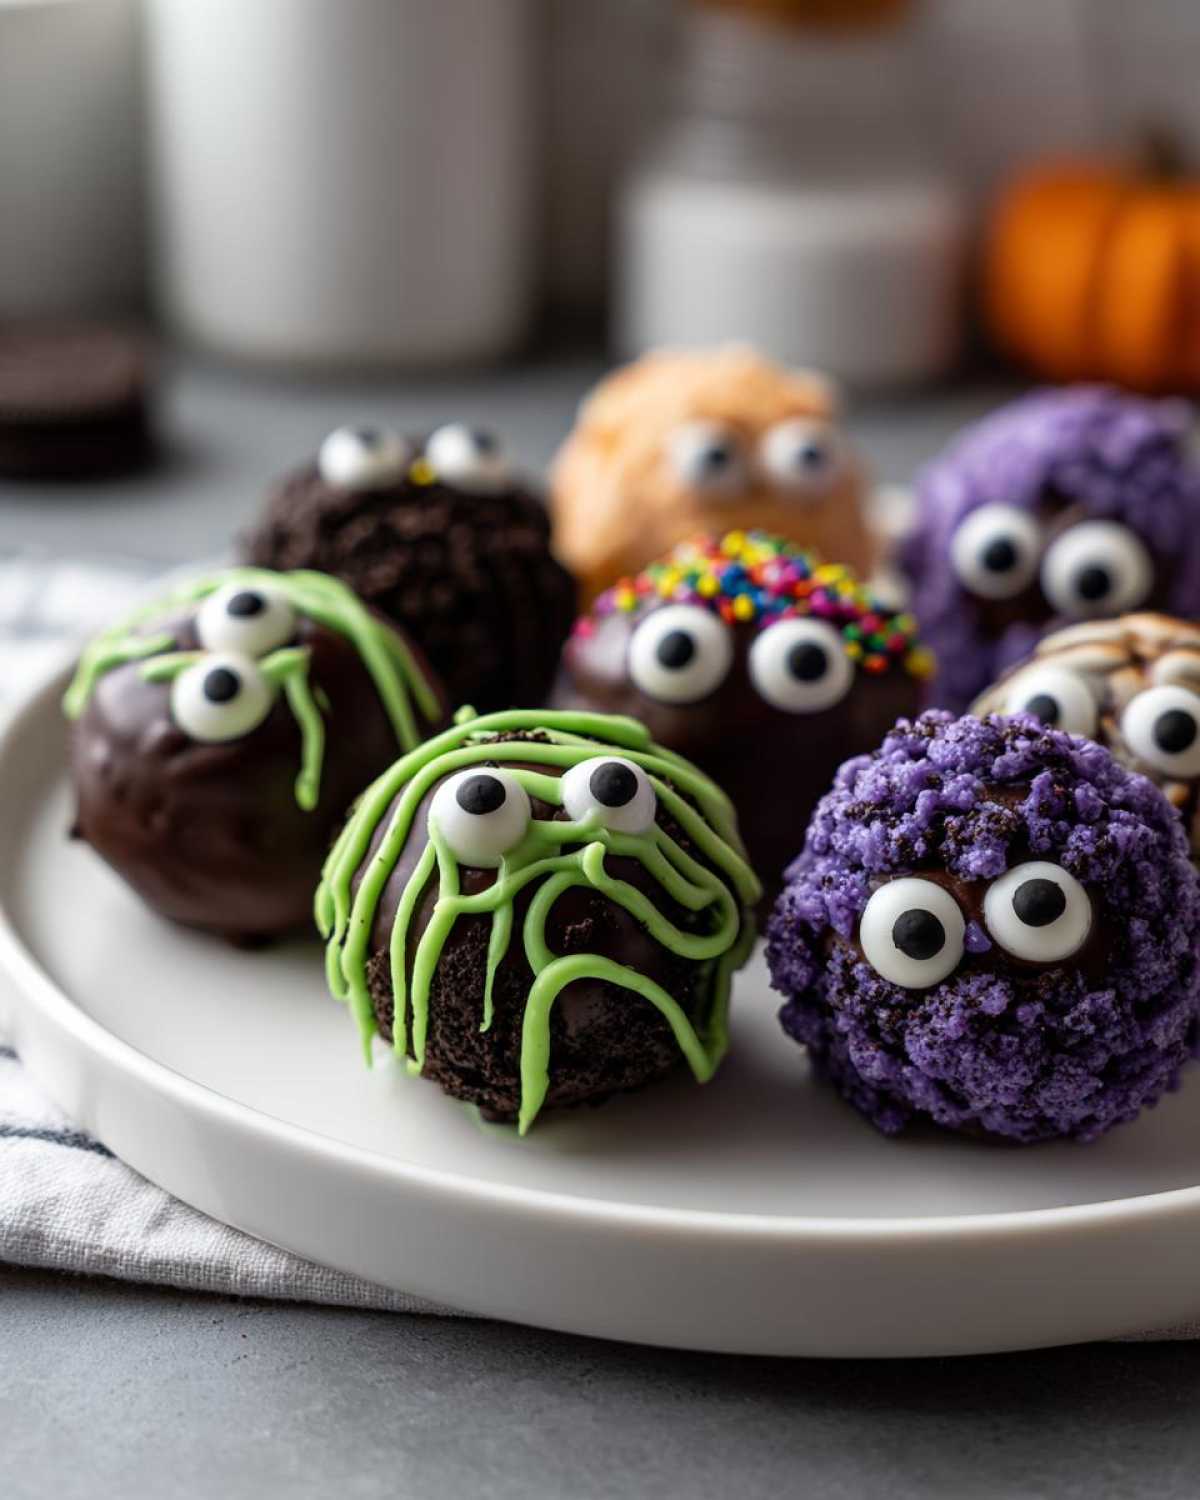
Step 4: Decorating Your Monster Creations
This is where the real monster-making happens! While the chocolate is still wet, it’s time to decorate. Press on your Halloween candies, sprinkles, or those fun googly eyes. Create silly faces, creepy eyes, or wild hair. Let your imagination run wild! You can look at the recipe notes for some fantastic ideas. Think about what makes a monster unique and have fun with it.
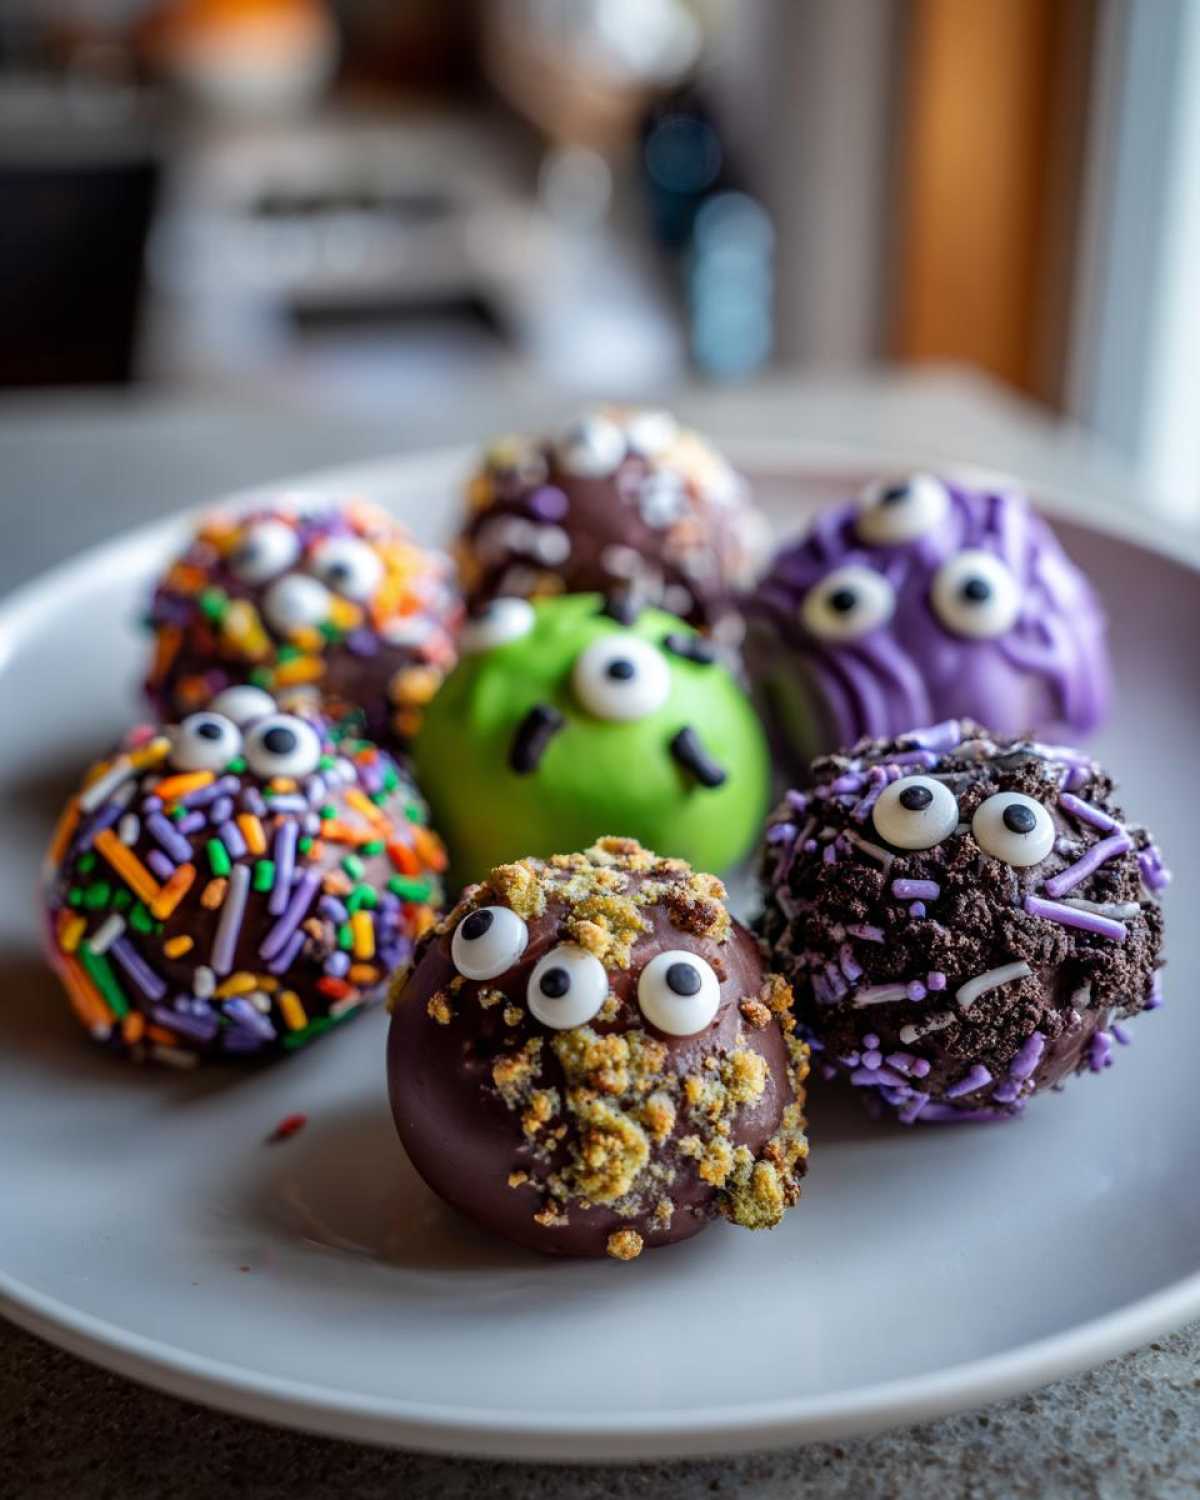
Step 5: Setting and Finishing Touches
Almost there! Now, we just need to let the chocolate set. You can leave them on the counter. Or, speed things up by putting the baking sheet back in the fridge. This helps the chocolate harden completely. Once everything is set, your spooky little Halloween Monster Oreo Balls are ready to be devoured!
Tips for Perfect Halloween Monster Oreo Balls
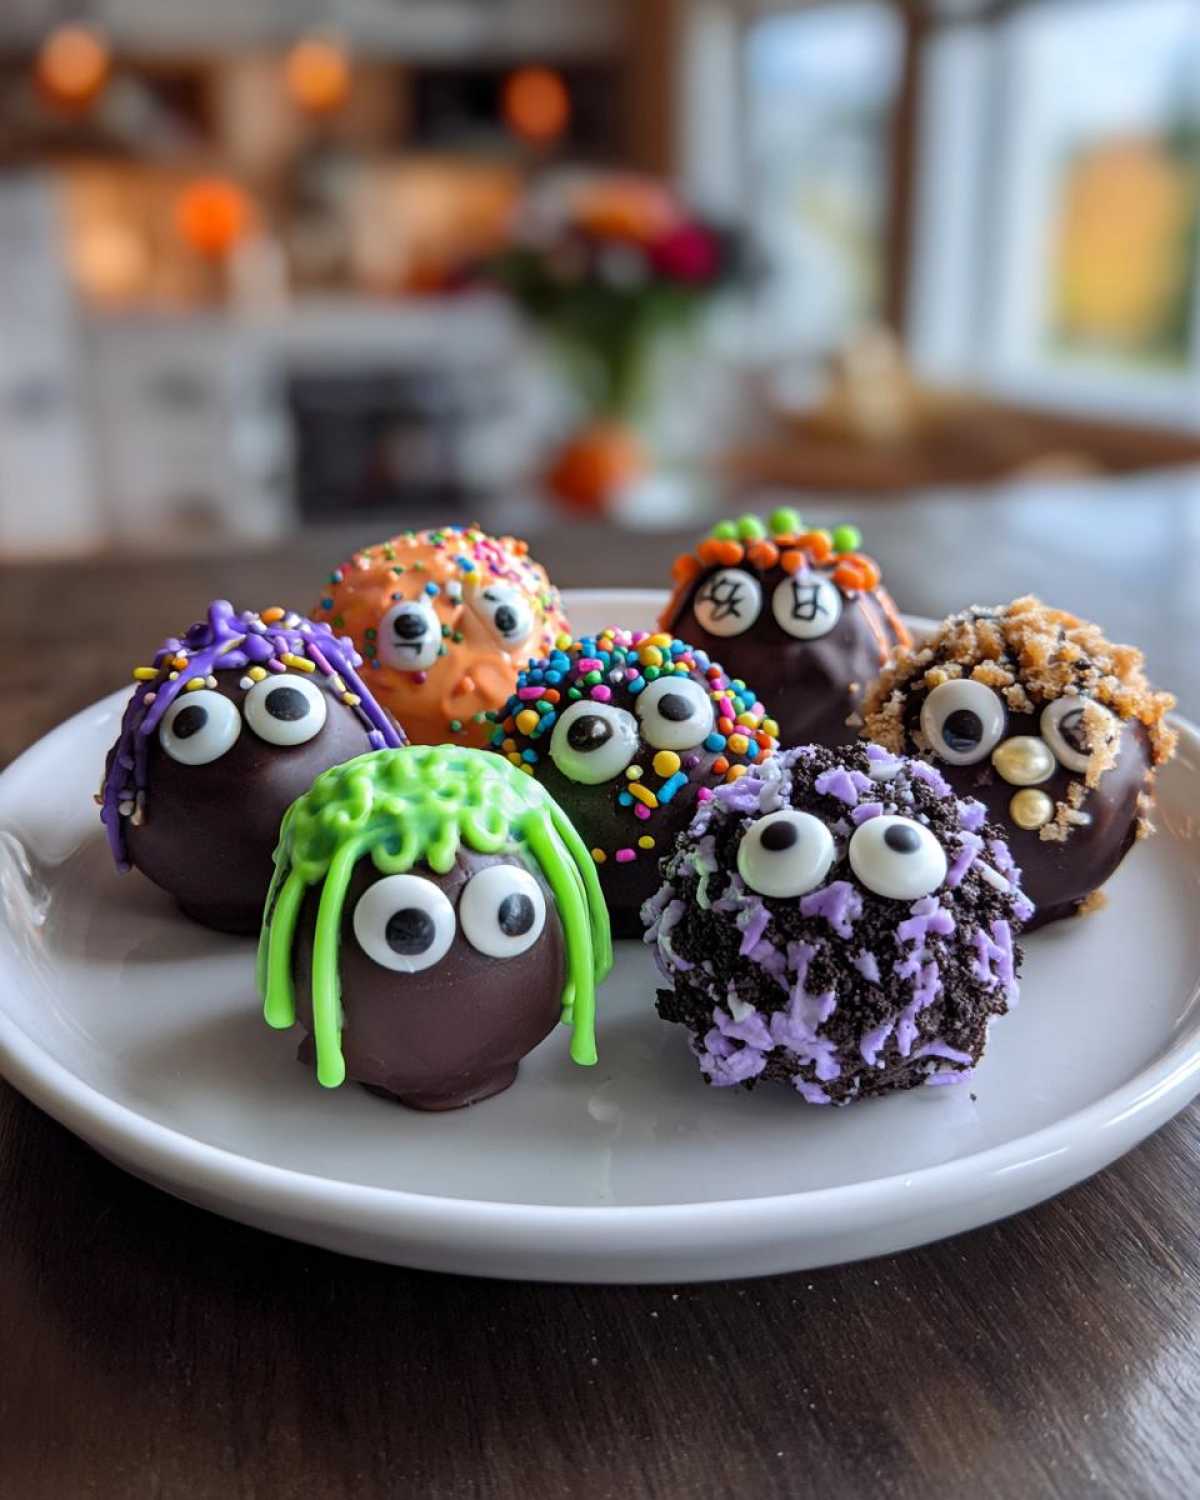
Want your Halloween Monster Oreo Balls to be absolutely spooktacular? Liam always insists on a few key steps for perfection. I, on the other hand, love to play around! Here are a few tricks we’ve learned. They’ll help you get amazing results every time. These tips blend Liam’s precision with my love for a little kitchen fun.
- For a smoother chocolate coating, stir in a teaspoon of vegetable oil or shortening into the melted chocolate. It makes dipping a breeze!
- Don’t shy away from candy melt colors. They give you a whole spooky rainbow of monsters. Orange, green, purple – go wild!
- Get creative with decorating! Small candies can become funny eyes. Sprinkles can make wild monster hair or even scales.
- Make sure your cream cheese is truly softened. Cold cream cheese makes the dough lumpy. We want smooth little monster bodies!
- Chilling the balls is super important. It keeps them from falling apart when you dip them. Patience here really pays off.
Frequently Asked Questions About Halloween Monster Oreo Balls
Got questions about these adorable little monsters? I get it! Planning is part of the fun. Here are some common things people ask about our Halloween Monster Oreo Balls.
Can I make Halloween Monster Oreo Balls ahead of time?
Absolutely! These are perfect for making ahead. You can prepare them a day or two before your Halloween party. Just store them in an airtight container. They’ll be just as delicious. It’s a great way to get a head start on your spooky treats.
How should I store leftover Halloween Monster Oreo Balls?
Store any leftovers in an airtight container at room temperature. They should stay fresh for about 3-5 days. If your kitchen is very warm, the fridge is a good option. Just pop them in before the chocolate gets too soft.
Are there any variations for these Halloween Monster Oreo Balls?
Oh, yes! You can totally switch things up. Try using different flavored Oreos, like red velvet or mint. You can also use various types of chocolate for dipping. White chocolate dyed green or purple is fun too! Experiment with different extracts in your chocolate for new flavors.
What kind of decorations work best for monster faces?
Get creative! Edible googly eyes are a must for instant monster appeal. Small candies like M&Ms or Skittles can be eyes or noses. Sprinkles can create crazy hair or scales. Even a simple toothpick can draw a spooky mouth before the chocolate sets!
Estimated Nutritional Information
Here’s a little peek at what’s in your spooky treats. These numbers are just a guide, of course! They’re approximate per ball. The final counts can change a lot. It depends on the brands you use. It also depends on how big you roll them. And, of course, all those fun decorations you add!
Share Your Spooky Creations!
We absolutely adore seeing what you create in your kitchens! If you’ve whipped up these fun Halloween Monster Oreo Balls, please drop a comment below. Tell us how they turned out! Sharing your photos and stories truly inspires our entire “Child Recipe” community. It helps everyone embrace the joy of cooking and sharing these special moments together.
Print
Halloween Monster Oreo Balls: 1 Ghastly Recipe
- Total Time: 50 minutes
- Yield: Approximately 24 balls 1x
- Diet: Vegetarian
Description
Create spooky and fun Halloween Monster Oreo Balls with this easy no-bake recipe. Perfect for parties and a delight for both kids and adults.
Ingredients
- 24 Oreo cookies
- 8 ounces cream cheese, softened
- 1 cup semi-sweet chocolate chips
- Assorted Halloween-themed candies or sprinkles for decoration
- Green, purple, or orange candy melts (optional, for monster colors)
Instructions
- Crush the Oreo cookies into fine crumbs using a food processor or by placing them in a zip-top bag and crushing with a rolling pin.
- In a medium bowl, combine the Oreo crumbs and softened cream cheese. Mix until well combined and a dough forms.
- Roll the mixture into 1-inch balls and place them on a baking sheet lined with parchment paper.
- Chill the balls in the refrigerator for at least 30 minutes to firm up.
- Melt the chocolate chips. You can do this in a microwave-safe bowl in 30-second intervals, stirring between each, or over a double boiler.
- Dip each Oreo ball into the melted chocolate, ensuring it’s fully coated. Return to the parchment-lined baking sheet.
- If using candy melts for monster colors, melt them separately and dip the balls in your desired colors.
- While the chocolate is still wet, decorate the balls with candies, sprinkles, or edible googly eyes to create monster faces.
- Allow the chocolate to set completely. You can speed this up in the refrigerator.
Notes
- For a smoother coating, you can add a teaspoon of vegetable oil or shortening to the melted chocolate.
- Experiment with different colored candy melts to create a variety of monster looks.
- Get creative with your decorations! Small candies can become eyes, and sprinkles can form hair or scales.
- Prep Time: 20 minutes
- Cook Time: 0 minutes
- Category: Desserts
- Method: No-Bake
- Cuisine: American
Nutrition
- Serving Size: 1 ball
- Calories: Approx. 150-200 (will vary based on decorations)
- Sugar: Approx. 15-20g
- Sodium: Approx. 20-30mg
- Fat: Approx. 8-12g
- Saturated Fat: Approx. 4-6g
- Unsaturated Fat: Approx. 4-6g
- Trans Fat: 0g
- Carbohydrates: Approx. 20-25g
- Fiber: Approx. 1g
- Protein: Approx. 2g
- Cholesterol: Approx. 10mg