Oh, scones. They’re the absolute best for a quick breakfast or when you just need something cozy, right? But let’s be honest: trying to make Gluten-Free Chocolate Chip Scones that actually taste good can sometimes feel like a battle. I’ve had so many dry, crumbly messes that tasted more like dusty cookies than light, tender pastries. It used to drive me crazy!
That’s why I spent ages messing around with flour blends until I cracked the code. You are going to flip when you try this recipe because we achieve that fluffy, slightly crumbly, totally tender texture you dream about, all without any actual wheat. Seriously, these are the **best GF chocolate chip scones** I’ve ever pulled out of my oven, and they’re built to work for even the most nervous beginner baker.
Why This Gluten-Free Chocolate Chip Scone Recipe Works (The Secret to Perfect Texture)
Gluten-free baking can be tricky because gluten usually offers that elastic structure. When you take it out, scones often turn into rocks or just crumble into dust when you try to move them. That was my issue every time!
But with this **Gluten-Free Chocolate Chip Scone Recipe**, we nail the texture because we rely on pure dairy science. Keeping that butter rock-solid cold creates tiny steam pockets when it hits the oven—that’s your lift! And using really cold buttermilk? That acid reacts perfectly with the baking powder, giving us a beautiful rise. Forget that dry heartache; these are tender on the inside. It’s about building structure without gluten, kinda like how you build incredible flavor into mayonnaise with just a few key starting ingredients!
Essential Tips for Fluffy Gluten Free Scones for Beginners
When you’re working with GF flour, treat that dough gently. It’s not like regular flour where you have to knead it out. A couple of quick tips will save you and help you achieve that **Perfect Gluten Free Scone Texture**:
- Don’t mix! Use a fork until the wet ingredients just barely disappear into the dry. A few streaks are okay.
- The absolute key is minimal handling. Overworking it makes it tough, which is the opposite of what we want here. Seriously, be gentle!
Gathering Ingredients for Your Gluten-Free Chocolate Chip Scones
Okay, now that we know *why* these work, let’s talk about what you need. Remember, for this **Gluten Free Chocolate Chip Scone Recipe**, the temperature of our fats and liquids is non-negotiable! Everything needs to be cold—like, straight-from-the-fridge cold. That’s how we trick the dough into acting nicely.
Ingredient Clarity and Substitutions
You’ll need just a few things to make these incredible **Gluten-Free Chocolate Chip Scones**. First up: the flour. You *must* use a good 2-cup measure of a gluten-free all-purpose blend that already has xanthan gum mixed in. If yours doesn’t have it, run, don’t walk, and grab a teaspoon of xanthan gum to whisk in with your dry ingredients, otherwise, they’ll turn into powder later!
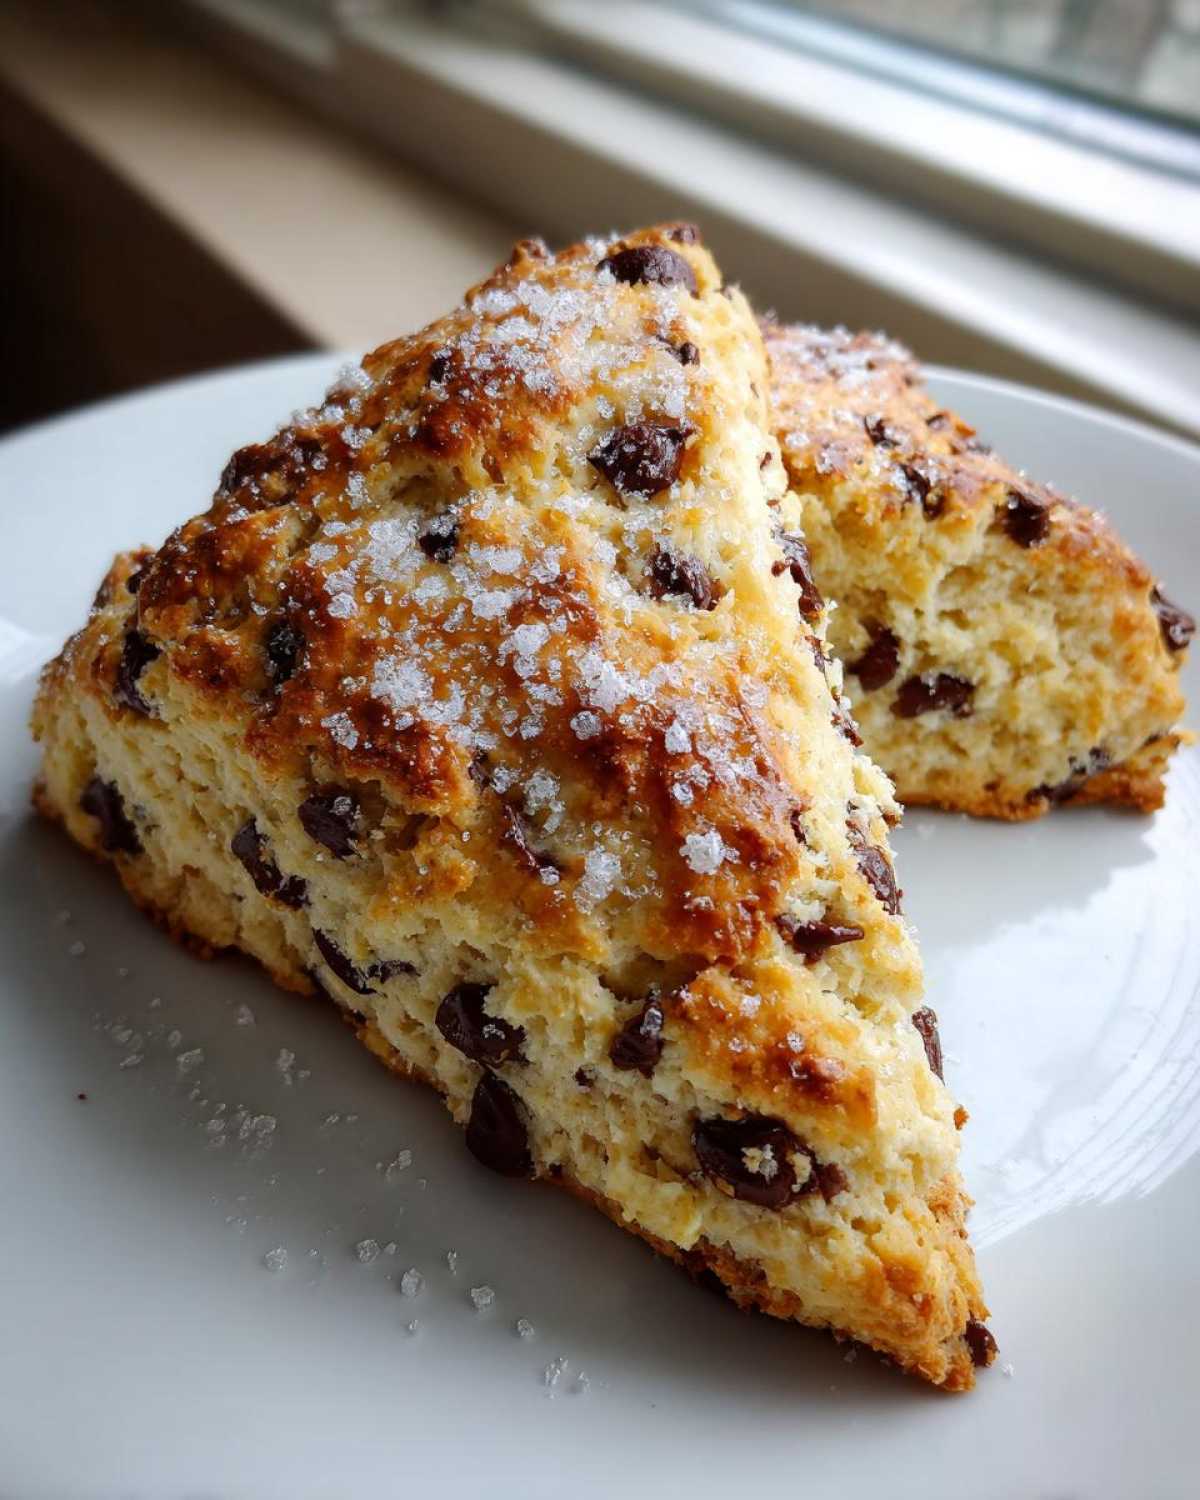
Your butter needs to be cut into tiny cubes and kept frosty; same goes for the buttermilk. That coldness gives you the lift! For the chocolate, I used semi-sweet chips, which is classic. But feel free to swap half of those out for some toasted pecans or walnuts if you want a little crunch alongside that gooey center. Also, don’t skip that coarse sugar for the top—it gives the outside the perfect little sparkly crunch that makes them look bakery-worthy!
Step-by-Step Instructions: How to Make Gluten Free Scones From Scratch
Alright, let’s get these beautiful **Gluten-Free Chocolate Chip Scones** into the oven! It’s so straightforward, I promise. First thing’s first: get that oven cranked up to 400°F (200°C) right away, and line a sheet pan with parchment paper. You want everything ready to go because once the wet and dry ingredients meet, we gotta move fast to keep that butter cold.
We start by whisking all our dry pals—the GF flour, sugar, baking powder, and salt—in a big bowl. Then comes the crucial part: cutting in the cold butter chunks. Use a pastry blender or your fingertips; work quickly until it looks like coarse meal or little peas. Don’t melt it with your warm hands, okay? After that, fold in those chocolate chips like you’re tucking them in. Now, whisk your egg, cold buttermilk, and vanilla together, then pour that liquid straight into your crumbly mix. Mix it just until it comes together. If it looks shaggy and sticky, you’re doing it perfectly! This process is key to making your **Homemade Gluten Free Chocolate Baked Goods** turn out right.
Mixing and Shaping the Gluten Free Chocolate Chip Scone Dough
This dough will look wetter than regular scone dough, and that’s normal with gluten-free flour! Do *not* be tempted to add more flour or try to knead it like bread. Kneading is the quickest way to end up with dense bricks, and we want light and fluffy! Just turn that slightly sticky mess out onto a board dusted lightly with GF flour.
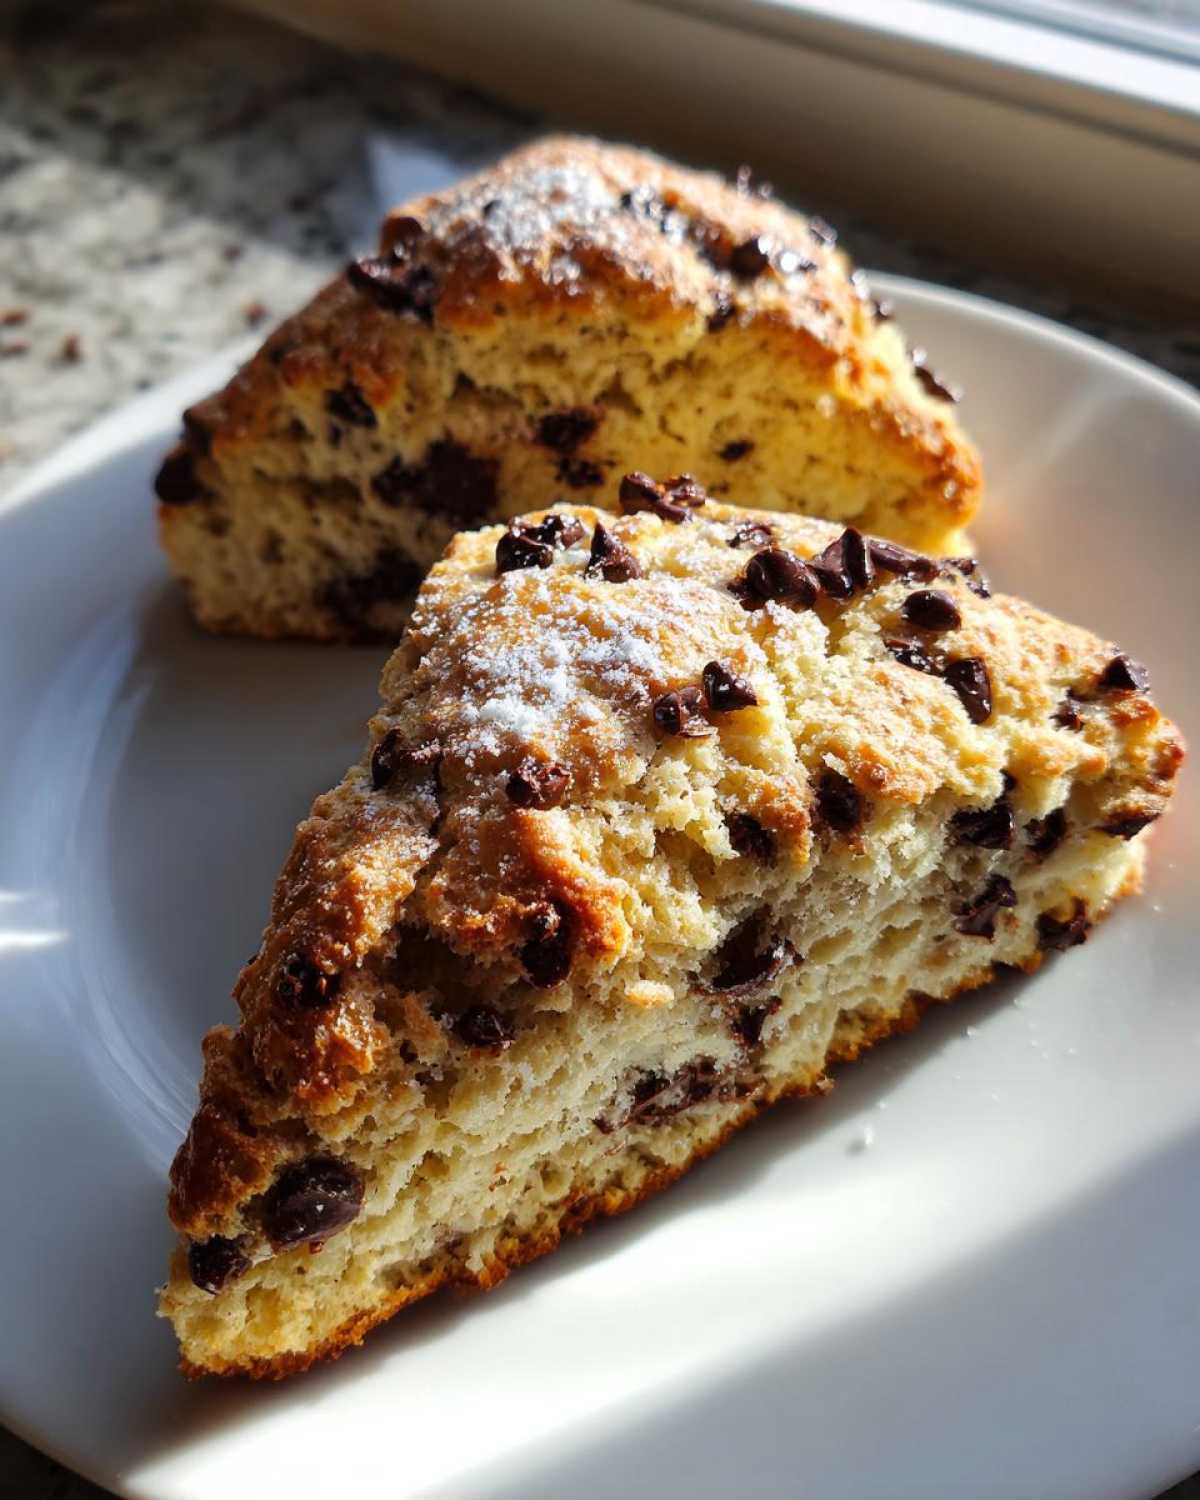
Gently pat it down into a circle—aim for about 3/4 of an inch thick. If it crumbles a bit when you press it, just pat it back together. Then, use a pizza cutter or a knife to slice it into 8 wedges. We want these wedges cut cleanly so they rise straight up. Place them onto your prepared sheet, giving them just a tiny bit of breathing room. Speaking of technique, if you’ve ever wrestled with getting a perfect crust on something like katsu, you know the feeling—precision matters!
Baking Times and Achieving Golden Tops for Your Gluten Free Chocolate Chip Scones
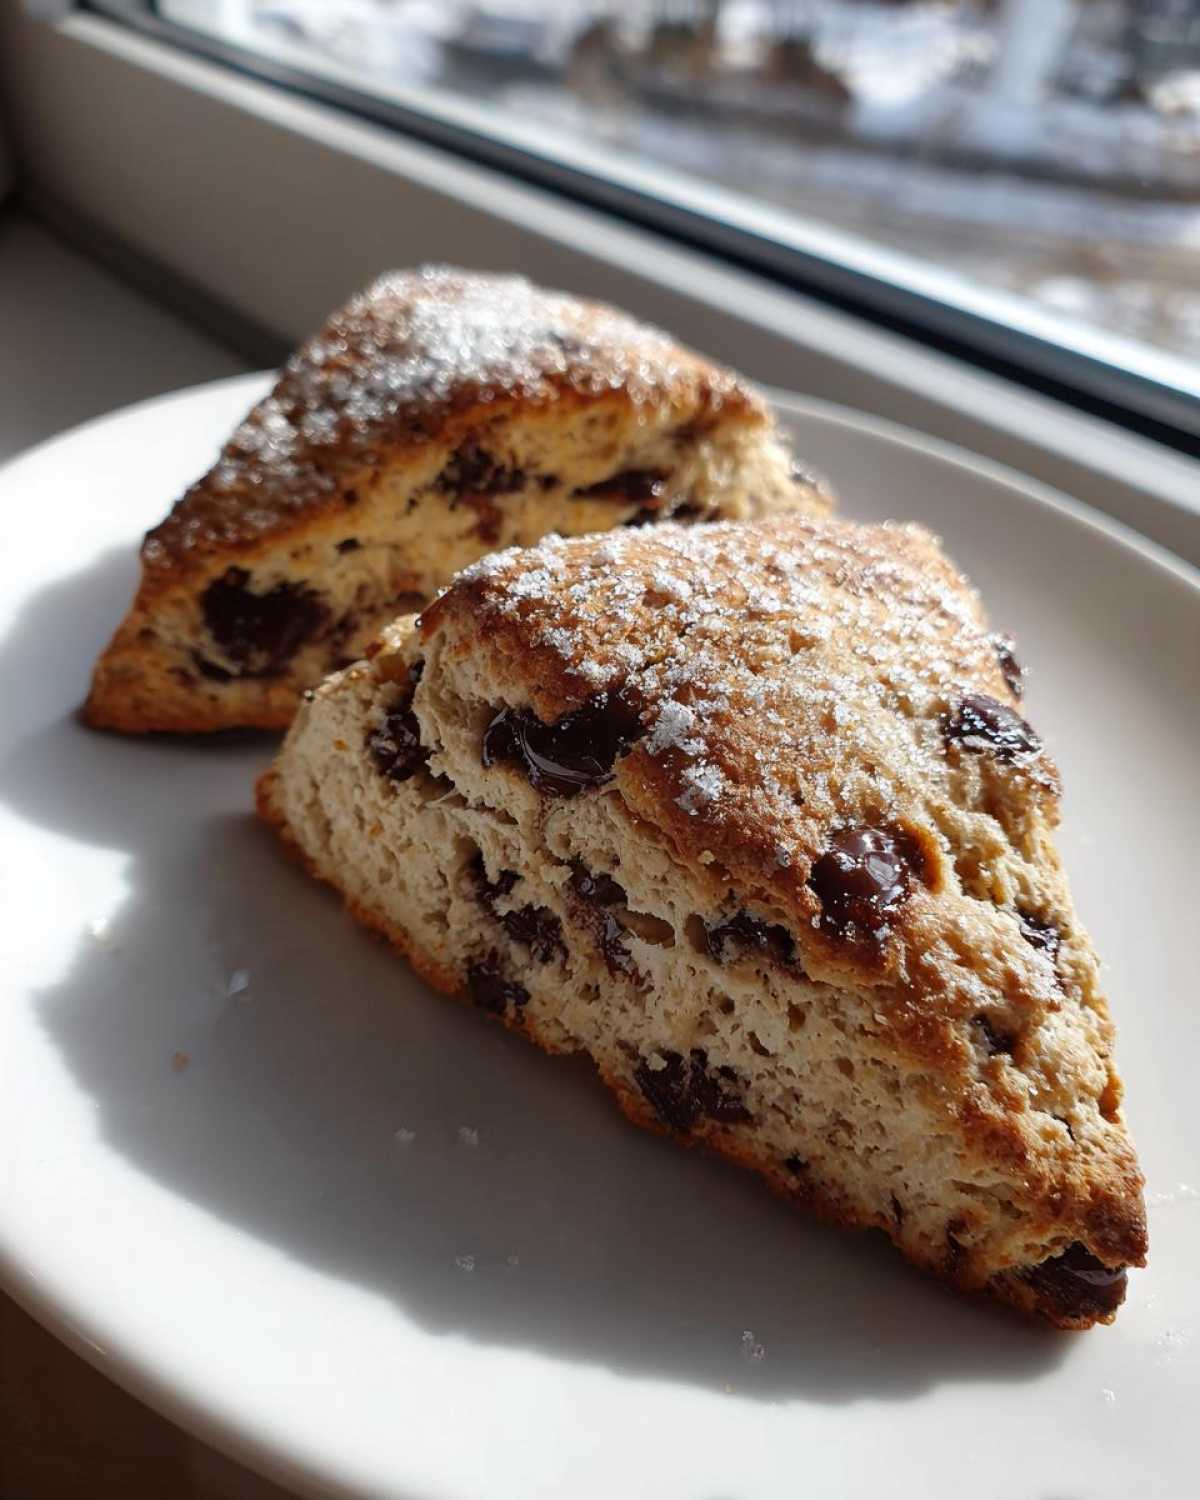
To make these look extra special, you can brush the tops lightly with a touch more buttermilk—I love doing this step! Then, sprinkle on that coarse sugar if you have it. It creates this amazing, sparkly crust. Pop them into your hot oven, and they need about 15 to 18 minutes. You’re looking for beautifully light golden brown tops.
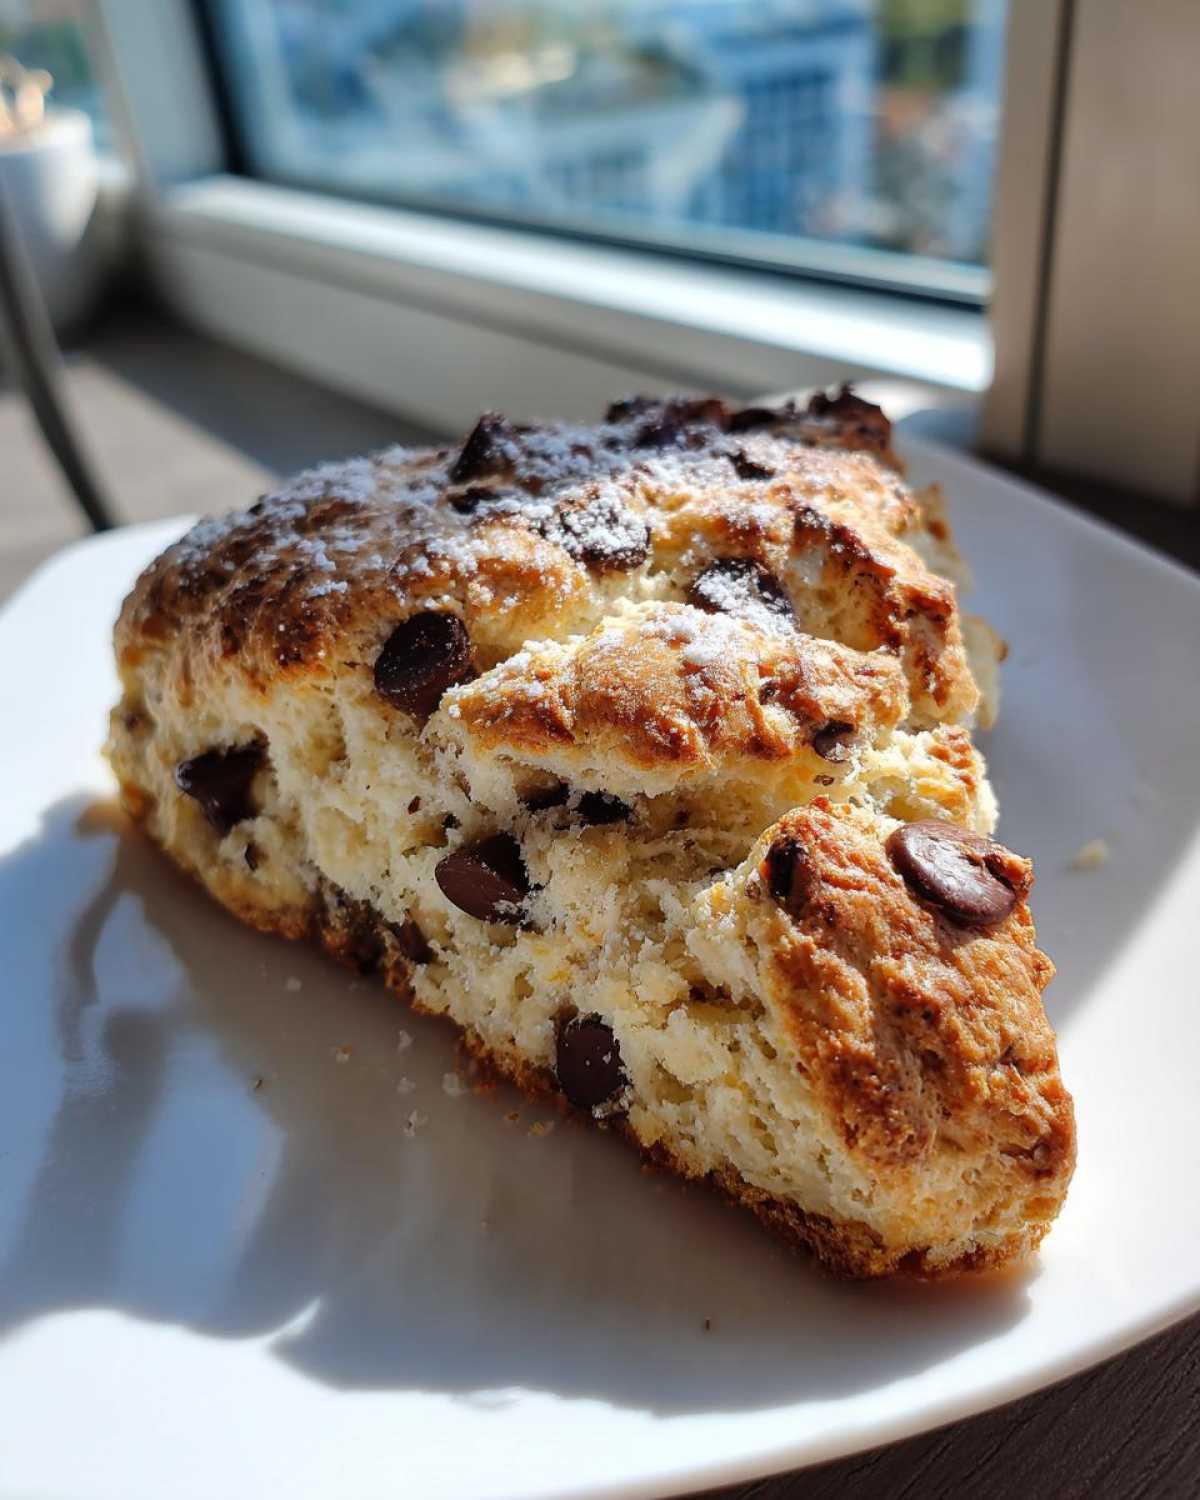
Don’t pull them out too soon; they need that time for the gluten-free structure to set up properly! Let them sit right on that hot pan for about five minutes after they come out. They’re still fragile when hot, so a little rest helps them firm up before you transfer them to a rack. These look like the perfect **Gluten Free Breakfast Pastries**, don’t they?
Ingredient Spotlight: Buttermilk and Gluten-Free Flour in Your Gluten-Free Chocolate Chip Scones
I always tell people that baking is half science and half intuition, and nowhere is that more important than when you’re dealing with gluten-free flour. Understanding *why* an ingredient works helps you troubleshoot if things go sideways later on. That’s where buttermilk and the right flour blend shine in our **Gluten-Free Chocolate Chip Scones**.
First, let’s talk buttermilk. That tangy liquid isn’t just for flavor; it’s our secret weapon for tenderness! The acid in the buttermilk reacts with the baking powder, giving us a stronger, quicker lift than regular milk, which helps compensate for the lack of structure from gluten. Plus, the fat content keeps everything rich. Keeping it ice cold just traps those rising agents inside until the last possible second!
And for the flour—remember what I said about xanthan gum? That stuff is the glue holding your **Homemade Gluten Free Chocolate Baked Goods** together! If your blend doesn’t have it, you need to add it, or your scone will completely fall apart after cooling. It mimics the structure gluten usually provides. If you need to review how to build structure in other dishes, digging into how to make a great lasagna also teaches you about layering and binding agents!
Serving Suggestions for Gluten Free Chocolate Chip Scones
These **Gluten-Free Chocolate Chip Scones** are perfect any time of day, not just breakfast! If you’re having them for a cozy afternoon break, they pair flawlessly with a hot cup of coffee or a strong black tea. They are a classic choice for **Gluten Free Tea Time Recipes**, and I always feel a little fancy serving them up!
You do not need much else, but if you want to dress them up, a little smear of good quality jam—raspberry or apricot works beautifully—makes them irresistible. And oh my goodness, if you’re feeling extra decadent, a dollop of clotted cream or even just thick, unsweetened whipped cream turns this simple scone into a real treat. Honestly, they are so good plain, but those extra toppings elevate them!
If you’re looking for a warm drink pairing, try making a special coffee treat alongside them. Nothing beats the smell of fresh scones and a big mug of something festive, like a homemade pumpkin spice latte.
Storage and Make-Ahead Tips for Homemade Gluten Free Chocolate Baked Goods
We all know the struggle: you bake a perfect batch of **Gluten-Free Chocolate Chip Scones**, and suddenly, three days later, they taste like ancient history. Because we used cold butter and buttermilk, these are actually pretty hardy, but freshness protection is still key!
The recipe note says they keep well in an airtight container at room temperature for up to two days. That’s the quick fix if you plan to eat them fast. But if you’re anything like me and want to save some for when you need a quick **Gluten Free Breakfast Pastry** fix later in the week, you absolutely need to freeze them.
Here’s my trick for freezing: Bake them fully, let them cool completely—and I mean completely—then wrap each scone tightly in plastic wrap, like little individual presents. Toss those wrapped beauties into a freezer bag. When you’re ready to eat one months later, just unwrap it and zap it in the microwave for about 15 or 20 seconds. It blooms right back to life! It’s almost as good as baking fresh, I swear. You can find more tips on preserving baked goods, like my chocolate chip zucchini bread, for long-term storage.
Frequently Asked Questions About Gluten-Free Chocolate Chip Scone Recipe
I know you’ve got questions brewing now that you’re ready to bake these beauties! Gluten-free baking always seems to bring up a few last-minute worries, but let’s tackle them so you can move forward with confidence in making the **Gluten-Free Chocolate Chip Scone Recipe**.
Can I make these *Dairy Free Chocolate Chip Scones Gluten Free Options*?
Absolutely! You totally can make these dairy-free! Just swap out that cold butter for a good quality vegan butter stick, making sure it’s chilled solid. For the buttermilk, you can combine about 1/2 cup of neutral-flavored plant milk, like almond or oat milk, with a half teaspoon of apple cider vinegar or lemon juice. Let it sit for five minutes to curdle before using it!
What happens if I use a GF flour blend *Without Xanthan Gum*?
Oh, if your blend is missing that gummy binder, your scones won’t hold together, trust me! Xanthan gum is acting as the scaffolding here since we don’t have gluten. If your bag says it doesn’t have it, you must whisk in 1 teaspoon of pure xanthan gum with the dry ingredients. It’s the secret to structural integrity, almost like the binding power needed for a great holiday cocktail!
How do I ensure I achieve the *Perfect Gluten Free Scone Texture*?
It all comes down to temperature and timing! Keep everything—especially the butter and buttermilk—as cold as humanly possible. And when you mix the wet into the dry, just stop mixing when you can no longer see dry flour streaks. If you overmix, even with GF flour, they will get tough. Gentle handling is the key to those light, fluffy results!
Nutritional Snapshot of Your Gluten Free Chocolate Chip Scones
Now, I know what you’re thinking: are these indulgent **Gluten-Free Chocolate Chip Scones** going to ruin my whole week? Well, as with any homemade treat, it depends on what you put in! Based on the standard recipe amounts, one scone clocks in around 280 calories.
You’re looking at about 15g of fat, which is where that delicious tenderness comes from, and around 32g of carbs. If you’re watching sugar, there’s about 12g here. These numbers are just estimates, of course—if you use fancy dark chocolate or a different brand of GF flour, things will shift a bit. But for a satisfying, homemade **Gluten Free Breakfast Pastry**, I think they are totally worth it!
Share Your Delicious Gluten Free Chocolate Chip Scones
I have done my part sharing the secrets to these amazing **Gluten-Free Chocolate Chip Scones**! Now it’s your turn. Please, if you try these, come back and leave a rating down below so I know they worked for you, too. Snap a photo and tag me—I absolutely love seeing your golden-topped creations!
If anything felt weird or confusing during the process, don’t hesitate to drop a question in the comments. I try to check in all the time. Need to reach out directly? You can always find me over at my contact page. Happy baking, you’ve earned these tasty treats!
Print
Gluten-Free Chocolate Chip Scones
- Total Time: 33 min
- Yield: 8 servings 1x
- Diet: Gluten Free
Description
A straightforward recipe for making moist and tender chocolate chip scones using a gluten-free flour blend.
Ingredients
- 2 cups gluten-free all-purpose flour blend (with xanthan gum)
- 1/4 cup granulated sugar
- 1 tablespoon baking powder
- 1/2 teaspoon salt
- 6 tablespoons cold unsalted butter, cut into small cubes
- 1 cup semi-sweet chocolate chips
- 1 large egg
- 1/2 cup cold buttermilk
- 1 teaspoon vanilla extract
- 1 tablespoon coarse sugar, for topping (optional)
Instructions
- Preheat your oven to 400 degrees Fahrenheit (200 degrees Celsius). Line a baking sheet with parchment paper.
- In a large bowl, whisk together the gluten-free flour blend, granulated sugar, baking powder, and salt.
- Cut the cold butter into the dry ingredients using a pastry blender or your fingertips until the mixture resembles coarse crumbs.
- Stir in the chocolate chips.
- In a separate small bowl, whisk together the egg, cold buttermilk, and vanilla extract.
- Pour the wet ingredients into the dry ingredients. Mix gently with a fork until just combined. Do not overmix; the dough will be slightly sticky.
- Turn the dough out onto a lightly floured surface (use gluten-free flour). Gently pat the dough into a circle about 3/4 inch thick.
- Cut the circle into 8 wedges, like a pizza. Place the wedges onto the prepared baking sheet, spacing them slightly apart.
- Brush the tops lightly with a little extra buttermilk, if desired, and sprinkle with coarse sugar.
- Bake for 15 to 18 minutes, or until the tops are lightly golden brown.
- Let the scones cool on the baking sheet for 5 minutes before moving them to a wire rack to cool further.
Notes
- If your gluten-free flour blend does not contain xanthan gum, add 1 teaspoon of xanthan gum to the dry ingredients.
- Keep all wet ingredients very cold for the best scone texture.
- For a different flavor, substitute half the chocolate chips with chopped pecans or walnuts.
- Store cooled scones in an airtight container at room temperature for up to 2 days.
- Prep Time: 15 min
- Cook Time: 18 min
- Category: Breakfast
- Method: Baking
- Cuisine: American
Nutrition
- Serving Size: 1 scone
- Calories: 280
- Sugar: 12
- Sodium: 250
- Fat: 15
- Saturated Fat: 9
- Unsaturated Fat: 6
- Trans Fat: 0
- Carbohydrates: 32
- Fiber: 2
- Protein: 5
- Cholesterol: 55