Finding snacks for kids can feel like a never-ending quest, especially when the weather turns warm. You want something easy, healthy, and that they’ll actually eat! I’ve been there, staring into the fridge, wondering what magical treat will satisfy a hot, tired little one.
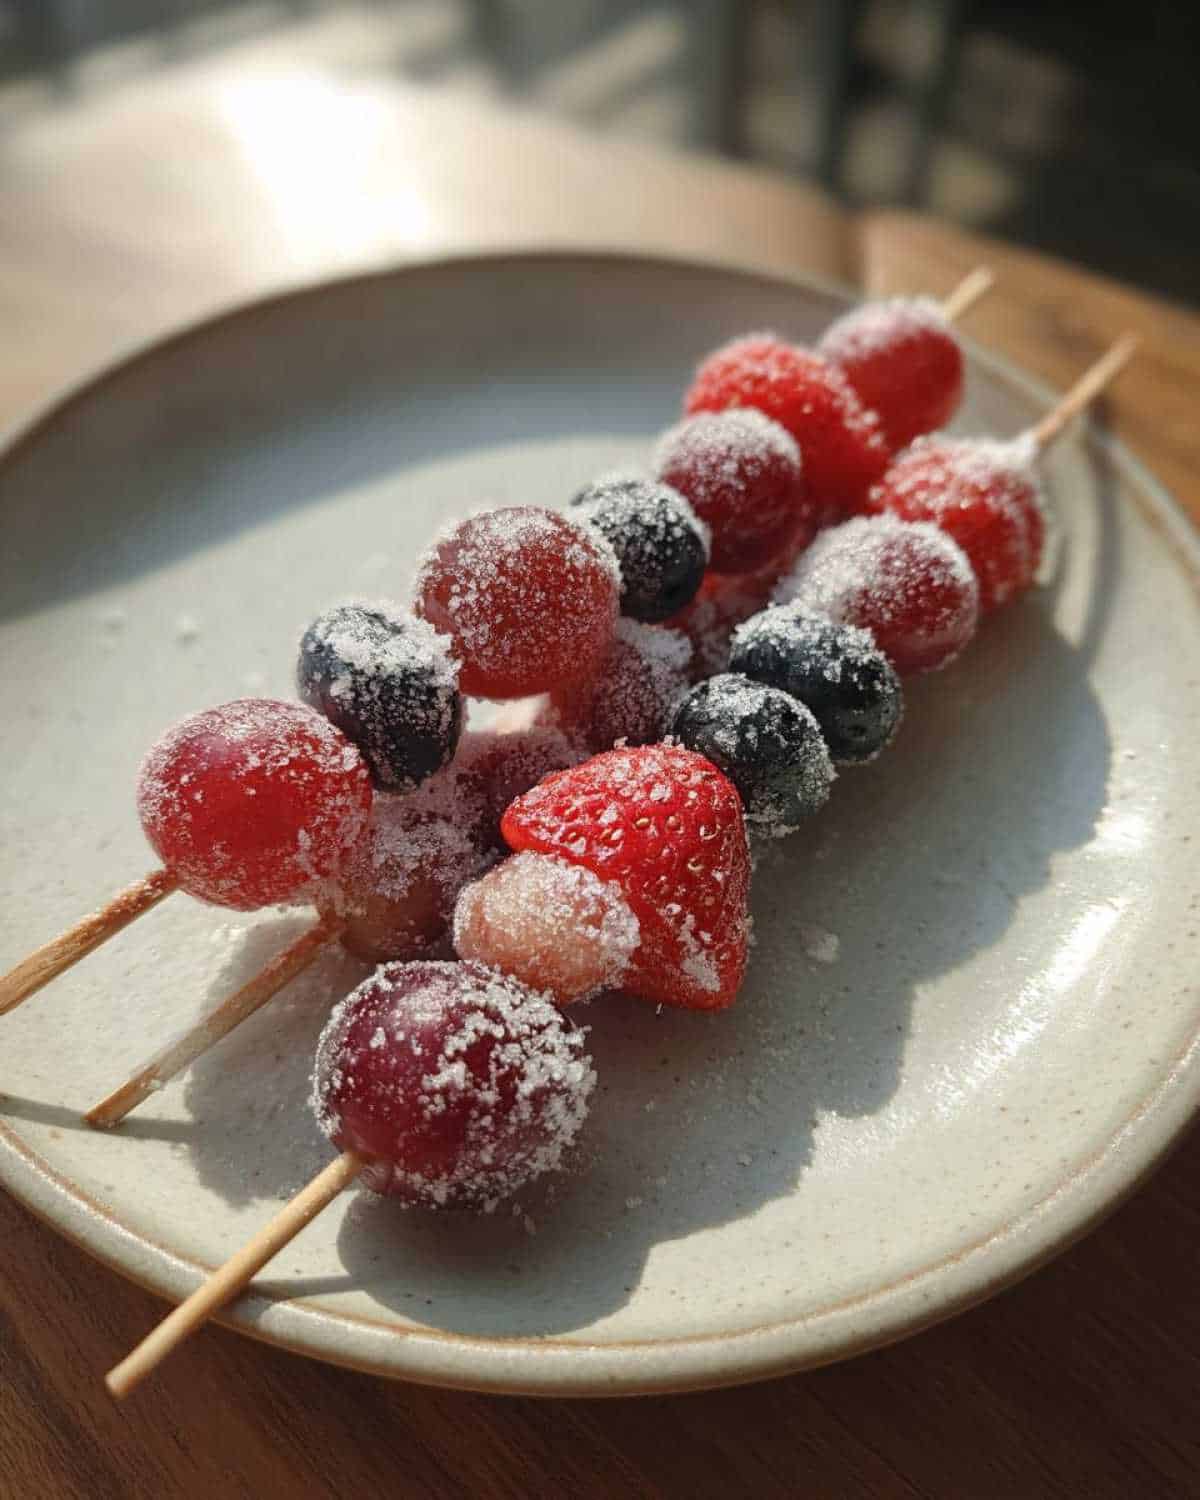
That’s where these Frozen Grapes & Berry Skewers for Kids come in. They are truly a game-changer in our house. Mia, my little berry enthusiast, absolutely adores them. Leo, who can be a bit pickier, loves the fun of eating off a stick. It’s a simple idea, I know, but they are cooling, naturally sweet, and so incredibly easy to whip up.
Forget messy ice pops or complicated recipes. These frozen fruit skewers are kid-approved and take hardly any effort. They’re perfect for those hot afternoons when a regular snack just won’t cut it.
Why You’ll Love These Frozen Grapes & Berry Skewers for Kids
Okay, busy parent to busy parent, let me tell you why these frozen fruit skewers are about to become your new best friend. They tick all the boxes and then some! I mean, who doesn’t need more easy wins in the kitchen?
- They are ridiculously simple to make. Seriously, you barely need to think about it.
- Minimal effort required. We’re talking minutes of prep here.
- Packed with healthy fruit. It’s a snack you can feel really good about.
- Naturally sweet. No added sugar needed to make these a hit.
- Visually appealing and super fun for kids. Those bright colors on a stick? Instant win!
- Perfect for cooling down on a hot day. Way less mess than a melting popsicle.
- A fantastic alternative to those sugary treats.
- Plus, they are Leo and Mia approved, and that’s the highest praise a snack can get around here!
Simple Ingredients for Frozen Grapes & Berry Skewers
Gathering the stuff for these frozen grapes and berry skewers is a breeze. You just need a few simple things. The great part is you don’t need exact amounts. Just grab what you have or what looks good at the store!
- Seedless grapes (green or red work!)
- Your favorite berries (strawberries, blueberries are perfect)
- Some small wooden skewers
Choosing the Best Fruits for Frozen Grapes & Berry Skewers
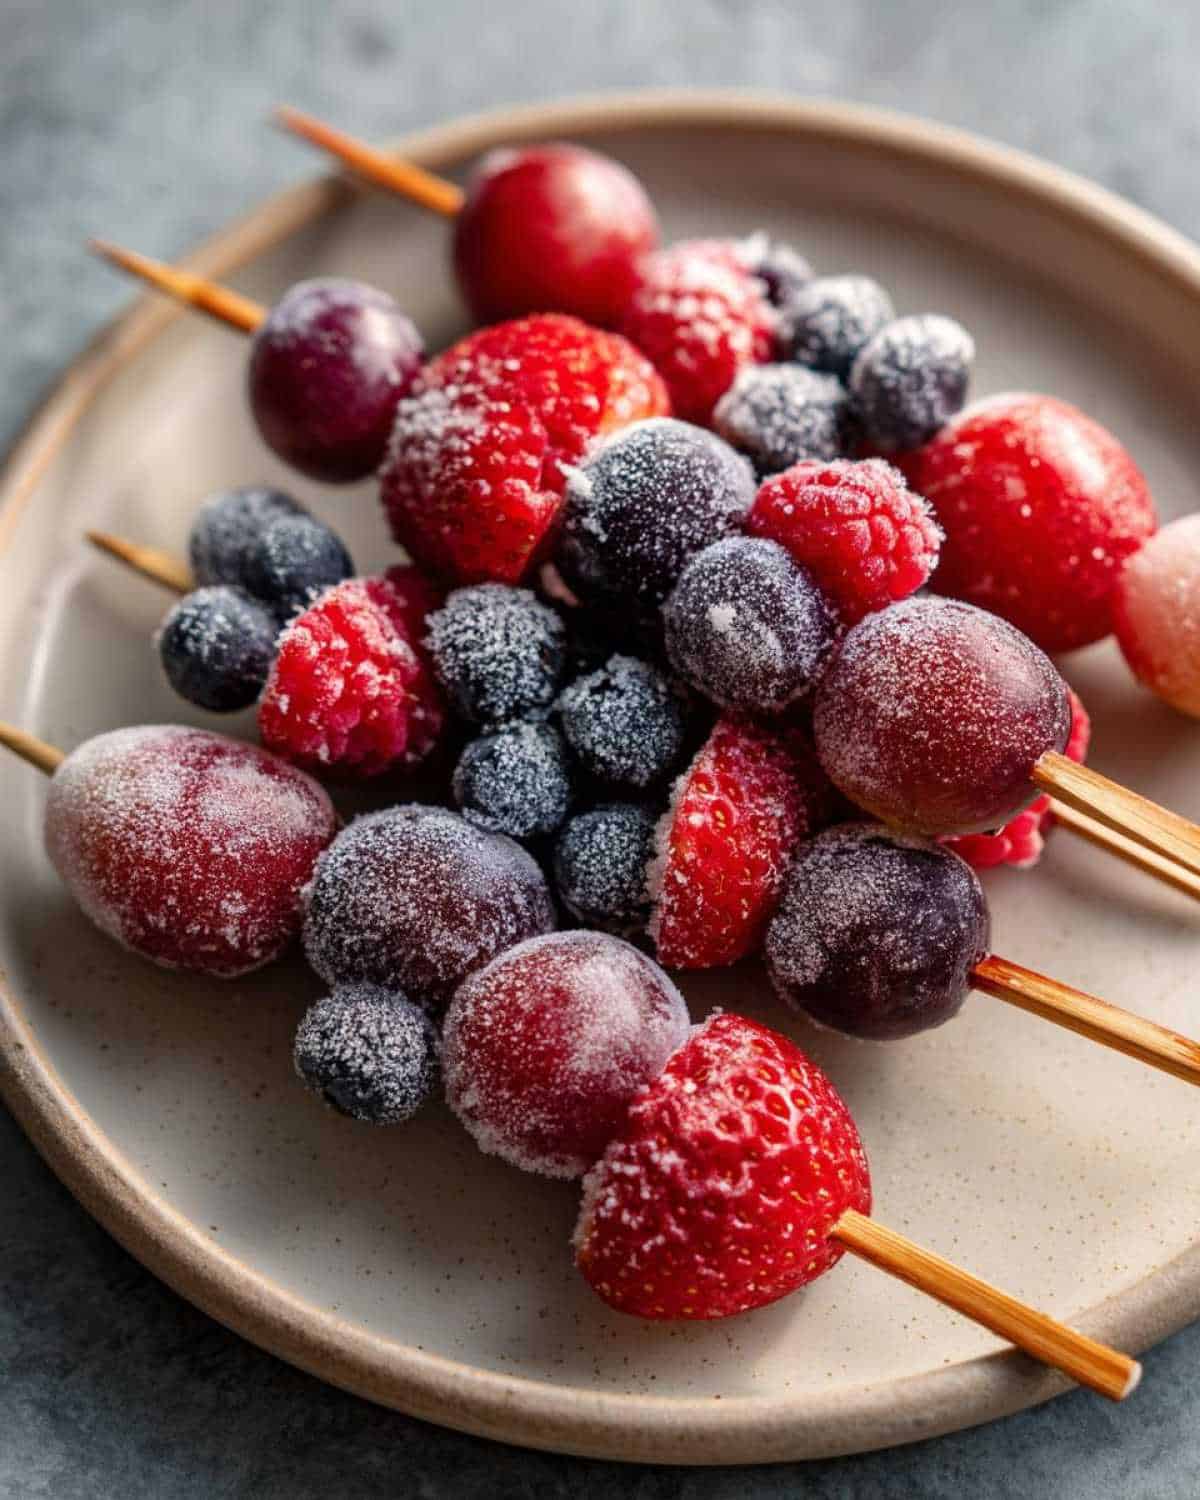
When picking your fruit, definitely go for seedless grapes. It just makes them safer, especially for little mouths. Any kind of berry is great! Strawberries are sweet, blueberries add a lovely pop of color, and raspberries are fun too. They all freeze beautifully. Just make sure to give all your fruit a good wash before you start.
How to Prepare Frozen Grapes & Berry Skewers for Kids
Making these frozen fruit skewers is so easy, it barely feels like cooking! It’s mostly just assembly. This is a great one to do with the kids helping, if they’re old enough to handle the fruit and skewers carefully. We’ve had some fun times putting these together with little hands.
Here’s how you get from fresh fruit to a perfect cooling snack:
Step-by-Step Guide to Making Frozen Grapes & Berry Skewers
Let’s walk through it. It’s really straightforward, I promise!
- First things first, give all your beautiful fruit a good wash under cool water.
- If you’re using strawberries, cut off the green tops. You can leave smaller ones whole or cut bigger ones into bite-sized pieces.
- Now for the fun part! Carefully thread the grapes and berries onto your wooden skewers. I like to mix up the colors, like red grape, then a blueberry, then a strawberry piece. It makes them look extra pretty! Be gentle so the berries don’t smoosh.
- Once your skewers are full (don’t overstuff them, leave a little space at the end), lay them out on a baking sheet. Make sure your baking sheet is lined with parchment paper first. This stops the skewers from freezing to the pan – learned that the hard way!
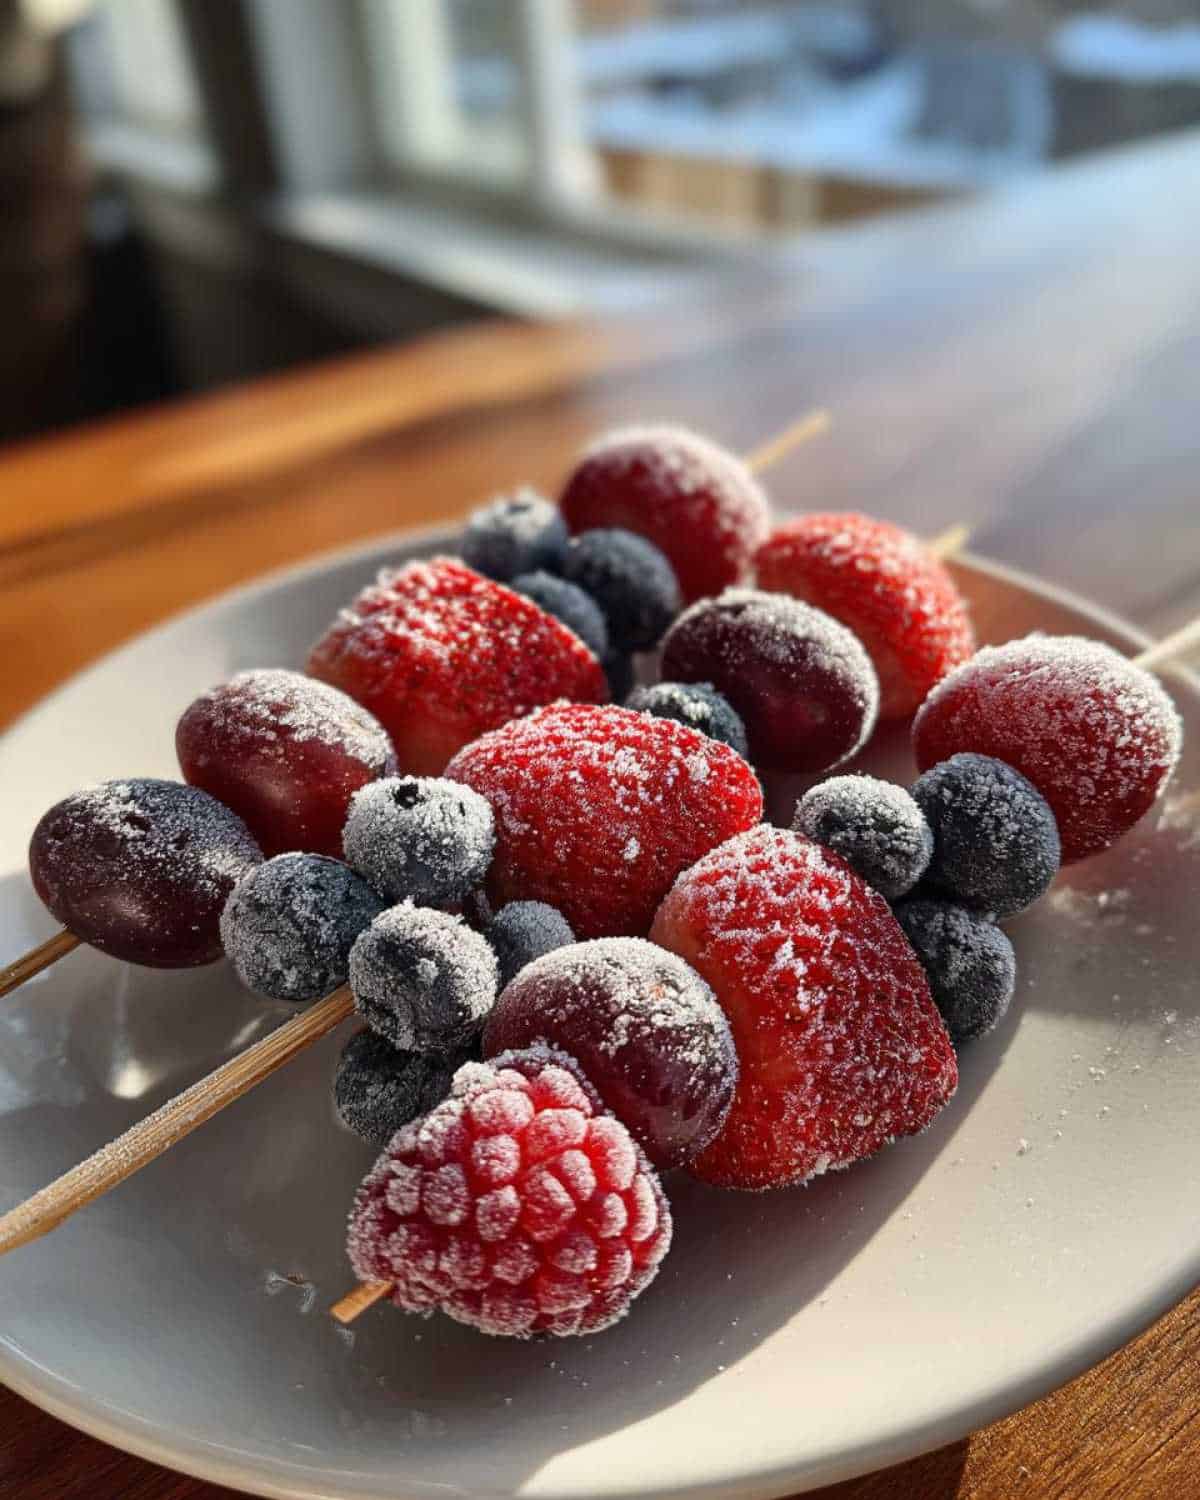
- Pop the whole tray into the freezer. You need to freeze them for at least 2 to 3 hours. You want them completely frozen solid.
- And that’s it! Take them out and serve them right away.
Tips for Perfect Frozen Grapes & Berry Skewers
Making these frozen fruit skewers is pretty foolproof, but a few little tricks I’ve picked up over the years can make them even better. These are things I’ve learned through trial and error, mostly with Leo and Mia as my very honest critics!
Don’t be afraid to mix and match your fruits! Try adding chunks of melon or even banana slices before freezing. Just be careful when threading the fruit; some berries are more delicate than others. I always remind the kids to be gentle so they don’t squish the raspberries.
For really little ones, like when Mia was just starting solids, I’d often take the fruit off the skewer for her. It’s just safer that way. And a little tip to keep them from sticking together in the freezer? Make sure they aren’t touching on the baking sheet before they’re solid. Once they’re frozen, you can pop them all into a container.
Variations for Your Frozen Grapes & Berry Skewers
While the classic frozen grapes and berry skewers are always a hit, it’s fun to play around with them sometimes! You can easily change things up to keep snack time exciting.
Try adding other fruits that freeze well. Little chunks of melon or slices of banana are delicious when frozen. You could even dip the frozen skewers partly in yogurt and then freeze them again for a creamy layer. Sometimes I sprinkle a little shredded coconut over them before the final freeze. It adds a nice texture. Get creative with what your kids love!
Serving Suggestions for Frozen Grapes & Berry Skewers
Okay, you’ve made these amazing frozen grapes and berry skewers. Now how do you serve them up? The easiest way is just straight from the freezer! They are the ultimate cooling snack on a hot day. They’re also fantastic to pack for a picnic; just keep them in a cooler bag.
Sometimes, we even have them as a simple, healthy dessert after dinner. They feel like a special treat, but you know they’re just fruit. My kids love having them as a sweet ending to a meal.
Storing Your Frozen Grapes & Berry Skewers
So, what do you do if you have some of these delicious frozen grapes and berry skewers left over? It’s easy peasy! Once they are totally frozen solid on the baking sheet, carefully transfer them to an airtight container or a freezer-safe bag. This keeps them tasting fresh.
They usually last for a couple of weeks in the freezer, but honestly, they disappear so fast at our house, we rarely have them that long! Just remember, they are definitely best enjoyed straight from the freezer for that perfect icy crunch.
Frequently Asked Questions About Frozen Grapes & Berry Skewers
I get asked a few things about these frozen fruit skewers, so I wanted to answer some common questions here!
Can I use different fruits? Absolutely! This recipe is super flexible. Try adding pineapple chunks, kiwi slices, or even small pieces of mango.
How long do they last in the freezer? When stored in an airtight container, they should stay good for about 2-3 weeks. But again, they usually don’t last that long here!
Are they safe for toddlers? For toddlers, you’ll want to be extra cautious. Always use seedless grapes. For very young toddlers, it’s best to take the frozen fruit off the skewer and serve it in a bowl to prevent any poking hazards.
What if my child doesn’t like one of the fruits? No problem at all! Just skip the fruit they don’t like and use more of the ones they do. The beauty of skewers is you can customize each one.
Estimated Nutritional Information
Just a quick note about the nutrition details for these frozen grapes and berry skewers. The values provided are only estimates. The actual numbers can change quite a bit depending on the exact types and amounts of fruit you use.
Try These Frozen Grapes & Berry Skewers Today!
Seriously, give these frozen grapes and berry skewers a try. They are such a simple win for busy parents! My hope is that they become a go-to cooling snack in your house, just like they are in mine.
If you make them, please come back and tell me what you think! Leave a comment below or even better, snap a picture and share it on social media. Tag me so I can see your beautiful creations! Happy snacking!
Print
Frozen Grapes & Berry Skewers for Kids: A Wicked Simple Treat
- Total Time: 2 hours 10 minutes
- Yield: Varies
- Diet: Vegetarian
Description
These frozen grape and berry skewers are a simple, cooling snack perfect for kids on a hot day.
Ingredients
- Seedless grapes
- Assorted berries (strawberries, blueberries, raspberries)
- Wooden skewers
Instructions
- Wash the grapes and berries thoroughly.
- If using strawberries, hull them and cut them into bite-sized pieces.
- Carefully thread the grapes and berries onto wooden skewers, alternating fruits for color.
- Place the assembled skewers on a baking sheet lined with parchment paper.
- Freeze for at least 2-3 hours, or until completely frozen.
- Serve immediately.
Notes
- Choose seedless grapes for safety, especially for younger children.
- You can use any combination of fruits your child enjoys.
- For very young children, you might want to remove the fruit from the skewer before serving.
- Prep Time: 10 minutes
- Cook Time: 0 minutes
- Category: Snack
- Method: Freezing
- Cuisine: American
Nutrition
- Serving Size: 1 skewer
- Calories: Varies
- Sugar: Varies
- Sodium: Varies
- Fat: Varies
- Saturated Fat: Varies
- Unsaturated Fat: Varies
- Trans Fat: Varies
- Carbohydrates: Varies
- Fiber: Varies
- Protein: Varies
- Cholesterol: Varies