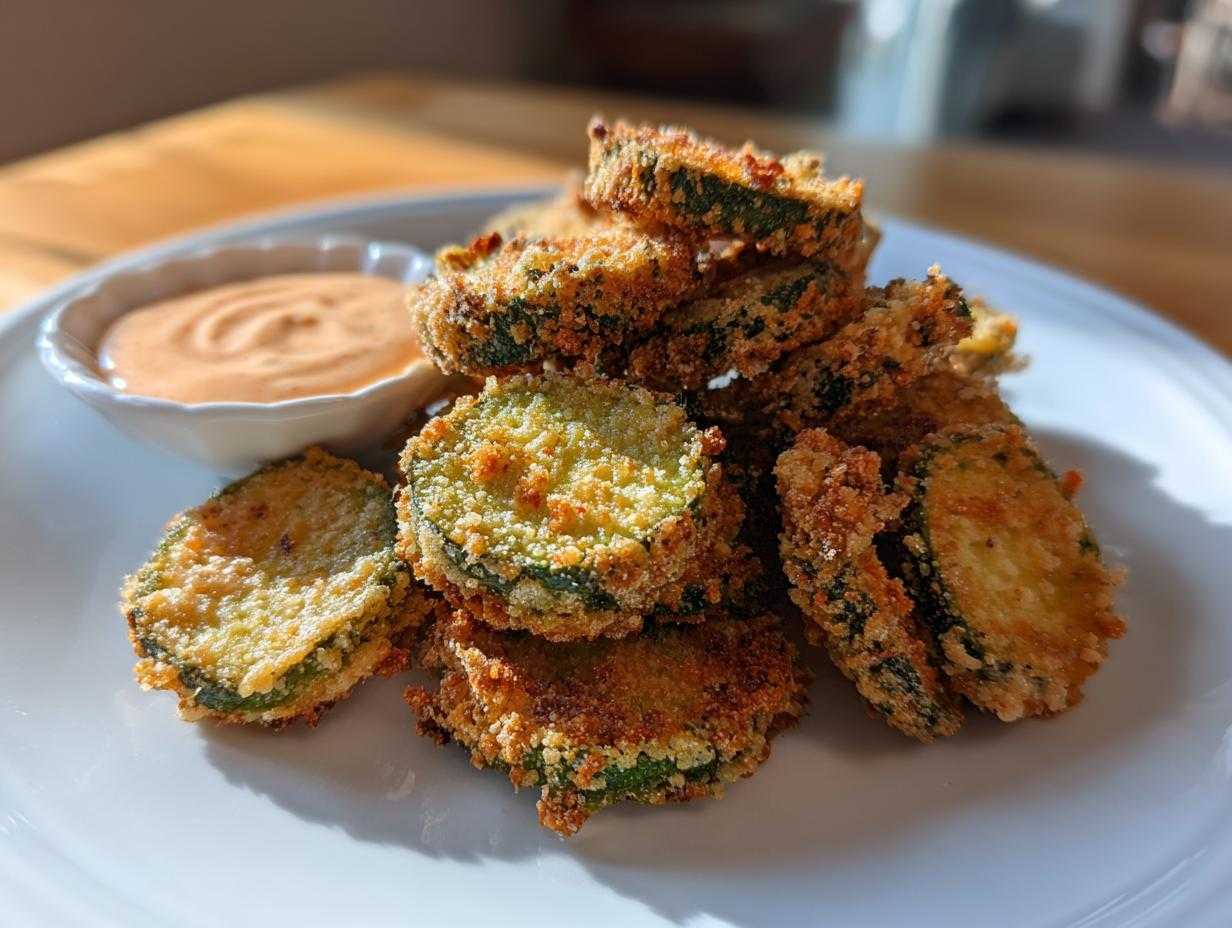
Oh my goodness, are you having one of those days where only something hot, salty, and ridiculously crunchy will do? I know I have them all the time! That perfect, tart bite of a pickle enveloped in a golden, seasoned crust—it’s the ultimate comfort food, especially for a big game day or just because it’s Tuesday. That’s why Liam and I had to nail down the ultimate **Fried Pickles** recipe, and trust me, we put it through the wringer!
Now, Liam—bless his precise heart—wants every measurement perfect, especially when we’re dealing with oil temperatures. But that’s where I come in! I’m always nudging him toward a little more spice, or finding a faster, slightly chaotic way to get that incredible texture. This recipe is the best of both worlds: Liam’s technical perfection guaranteeing that restaurant-style crispiness, tested in both the classic deep-fry and my preferred lighter air fryer method. Get ready, because by the time you’re done here, you’ll have the secret to making the crispiest, zingiest **Fried Pickles** you’ve ever tasted!
Why This Homemade Fried Pickles Recipe Works Every Time
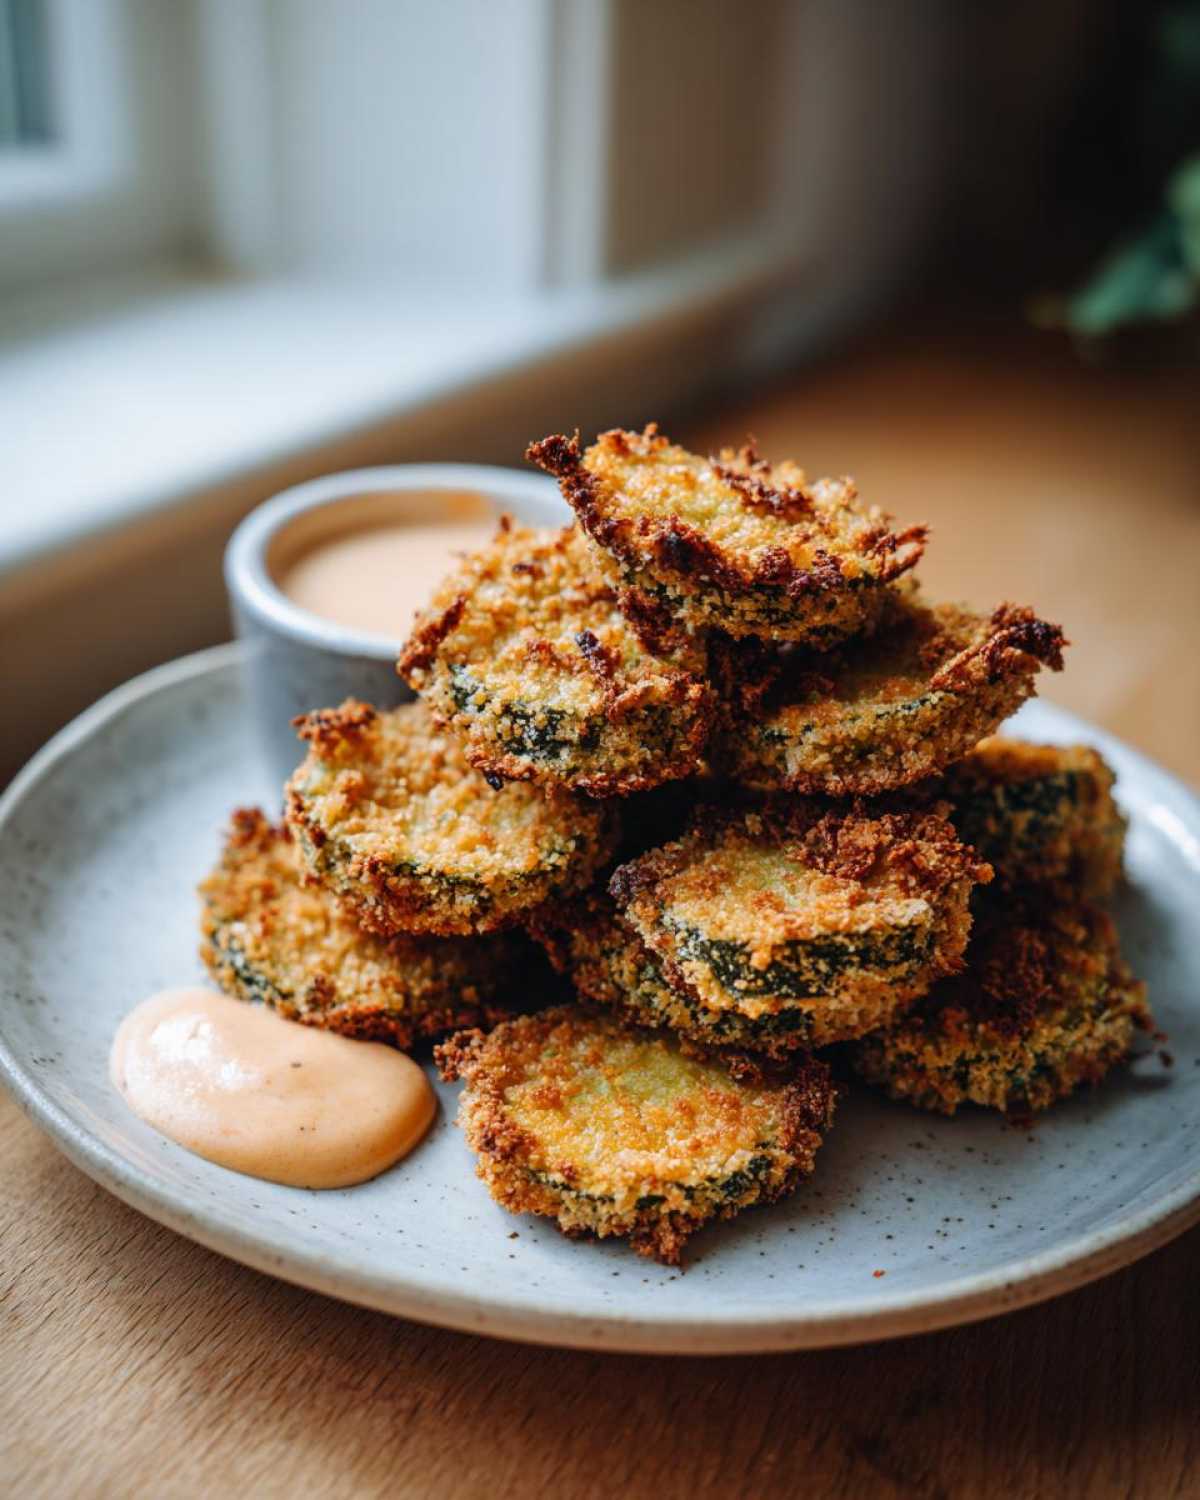
You know I love improvisation, but when it comes to golden, crunchy perfection, Liam reminds me that sometimes you have to slow down and respect the process. That’s why our deep-fried versions, and even our **Air Fryer Fried Pickles**, come out flawless. People are always asking me, “Sara, how do you make fried pickles crispy and not soggy?” It’s all about respecting the pickle’s water content!
I remember the first few times we tried this—we ended up with warm puddles of disappointment. Liam finally insisted we dedicate serious time to drying them out. He treats that step like a sacred ritual now, and honestly, the difference in achieving truly **Crispy Fried Pickles** is night and day. It separates the amateur attempts from the showstoppers!
The Secret to Ultra Crunchy Fried Pickles
Seriously, listen up—this is non-negotiable if you want that satisfying crackle. First, you have to drain those pickle chips for ages and press them with paper towels until you feel like you’re squeezing water from a stone. Second, panko breadcrumbs are your best friend. Forget the regular stuff; panko is flakier and creates those beautiful, jagged edges that catch the heat and turn into pure crunch. Press that panko on firmly so it has nowhere to run when it hits the heat!
Gathering Ingredients for Perfect Fried Pickles
Okay, now that we’ve established the importance of a dry pickle, it’s time for the fun part: the flavor layers! For this recipe, especially if you want that authentic, tangy vibe perfect for your next party, precision matters in the dredge. You can’t just eyeball the coating; it needs to stick perfectly to create that beautiful crust we’re after when making **Fried Pickles**.
Everything needs to be ready to go before those pickles even think about getting coated. Have three bowls lined up. This ensures you get an even, thick coating that locks in that incredible dill flavor. I promise, even Liam relaxes once everything is set up and ready to go.
For the Tangy Dill Pickle Appetizer Coating
This is where we build the flavor fortress around the pickle chip. Make sure you have exactly what the recipe calls for here. We’re talking about the dry mix, the binders, and that glorious panko!
- One (16 ounce) jar of your favorite dill pickle chips—and remember what we said about draining them until they weep!
- One cup of all-purpose flour (the base layer).
- One teaspoon of table salt.
- One teaspoon of black pepper—I like mine freshly cracked if you have a grinder handy!
- One teaspoon of garlic powder.
- One teaspoon of paprika (this is what gives us that gorgeous golden color).
- About 1/2 teaspoon of cayenne pepper—this is optional, but if you like a little kick, add it here!
- Two large eggs mixed with 1/2 cup of milk (our liquid glue).
- One cup of panko breadcrumbs (don’t cheat this part; the panko is everything for crunch!).
For the Zesty Fried Pickle Dipping Sauce
You simply cannot serve these crunchy delights without a perfect dipping vessel. This zesty sauce is super quick—maybe two minutes max—and it pairs absolutely perfectly with these tangy **Fried Pickles**. It’s the creamy counterbalance to all that savory crispness.
- 1/2 cup of mayonnaise.
- 1/4 cup of sour cream—this really smooths out the tang.
- One generous tablespoon of your favorite hot sauce.
- One teaspoon of fresh lemon juice for brightness.
- About 1/2 teaspoon of onion powder.
Just whisk these together until they look like a beautiful, pale pink masterpiece! Set it aside while we move on to the step-by-step performance!
Step-by-Step Instructions for Easy Fried Pickles Recipe
Finally, here’s the actual performance of making our **Easy Fried Pickle Recipe**! I know looking at multiple coating steps can seem intimidating, but trust me, it’s just a flow. Once you have your wet and dry stations set up, the process moves incredibly fast. Liam always sets the timer right before we start dipping so nothing has time to sit around and get soggy. We want these golden and hot, right out of the oil or the air fryer basket!
Preparation: Drying the Pickles for Maximum Crispiness
If you skip this, you might as well order takeout, because you won’t get those glorious, shatteringly **Crispy Fried Pickles** we promised! Take those well-drained chips and spread them out in a single layer across a couple of paper towel-lined baking sheets. Now, put another layer of paper towels right on top. Then, press down, firmly but gently. You are trying to physically remove every last drop of excess moisture from the pickle slice. It feels like overkill, but it’s the absolute secret weapon for a sturdy, crunchy coating!
Assembling the Three-Step Dredging Station
Get your three bowls ready to go, side-by-side. This is your assembly line! Remember, we’re going dry, wet, then extra dry for the crunch:
- Bowl 1 gets your seasoned flour mix.
- Bowl 2 gets the egg and milk mixture—your binder!
- Bowl 3 gets all that glorious panko breadcrumbs.
Work in small batches, seriously! Take a few of those super-dry pickle chips and toss them in the flour first, shaking off anything that doesn’t immediately stick. Then, dunk them into the egg wash, letting the extra drip off back into the bowl before plunging them into the panko. Press them real good into the panko so they are completely coated. Place them straight onto a clean, dry baking sheet for the next step. Don’t let them hang out too long!
Cooking Method 1: Classic Deep Fried Pickles
If you want that phenomenal, pub-style experience, you have to go deep! Heat about two inches of vegetable oil in a heavy pot until it hits a solid 375 degrees F (190 degrees C). Use a thermometer, please—Liam gets very twitchy if the oil isn’t perfect! Carefully lower the breaded chips into the oil, but don’t crowd the pot! We want them to fry, not steam. They only take about 1 to 2 minutes per side until they are beautifully golden brown. Remove them with a slotted spoon and place them directly onto a wire rack lined with fresh paper towels. This lets the excess oil drip away and keeps the bottoms from getting soggy. Hello, perfect **Deep Fried Pickles**!
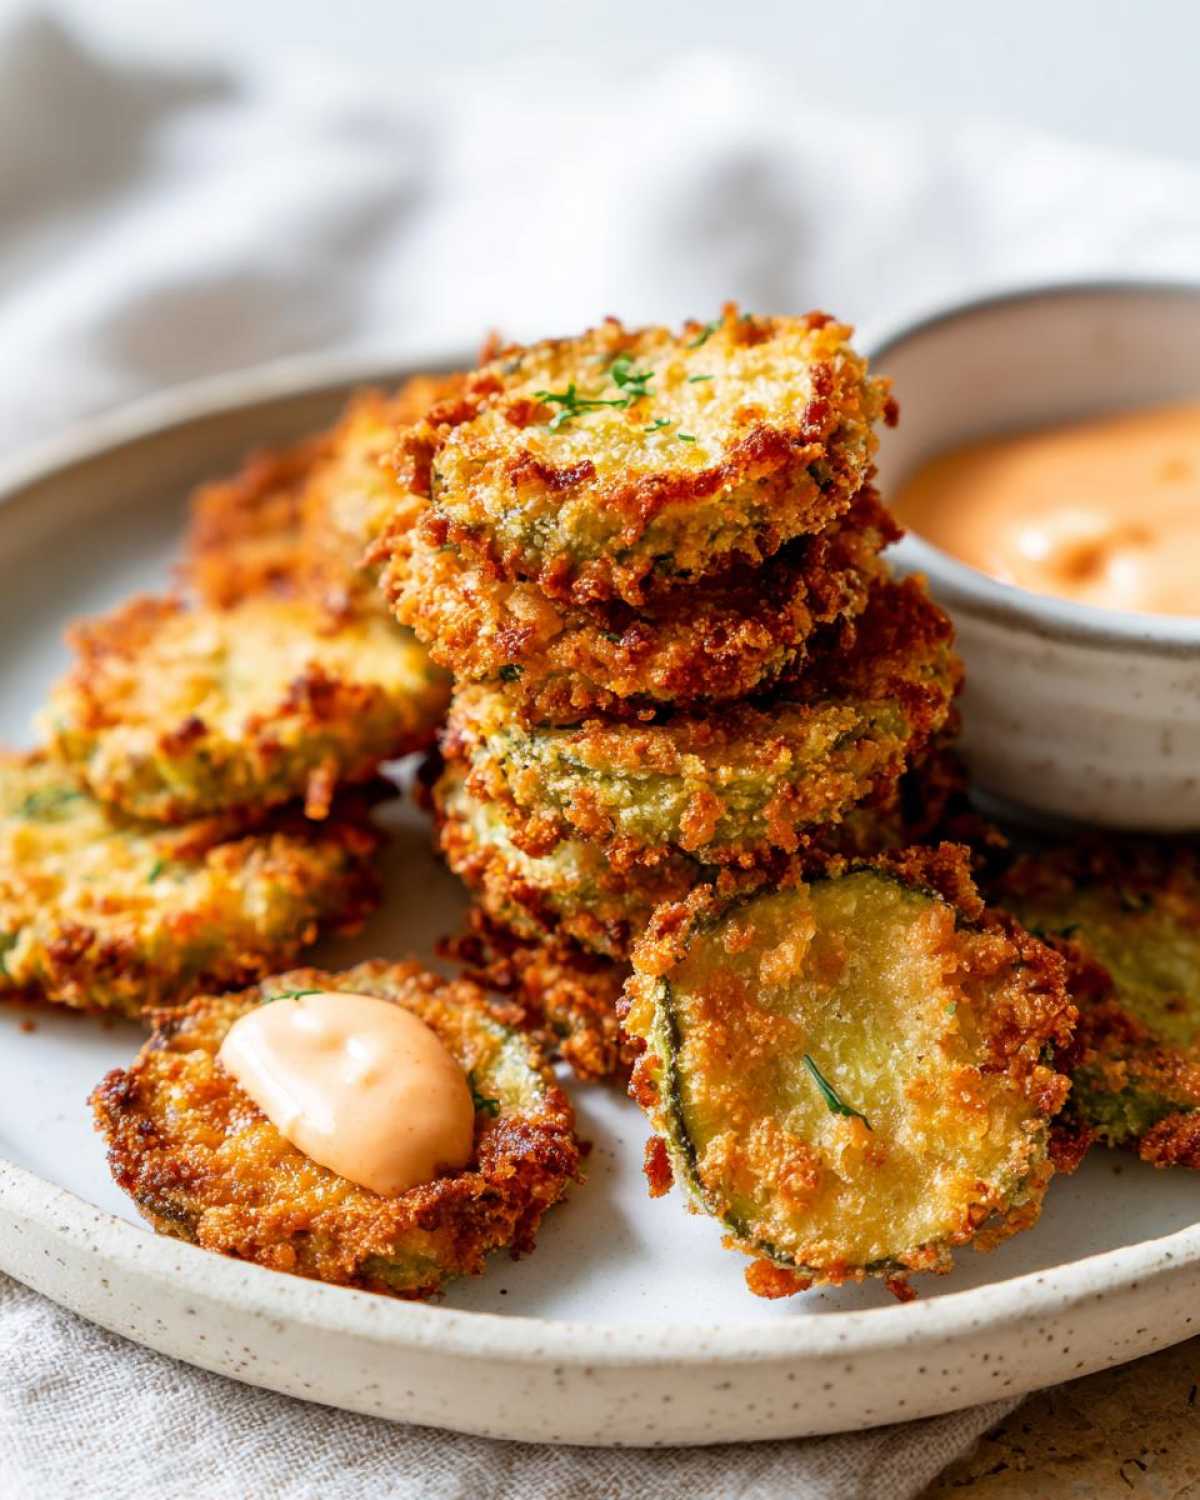
Cooking Method 2: Air Fryer Fried Pickles (A Lighter Option)
For those days when we want that crunch without the oil bath, the air fryer is our hero. Preheat your machine to 380 degrees F (195 degrees C). Now, this is the key for the ‘healthier’ version: you still need *some* oil for browning. Lightly spray your air fryer basket—don’t skip this! Arrange your coated **Fried Pickles** in a single layer (you absolutely must cook in batches here, or they steam instead of crisp). Spray the tops lightly with cooking spray too. We’re air frying these for about 8 to 10 minutes total, but you have to flip them halfway through. This ensures even texture. When they come out golden and crunchy, they are ready for dipping!
You can find more fun recipes to help you master game day spreads right here, like my recipe for the smash burger sauce—it’s amazing for dipping these, too!
Tips for Texas Roadhouse Fried Pickles Copycat Flavor
Okay, I know some of you are scrolling specifically looking for that famous chain flavor—the one that keeps you digging through the basket for just one more chip! We totally get it. While our base recipe is fantastic for any dill pickle, we learned how to tweak the spice blend just right to capture that signature taste people chase. Liam worked overtime testing different herbs in the flour mix until he got that specific savory note just sparkling through the tang.
The magic trick to getting that recognizable **Texas Roadhouse Fried Pickles Copycat** flavor is actually super simple and lives right in our dry dredging station. You don’t need to go anywhere special; you probably have it right in your spice rack! If you’re looking to recreate that specific addictive quality, you absolutely have to try adding a tiny bit of dried oregano into the flour mix we talked about earlier. Just a small pinch, maybe 1/4 teaspoon, stirred in well with the paprika and garlic powder is all it takes.
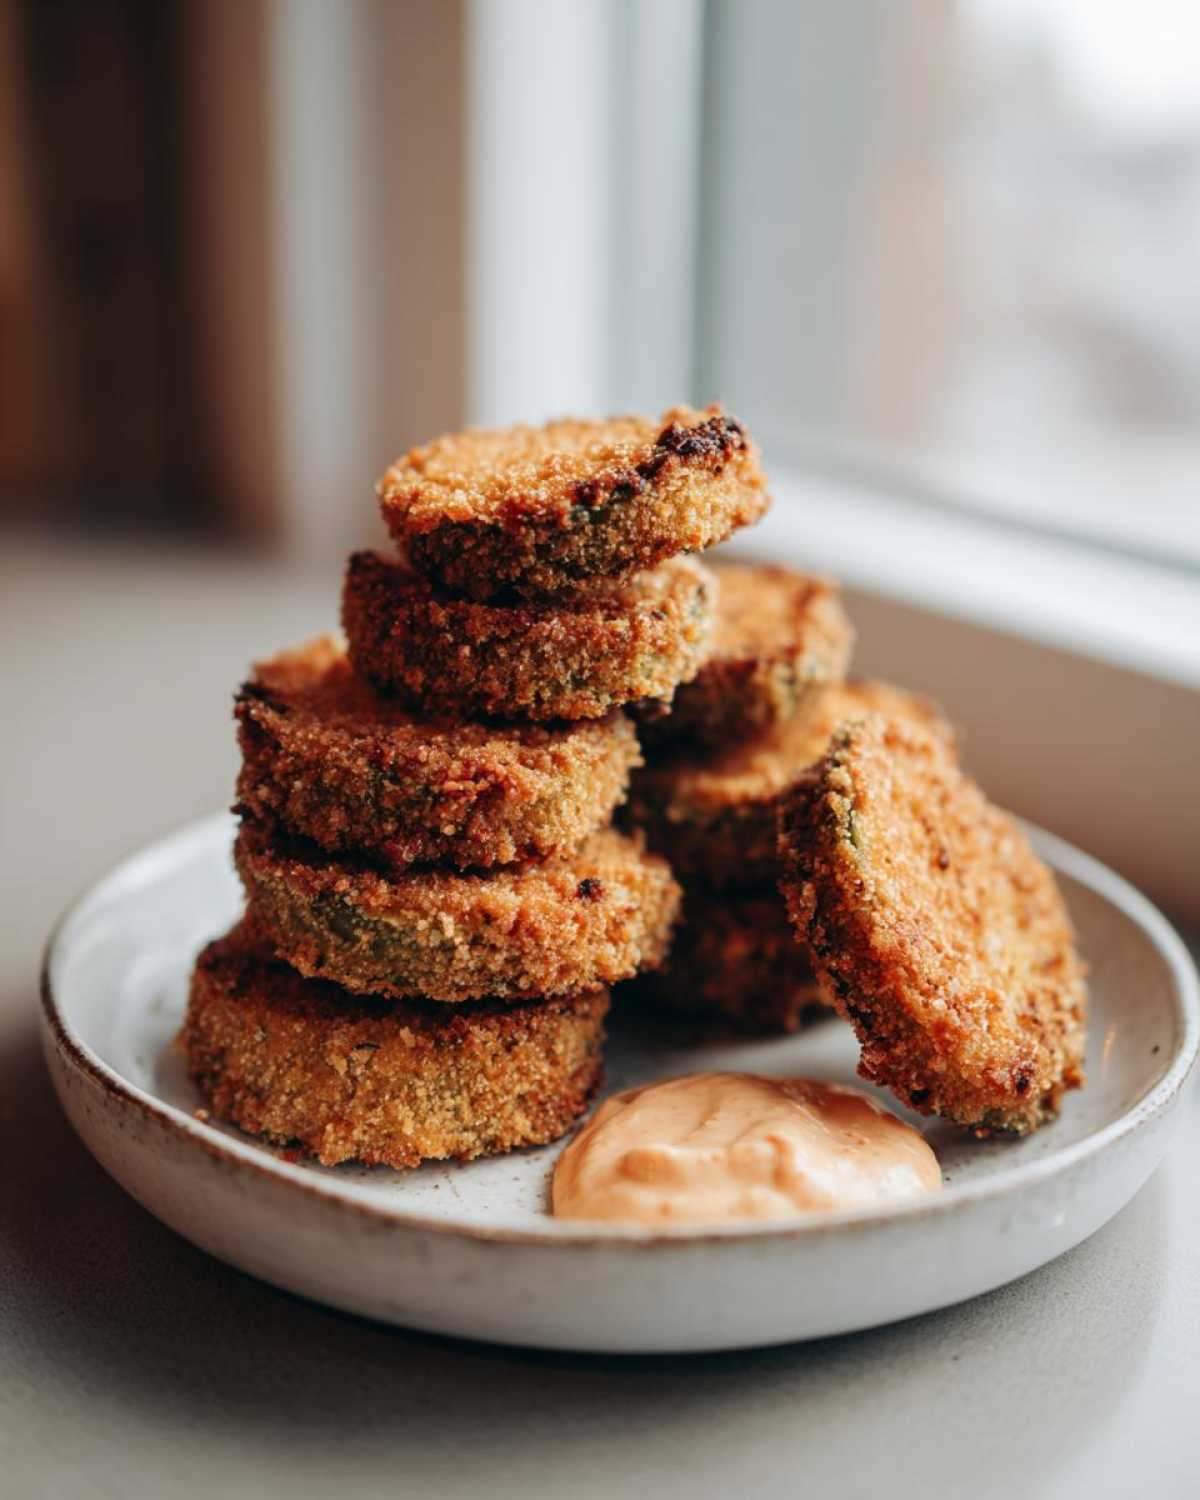
Seriously, the minute you add that oregano, the whole aroma changes! It gives the coating that earthy, slightly complex layer that makes you think, “Yep, this tastes like my favorite pub appetizer.” Don’t take my word for it; go check out some of the copycat recipes online, like the one I saw over at Recipestang—they all nail that subtle seasoning trick. If you’re making these for a big gathering, you need this flavor upgrade for your **Fried Pickles**!
If you’re whipping up a big batch of game day snacks, you might also want to check out my recipe for cranberry glazed meatballs—they’re sweet, savory, and always disappear first!
Serving Suggestions for Your Best Fried Pickles Appetizer
The show isn’t over just because these beauties are golden brown and crispy! Getting the perfect coating is one thing, but making sure you have the right side pieces is what truly elevates these crunchy bites to the **Best Fried Pickles Appetizer** status. These are so good straight out of the fryer, but honestly, they need a creamy, bright partner to cut through that rich flavor. When I first brought Liam’s perfected **Fried Pickles** to a party, everyone immediately asked what the sauce was!
You can go fancy, of course, but nothing beats keeping things simple when you’re dealing with this much flavor. Whatever you serve them with, make sure you have plenty—these things disappear faster than Liam cleans up his prep bowls!
The Essential Fried Pickle Dipping Sauce
We already whipped up our zesty dipping sauce, and I can’t stress enough how mandatory it is for the full experience. That mix of mayo, sour cream, lemon, and a little hot sauce is tailor-made to complement the tangy dill of the pickle. It’s creamy, zesty, and just keeps you reaching back into that basket for another!
But if you’re like me and love a good dive bar classic, you absolutely must try these with a good, robust ranch dressing. A simple, creamy **Fried Pickle With Ranch** pairing is iconic for a reason! If you want to make your own homemade ranch that’s fresher and brighter than anything you buy in a bottle, you should check out my recipe for Greek yogurt ranch. It’s really easy and feels so much better when you’re serving up something homemade!
Storage and Reheating Crunchy Pickle Chips
Okay, let’s be honest: the best part of making these amazing **Fried Pickles** is eating them piping hot and intensely crunchy right when they come out of the oil or the air fryer. They are truly a *must-eat-immediately* snack. Because we worked so hard removing moisture before coating, they *do* hold up better than other fried things, but nothing beats that first bite!
But what if you have leftovers? Because these are such excellent **Tangy Pickle Snacks**, sometimes we end up with a few stragglers hiding at the bottom of the bowl. Don’t throw them away! We just need to wake up that crispiness again, and guess what tool is perfect for the job? Yep, the air fryer wins again!
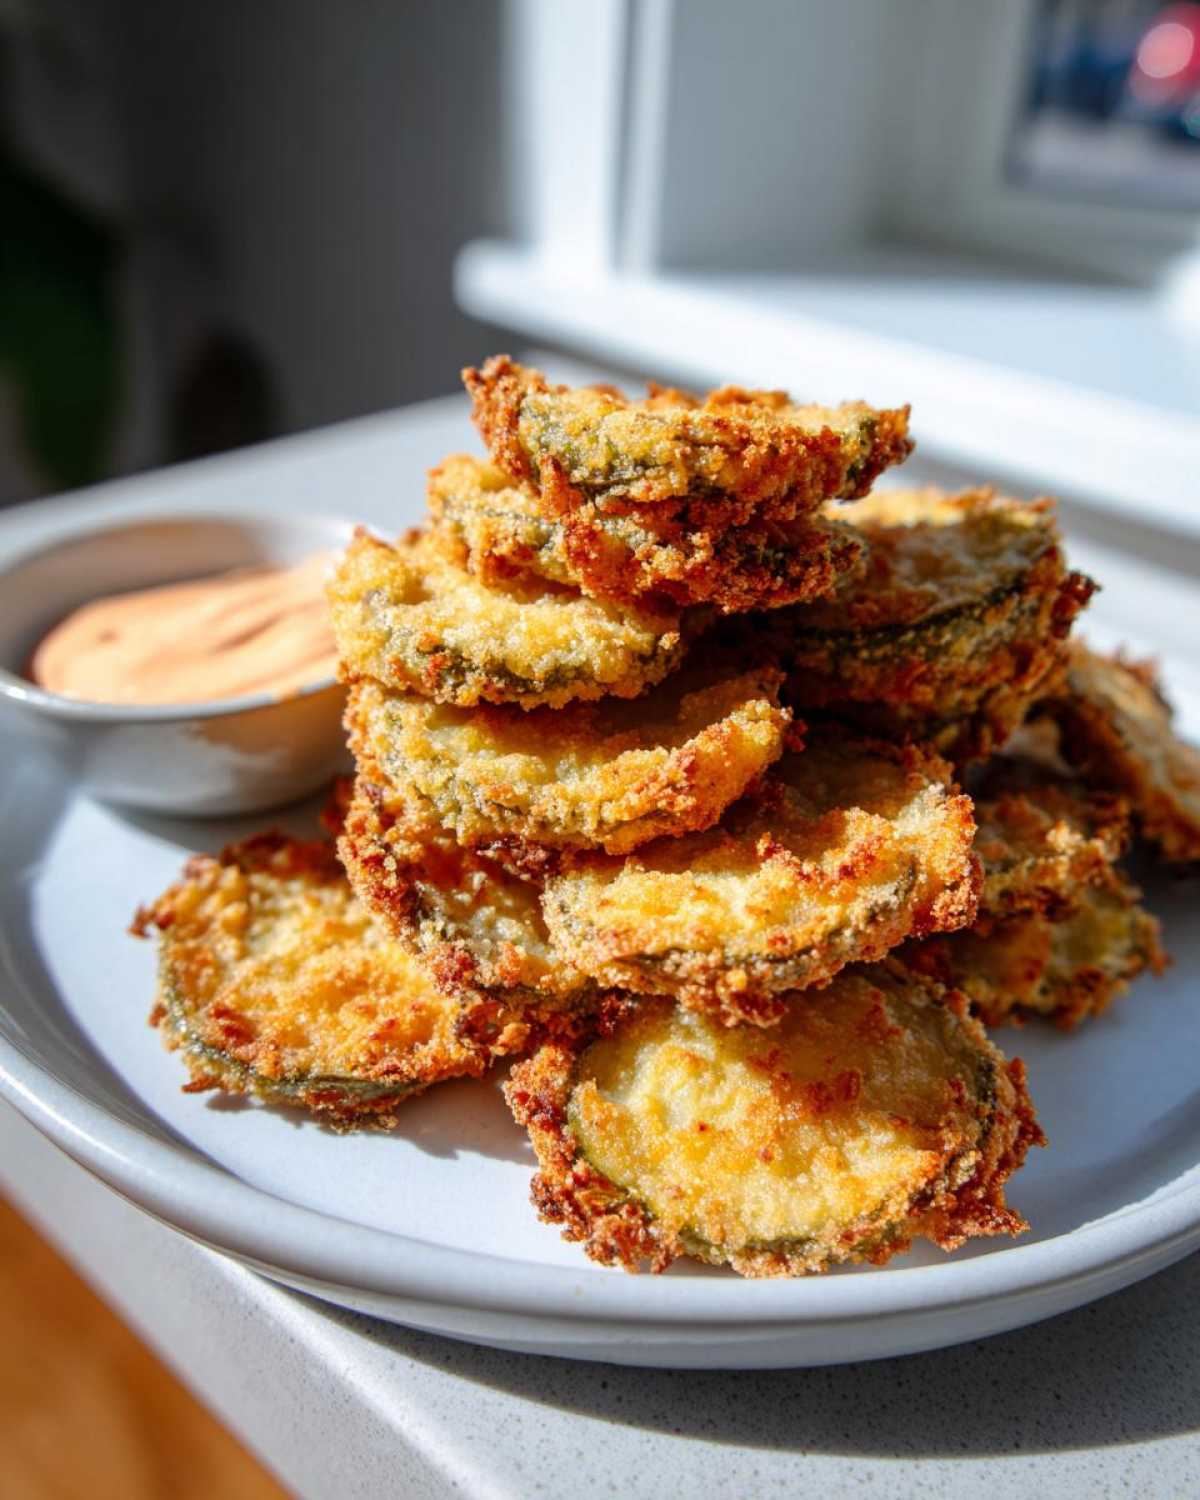
If you wrap them tightly in foil or put them in a true airtight container, they should be fine on the counter for maybe an hour, but honestly, your fridge is better for longer storage. Within 24 hours is ideal. After that, they start tasting… mournful. For reheating, the oven is too slow, and the microwave is an absolute tragedy—never microwave these!
Here’s the magic reheat trick. Preheat your air fryer (yes, the same one you used for cooking!) to about 375 degrees F. Lay your leftover fried chips in a single layer—again, no overcrowding!—and give them just a quick spray of cooking oil. Let them run for about 3 to 5 minutes. You’ll watch them crisp up right before your eyes! They won’t taste *exactly* like the first batch, but they’ll be crunchy enough to satisfy that craving. If you’re looking for other great ways to use that air fryer for snacks, check out my recipe for air fryer roasted chickpeas—they have a similar satisfying crunch!
Frequently Asked Questions About Fried Pickles
I always get so many questions after I post a recipe this fun because everyone wants their batch to turn out just as golden as mine! Liam usually handles the temperature questions, but I field all the flavor queries. Let’s get those last bits of confusion cleared up so you can get these amazing **Fried Pickles** on the table, whether it’s for a massive watch party or just a quiet Tuesday snack!
Can I use sweet pickles instead of dill for these Fried Pickles?
Oh, you totally can, but be warned: the results are very different! Our recipe is geared toward that classic, tangy, tart flavor profile that pairs so perfectly with ranch—that’s why we use dill. If you switch to sweet pickles, you’re going to get a much sweeter snack, more like a dessert chip! It’s a fun experiment if you’re feeling adventurous, but for that classic **Southern Fried Pickles** taste, stick to the dill chips. They balance the savory spices in our coating so much better. Let me know if you try the sweet ones, though—I’m always curious!
What is the best oil temperature for Deep Fried Pickles?
This is Liam’s domain, and he insists that anything lower than perfection is asking for trouble! For our deep-fried version, you must stabilize your oil at 375 degrees F (190 degrees C). If the oil is too cool, the breading soaks up all that fat before it has a chance to seal and crisp up, which leads to soggy results. Too hot, and the coating burns before the pickle heats through—yuck! If you’re making these for a **Game Day Fried Pickles** spread, check that temperature before that first batch goes in!
How do I avoid soggy coatings on my Homemade Fried Pickles Recipe?
If I hear one more person complain about sogginess, I’m going to start holding mandatory kitchen classes! Look, it comes down to two things we covered earlier, but they are worth repeating because they make or break your **Homemade Fried Pickles Recipe**. First: You must dry those pickles aggressively! Use paper towels and press every bit of water out of them before they touch anything. Second: Don’t let that breaded pickle sit around! As soon as that panko is on, it needs to go straight into the hot oil or the air fryer. The longer it waits, the more moisture evaporates from the pickle and starts dampening your beautiful crust. Speed and dryness are your best weapons!
If you are serving up a big batch of appetizers, you might want to grab my recipe for apple cider glazed meatballs too. They are another crowd-pleaser that always goes fast!
Nutritional Estimate for Golden Fried Pickles
Now, I know we aren’t exactly making these **Golden Fried Pickles** for a health competition—we’re making them for maximum joy, right? But since Liam insists on knowing *everything*, I tracked down the estimated nutrition information based on my calculations for the deep-fried version. Think of this as rough guidance for the theater critics at your party!
Remember, this is just an approximation based on one serving size, which we defined as 1/4 of the entire recipe (about 12 chips). If you choose the air fryer route, you should see the fat content drop significantly, which is a great bonus! But even with the deep fry, these are still just amazing little bites of tangy goodness.
- Serving Size: 1/4 of recipe (approx. 12 chips is our estimate)
- Calories: Around 350—yeah, butter and oil add up!
- Fat: Roughly 25 grams total fat, with about 4 grams of that being the saturated kind.
- Carbohydrates: About 25 grams, mostly from the flour and panko coating.
- Protein: A small boost, around 6 grams.
- Sugar: Very low, just about 3 grams (mostly from the pickles themselves).
- Sodium: This one is high, around 850mg, because, well, pickles!
If you’re making these for a gathering and need another sweet, delicious option that pairs well with dips, you absolutely have to try my cranberry orange muffins! They are an excellent way to round out a snack table.
Share Your Culinary Performance
I absolutely love sharing these scripts for our kitchen performances, but the real magic happens when you take these instructions and put on your own show! We put so much love into perfecting this **Fried Pickles** recipe—from Liam obsessing over the oil temperature to me sneaking in extra cayenne just to see his reaction—and now I want to see what you create.
Did you try the deep-fried method for that quintessential pub crunch, or did you go lighter with the air fryer? Did you add oregano for that copycat flavor, or did you improvise and add something totally wild? Tell me everything in the comments below!
Don’t forget to rate this recipe with stars so other aspiring culinary artists know they are heading toward a guaranteed standing ovation. If you have any questions, or if you just want to shout about how unbelievably crunchy these turned out, hit up my contact page or just drop a note below. Happy cooking, everyone! Now go make some noise in your kitchen!
Print
The Ultimate Crispy Fried Pickles Recipe (Restaurant-Style & Air Fryer Options)
- Total Time: 25 min
- Yield: 4 servings 1x
- Diet: Vegetarian
Description
Learn how to make perfectly crispy, golden fried pickles at home, including a deep-fried restaurant-style version and a lighter air fryer alternative. Serve these tangy pickle chips with a zesty dipping sauce for the best game day appetizer.
Ingredients
- 1 (16 ounce) jar dill pickle chips, drained well
- 1 cup all-purpose flour
- 1 teaspoon salt
- 1 teaspoon black pepper
- 1 teaspoon garlic powder
- 1 teaspoon paprika
- 1/2 teaspoon cayenne pepper (optional, for heat)
- 2 large eggs
- 1/2 cup milk
- 1 cup panko breadcrumbs (for extra crispiness)
- Vegetable oil, for frying (or cooking spray for air fryer)
- For Dipping Sauce: 1/2 cup mayonnaise, 1/4 cup sour cream, 1 tablespoon hot sauce, 1 teaspoon lemon juice, 1/2 teaspoon onion powder
Instructions
- Prepare the pickles: Lay the drained pickle chips on several layers of paper towels. Place more paper towels on top and press gently to remove as much moisture as possible. This step is key for crispy fried pickles.
- Set up the dredging station: In one shallow bowl, whisk together the flour, salt, pepper, garlic powder, paprika, and cayenne pepper. In a second bowl, whisk the eggs and milk together. In a third bowl, place the panko breadcrumbs.
- Dredge the pickles: Working in small batches, dip the dry pickle chips first into the flour mixture, shaking off excess. Then, dip them into the egg mixture, letting excess drip off. Finally, press them firmly into the panko breadcrumbs, coating completely. Place the coated pickles on a clean, dry baking sheet.
- Prepare the dipping sauce: In a small bowl, whisk together the mayonnaise, sour cream, hot sauce, lemon juice, and onion powder until smooth. Set aside.
- For Deep Frying: Heat about 2 inches of vegetable oil in a heavy-bottomed pot or deep fryer to 375 degrees F (190 degrees C). Carefully drop the breaded pickles into the hot oil in a single layer, being careful not to overcrowd the pot. Fry for 1 to 2 minutes per side, until golden brown and crisp. Remove with a slotted spoon and drain on a wire rack lined with paper towels.
- For Air Frying: Preheat your air fryer to 380 degrees F (195 degrees C). Lightly spray the air fryer basket with cooking spray. Arrange the breaded pickles in a single layer in the basket (work in batches). Spray the tops of the pickles lightly with cooking spray. Air fry for 8 to 10 minutes, flipping halfway through, until golden and crunchy.
- Serve immediately with the zesty dipping sauce. These crunchy dill fried pickle chips are best eaten right away.
Notes
- For a Texas Roadhouse copycat flavor, you can add a pinch of dried oregano to the flour mixture.
- If you skip the panko and use only flour, you will get a thinner, less crunchy coating, more like a batter.
- To ensure maximum crispiness, make sure your oil temperature is correct before frying.
- Prep Time: 15 min
- Cook Time: 10 min
- Category: Appetizer
- Method: Deep Frying or Air Frying
- Cuisine: American
Nutrition
- Serving Size: 1/4 of recipe (approx. 12 chips)
- Calories: 350
- Sugar: 3
- Sodium: 850
- Fat: 25
- Saturated Fat: 4
- Unsaturated Fat: 21
- Trans Fat: 0
- Carbohydrates: 25
- Fiber: 1
- Protein: 6
- Cholesterol: 75