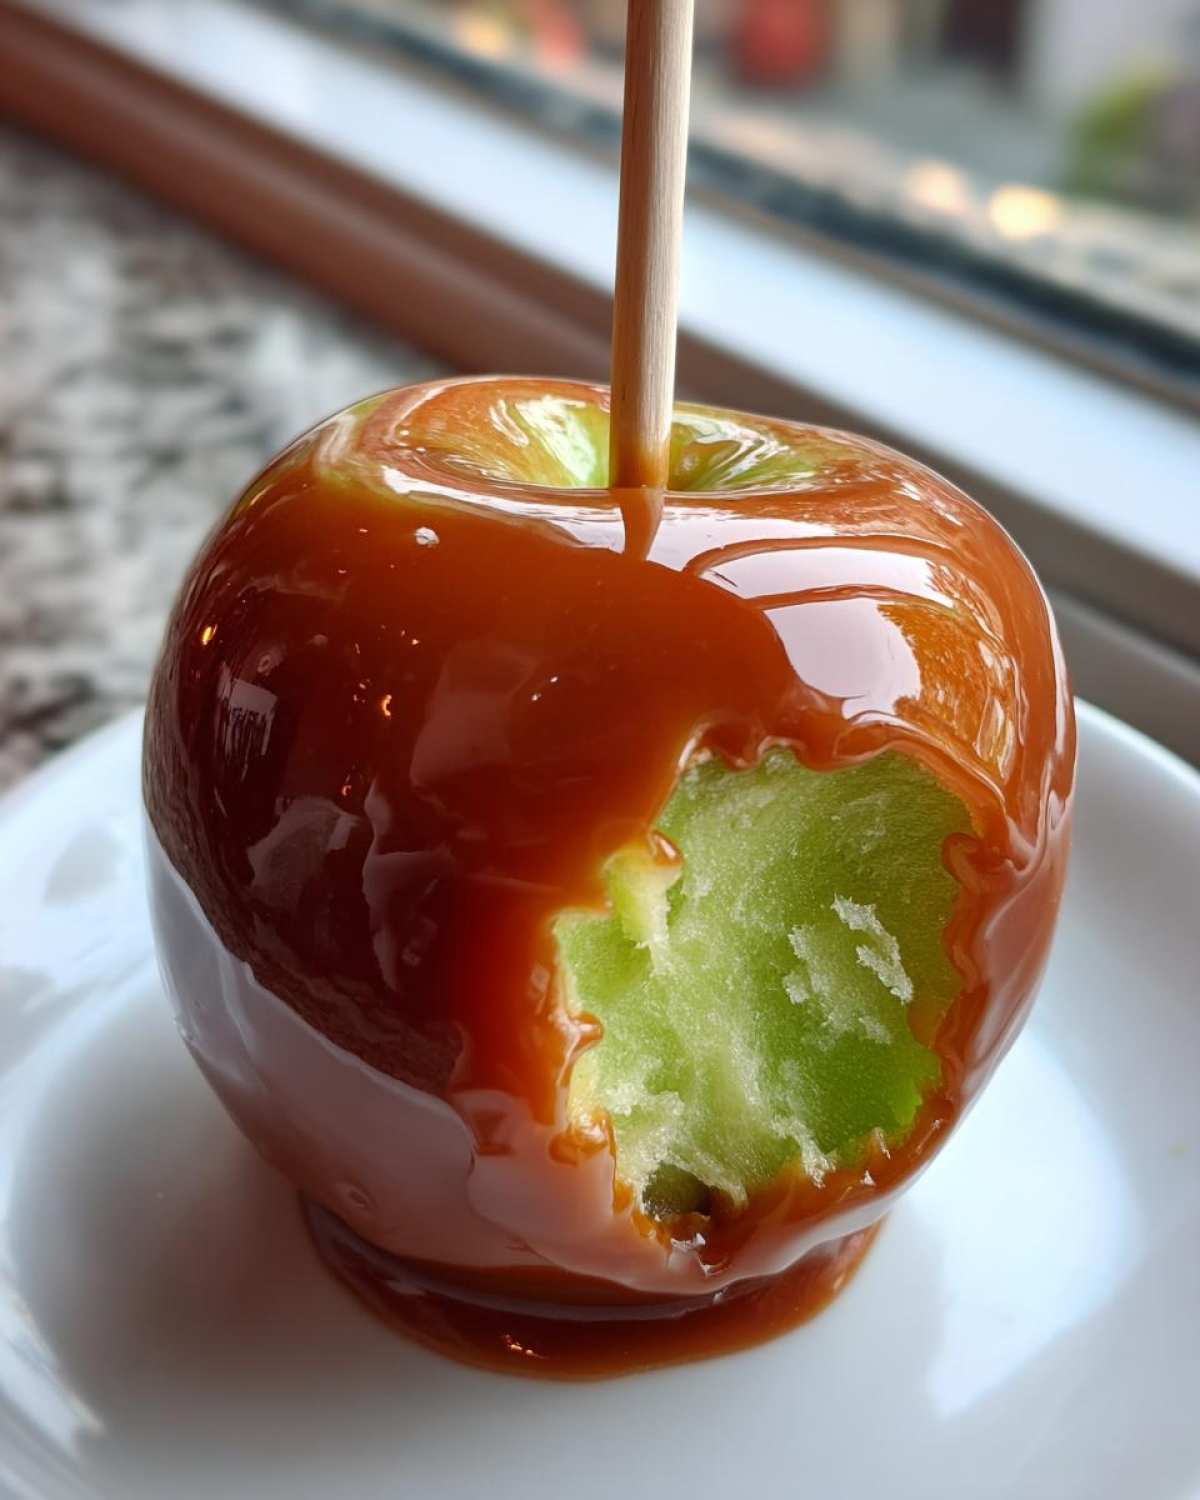
Making Foolproof Homemade Caramel Apples
This recipe is our heart on a stick. Seriously. We took something simple and made it ours. I remember the first time Liam tried making a batch of classic caramel apples. They looked great, but the caramel was a slippery mess. We laughed so hard. Now, we have a method. This guide gives you that secret. It ensures your homemade caramel apples look like they came from a fairground stand. Forget the sliding sugar blues. Get ready for chewy, perfect caramel.
Our Story: From Lab to Stage with the Caramel Apple
Liam used to cook like a chemist. Everything precise. Very quiet cooking. I came in, all loud energy and messy hands. I needed food to feel like a party. Our kitchen changed fast. I remember one day, Liam was stressing over a batch of caramel. It was sliding right off the apples. I grabbed the sprinkles and dumped half a jar on them anyway. He just stared. Then he laughed. That moment showed us cooking should be fun. This perfect caramel apple recipe is where our playful style really shines. It’s about joy, not just perfect texture.
Why You Will Love These Perfect Caramel Apples
Making a great batch of these treats is so rewarding. You won’t believe how easy it is now. We fixed all the common problems.
These aren’t just any dipped apples. They are built to last. You get that satisfying chewiness every time.
Key Benefits for Your Homemade Caramel Apples
- The caramel truly sticks to your apples. No more sliding!
- We guarantee that perfect, chewy caramel texture.
- Prep is simple for quick topping application.
- You control all the delicious gourmet toppings.
Equipment Needed for Your Caramel Apple Success
Getting the right tools makes all the difference here. Trust me on this one. I used to think any old pot would do. Nope! Not for candy making.
You need sturdy gear for this process. It helps keep things safe too. A heavy-bottomed saucepan is non-negotiable. It spreads heat evenly. This prevents scorching the sugar mixture.
The star piece of equipment is the candy thermometer. This is where the magic happens. Temperature dictates texture. You cannot guess this stage correctly.
- Heavy-bottomed saucepan (medium size works well).
- Sturdy wooden or lollipop sticks for handling.
- A reliable candy thermometer for accuracy.
- Parchment paper or silicone mats for cooling.
- A small bowl for your chosen toppings.
Make sure your thermometer clips on securely. It needs to read the temperature correctly. We don’t want any lukewarm caramel surprises!
Gathering Ingredients for the Best Caramel Apple Recipe
Alright, let’s talk supplies. Getting the right ingredients sets the stage. You want firm apples. Soft apples turn mushy fast. High-quality components make the best chewy caramel.
Don’t skimp on the butter or sugar here. These form the backbone of your coating. I always grab the best brown sugar I can find. It adds such a deep flavor.
Apple Preparation Essentials
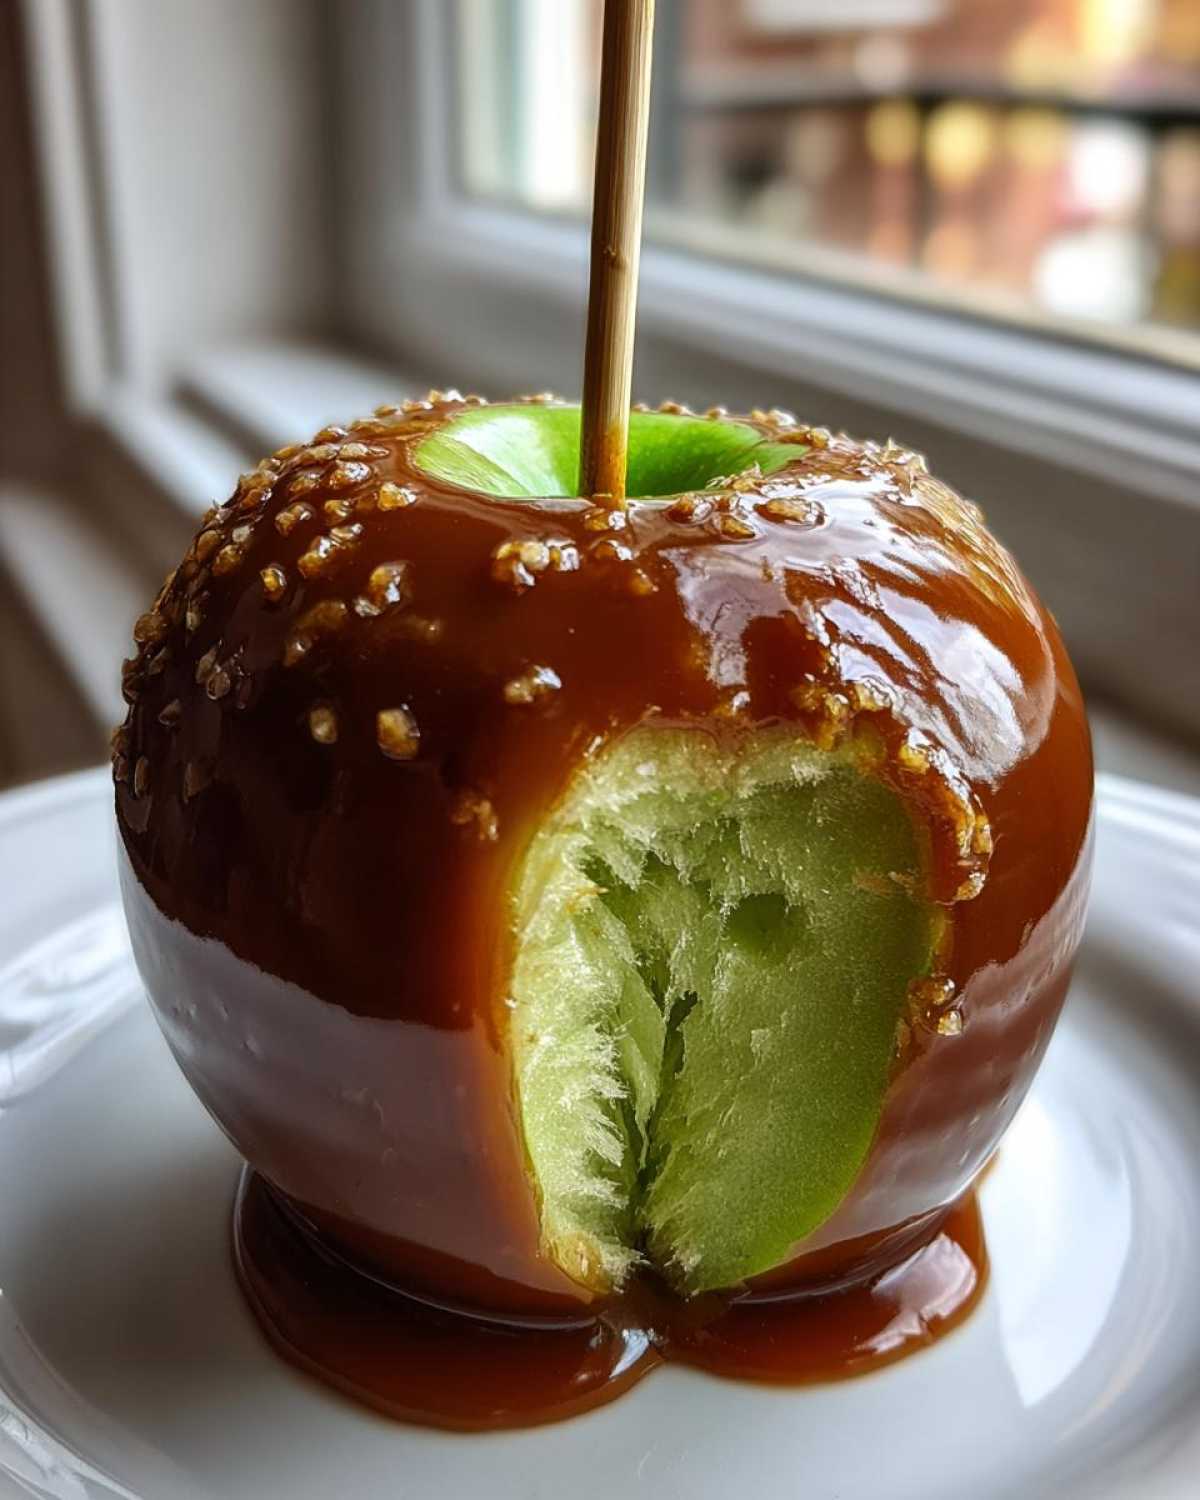
You need apples that can handle the heat. Granny Smith apples are my top choice. They stay wonderfully crisp. This contrasts perfectly with the soft caramel.
- Six medium, firm, crisp apples.
- Twelve sturdy wooden sticks ready to go.
Remember, we need to strip off any wax coating. This is crucial for sticking. Don’t skip that boiling step we talked about!
Ingredients for Chewy Caramel That Sticks
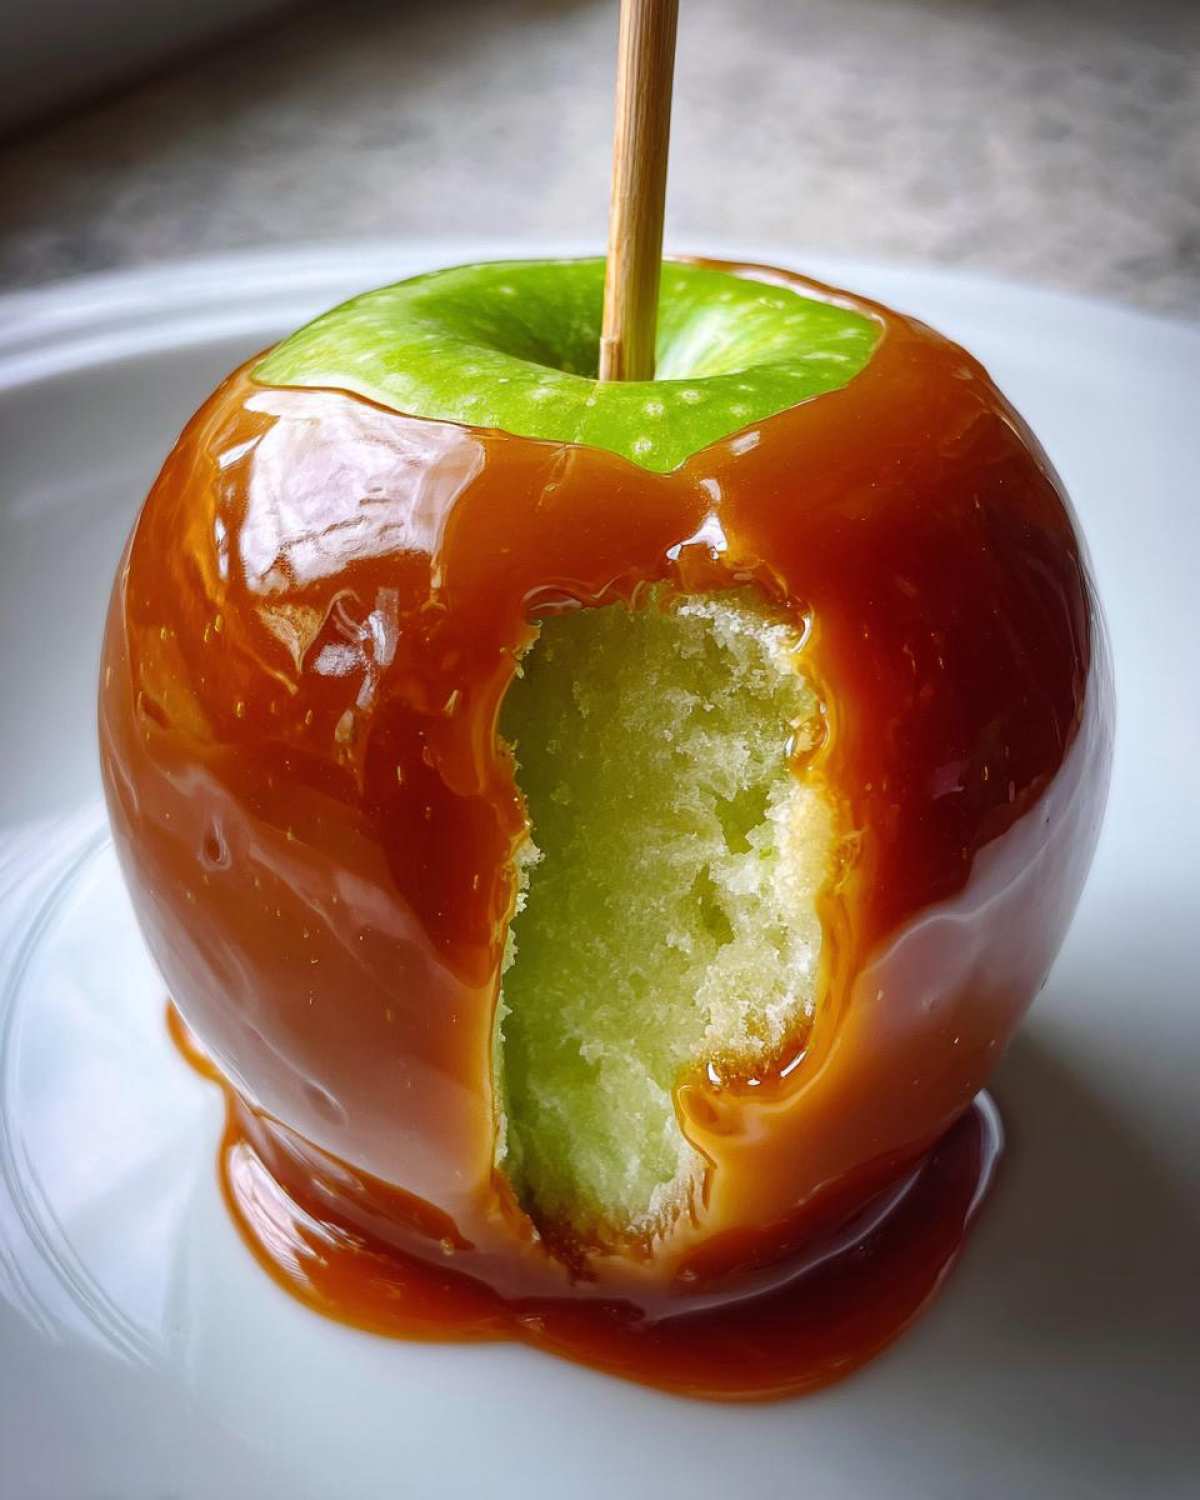
This mix creates that glossy, perfect coating. It’s simple stuff, really. The technique is what truly matters for the final texture.
- One cup of unsalted butter (two sticks).
- Two packed cups of light brown sugar.
- One cup of light corn syrup.
- One 14-ounce can of sweetened condensed milk.
- One teaspoon of pure vanilla extract.
- Half a teaspoon of coarse salt (optional, for a lovely bite).
Topping Ideas for Gourmet Caramel Apples
This is where your inner child gets to run wild! Toppings make every single caramel apple unique. Think about texture and crunch.
I love mixing sweet and salty things. It’s just the best flavor combination, in my opinion.
- Finely chopped nuts (pecans or peanuts work great).
- Crushed cookies, like Oreos or shortbread.
- Fun rainbow or dark chocolate sprinkles.
- Miniature chocolate chips scattered on top.
Have these ready before you even start cooking. Speed matters once the caramel is done!
Step-by-Step Instructions for Perfect Caramel Apples
This is the performance part of our show. Precision matters now. But don’t stress out! We break it down simply for you. Follow these steps closely.
We move quickly once the caramel hits the right temperature. Have everything laid out first. This preparation prevents disaster. A well-prepared stage means a great show.
Preparing Apples to Guarantee Caramel Adherence
Moisture is the enemy of sticky caramel. We have to get those apples bone dry. Start by washing your chosen fruit. Then, tackle the wax coating.
Boil them briefly to loosen the wax. Just ten seconds in hot water works wonders. Immediately transfer them to an ice bath. This stops the cooking process.
Dry them completely afterwards. I mean every single spot. Use paper towels. Let them air dry for a bit too. Next, push the sticks in firmly. They need to go deep into the core.
Cooking the Foolproof Caramel
Time to build that beautiful, chewy caramel. Use your heavy-bottomed pan. Combine butter, sugar, and corn syrup there. Stir it well over medium heat.
You must stop stirring once it boils. Stirring introduces air bubbles later. Attach your candy thermometer now. Watch it climb slowly toward 245 degrees Fahrenheit. This is the firm ball stage.
This cooking takes about 15 to 20 minutes total. Patience is your friend here. Do not rush the temperature rise. Once it hits 245 degrees, pull it off the heat! Immediately stir in the milk and vanilla. Add salt if you want that salty kick.
Dipping and Finishing Your Caramel Apples
Let the mixture cool a bit now. About five to ten minutes is perfect. The caramel should thicken slightly. It should coat the spoon easily.
Dip your prepared apple into the warm caramel. Tilt the pan gently if needed. Keep the top clear of coating. Lift it out slowly and let the excess drip off.
Roll it instantly in your toppings. Work fast before the coating sets too hard. Place the finished product on sprayed parchment paper. Let them set up completely at room temperature. They need one full hour to firm up nicely.
Expert Tips for Caramel Apples That Never Slide
I know the biggest fear. That beautiful caramel sliding right off. It happens to everyone sometimes. We learned the hard way about this.
The cooling time after cooking is very important. Don’t rush dipping them immediately. Let the caramel thicken just a little first. This slight cooling helps it grip the apple better.
Here are our secrets for keeping things stuck fast.
Troubleshooting Caramel Temperature and Consistency
If your caramel seems too thin after mixing, don’t panic. Return it to low heat briefly. Stir gently. Cook it until it reaches 248 degrees Fahrenheit instead. This higher temperature yields a firmer set.
Remember, temperature is everything in candy making. A candy thermometer is your best friend here. It removes all the guesswork from the process.
Ingredient Notes and Substitutions for Your Caramel Apple
Never skip drying the apples fully. Seriously, moisture ruins this dessert fast. It causes the caramel to weep later on.
We recommend room temperature storage only. Refrigeration makes the caramel sweat. That moisture causes the dreaded slide. Store them wrapped individually for up to a week.
For extra flavor, try adding spices. A tiny pinch of nutmeg works wonders. This adds a lovely warmth to the final product.
Frequently Asked Questions About Homemade Caramel Apples
I’ve collected some common questions over the years. Dealing with things like storage or texture can be tricky. Let’s clear up some confusion now.
Making a great batch of these treats means knowing the pitfalls. We want your kitchen success story. Here are the answers homeowners ask most often.
Can I make caramel apples ahead of time?
Yes, you absolutely can make them ahead! This is great for parties. Store them wrapped individually. Keep them at cool room temperature. They last well for about a week. Avoid the fridge entirely. Cold air makes the caramel weep moisture.
Why is my caramel runny after cooling?
Runny caramel usually means the temperature was too low during cooking. You likely stopped at 240 degrees or less. For a chewy caramel, you must hit 245 degrees Fahrenheit. If it’s too soft, it won’t set firmly when cool.
What is the best apple type for a caramel apple?
You need a firm, tart apple. Granny Smith remains my top suggestion. Their tartness cuts through the rich sweetness. Honeycrisp works well too if you like a slightly sweeter base. Avoid soft apples like Red Delicious.
Storing and Serving Your Perfect Caramel Apples
Once you’ve made these gorgeous treats, storage is key. You want them to look perfect for days. I learned this the hard way once.
Refrigeration is actually a big no-no for these. I know it seems logical to chill candy. But cold air makes the caramel contract strangely. This causes moisture to appear on the surface.
This moisture is what we call “weeping.” It makes the caramel sticky and messy. Nobody wants a weeping caramel apple.
Keep them at room temperature instead. A cool spot in your pantry is ideal. Wrap each one separately in plastic wrap. This keeps them fresh and stops them from sticking together.
They stay great for up to seven days this way. Trust me, they usually don’t last that long! Serve them slightly cool for the best texture contrast.
Estimated Nutritional Data for One Caramel Apple
Now, let’s get down to the nitty-gritty details. I always tell people that homemade treats taste better because you control everything. That includes what goes into them!
Keep in mind these numbers are just estimates. Toppings change everything, of course. Did you use peanuts or sprinkles? That shifts the totals!
This data reflects one plain caramel apple using the ingredients listed. It’s good to know the basics.
- Serving Size: 1 apple
- Calories: Approximately 550 per serving
- Fat: Around 15 grams total
- Carbohydrates: Roughly 105 grams
- Protein: About 3 grams
It’s a decadent treat, for sure. But it’s made with real ingredients. That makes all the difference to me. Enjoy it guilt-free!
Share Your Culinary Creations
We’ve shared our secrets now. The kitchen is yours to command! Did you try this recipe for the perfect caramel apple? Check out our guide on caramel apple charcuterie board ideas for presentation inspiration!
I really hope you found this guide helpful. Did you manage to nail that chewy caramel texture?
Tell us all about your batch below! We love hearing your kitchen stories.
What toppings did you pick for your showstopper apples? Did you add cinnamon like we suggested?
Leave a comment letting us know how your performance went. We read every single one!
Happy cooking, and enjoy your delicious homemade caramel apples!
Print
Foolproof 245° caramel apple recipe that truly sticks
- Total Time: 1 hour 45 minutes
- Yield: 6 caramel apples 1x
- Diet: Vegetarian
Description
Create perfect, glossy caramel apples that stay firm with a chewy caramel that truly sticks. This guide gives you the technique to avoid sliding caramel, making your homemade caramel apples a success every time.
Ingredients
- 6 medium firm, crisp apples (like Granny Smith)
- 12 wooden or sturdy lollipop sticks
- 1 cup (2 sticks) unsalted butter
- 2 cups packed light brown sugar
- 1 cup light corn syrup
- 1 (14 ounce) can sweetened condensed milk
- 1 teaspoon vanilla extract
- 1/2 teaspoon coarse salt (optional, for salted caramel)
- Assorted toppings: chopped nuts, crushed cookies, sprinkles, mini chocolate chips
Instructions
- Wash and thoroughly dry the apples. Remove any wax by boiling them in water for 10 seconds, then immediately plunging them into ice water. Dry completely. This step is key for caramel adherence.
- Insert a wooden stick firmly into the stem end of each apple.
- In a heavy-bottomed saucepan, combine the butter, brown sugar, and corn syrup.
- Heat the mixture over medium heat, stirring until the butter melts and the sugar dissolves. Stop stirring once it boils.
- Attach a candy thermometer to the side of the pan, making sure the tip is submerged but not touching the bottom.
- Cook the mixture without stirring until it reaches 245 degrees Fahrenheit (Firm Ball stage) on the thermometer. This usually takes 15 to 20 minutes after boiling begins.
- Remove the pan from the heat immediately. Carefully stir in the sweetened condensed milk and vanilla extract. Stir gently until just combined.
- If making salted caramel, stir in the salt now.
- Let the caramel cool slightly for 5 to 10 minutes until it thickens just enough to coat the back of a spoon. This prevents sliding.
- Dip each apple into the caramel, tilting the pan as needed to cover the apple, leaving a small space at the top.
- Lift the apple out and immediately dip or roll it in your chosen toppings before the caramel sets.
- Place the finished caramel apples on a baking sheet lined with parchment paper or a silicone mat that has been lightly sprayed with non-stick cooking spray.
- Allow the caramel apples to cool completely and set at room temperature for about 1 hour before serving or storing.
Notes
- Do not skip drying the apples after washing; moisture prevents the caramel from sticking.
- Use a candy thermometer for accuracy; temperature dictates the final texture of the caramel.
- If the caramel is too thin, return it to low heat and stir until it reaches 248 degrees Fahrenheit.
- Store finished caramel apples wrapped individually in plastic wrap at room temperature for up to one week. Do not refrigerate, as this can cause the caramel to weep.
- For a gourmet touch, add a dash of cinnamon or nutmeg to the caramel mixture before heating.
- Prep Time: 20 minutes
- Cook Time: 25 minutes
- Category: Dessert
- Method: Stovetop Candy Making
- Cuisine: American
Nutrition
- Serving Size: 1 apple
- Calories: Approx. 550
- Sugar: Approx. 110g
- Sodium: Approx. 150mg
- Fat: Approx. 15g
- Saturated Fat: Approx. 9g
- Unsaturated Fat: Approx. 6g
- Trans Fat: 0g
- Carbohydrates: Approx. 105g
- Fiber: Approx. 1g
- Protein: Approx. 3g
- Cholesterol: Approx. 30mg