When the weather starts to turn, or when that first chilly sniffle is making the rounds in the office, my instinct isn’t to run to the pharmacy—it’s to sprint to the pantry! There is something deeply centering, something truly powerful, about crafting your own cold-and-flu remedy right on your stovetop. That’s why I put this elderberry syrup recipe through its paces until it was absolutely spot-on for small-batch consistency.
Liam and I rely on this simple, honey-sweetened formula for complete peace of mind. It’s unbelievably easy, and the resulting homemade immune syrup is safe enough for everyone at the table. Forget those overly complicated herbal concoctions; this is the stripped-down, effective magic you actually need. We’ve tested the measurements repeatedly to make sure that whether you make one batch or three, you end up with that perfect density and flavor every single time. Trust me, once you taste the difference homemade makes, you won’t look back!
Why You Will Love This Homemade Immune Syrup elderberry syrup recipe
Honestly, this recipe feels like waving a magic wand in the kitchen! If you’re looking for something incredibly easy that actually works, you’ve found your winner. It’s totally flexible for your needs:
- You can whip up a quick batch that lasts in the fridge for a few weeks.
- It’s naturally sweetened with honey—no refined junk here!
- We nail the ratios for a perfect small batch every time.
- Plus, you absolutely can water-bath can it if you want a year’s supply ready to go!
You’ll feel like a culinary superstar when you start stocking this up. You can check out how we adapted some techniques from our other favorite winter recipes when making this tonic!
Gathering Ingredients for Your Small Batch elderberry syrup recipe
To make sure our elderberry syrup recipe sings—and truly tastes like the vibrant tonic it is—we have to be precise about our starting line-up. Liam tracks down the best quality elements, even for something this simple. Remember, this is about boosting wellness, so we only use what we trust!
For about a cup-and-a-half of finished syrup, here’s what you’ll need:
- 1 cup dried elderberries
- 3 cups filtered water
- 1/2 cup raw honey
- 1 cinnamon stick
- 1 teaspoon dried ginger root
- 1/4 teaspoon ground cloves
See? Not scary at all! Just good, whole things ready to simmer down into something magical.
Ingredient Notes and Berry Substitution for elderberry syrup recipe
The biggest question I always get is about the berries! Since dried elderberries are generally easier to find year-round, our main recipe uses them—one cup of dried equals about one-and-a-half cups if you manage to find fresh ones that season. Always use raw honey here, too. We skip boiling it because we want all those natural enzymes and good stuff to stay intact in our honey elderberry tonic. If you boil the honey, you essentially cook away the magic!
Step-by-Step Instructions for Homemade elderberry syrup recipe
Okay, now for the fun part! This is where Liam’s precision really balances out my tendency to just toss things in the pot and hope for the best. For this elderberry syrup recipe, we stick close to the timeline because that simmer time is crucial for pulling all the goodness out of those little berries.
- First things first, toss your dried elderberries, the full three cups of filtered water, the cinnamon stick, chopped ginger root, and those cloves right into a sturdy saucepan.
- Bring that whole beautiful mess up to a rolling boil. Then, immediately turn the heat way, way down. We want a gentle, lazy simmer—cover it up and let it happily bubble away for a solid 45 minutes. Aim to lose about half the liquid; that means you’re concentrating the flavor perfectly.
- Once the time is up, turn off the heat. Now, don’t touch it for about 15 minutes. It needs to cool down just enough so you don’t burn your hands!
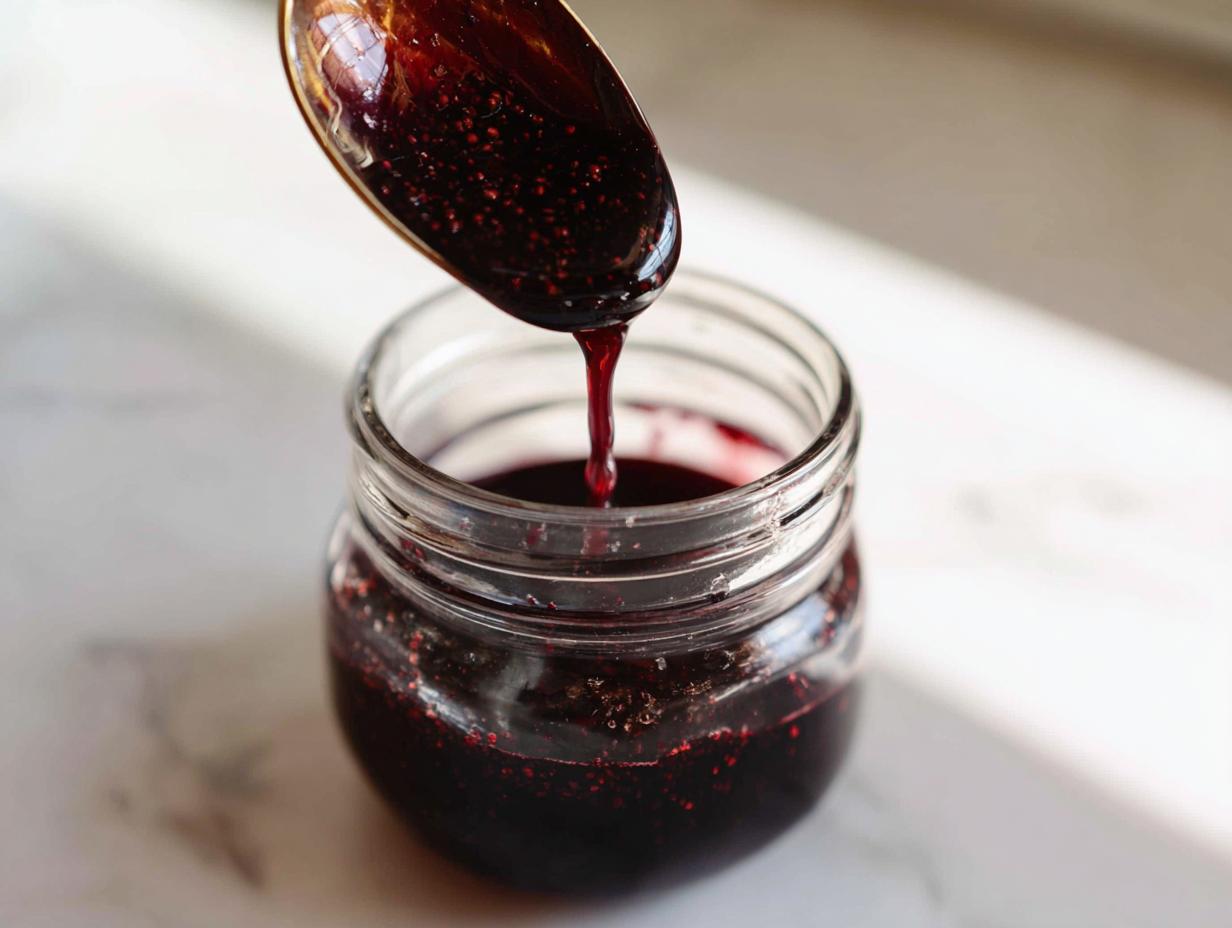
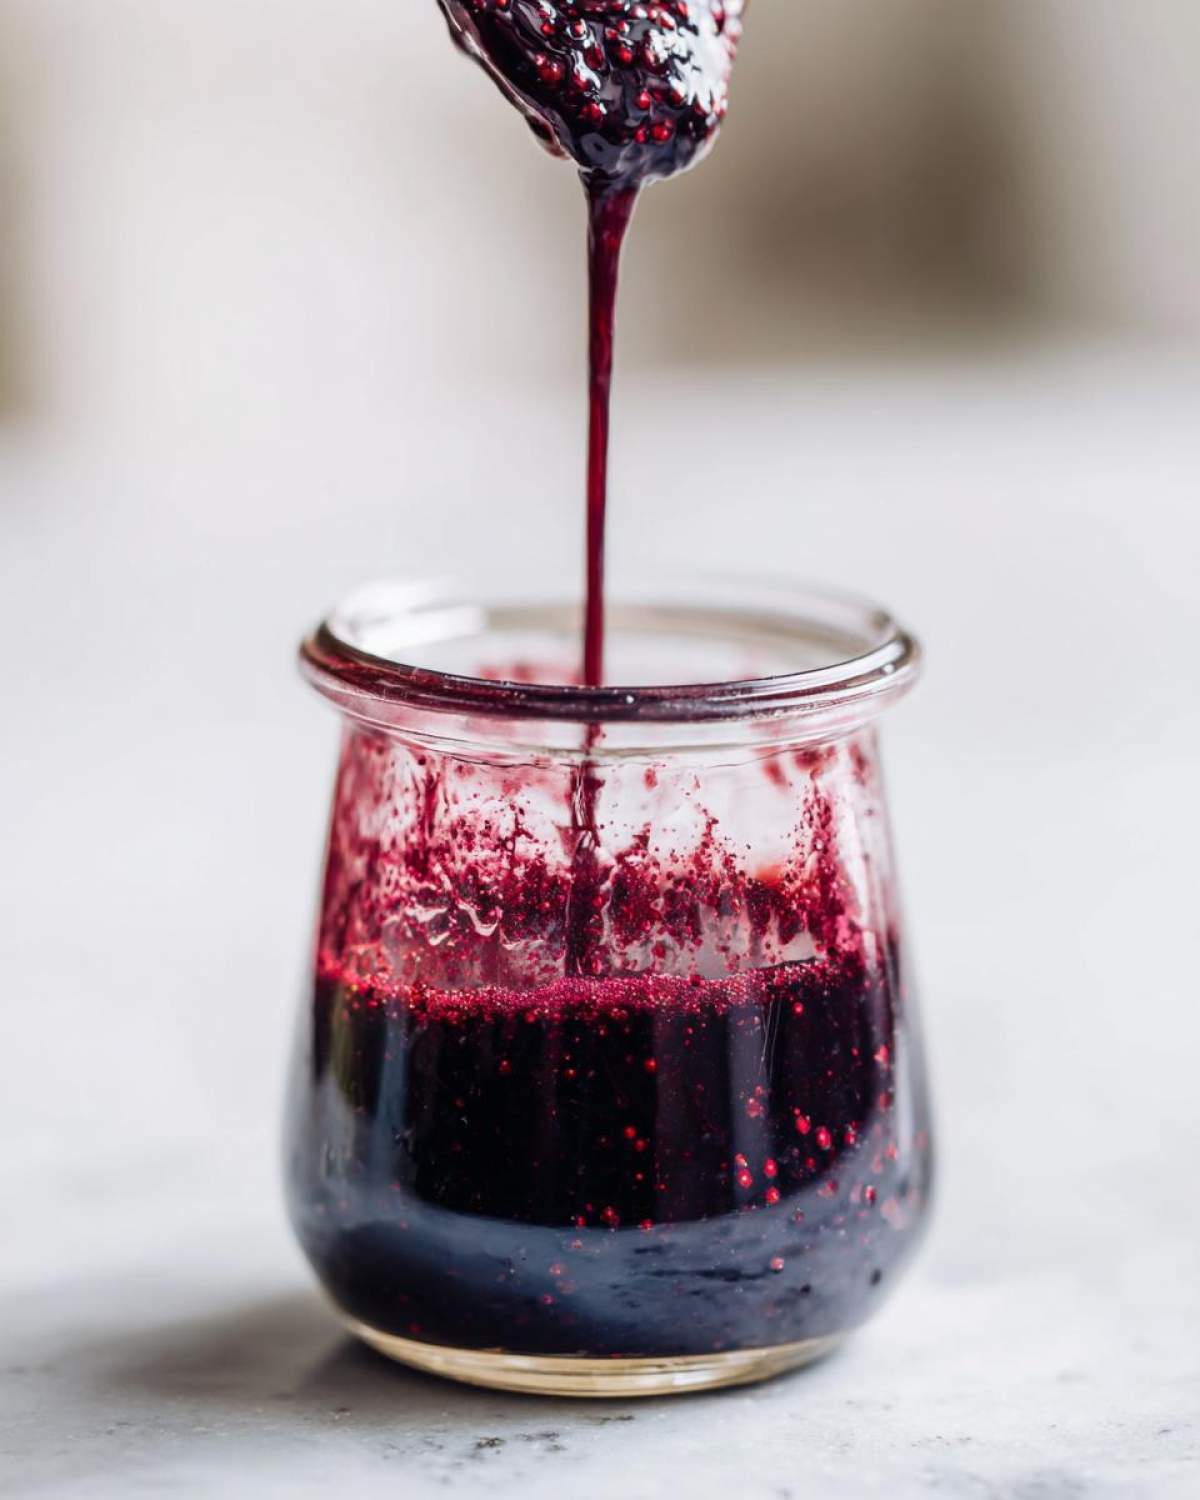
- Now comes the straining! Liam insists on using a fine-mesh sieve lined with cheesecloth. Pour everything through and gently press down on the berries and spices to get every last drop of that ruby-colored liquid out. Toss those solids—they did their job!
- This next step is vital: Wait until the liquid is just warm. Seriously, not piping hot. Once it’s warm, whisk in your raw honey until it completely disappears into the syrup.
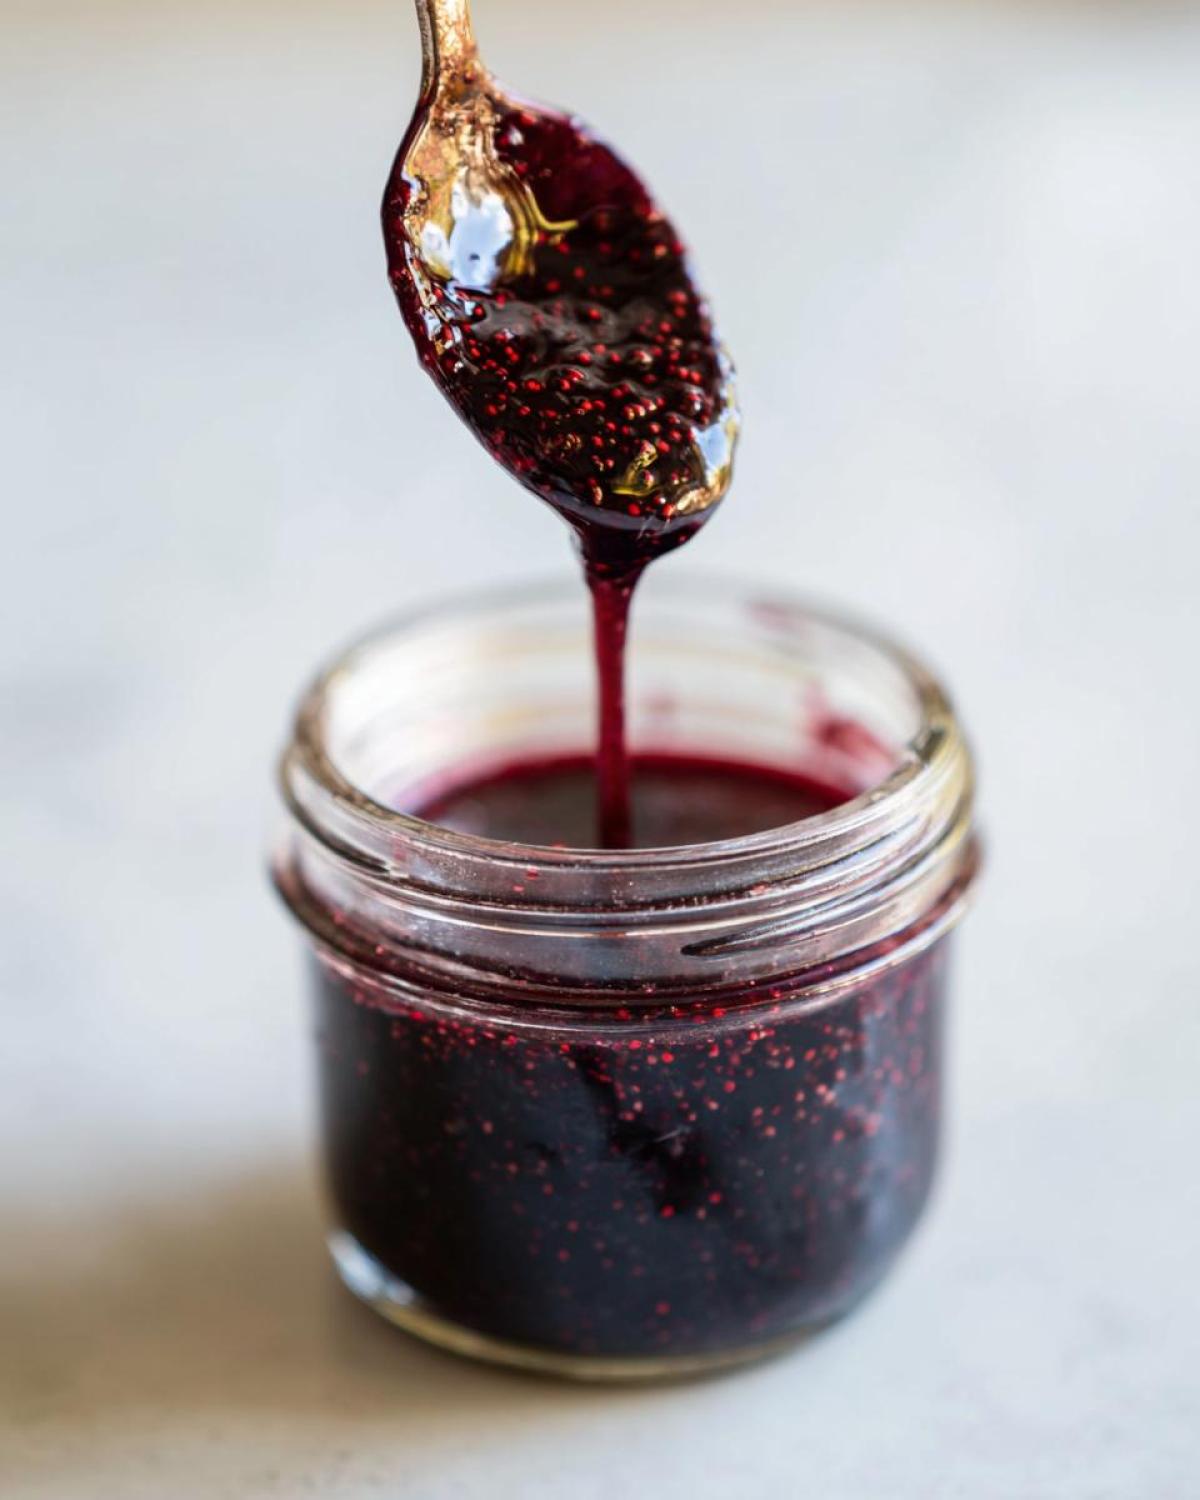
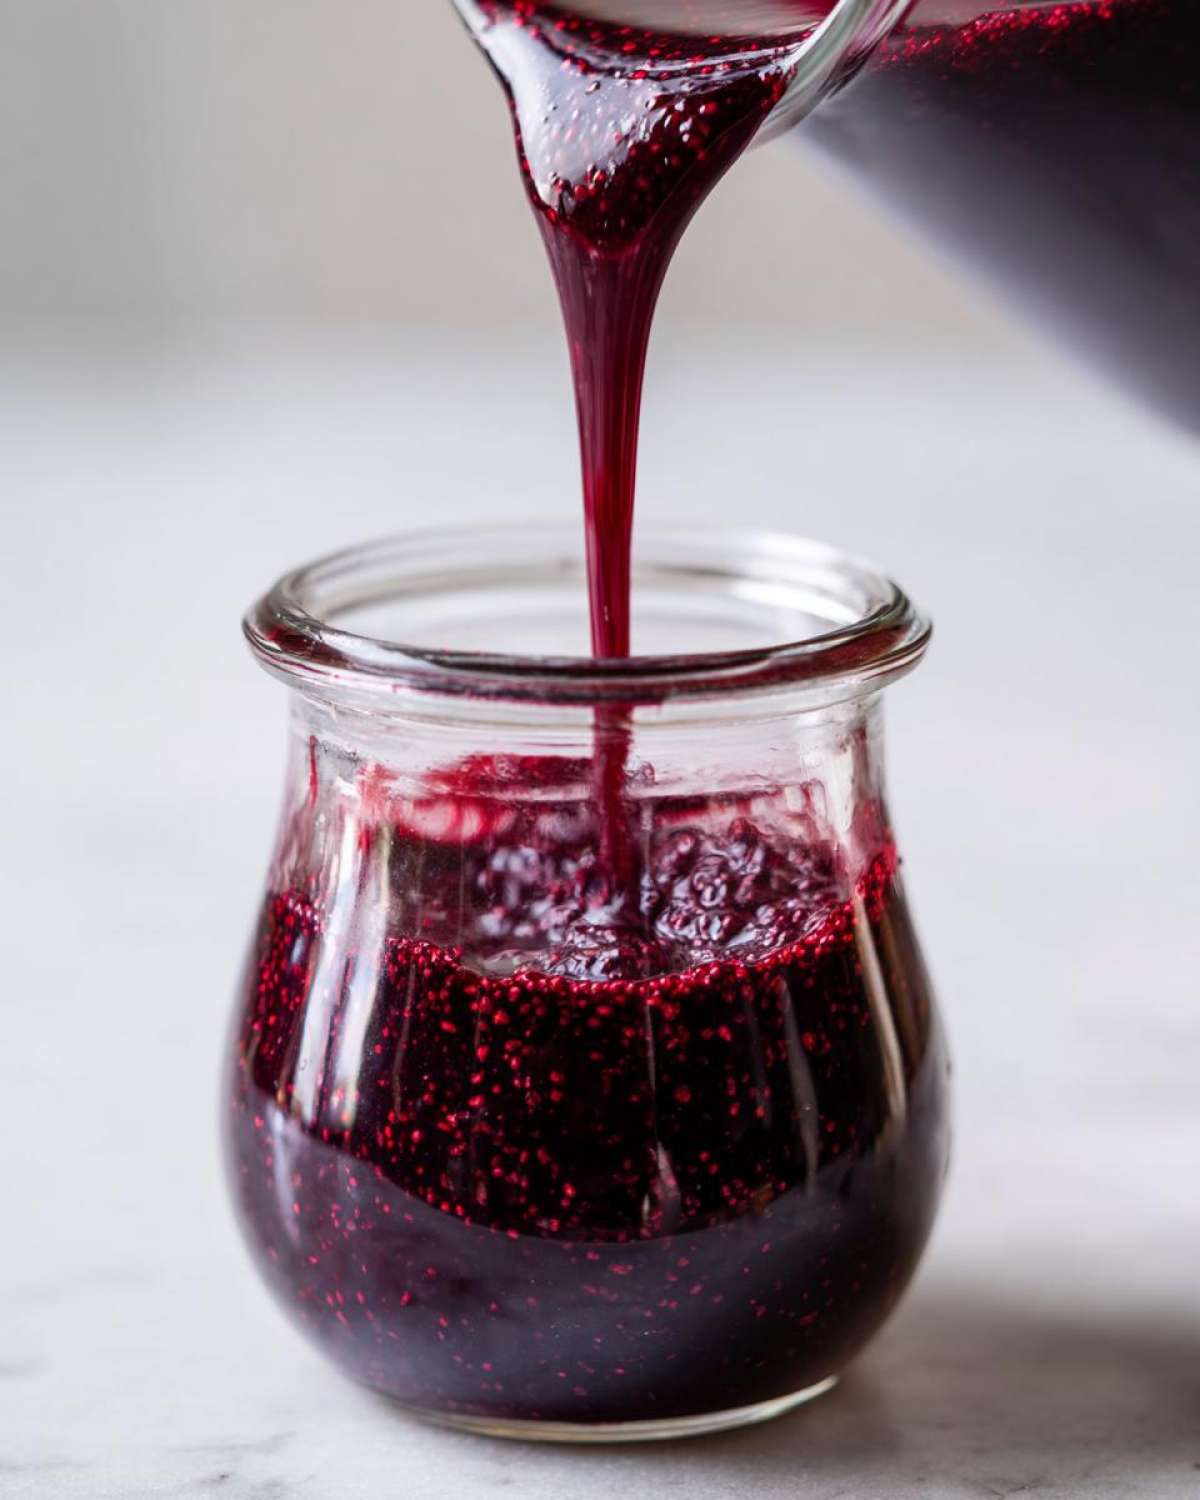
- Pour that finished elixir into your sterilized jars. If you’re refrigerating, seal them up. If you’re canning, get them ready for the water bath next!
Tips for Perfect Straining and Honey Incorporation
The goal here, especially when making this homemade immune syrup, is to protect the honey. That’s why we absolutely cannot boil it! High heat destroys the beneficial compounds in raw honey. Always strain through that cheesecloth—it catches the tiniest bits of grit from the dried fruit and spices, giving you a wonderfully smooth tonic. Remember, warm liquid, not hot, before stirring in that sweet stuff!
Storage Options: Refrigeration vs. Canning elderberry syrup recipe
This is where we decide how long we want this beautiful cold-and-flu remedy batch to last! Making the decision now makes the bottling process super smooth. If you need it fast, refrigeration is your friend.
For short-term storage, just seal up those jars and pop them in the fridge. They hold up great for about three weeks. But let’s be real, if I’m going to the trouble of simmering for 45 minutes, I want longevity!
If you are canning elderberry syrup, utilize your water bath canner. Carefully process those sealed jars for just 10 minutes. Now, I’m not an altitude expert, but if you live way up high, you absolutely must adjust that time—Liam always reminds me of that crucial detail! Once they cool and you hear that satisfying *pop* of the seal, you’ve got up to a year of immune support tucked away in a cool, dark cupboard.
Dosage Guidance for Your Honey elderberry tonic
Once you have your beautiful honey elderberry tonic ready, you’ll naturally wonder how much sunshine to take daily. For general maintenance, we stick to a standard dose: one tablespoon for adults every day. It tastes so good, it’s easy to remember!
If things are starting to feel a little rougher around the edges, a little extra might be in order, but I always tell folks to listen to their bodies. More importantly, since this is a natural preparation, please chat with your trusted healthcare provider about the exact amounts that are right for you and your family. They know your history better than I do!
Variations and Flavor Tweaks for Kid-Friendly elderberry syrup recipe
Because this is my specialty—making things taste like sunshine for nervous little ones—we’ve perfected a few subtle tweaks to make this syrup utterly irresistible for kids. If you find your little critics are hesitating, don’t panic! My trick is usually just adding a touch more honey since it plays so nicely with the earthiness of the berries.
Another fantastic move is tossing in a small strip of orange peel during that 45-minute simmer. It brightens the whole flavor profile beautifully! Speaking of spices, sometimes I sneak in just the tiniest pinch of vanilla bean powder right when I add the honey—it rounds everything out nicely. Try these little additions and see which one becomes your family’s go-to kid-friendly elderberry syrup recipe. You might even want to try adding a bit of citrus zest to our holiday drinks sometime!
Frequently Asked Questions about making elderberry syrup recipe
I love hearing what you all think of this syrup! Before you dive in and start simmering, here are a few things that popped up in my inbox after I first shared this little treasure.
Can I use the Instant Pot for this elderberry syrup recipe?
Yes, you totally can make an instant pot elderberry version, which is great when you need it fast! However, pressure cooking is a little different than a slow, gentle simmer. If you use the Instant Pot, use high pressure for about 10 to 12 minutes, but always make sure you understand the pressure release. For my money, the stovetop method gives you that control I talked about to protect the honey, but the Instant Pot is a fantastic backup plan!
What if I only have fresh elderberries?
It happens! If you have access to fresh berries, just substitute them right in. Remember that dried berries are more concentrated. For this recipe yield, you’ll want about 1.5 cups of those fresh beauties to make up for the 1 cup of dried elderberries we called for.
Can I swap the honey for maple syrup?
While I encourage improvisation in general, for this specific honey elderberry tonic based on traditional uses, I really recommend sticking to raw honey. Maple syrup has a much stronger flavor profile that might totally clash with the delicate berries and spices. Plus, we are trying to preserve those beneficial compounds that honey brings to the table!
Serving Suggestions for Your Cold-and-Flu Remedy
So, once your cold-and-flu remedy is bottled, how do you take it? It tastes amazing all on its own—just a spoonful and you’re done! But Liam and I also love mixing a tablespoon into a glass of cold sparkling water. It makes for a refreshing homemade soda!
On low-sickness days, I sometimes drizzle a little over my oatmeal bake in the morning. It’s such a subtle, lovely way to get your daily dose in without even thinking about it. It really transforms it into a wonderful daily health boost.
Understanding the Nutrition of this elderberry syrup recipe
Because this is more of a tonic than a dessert, the nutritional breakdown is pretty straightforward. Based on our measurements for the batch, a single tablespoon serving comes out to about 50 calories total. You’re looking at about 12 grams of sugar, which all comes from the honey we added. It’s nearly fat-free and carb-light, clocking in at around 13 grams of carbohydrates per serving. Take these numbers as a good estimate! Since we are using whole, lovely ingredients, the numbers are wonderfully simple.
Share Your Culinary Performance of this elderberry syrup recipe
Alright, now go make some magic happen in your kitchen! I want to hear all about your small batch elderberry results. Did you stick to the stove, or did you try the Instant Pot? Please leave us your rating—five stars if you love it, of course! We thrive on your feedback and seeing how this homemade immune syrup inspires your family’s wellness routine. Give us that review, and maybe share a photo on social media of you enjoying your new tonic alongside your best holiday appetizers!
Storage Options: Refrigeration vs. Canning elderberry syrup recipe
This is where we decide how long we want this beautiful cold-and-flu remedy batch to last! Making the decision now makes the bottling process super smooth. If you need it fast, refrigeration is your friend.
For short-term storage, just seal up those jars and pop them in the fridge. They hold up great for about three weeks. But let’s be real, if I’m going to the trouble of simmering for 45 minutes, I want longevity!
If you are canning elderberry syrup, utilize your water bath canner. Carefully process those sealed jars for just 10 minutes. Now, I’m not an altitude expert, but if you live way up high, you absolutely must adjust that time—Liam always reminds me of that crucial detail! Once they cool and you hear that satisfying *pop* of the seal, you’ve got up to a year of immune support tucked away in a cool, dark cupboard.
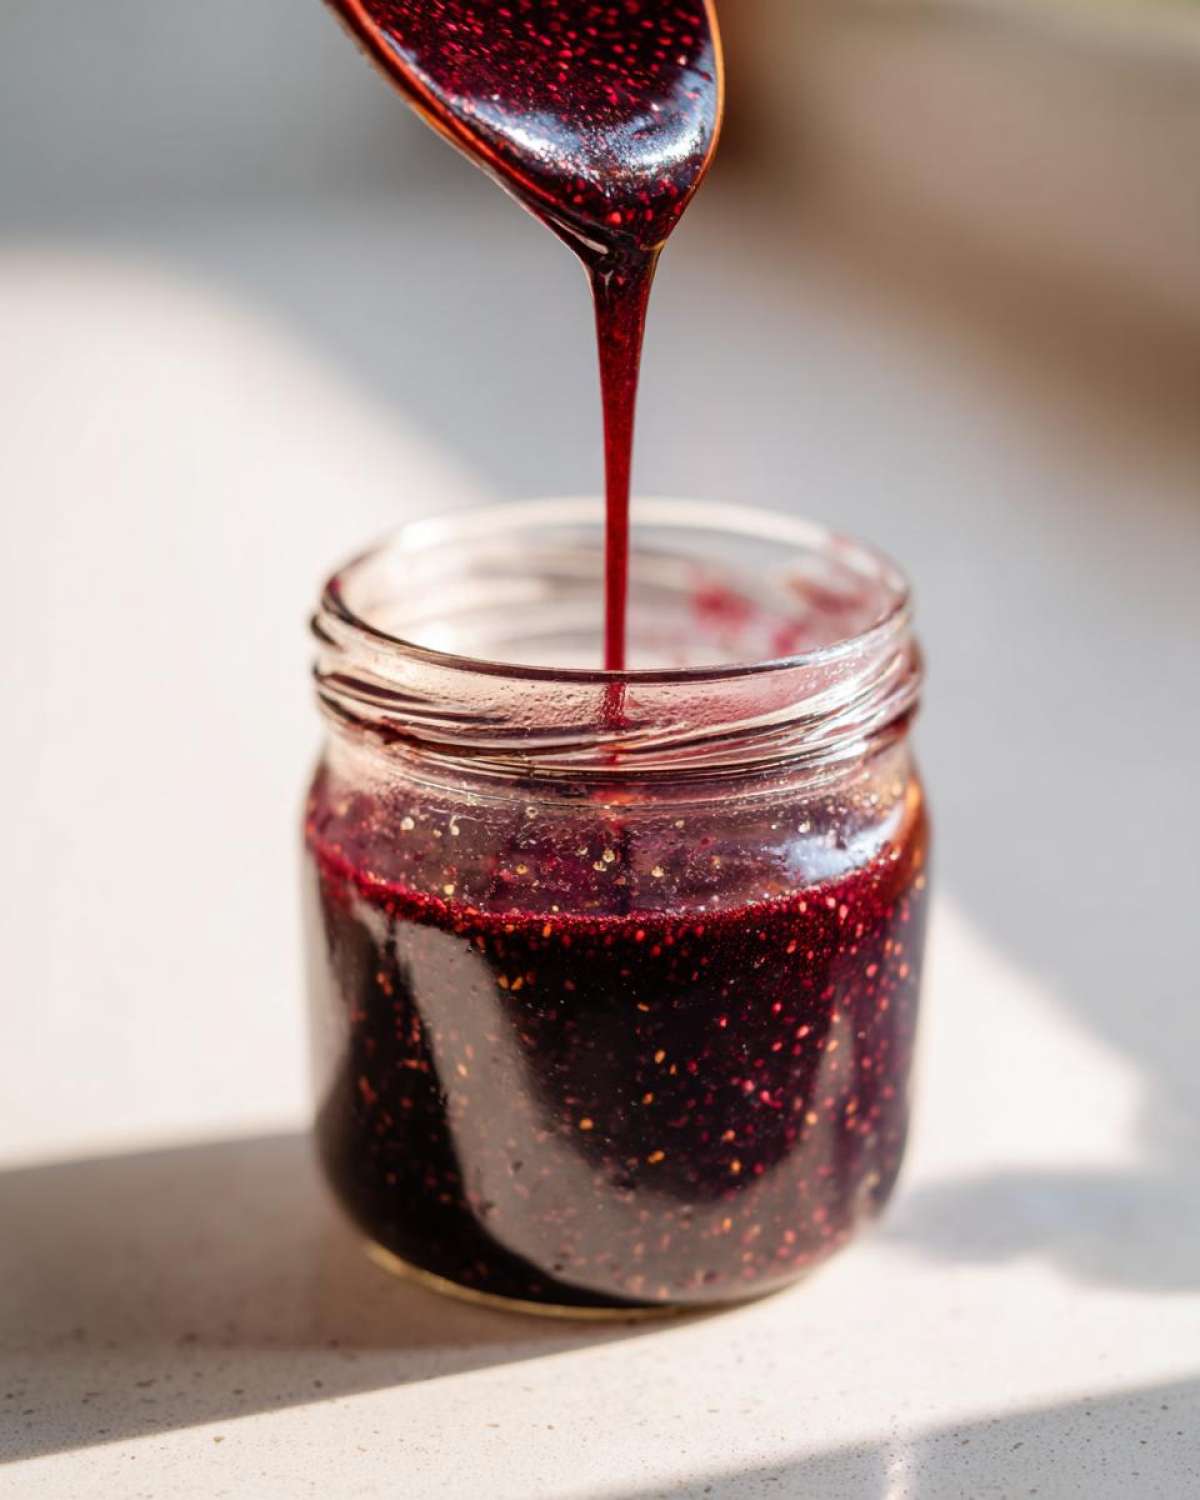
It’s handy knowing you can store this whether you are making a quick small batch elderberry run or prepping for the whole winter season. Having those canned jars ready makes pulling together a wellness boost as easy as reheating some leftover good soup!
Dosage Guidance for Your Honey elderberry tonic
Once you have your beautiful honey elderberry tonic ready, you’ll naturally wonder how much sunshine to take daily. For general maintenance, we stick to a standard dose: one tablespoon for adults every day. It tastes so good, it’s easy to remember!
If things are starting to feel a little rougher around the edges, a little extra might be in order, but I always tell folks to listen to their bodies. More importantly, since this is a natural preparation, please chat with your trusted healthcare provider about the exact amounts that are right for you and your family. They know your history better than I do!
Variations and Flavor Tweaks for Kid-Friendly elderberry syrup recipe
Because this is my specialty—making things taste like sunshine for nervous little ones—we’ve perfected a few subtle tweaks to make this syrup utterly irresistible for kids. If you find your little critics are hesitating, don’t panic! My trick is usually just adding a touch more honey since it plays so nicely with the earthiness of the berries.
Another fantastic move is tossing in a small strip of orange peel during that 45-minute simmer. It brightens the whole flavor profile beautifully! Speaking of spices, sometimes I sneak in just the tiniest pinch of vanilla bean powder right when I add the honey—it rounds everything out nicely. Try these little additions and see which one becomes your family’s go-to kid-friendly elderberry syrup recipe. You might even want to try adding a bit of citrus zest to our holiday drinks sometime!
Frequently Asked Questions about making elderberry syrup recipe
I love hearing what you all think of this syrup! Before you dive in and start simmering, here are a few things that popped up in my inbox after I first shared this little treasure. If you want to try making a big batch of our punch recipe, you might have storage questions too!
Can I use fresh elderberries for this elderberry syrup recipe?
You totally can! It’s just a ratio adjustment, no big deal at all. We stick to dried berries in the main instructions because they are easier to keep on hand, but if you have fresh ones, swap out one cup of dried for about one-and-a-half cups of fresh berries. They simmer up beautifully too.
Why can’t I use maple syrup in this honey elderberry tonic?
Oh, I get why you ask! Maple syrup is delicious, but for this specific honey elderberry tonic, I really suggest sticking to raw honey. Maple syrup has a much stronger, almost toffee-like flavor that competes with the herbs. More importantly, we’re trying to include those beneficial properties that are naturally present in raw honey, which you lose when you boil it away!
Can I use the Instant Pot for this elderberry syrup recipe?
Yes, you totally can make an instant pot elderberry version, which is great when you need it fast! However, pressure cooking is a little different than a slow, gentle simmer. If you use the Instant Pot, use high pressure for about 10 to 12 minutes, but always make sure you understand the pressure release. For my money, the stovetop method gives you that control I talked about to protect the honey, but the Instant Pot is a fantastic backup plan!
How long will this homemade immune syrup last stored in the fridge?
If you make a quick small batch elderberry run and keep it sealed tightly in the refrigerator, it should last you about three weeks. That’s why I always tell people canning is an option if that timeframe seems too short for your family!
Serving Suggestions for Your Cold-and-Flu Remedy
So, once your cold-and-flu remedy is bottled, how do you take it? It tastes amazing all on its own—just a spoonful and you’re done! But Liam and I also love mixing a tablespoon into a glass of cold sparkling water. It makes for a refreshing homemade soda!
On low-sickness days, I sometimes drizzle a little over my oatmeal bake in the morning. It’s such a subtle, lovely way to get your daily dose in without even thinking about it. It really transforms it into a wonderful daily health boost, making that spoonful of honey elderberry tonic feel like a treat!
Understanding the Nutrition of this elderberry syrup recipe
Because this is more of a tonic than a dessert, the nutritional breakdown is pretty straightforward. Based on our measurements for the batch, a single tablespoon serving comes out to about 50 calories total. You’re looking at about 12 grams of sugar, which all comes from the honey we added. It’s nearly fat-free and carb-light, clocking in at around 13 grams of carbohydrates per serving. Take these numbers as a good estimate! Since we are using whole, lovely ingredients, the numbers are wonderfully simple.
Share Your Culinary Performance of this elderberry syrup recipe
Alright, now go make some magic happen in your kitchen! I want to hear all about your small batch elderberry results. Please leave us your rating—five stars if you love it, of course! We thrive on your feedback and seeing how this homemade immune syrup inspires your family’s wellness routine. Remember the Child Recipe way: cook with joy and embrace the discovery! Don’t forget to share if you try those little flavor tweaks we talked about, maybe next to some festive meatballs!
Print
Homemade Elderberry Syrup Recipe for Immune Support
- Total Time: 50 min
- Yield: About 1.5 cups 1x
- Diet: Vegetarian
Description
Make this simple, honey-sweetened elderberry syrup at home for immune support. You can refrigerate it or water-bath can it for longer storage.
Ingredients
- 1 cup dried elderberries
- 3 cups filtered water
- 1/2 cup raw honey
- 1 cinnamon stick
- 1 teaspoon dried ginger root
- 1/4 teaspoon ground cloves
Instructions
- Combine the dried elderberries, filtered water, cinnamon stick, ginger root, and ground cloves in a saucepan.
- Bring the mixture to a boil, then reduce the heat to low, cover, and simmer for 45 minutes. The liquid should reduce by about half.
- Remove the saucepan from the heat and let it cool slightly for about 15 minutes.
- Strain the liquid through a fine-mesh sieve or cheesecloth into a clean bowl, pressing gently on the solids to extract all the liquid. Discard the solids.
- Once the strained liquid is warm (not hot), stir in the raw honey until it is completely dissolved. Do not boil the mixture after adding honey.
- Pour the finished elderberry syrup into clean, sterilized jars.
- For refrigeration: Seal jars and store in the refrigerator for up to 3 weeks.
- For canning: Process the filled, sealed jars in a water bath canner for 10 minutes, adjusting for altitude. Let cool completely before checking seals. Canned syrup lasts up to one year in a cool, dark place.
Notes
- If using fresh elderberries, use 1.5 cups of fresh berries for this recipe.
- For a kid-friendly flavor, you can slightly increase the honey or add a small piece of orange peel during simmering.
- A standard dosage for adults is 1 tablespoon daily for maintenance, or more during times of need. Consult your healthcare provider for specific dosage guidance.
- Prep Time: 5 min
- Cook Time: 45 min
- Category: Health Tonic
- Method: Stovetop Simmering
- Cuisine: American
Nutrition
- Serving Size: 1 tablespoon
- Calories: 50
- Sugar: 12
- Sodium: 1
- Fat: 0
- Saturated Fat: 0
- Unsaturated Fat: 0
- Trans Fat: 0
- Carbohydrates: 13
- Fiber: 1
- Protein: 0
- Cholesterol: 0