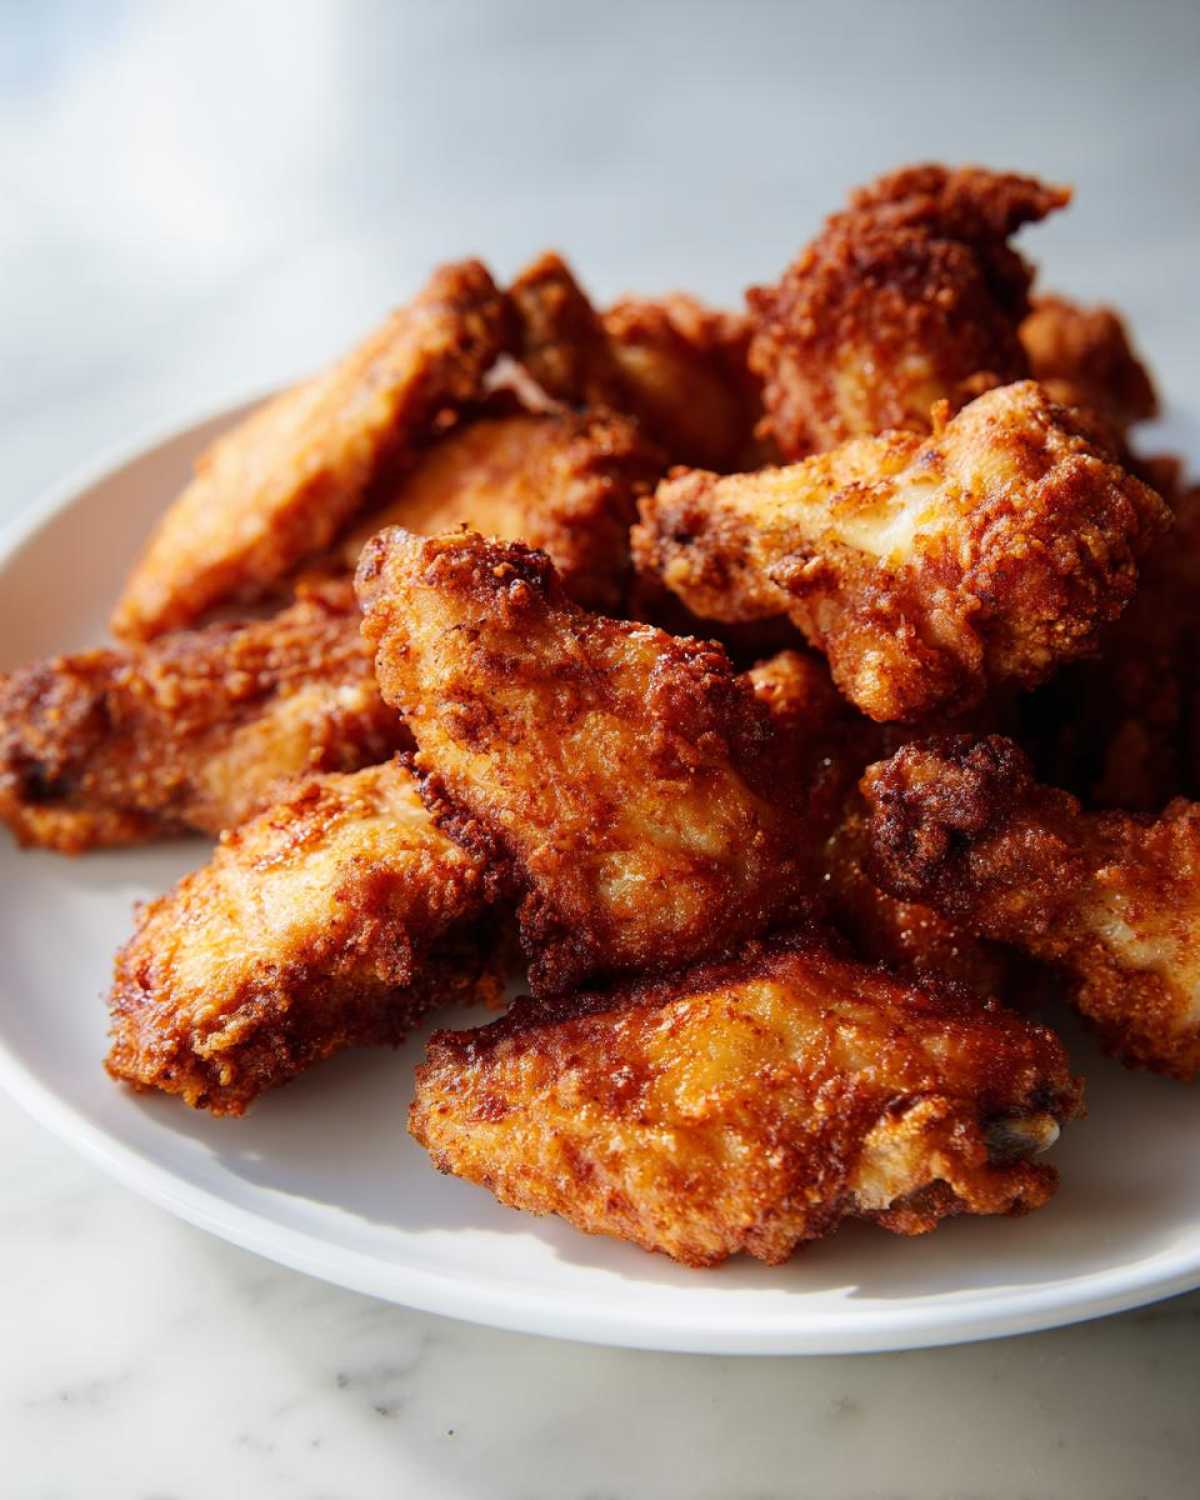
Listen, I used to think the only way to get truly shatteringly crispy chicken wings meant drowning them in hot oil. We all love that deep-fried crunch at the sports bar, right? But honestly, deep-frying for a casual weeknight dinner or even for a big game day spread? Too messy, too much cleanup, and let’s be real, maybe not the healthiest way to enjoy our favorite appetizer. I spent years failing with simple oven-baked wings—they always ended up soggy or leathery. Then I found the trick, and now I swear by it. This recipe for crispy baked chicken wings changed everything. It’s the secret to achieving that perfect, crunchy skin without ever turning on the deep-fryer. Trust me, once you try this one unique ingredient, you’ll never go back to the old ways!
Why This Is The Ultimate Crispy Baked Chicken Wing Recipe (No Fry Technique)
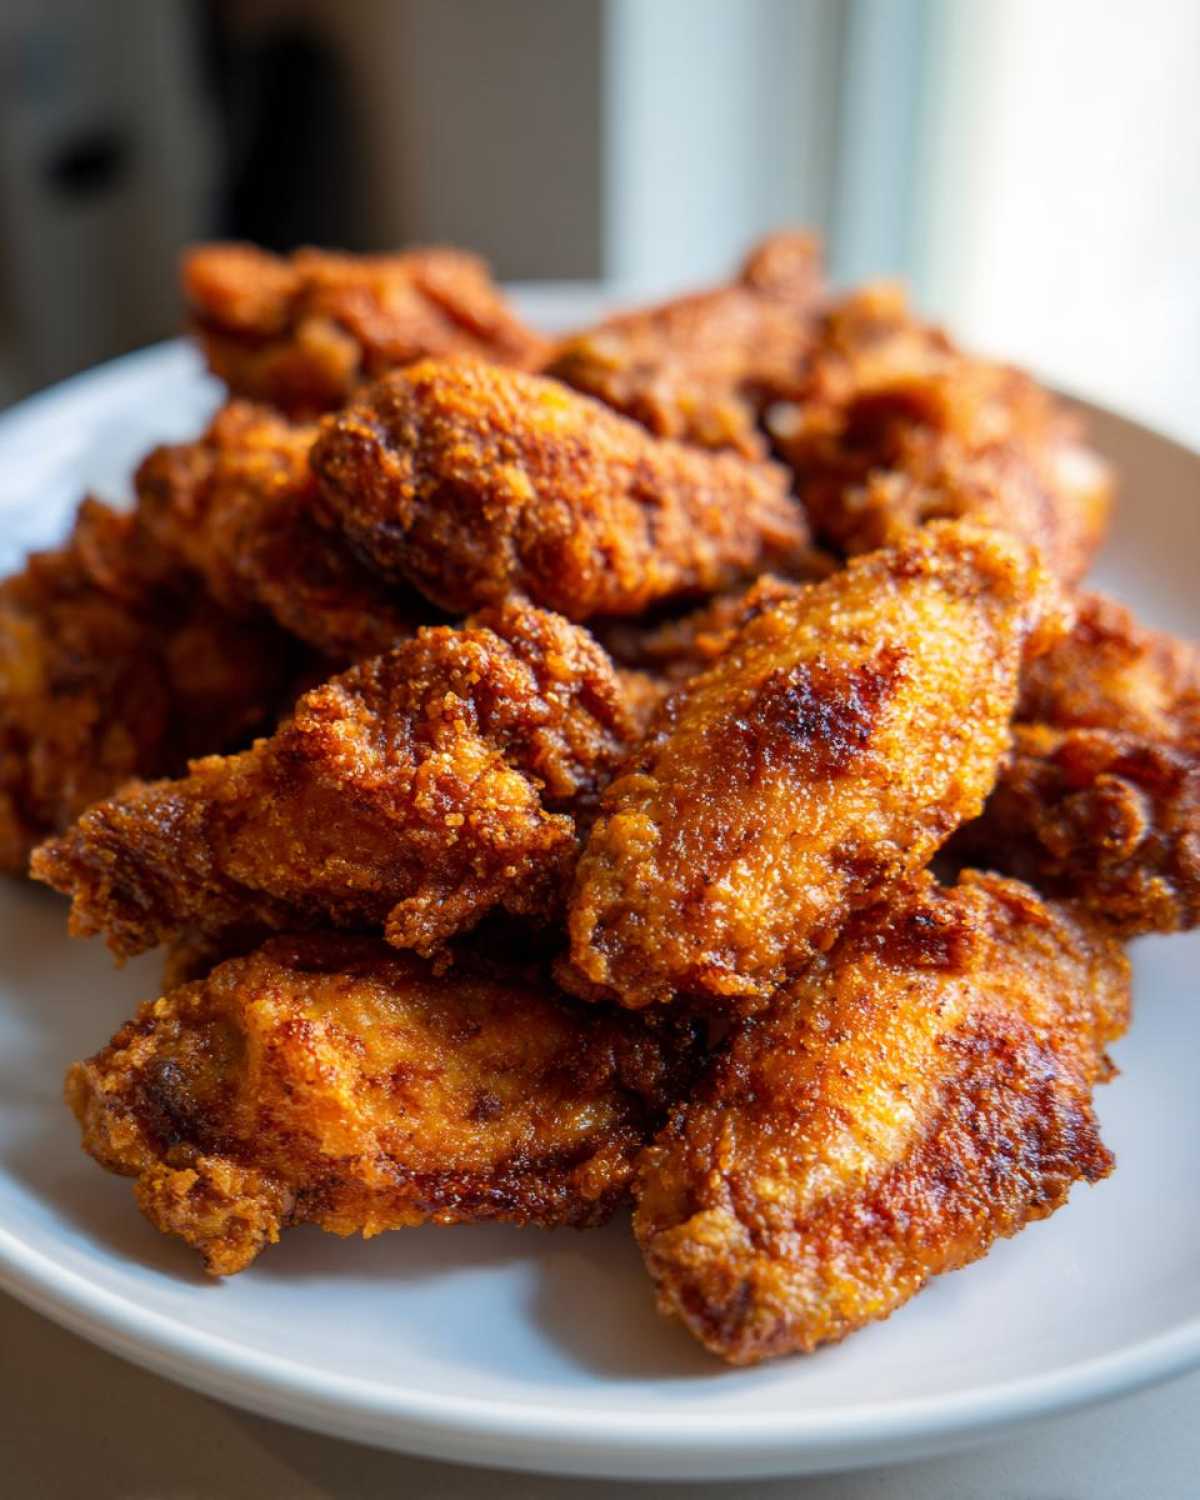
If you’re looking for oven crispy wings no fry, you have come to the absolute right place. Forget the mediocre, rubbery wings that pale imitations end up producing. This technique isn’t just about throwing them in the oven; it’s about a little bit of kitchen science that guarantees you get those juicy chicken wings with a crust that screams crunch! We’re focusing on how to make wings crispy using heat and chemistry rather than oil.
Most simple baked wings just steam themselves on the pan. Bad news! Our method forces the skin to dry out and crisp up beautifully before the meat overcooks. It’s the best baked chicken wings secret that everyone should know.
The Secret Ingredient for Perfect Chicken Wing Crisp
So what’s the magic powder? It’s baking powder, my friends, and it’s non-negotiable for truly crispy results. This stuff does more than just help things rise in cakes; when you toss the raw chicken wing pieces in it, it actually raises the pH level of the skin. Sounds complicated, but trust me, it just means the skin browns faster and dries out beautifully in the heat. It’s this interaction that gives you that fantastic, crackly texture we are chasing, leaving you with absolutely perfect party appetizer chicken wings.
Essential Ingredients for Crispy Baked Chicken Wings
Getting those amazing results doesn’t require a whole pantry overhaul, but you do need to stick closely to a few key items for this specific recipe. We’re using about three pounds of chicken wings, and I always make sure they are already separated into flats and drumettes before they even hit the counter. That way, they cook evenly! The star, of course, is the baking powder—and yes, this needs to be aluminum-free if you can find it, though regular works in a pinch. You also need simple things like salt, pepper, and garlic powder for the base flavor.
Don’t forget the cayenne pepper, but that bit is totally optional if you’re cooking for people who don’t like heat. Lastly, we use melted butter only *after* they come out of the oven, usually just to help the sauce stick, not for the actual crisping process. Smaller wings will cook faster, so always keep an eye on them!
Ingredient Guide and Substitutions for Your Chicken Wing
Listen, the baking powder is magic, but if you’re out and absolutely have to bake right now, you can try using a tiny bit of cornstarch mixed with a teaspoon of baking soda, but I can only promise you 80% of the crispiness. It’s just not the same! For the seasonings, if cayenne is too much for your chicken wing prep, leave it off entirely. You can still season them beautifully with just the salt, pepper, and garlic powder we listed.
Remember, that butter is just a happy little addition at the very end, maybe to help a glaze catch, but it doesn’t create the crisp exterior—the powder does that job. If you have larger drumsticks versus smaller flats, just give them all a little extra time on the flip side to make sure they brown all the way through before sauce time.
Step-by-Step Instructions for Juicy Chicken Wings Tutorial
Okay, this is where the magic really happens! Getting the best baked chicken wings is all about respecting the heat and preparing those little guys correctly before they ever see the oven. Since we are aiming for that juicy chicken wings tutorial finish, we have to be meticulous about the beginning steps. Don’t rush this part, or you’ll end up wishing you had just ordered takeout!
Preparation: Drying and Coating the Chicken Wing
First things first, crank that oven way up to 425°F—we need serious heat! Line a baking sheet with foil and put your wire rack right on top of it; that rack is your best friend for getting air circulation underneath. Now, take your chicken wing pieces and grab a thick stack of paper towels. You need to pat every single piece until it feels bone dry. Seriously, no moisture allowed! Next, mix your baking powder, salt, pepper, garlic powder, and cayenne in a big bowl. Toss those dry wings in until they look evenly dusted in the seasoning mix. That powder coating is what starts the crisping process.
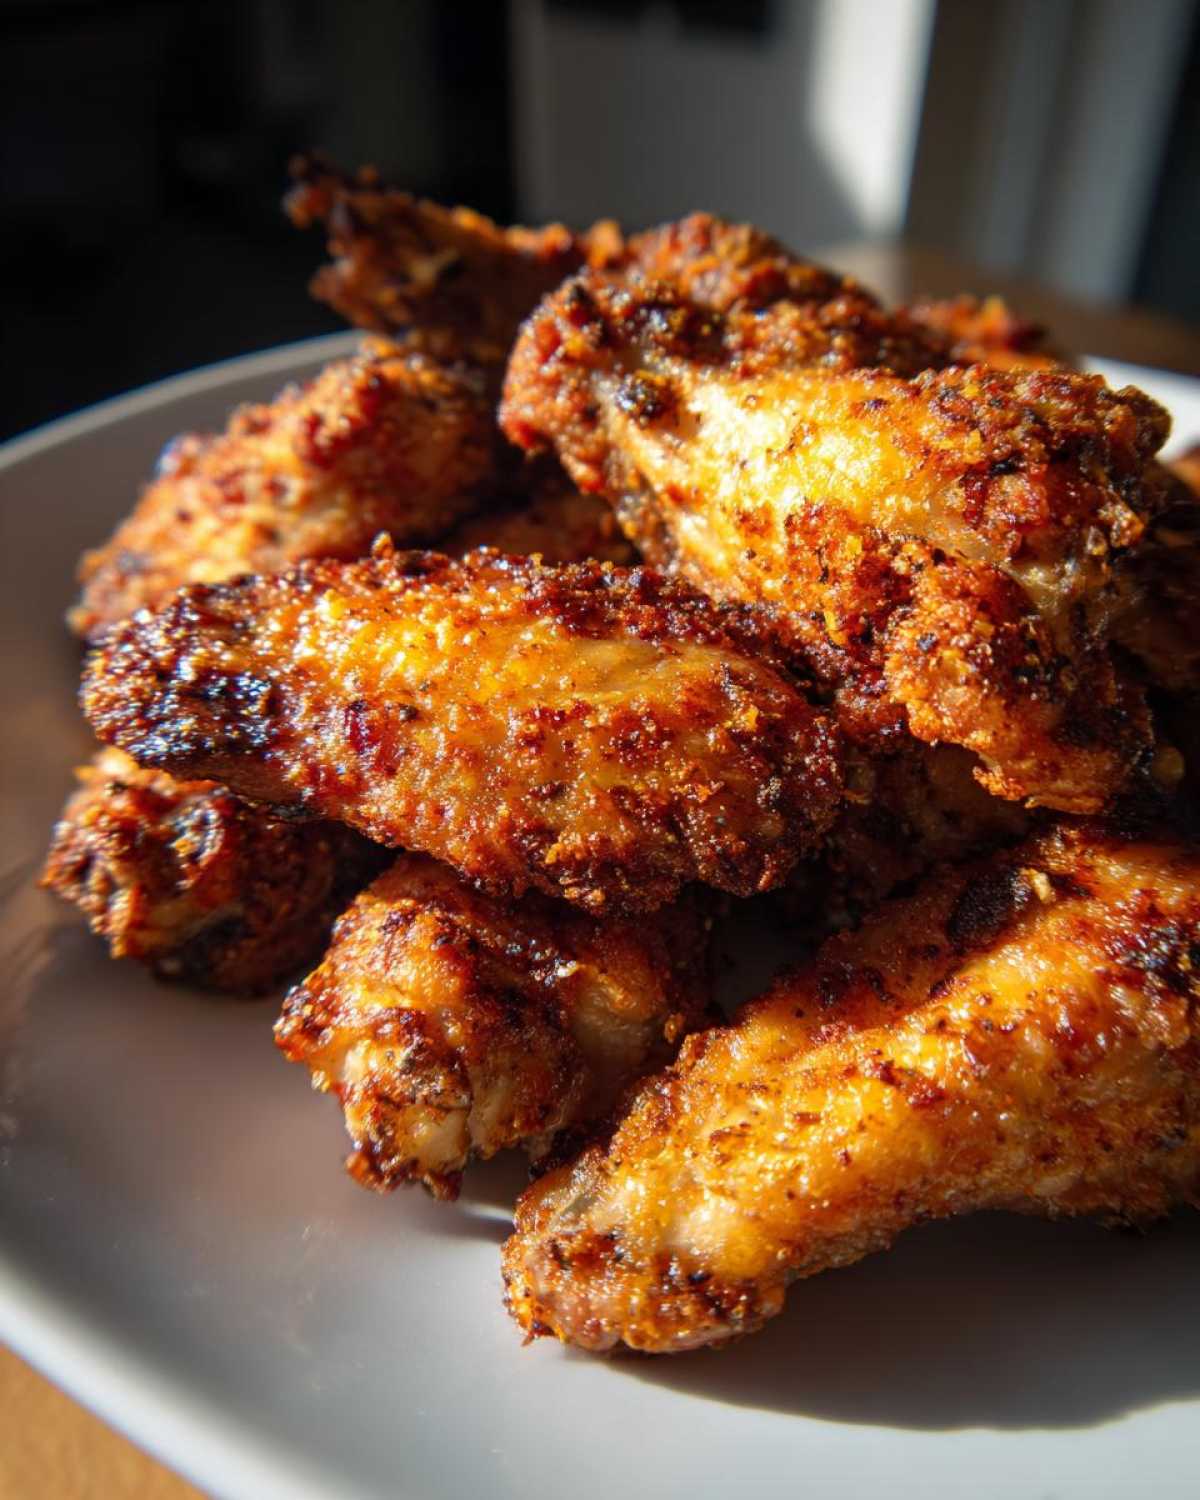
Baking Technique for Maximum Chicken Wing Crunch
Once coated, we need space! Arrange the chicken wing pieces on that wire rack in a single layer. I mean it—they cannot be touching; give them some room to breathe so the heat gets around them. Pop them into the hot oven for 20 minutes exactly. After that time, carefully flip every single wing over. They should start looking a little pale gold. Bake them for another 20 to 25 minutes until they are super crispy and deep brown. As soon as they come out, throw them into a clean bowl, drizzle with your melted butter, and give them a quick toss. If you were looking at other fried recipes, you’d be missing this simple finishing step!
Flavor Variations: Sauces and Dry Rub Chicken Wings
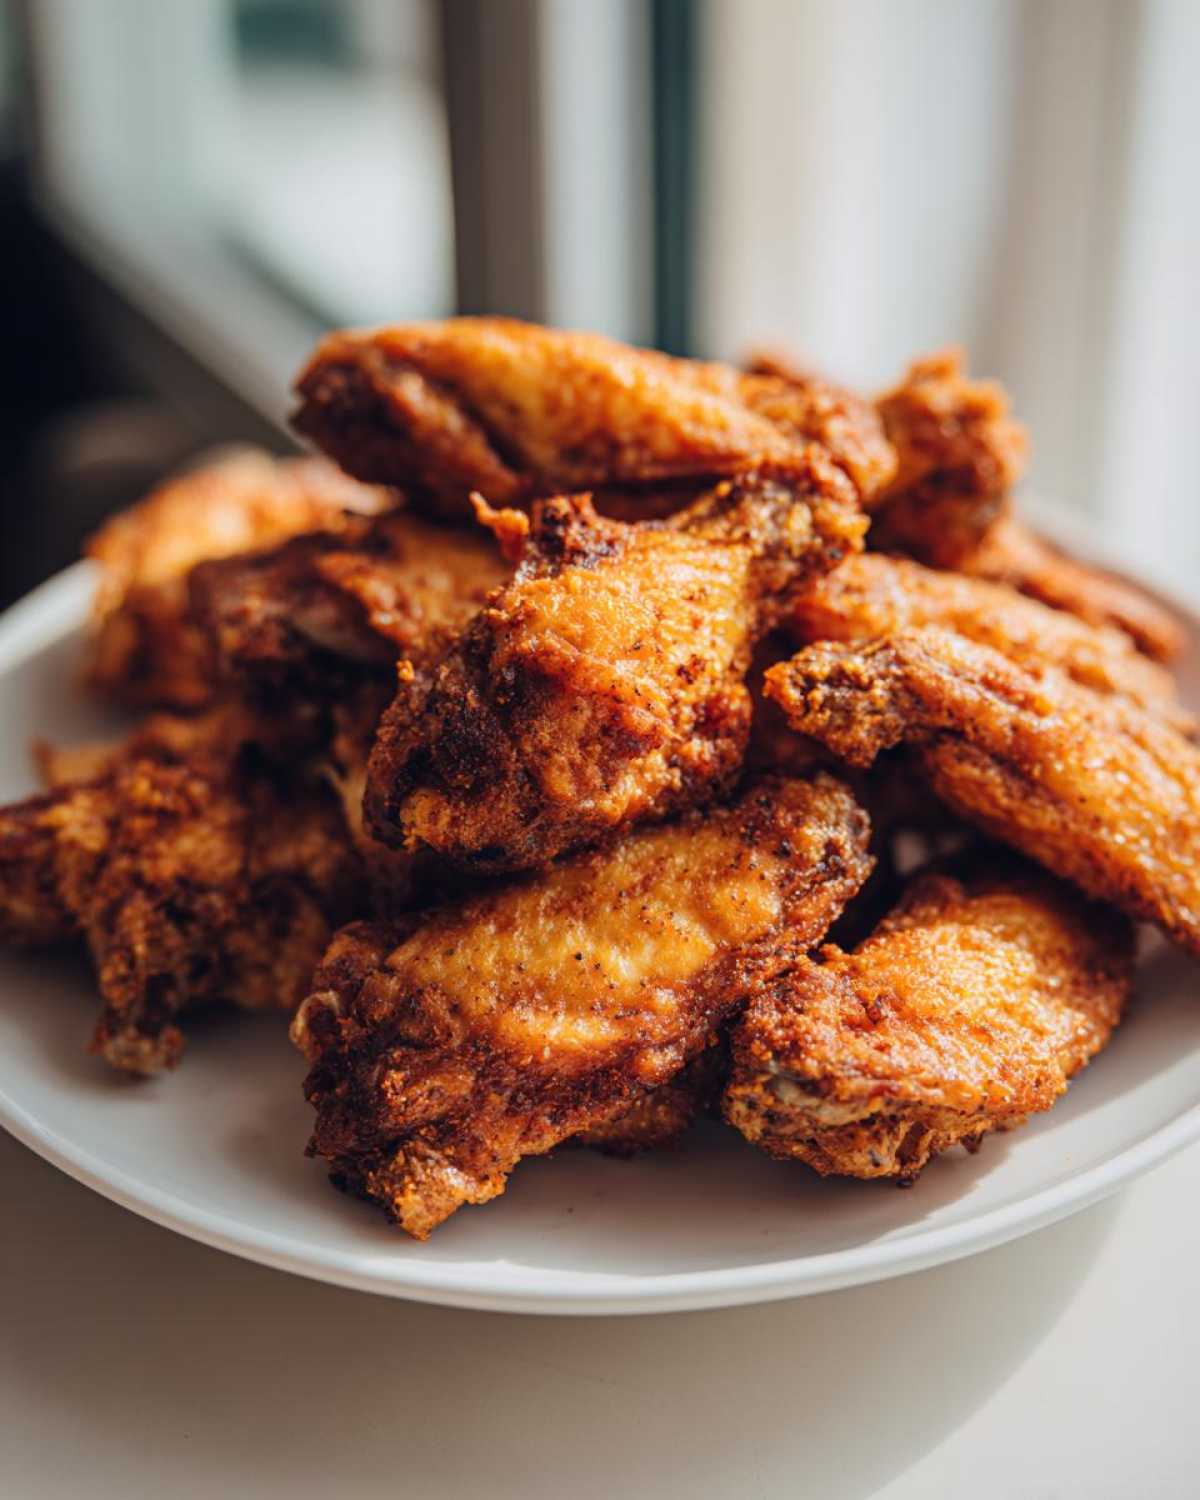
The best part about getting that perfect crunch right in the oven is that your chicken wing is now a perfect blank canvas! Because the skin is so dry and crisp, it holds onto sauces beautifully without getting instantly soggy. If you want flavor instead of serving them plain (which is great with just a little salt, by the way!), you always wait until they are out of the oven and tossed with butter first. This is key for amazing dry rub chicken wings or whatever glaze you choose.
You want to toss, not drown. Whether you’re looking for classic spicy glazed chicken wings or something sweeter, a quick toss in a bowl is all you need. The dry heat means these are excellent weeknight chicken dinner ideas because the cleanup is minimal!
Quick Honey Garlic Chicken Wings Recipe Glaze
For a sticky sweetness, I have a super simple honey garlic mixture that you just fold into the wings once they’ve had their butter bath. Just measure out equal parts honey and soy sauce and a couple of cloves of minced garlic, maybe warming it slightly so it mixes well. Toss those crispy guys quickly, and boom—you’ve got homemade sticky chicken wings ready to go. It’s even easier than making something like spicy little sausages!
Lemon Pepper Wings Baked Style
If you’re leaning toward that classic tangy lemon pepper wings baked flavor, skip the wet sauce entirely. After tossing them with that little bit of melted butter, immediately dump them onto a platter and sprinkle generously with your favorite lemon pepper seasoning blend. You get that bright, zesty punch that usually requires deep-frying. Seriously, try this dry rub chicken wings approach once; it lets that baked crunch really shine through!
Tips for Success with Your Party Appetizer Chicken Wings
I’ve learned a few things over the years trying to perfect these party appetizer chicken wings so you don’t have to repeat my mistakes! My number one tip, straight from my notes, is that using a wire rack is absolutely crucial. It’s not just for show; it allows air to circulate completely around every piece of chicken wing. If the bottom sits directly on the foil or pan, it steams, and trust me, that moisture is the enemy of crispiness!
Also, never, ever skip drying those wings thoroughly with paper towels. If they are even slightly damp, the baking powder can’t do its job properly, and you’ll end up with sad, rubbery skin instead of that crackle you want. If your oven has a convection setting, go ahead and use it! Convection circulates the hot air even better, which speeds up the drying process and makes your oven crispy wings no fry even faster. You can even occasionally reference tips from things like other appetizer recipes to get ideas on keeping things warm without cooking them further!
Storage and Reheating Instructions for Leftover Chicken Wings
If, by some miracle, you have any of these crispy baked chicken wings left over (I doubt it!), storage is simple, but reheating is where you save the crunch. You absolutely must let the wings cool down completely first, otherwise condensation builds up instantly. Store them in an airtight container in the fridge for up to three days. When you’re ready to eat them again, resist the urge to nuke them in the microwave, seriously—that guarantees sogginess!
For the best reheat, pop them back onto a wire rack set over a baking sheet (just like we did initially!) and stick them in a 375°F oven for about 8 to 10 minutes. If you have an air fryer, even better—5 minutes at 375°F will bring that baked crisp right back. They taste almost as good as fresh!
Serving Suggestions for Game Day Chicken Wings Spread
The feast isn’t complete just with incredible party appetizer chicken wings, right? When you’re setting up your game day chicken wings spread, you need dips and sides that can stand up to the bold flavors we just created. Blue cheese or ranch dressing is a must for cutting through spicy glazed chicken wings. Don’t forget celery and carrot sticks—they offer a nice, cool crunch between bites!
For something heartier on your appetizer recipes with chicken table, I love setting out a batch of hot, crispy mashed potato balls alongside the wings. They make the whole spread feel incredibly satisfying without needing a full meal prep!
Frequently Asked Questions About Making Crispy Chicken Wings
I get so many questions about making sure these oven crispy wings no fry stay perfect, which just tells me y’all are serious about your snacks! It makes total sense; you follow the recipe one way one time and it works, but the next time it seems off. Let’s clear up the last few uncertainties so you can nail these every single time you make chicken wing appetizers.
Can I use aluminum foil directly on the pan instead of a wire rack for my chicken wing?
Oh, please don’t do that! I know foil is easy cleanup, but if you put the baking powder coated chicken wings directly on the foil, the bottom half is just going to steam itself in its own juices. That moisture is the absolute opposite of crispiness. You need that wire rack beneath them so the hot air can circulate all the way around the bottom of the wing, allowing every surface to dry out and brown up nicely. Keep that rack handy!
Do I need to marinate the chicken wing before using the baking powder method?
No, you definitely do not! In fact, I strongly advise against it, especially if you’re after that super crunchy exterior. Marinating, especially with liquid-based recipes like some spicy glazed chicken wings styles, adds extra moisture to the skin. Remember how we talked about drying them till they squeak? Well, marinating undoes all that hard work! The baking powder needs clean, dry skin to interact with properly. If you want to add flavor, stick to a great dry rub chicken wings application *before* baking, or toss them in your favorite sauce after they finish cooking.
Nutritional Estimates for Baked Chicken Wings
Since we are trying to make healthier choices by skipping the deep fryer, I know you guys are probably curious about the numbers for these crispy baked chicken wings! Remember, this is just a little estimate based on the wings themselves before we toss them in heavy sauces. The actual calories and sodium will jump up depending if you slather them in a super sweet honey garlic glaze or stick to a zesty dry rub.
For a standard serving size, which we figured was about four wings, here’s a ballpark idea of what you’re looking at with our base recipe (just the clean baked wings tossed in a touch of butter):
- Serving Size: 4 wings
- Calories: About 280
- Fat: Around 18 grams
- Protein: A whopping 27 grams!
- Carbohydrates: Very low, about 1 gram.
If you load them up with sauce, especially sugary ones, those carb and calorie counts will definitely start climbing, so keep that in mind when you’re planning your game day spread. These are estimations, so treat them as a fun guide rather than the gospel truth!
Print
Ultimate Crispy Baked Chicken Wings (No Fry)
- Total Time: 60 min
- Yield: 4 servings 1x
- Diet: Low Fat
Description
Learn how to make incredibly crispy chicken wings in the oven without deep frying, using a simple baking powder technique for a perfect crunch.
Ingredients
- 3 lbs chicken wings, separated into flats and drumettes
- 1 tablespoon baking powder (aluminum-free preferred)
- 1 teaspoon salt
- 1/2 teaspoon black pepper
- 1/2 teaspoon garlic powder
- 1/4 teaspoon cayenne pepper (optional)
- 2 tablespoons melted butter (for tossing after baking)
- Your choice of sauce (e.g., Buffalo, Honey Garlic)
Instructions
- Preheat your oven to 425 degrees Fahrenheit (220 degrees Celsius). Line a large baking sheet with aluminum foil and place a wire rack on top of the foil.
- Pat the chicken wings completely dry using paper towels. This step is crucial for crispiness.
- In a large bowl, combine the baking powder, salt, pepper, garlic powder, and cayenne pepper.
- Add the dried chicken wings to the bowl and toss thoroughly until every piece is evenly coated with the dry mixture.
- Arrange the wings in a single layer on the wire rack, ensuring they do not touch each other.
- Bake for 20 minutes.
- Flip the wings over. Continue baking for another 20 to 25 minutes, or until the skin is deeply golden brown and very crispy.
- Remove the wings from the oven. Place them in a clean bowl. Drizzle with melted butter and toss to coat lightly.
- Toss the wings immediately with your preferred sauce or serve dry with seasonings. Serve hot.
Notes
- Using a wire rack allows air to circulate completely around the wings, which helps them crisp evenly on all sides.
- Do not skip drying the wings; excess moisture prevents crisping.
- For extra flavor, you can toss the wings with a dry rub instead of sauce after baking.
- Prep Time: 15 min
- Cook Time: 45 min
- Category: Appetizer
- Method: Baking
- Cuisine: American
Nutrition
- Serving Size: 4 wings
- Calories: 280
- Sugar: 1
- Sodium: 350
- Fat: 18
- Saturated Fat: 5
- Unsaturated Fat: 13
- Trans Fat: 0
- Carbohydrates: 1
- Fiber: 0
- Protein: 27
- Cholesterol: 90