Introducing The Ultimate Creamy Old-Fashioned rice pudding
Are you ready for a hug in a bowl? I mean a real, warm, comforting hug. That’s what this recipe delivers. We’re talking about the ultimate creamy old-fashioned rice pudding. Liam used to make desserts that were too serious for me. Now, we bring the joy back. This classic dessert is made right on your stovetop. It’s simple comfort food, just how Grandma made it.
Why This Old-Fashioned rice pudding Recipe Works So Well
Folks, this stovetop pudding is magic. It nails that deeply satisfying, creamy texture everyone craves. We skip the fuss of the oven. The slow, gentle cooking builds flavor naturally. That old-fashioned taste comes from just a few quality ingredients. You’ll see why this remains a family favorite.
Essential Ingredients for Your Creamy rice pudding
Making truly great rice pudding starts here. It’s about respecting what goes into the pot. We keep this list short because the quality shines through. Remember, this recipe is for the ultimate creamy rice pudding. Don’t skimp on the milk, please! That richness is non-negotiable for that old-fashioned texture we love so much.
Ingredient Notes and Substitutions for Perfect rice pudding
Whole milk is your best friend here. Its fat content creates that luxurious mouthfeel. You can’t substitute it easily. Also, short-grain white rice is crucial. Its starch releases better. This is what thickens the whole thing up nicely. When we add the egg later, remember to temper it slowly. Pouring hot liquid into the egg too fast will scramble it. We want smooth, not chunky, pudding!
Equipment Needed for Stovetop rice pudding
Thankfully, you don’t need much fancy gear. You just need a few basics. A heavy-bottomed saucepan is the most important tool. It spreads the heat around evenly. This stops the bottom from burning fast. A good whisk helps with stirring, too. A simple wooden spoon works well also. That’s really all it takes for this stovetop pudding.
Step-by-Step Instructions for Old-Fashioned rice pudding
Now for the fun part, turning simple things into gold. Cooking this stovetop rice pudding takes patience. But I promise, the results are worth every minute. Liam calls this the slow dance of dessert making. It’s where the transformation happens right before your eyes.
Initial Simmering and Thickening the rice pudding Base
First, grab that heavy saucepan. Add your rice, milk, and salt now. Set the heat to medium-low. Bring this mixture to a very gentle simmer. You must stir often here. Stirring stops the rice from sticking hard to the bottom. Once simmering, drop the heat way down. Cook this for about an hour. Stir every five to ten minutes. You want the rice soft and the liquid thick. It should coat the back of your spoon nicely.
Tempering the Egg for Smooth rice pudding
This next part keeps your creamy rice pudding perfect. Take the pan completely off the heat source. Get your lighty beaten egg ready in a separate bowl. Slowly whisk about one cup of the hot pudding into that egg. This is called tempering. It slowly raises the egg’s temperature safely. Then, pour that warmed egg mixture back into the main saucepan. Stir everything constantly for just one minute. Never boil the pudding after the egg goes in. Finally, stir in your vanilla extract. Done! Serve it warm or chill it later.

Tips for Achieving the Creamiest rice pudding Texture
Liam has spent countless hours perfecting this stovetop pudding. He learned some secrets along the way. Getting that signature creamy rice pudding is no accident. It takes mindful cooking. Here are the tricks we always use.
Stirring Technique for Silky rice pudding
Stirring is not optional here; it’s the law. You need constant attention during the first thickening phase. Think of it as coaxing the starch out slowly. If you walk away, you risk scorching the bottom. A scorched bottom ruins the clean flavor. Keep that wooden spoon moving gently but often.
Adjusting Consistency After Cooling the rice pudding
This pudding thickens up a lot as it rests. That’s just science, folks. When it chills, it firms up like a comforting cloud. If you reheat leftovers later, don’t panic. It will seem too stiff. Just add a tiny splash of whole milk. Stir gently while warming it up. This brings back the perfect, silky texture.
Serving Suggestions for This Classic rice pudding
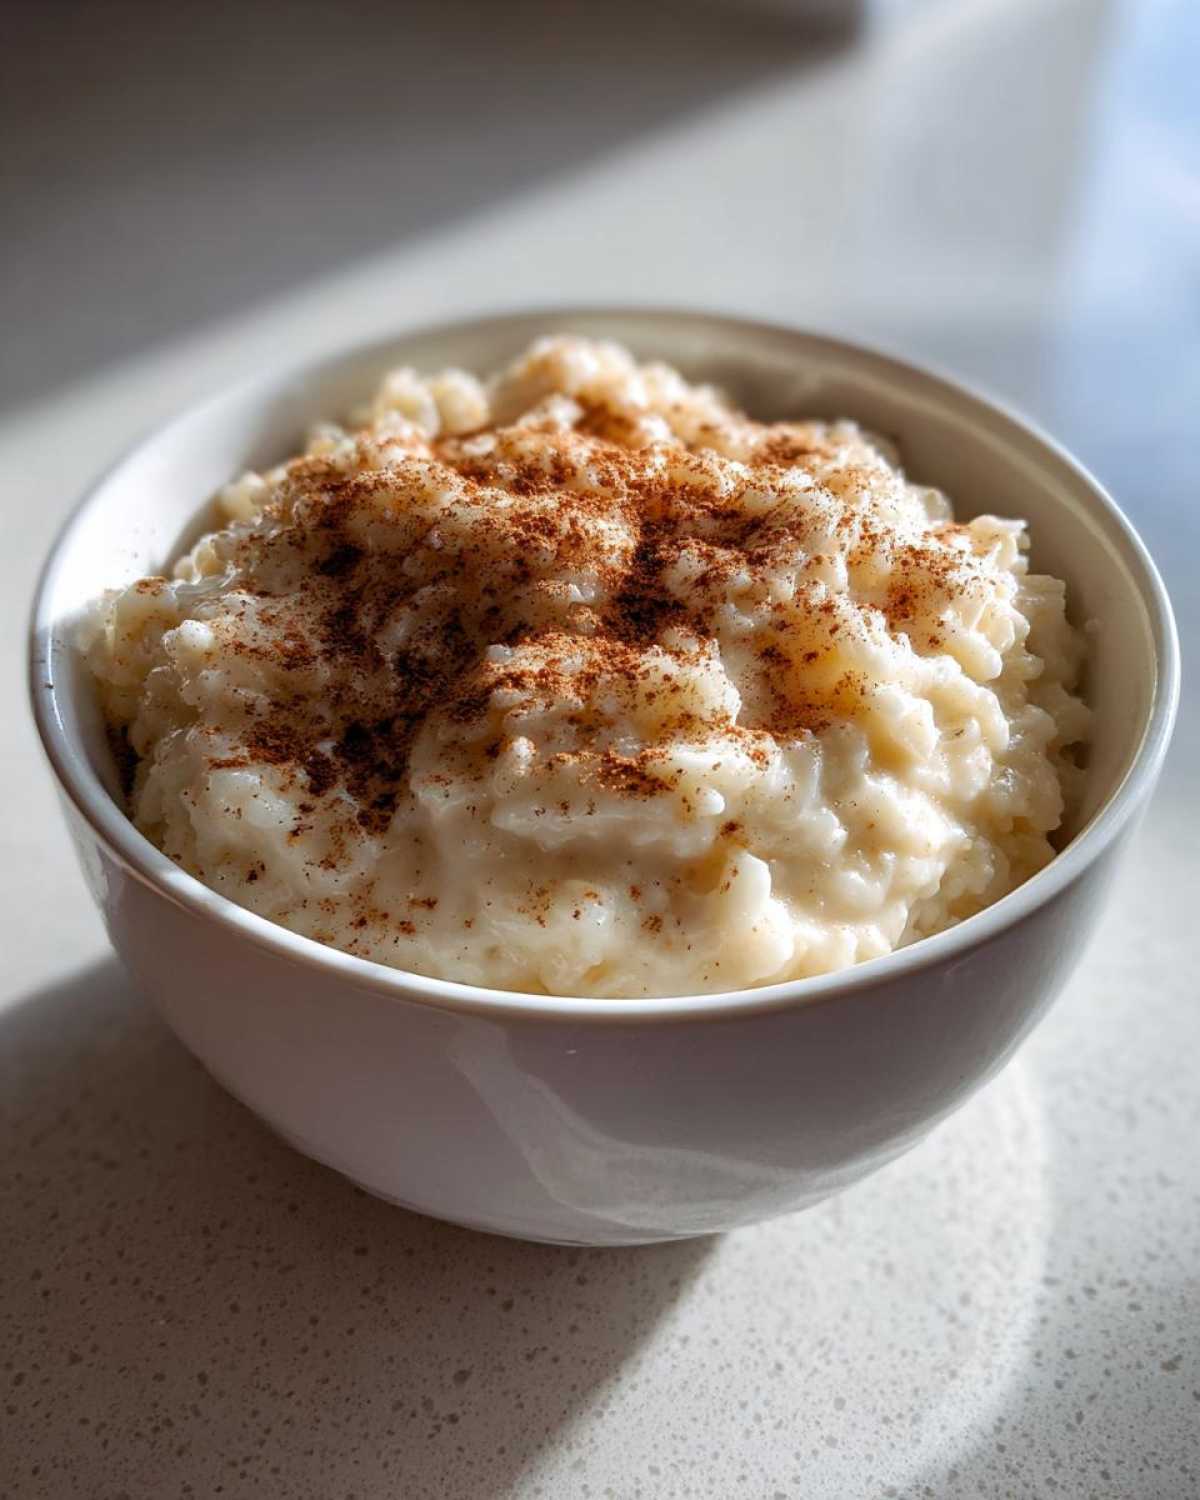
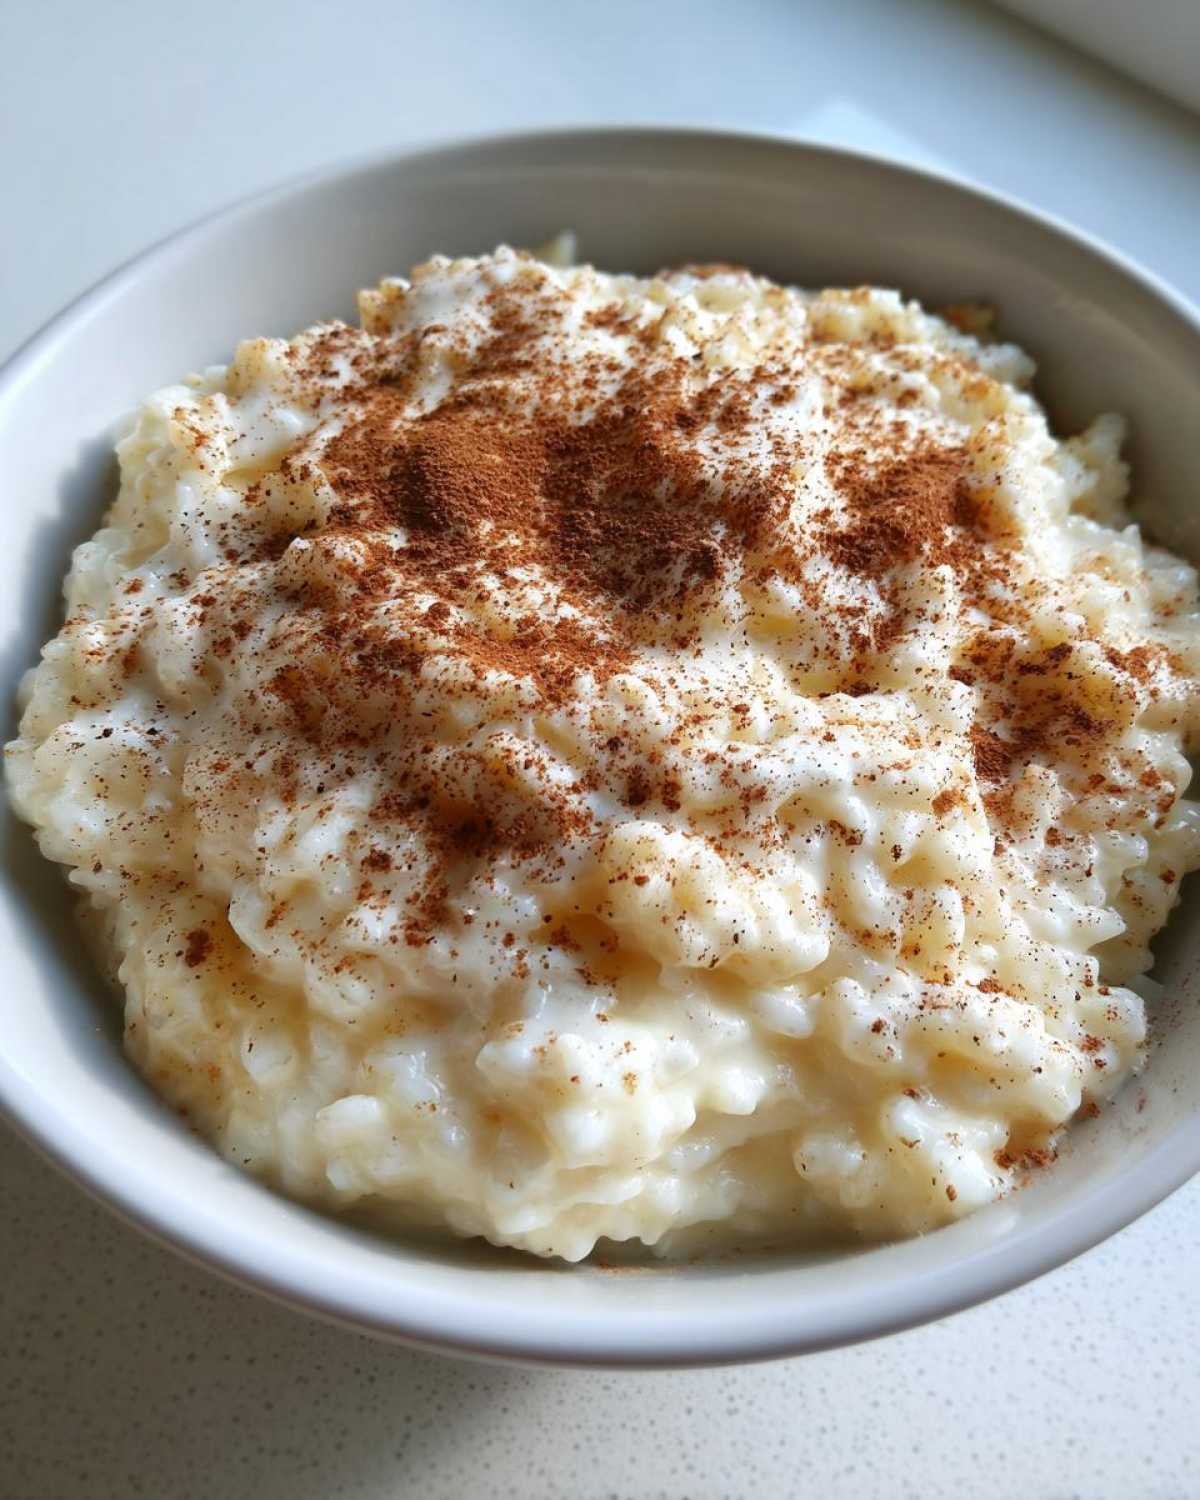
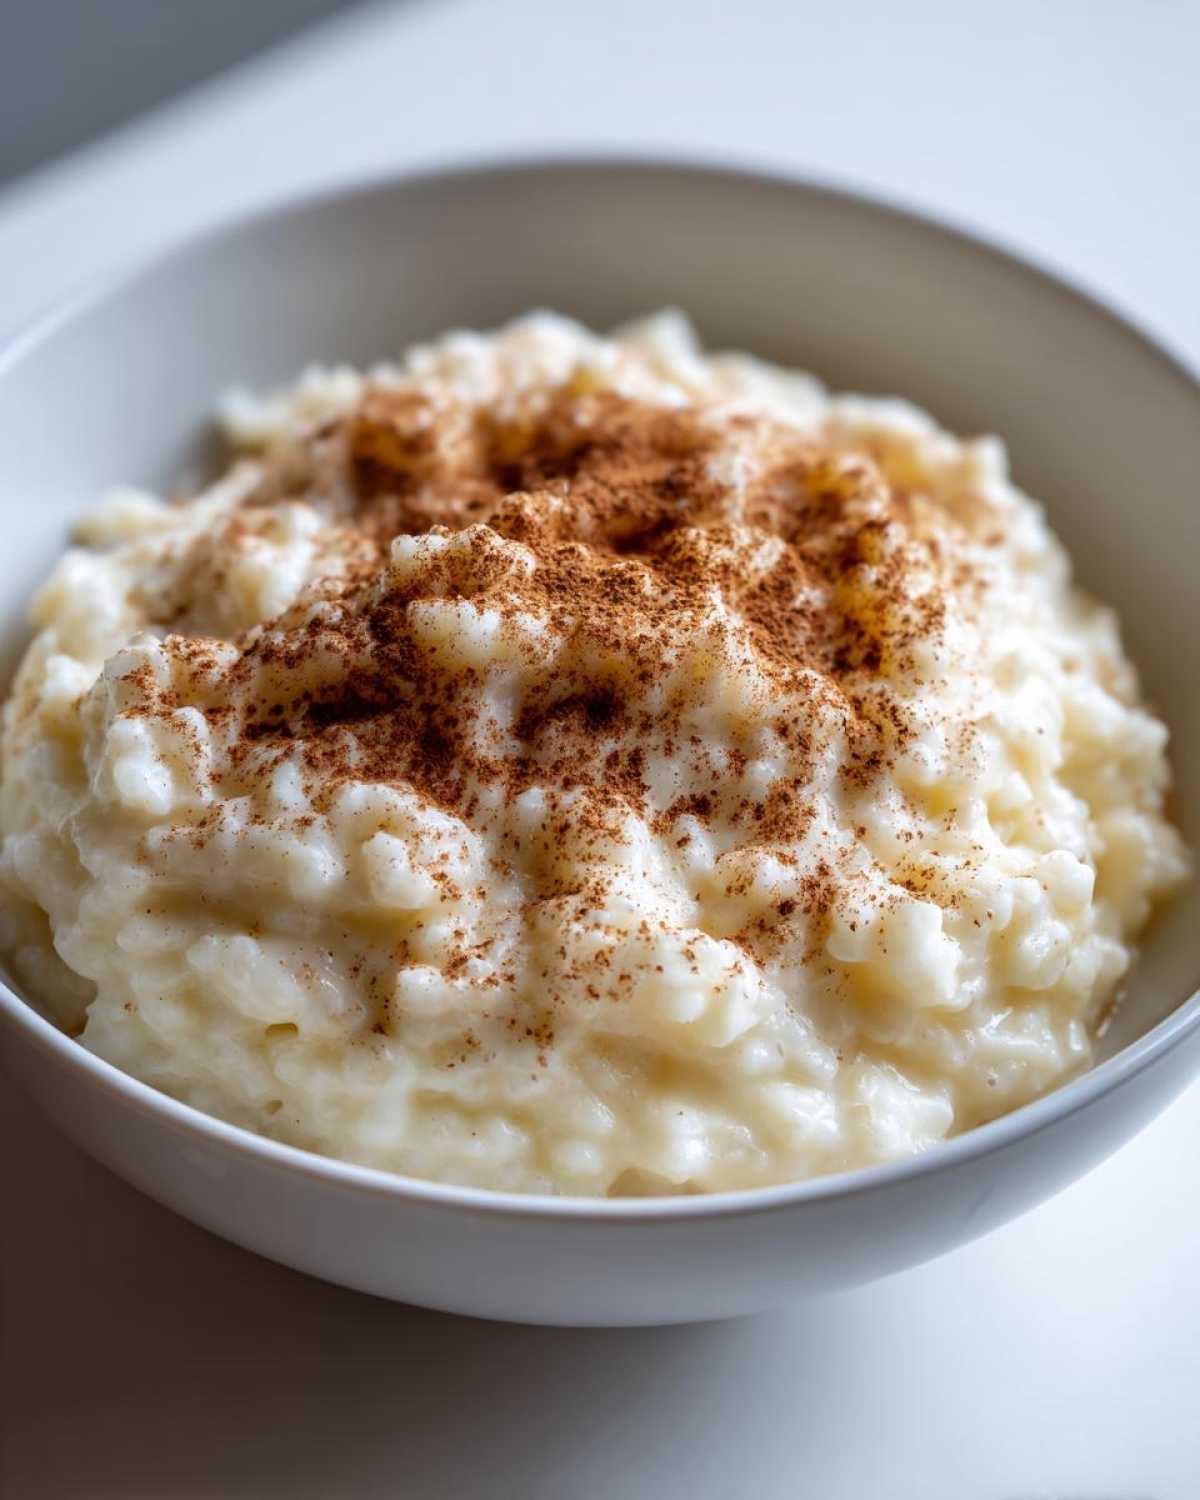
The moment of truth has arrived! How you finish your old-fashioned rice pudding matters. Serving it warmly is pure nostalgia for me. That creamy warmth fills the room instantly. Liam loves sprinkling ours with lots of ground cinnamon.
That spice adds a lovely little bite. It cuts through the sweetness perfectly. But don’t stop there, my friends. Think about other tasty additions.
- A drizzle of maple syrup works wonders.
- A dollop of fruit preserves adds brightness.
- Toasted nuts give a nice little crunch.
- A bit of lemon zest wakes up the flavor.
Whether warm or chilled, this rice pudding feels special. It’s a simple dessert that tastes grand. Enjoy every spoonful of this classic treat.
Frequently Asked Questions About Homemade rice pudding
We get so many questions about this classic dessert. People want their stovetop rice pudding perfect. Here are a few things we hear often in our kitchen.
Can I Make This rice pudding Ahead of Time?
Absolutely, yes! Making this creamy rice pudding ahead is smart. It tastes great chilled too. Store it in an airtight container. Keep it in the fridge for up to four days easily. Remember it will set up firm when cold. Add milk when you reheat it later. This brings back the nice texture.
What Kind of Rice is Best for Creamy rice pudding?
For the creamiest rice pudding, stick to short-grain rice. Arborio rice works well too. These rice types release more starch. That starch is what thickens everything naturally. Long-grain rice stays too separate. It won’t give you that comforting, old-fashioned result. Use short-grain for the best texture.
Storing and Reheating Your Leftover rice pudding
Don’t let any of this amazing rice pudding go to waste! Leftovers are almost as good the next day. Proper storage keeps that creamy texture alive. We want to protect our hard work, right?
Use shallow, airtight containers for storage. This helps the pudding cool down fast. Cooling quickly is important for food safety. Cover the surface directly with plastic wrap. This stops a nasty skin from forming on top. Store the container in the fridge for four days max.
Reheating requires a gentle touch. Never blast it in the microwave. That dries it out fast. Place a serving in a microwave-safe bowl. Add a small splash of whole milk. Start with short bursts of power. Stir well between each burst. You want it warm, not boiling hot.
If you are reheating a big batch, use the stovetop. Put the pudding in a saucepan. Add milk until it looks slightly looser. Heat slowly over very low heat. Stir constantly until just warmed through. This old-fashioned rice pudding deserves care even as leftovers.
Sharing Your Culinary Performance
Did you try making this creamy rice pudding?
Tell us about your kitchen show!
Did you add a fun twist?
We love seeing your memories, too.
Share your favorite moments below.
Print
5 Amazing Old-Fashioned rice pudding Secrets
- Total Time: 65 minutes
- Yield: 4 servings 1x
- Diet: Vegetarian
Description
This is the ultimate creamy, old-fashioned rice pudding recipe, made simply on the stovetop. We bring the joy and connection back to your kitchen with this comforting classic.
Ingredients
- 1/2 cup short-grain white rice
- 4 cups whole milk
- 1/2 cup granulated sugar
- 1 large egg, lightly beaten
- 1 teaspoon vanilla extract
- Pinch of salt
- Ground cinnamon, for topping
Instructions
- Combine the rice, milk, and salt in a heavy-bottomed saucepan.
- Bring the mixture to a gentle simmer over medium heat, stirring often to prevent scorching.
- Reduce the heat to low. Cook uncovered for 45 to 60 minutes, stirring every 5 to 10 minutes, until the rice is tender and the pudding has thickened considerably.
- Remove the saucepan from the heat. Temper the beaten egg by slowly whisking about 1 cup of the hot pudding mixture into the egg.
- Pour the tempered egg mixture back into the saucepan, stirring constantly for 1 minute off the heat. Do not boil after adding the egg.
- Stir in the vanilla extract.
- Serve warm or chill completely for a firmer texture. Sprinkle with ground cinnamon before serving.
Notes
- Use whole milk for the creamiest result.
- Stirring is key to achieving a smooth, non-sticky texture.
- This pudding thickens as it cools; adjust consistency with a splash of milk if reheating.
- Prep Time: 5 minutes
- Cook Time: 60 minutes
- Category: Dessert
- Method: Stovetop
- Cuisine: American
Nutrition
- Serving Size: 1 cup
- Calories: 320
- Sugar: 25g
- Sodium: 150mg
- Fat: 8g
- Saturated Fat: 4g
- Unsaturated Fat: 4g
- Trans Fat: 0g
- Carbohydrates: 55g
- Fiber: 1g
- Protein: 10g
- Cholesterol: 60mg