The Secret to Silky, Decadent chocolate pudding
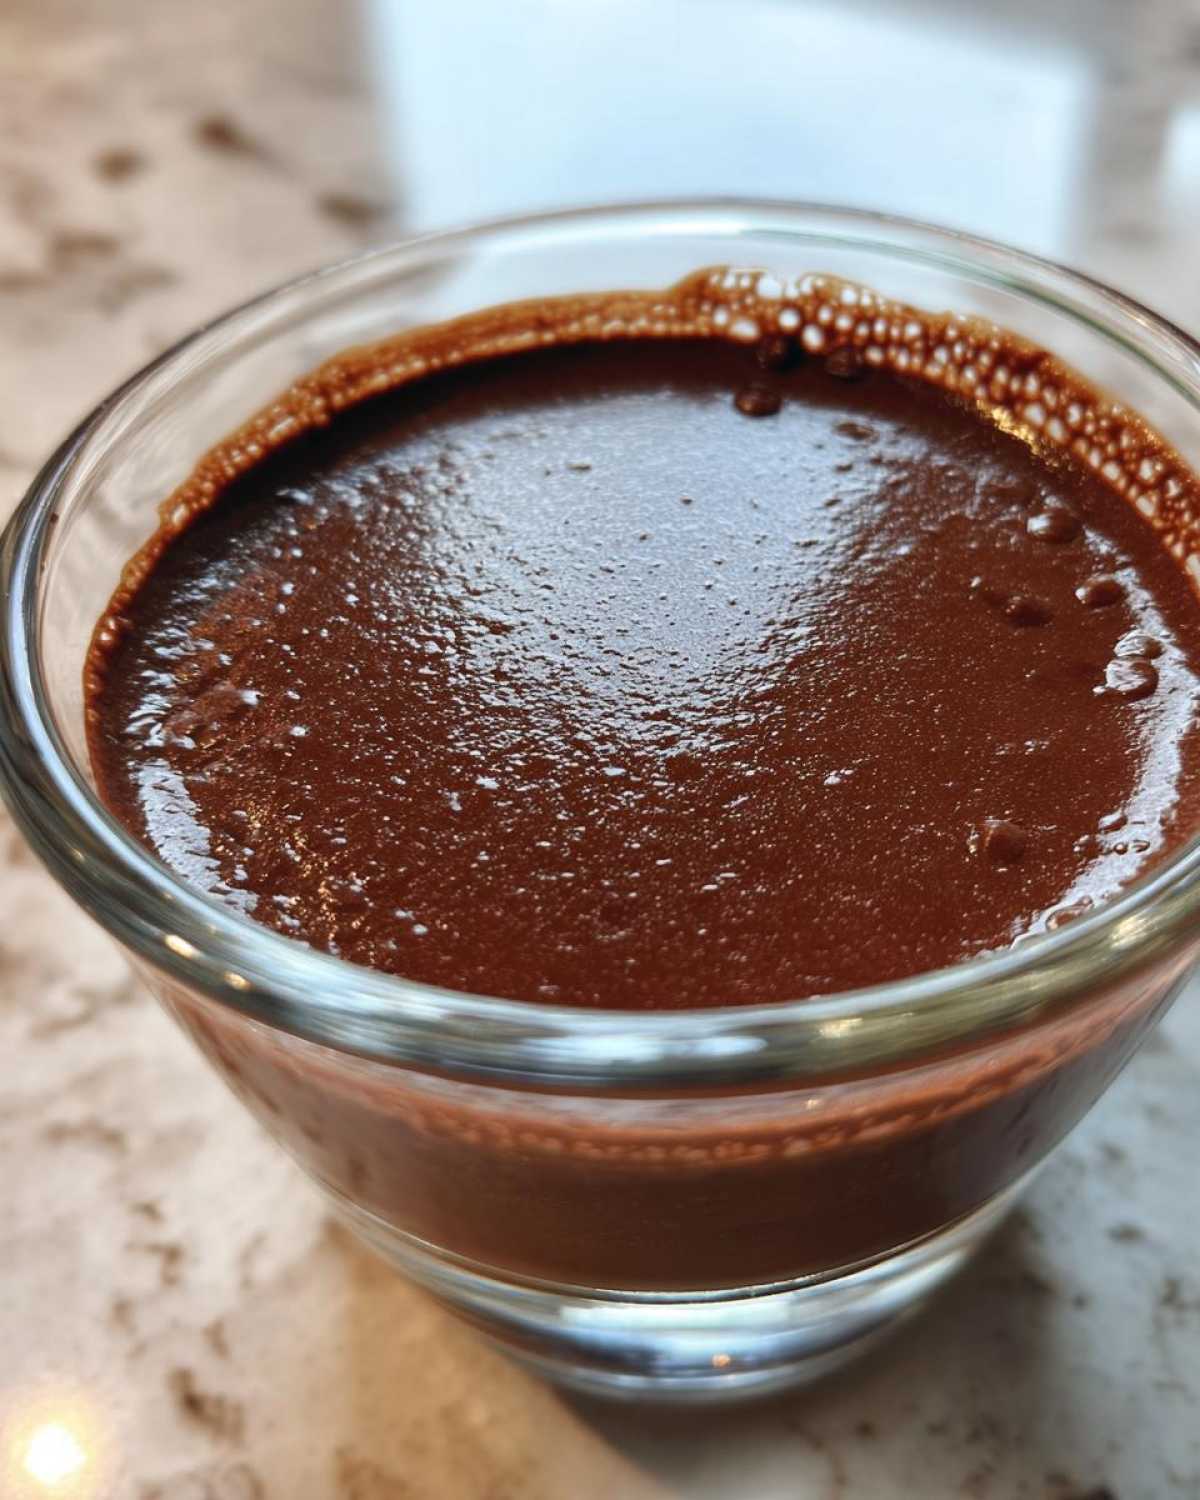
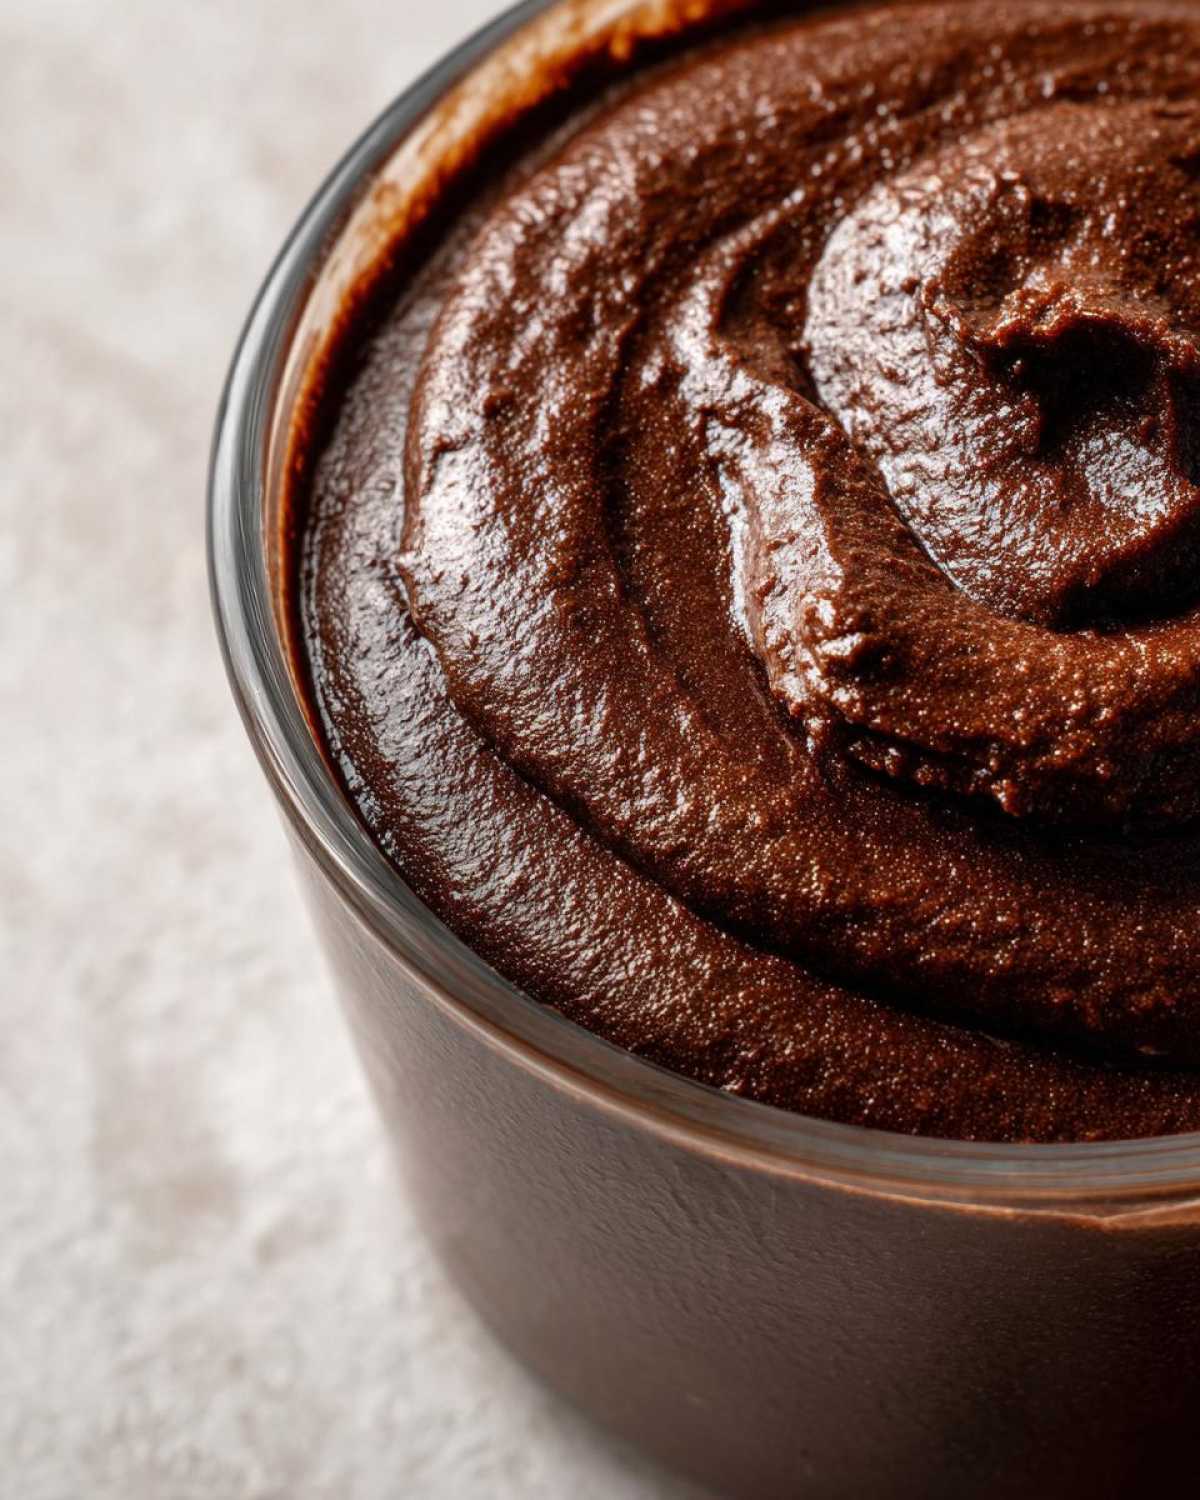
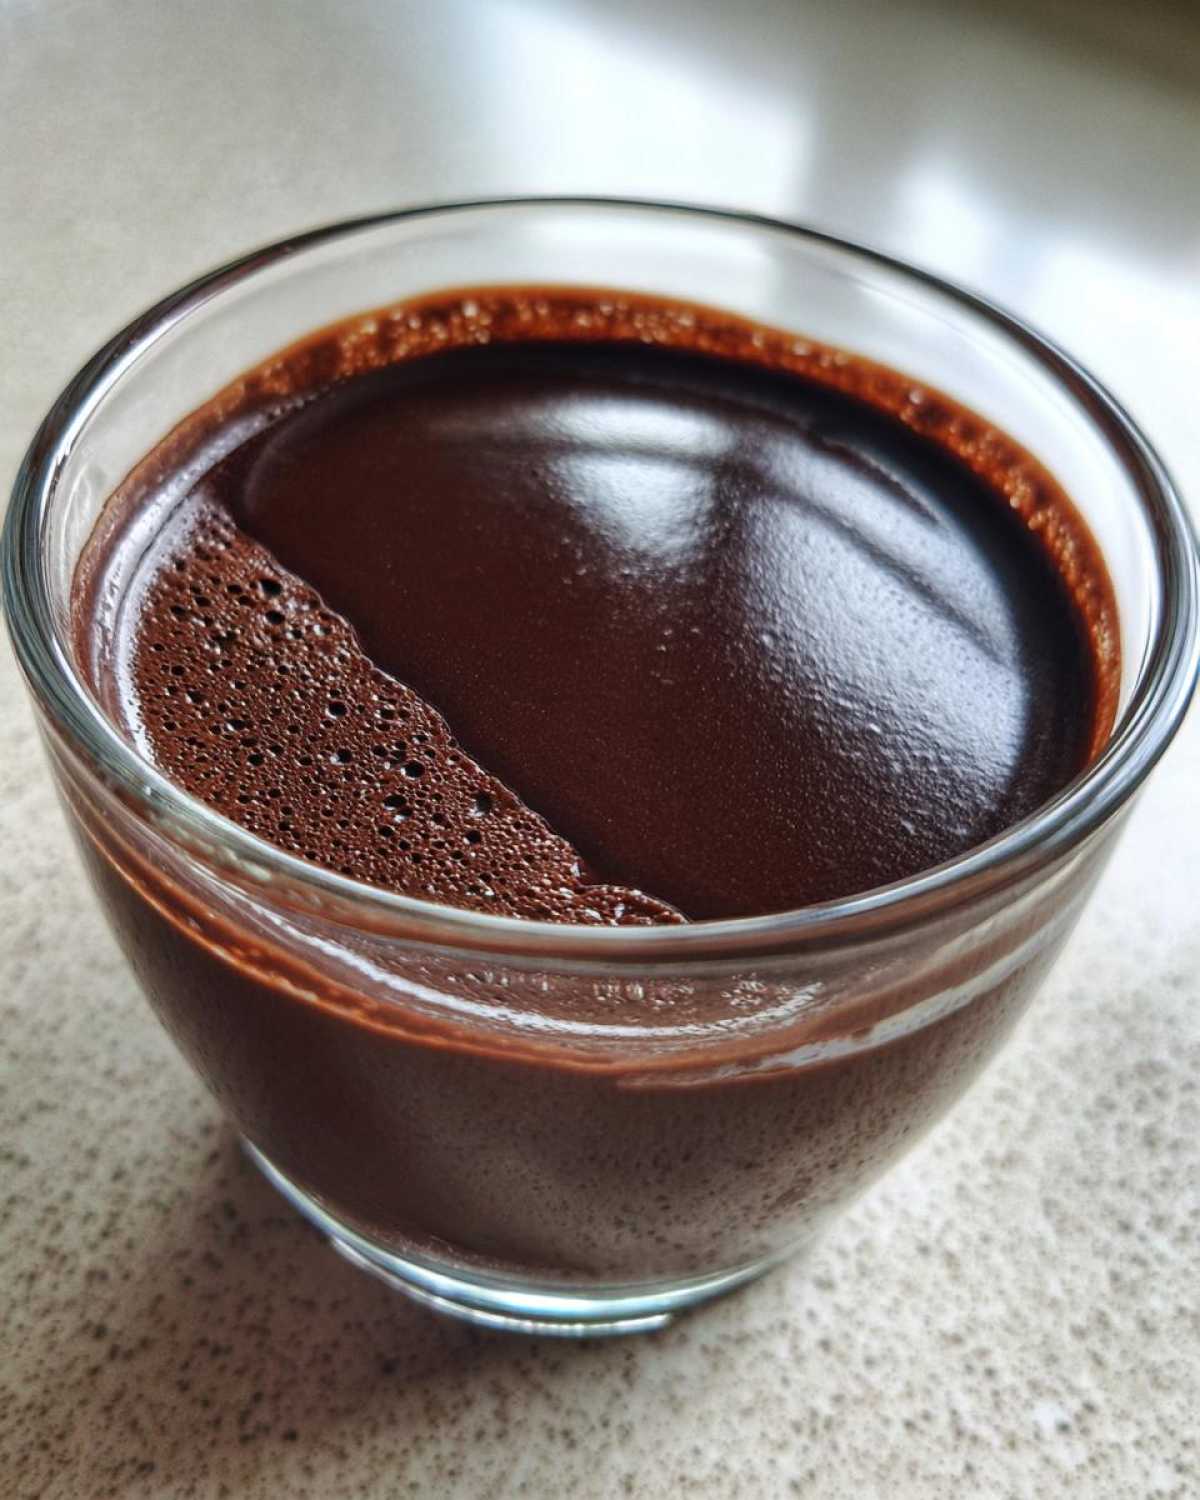
Forget those grainy, sad mixes you remember. I promise this homemade chocolate pudding changes everything. We are talking about pure, velvety luxury. This recipe delivers the creamiest chocolate pudding from scratch. Seriously, it’s that good.
When Liam first started cooking, his food was perfect, but quiet. I’m Sara, his resident muse. I reminded him food needs soul. That’s why we focus on joy here.
This simple stovetop method is our secret weapon. It’s fast. It tastes decadent. It beats anything store-bought, hands down. Get ready for a dessert moment.
Why You Will Make This Creamy chocolate pudding Again and Again
You’ll reach for this recipe often. I know I do!
It brings that comforting feeling back. Here are my favorite reasons why:
- It’s incredibly quick.
- The flavor is deeply rich.
- It totally beats those old box mixes.
- The technique is surprisingly simple.
You get gourmet results fast. That’s a win-win for busy weeknights.
Equipment Needed for Perfect chocolate pudding
You don’t need fancy gadgets here. Just your basics will do the trick.
Make sure you have these items ready to go:
- A medium saucepan for cooking.
- A good whisk. This is key for smoothness!
- Two separate bowls for mixing.
- Plastic wrap for chilling.
Having these ready helps the process flow nicely.
Gathering Your Ingredients for Homemade chocolate pudding
Getting ready to cook is half the fun!
For the best homemade chocolate pudding, quality matters. I always say, better ingredients make better memories. Liam insists on using the best cocoa powder we can find.
These simple pantry staples create magic on the stove. Don’t skip any of these core components.
Ingredient Clarity and Measurement Details
Precision helps achieve that perfect, creamy texture we love.
Pay close attention to these details when measuring:
- Sugar: Use 1/2 cup white, granulated sugar.
- Cocoa: Use 1/4 cup unsweetened cocoa powder.
- Thickener: Measure 1/4 cup cornstarch exactly.
- Salt: Just a tiny pinch, 1/4 teaspoon.
- Milk: Two cups of whole milk work best.
- Eggs: You need two large egg yolks only.
- Butter: Two tablespoons of unsalted butter.
- Vanilla: One teaspoon of pure vanilla extract.
Remember, those egg yolks add richness. Don’t use the whites!
Step-by-Step Instructions for Easy chocolate pudding
Time to make magic happen on your stovetop. Follow these steps closely. You’ll have rich, creamy chocolate pudding soon. Don’t rush the thickening part. That’s where the texture comes from.
Combining Dry Ingredients and Milk
Grab your medium saucepan first. Pour in the sugar, cocoa powder, cornstarch, and salt. Whisk these dry things together well. This step stops lumps later. Trust me on this one!
Next, pour in the whole milk slowly. Keep whisking as you add it. You want a totally smooth liquid base. No dry pockets allowed. This mixture goes onto the heat next.
Thickening the chocolate pudding Base
Set your stove to medium heat now. Cook this mixture constantly. Stir it all the time with your whisk. Watch it closely. It needs to get thick. It must reach a full boil.
Once it boils, keep whisking hard for one minute. This cooks out the cornstarch taste. Remove the pan from the heat right away. Now we prepare the yolks for tempering.
Tempering Egg Yolks for Smooth chocolate pudding
In a small, separate bowl, whisk your two egg yolks gently. Take about half a cup of the hot pudding mixture. Slowly drizzle it into the yolks. Whisk continuously while pouring. This is tempering.
Tempering warms the yolks slowly. It stops them from scrambling later. Now, pour that warmed yolk mixture back into the main saucepan. Put it back on medium heat. Stir constantly for one minute more. Do not let it boil again, okay?
Finishing and Chilling Your chocolate pudding
Take the pan off the hot burner. Stir in the butter until it melts completely smooth. Add the vanilla extract last. Give it one final, gentle stir.
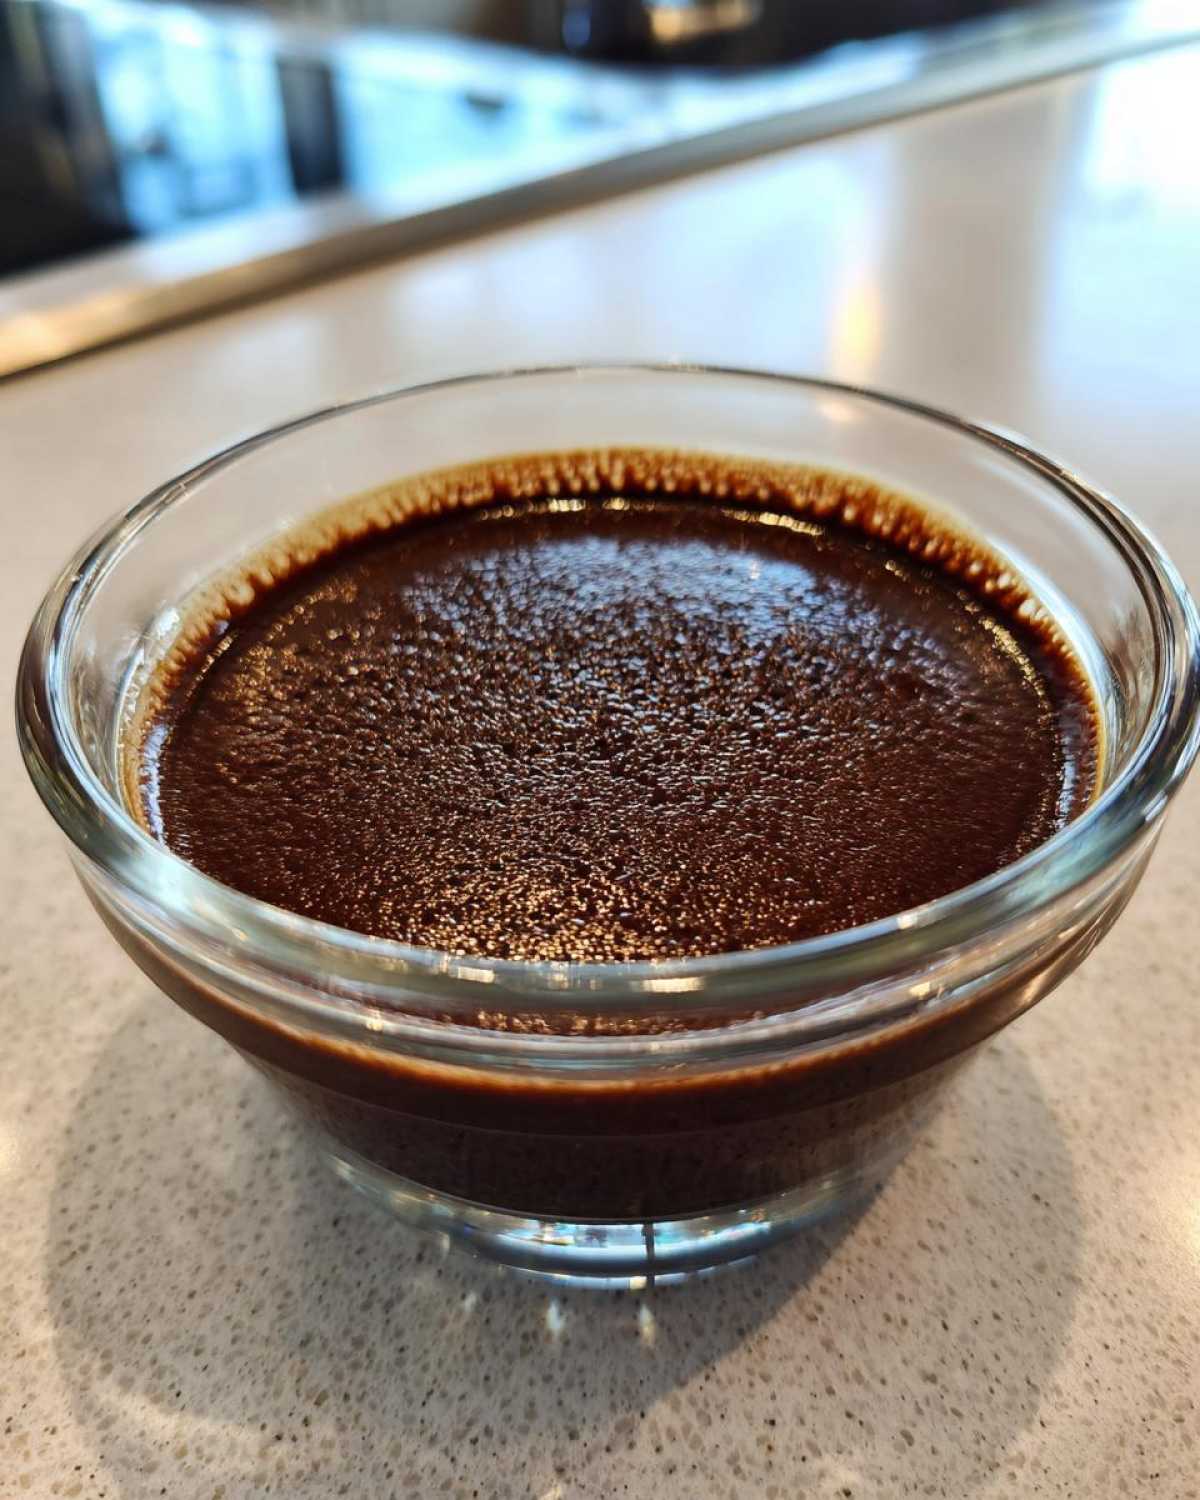
Pour the pudding into small serving bowls. Or use one big bowl if you like. Here is the crucial trick for perfect pudding. Take plastic wrap. Press it right onto the surface. This stops that awful skin from forming. Chill for two hours minimum. Then enjoy your amazing homemade dessert.
Tips for Success with Your Homemade chocolate pudding
Making this from scratch feels like cheating. It’s so easy to get fantastic results. Liam always reminds me about texture.
A few small tweaks make a big difference. These tips come from our kitchen experiments. We learned them the fun way.
Don’t be afraid to taste as you go. Adjusting is part of the cooking joy. This pudding should feel luxurious.
Adjusting Thickness and Flavor in Your chocolate pudding
Want it thicker? I get it. If you like a very firm set, add one extra teaspoon of cornstarch. Mix it in with the dry ingredients first.
For incredible flavor, skip cheap cocoa. Use a high-quality Dutch-process powder. The difference in richness is huge. Seriously, try it once.
Also, consider the milk swap. Half-and-half works wonders here. It adds a lovely, velvety mouthfeel. This step really bumps up the richness factor.
Frequently Asked Questions About chocolate pudding
We get asked so many great questions about this recipe. Cooking should be fun, not confusing. Let’s clear up any lingering doubts you have.
These answers focus on getting that perfect, silky texture every time. It’s all about technique, really.
Here are the things people ask most often about this dessert.
Can I make this chocolate pudding ahead of time?
Yes, absolutely! This is a great make-ahead dessert. It tastes even better the next day.
Store it covered tightly in the fridge. Remember to press plastic wrap directly onto the surface. This keeps it fresh and smooth. It holds up well for three days easily.
You don’t need to reheat it at all. Serve it chilled straight from the refrigerator. It sets up nicely when cold.
What if my pudding seems too runny?
Did you boil it for that full minute after it thickened? That step cooks the starch properly. If it’s still runny, try increasing the cornstarch next time. Or, let it chill longer. Often, it thickens a lot in the fridge.
Can I use different kinds of milk?
Whole milk is best for the richness we want. You can use 2% milk if needed. Low-fat milk makes it slightly less creamy, though. Avoid skim milk entirely. It won’t give you that decadent feel.
How do I get rid of lumps?
Lumps happen when you add liquid too fast. Always whisk the dry ingredients first. Then, whisk the cold milk in slowly. A good whisk is your best friend here. Persistent whisking solves most lumps!
Nutritional Estimates for Your Creamy chocolate pudding
Now, let’s talk fuel for your fun. Cooking at home lets you control what goes in. This estimate helps you plan your day.
Keep in mind these numbers are just guides. Your brand of cocoa changes things fast. This is based on the recipe provided.
We aren’t nutritionists, just home cooks! Use these figures as a general idea.
- Serving Size: 1 serving
- Calories: Around 250 per serving
- Sugar: About 25 grams total
- Sodium: Near 150 milligrams
- Total Fat: Roughly 12 grams
- Protein: About 6 grams
If you swap milk for half-and-half, the fat content goes up. That extra richness is worth it sometimes! Enjoy this treat guilt-free. If you want a lighter option, try this mousse.
Remember to top yours with fresh whipped cream. That doesn’t count in these numbers, wink!
Print
Best Silky chocolate pudding: 2 Amazing Minutes
- Total Time: 15 minutes (plus chilling time)
- Yield: 4 servings 1x
- Diet: Vegetarian
Description
Make the creamiest, richest homemade chocolate pudding from scratch. This recipe is simple enough for a quick treat but tastes far better than any box mix. Get ready for decadent flavor in minutes.
Ingredients
- 1/2 cup granulated sugar
- 1/4 cup unsweetened cocoa powder
- 1/4 cup cornstarch
- 1/4 teaspoon salt
- 2 cups whole milk
- 2 large egg yolks
- 2 tablespoons unsalted butter
- 1 teaspoon vanilla extract
Instructions
- In a medium saucepan, whisk together the sugar, cocoa powder, cornstarch, and salt until combined.
- Gradually whisk in the milk until the mixture is smooth.
- Place the saucepan over medium heat. Cook, whisking constantly, until the mixture thickens and comes to a boil. Continue boiling for one minute, still whisking. Remove from heat.
- In a small bowl, whisk the egg yolks lightly. Temper the yolks by slowly whisking about 1/2 cup of the hot pudding mixture into the yolks.
- Pour the tempered yolk mixture back into the saucepan with the remaining pudding. Return to medium heat. Cook, stirring constantly, for one minute more; do not let it boil again.
- Remove the saucepan from the heat. Stir in the butter and vanilla extract until smooth.
- Pour the pudding into individual serving dishes or a single bowl. Press plastic wrap directly onto the surface of the pudding to prevent a skin from forming.
- Chill in the refrigerator for at least 2 hours, or until completely cold and set.
Notes
- For an extra rich flavor, use high-quality cocoa powder.
- You can substitute half-and-half for part of the milk for an even creamier texture.
- Serve topped with fresh whipped cream or shavings of dark chocolate.
- If you prefer a thicker pudding, increase the cornstarch by one teaspoon.
- Prep Time: 5 minutes
- Cook Time: 10 minutes
- Category: Dessert
- Method: Stovetop Cooking
- Cuisine: American
Nutrition
- Serving Size: 1 serving
- Calories: Approx. 250
- Sugar: Approx. 25g
- Sodium: Approx. 150mg
- Fat: Approx. 12g
- Saturated Fat: Approx. 7g
- Unsaturated Fat: Varies
- Trans Fat: 0g
- Carbohydrates: Approx. 32g
- Fiber: Approx. 2g
- Protein: Approx. 6g
- Cholesterol: Approx. 90mg