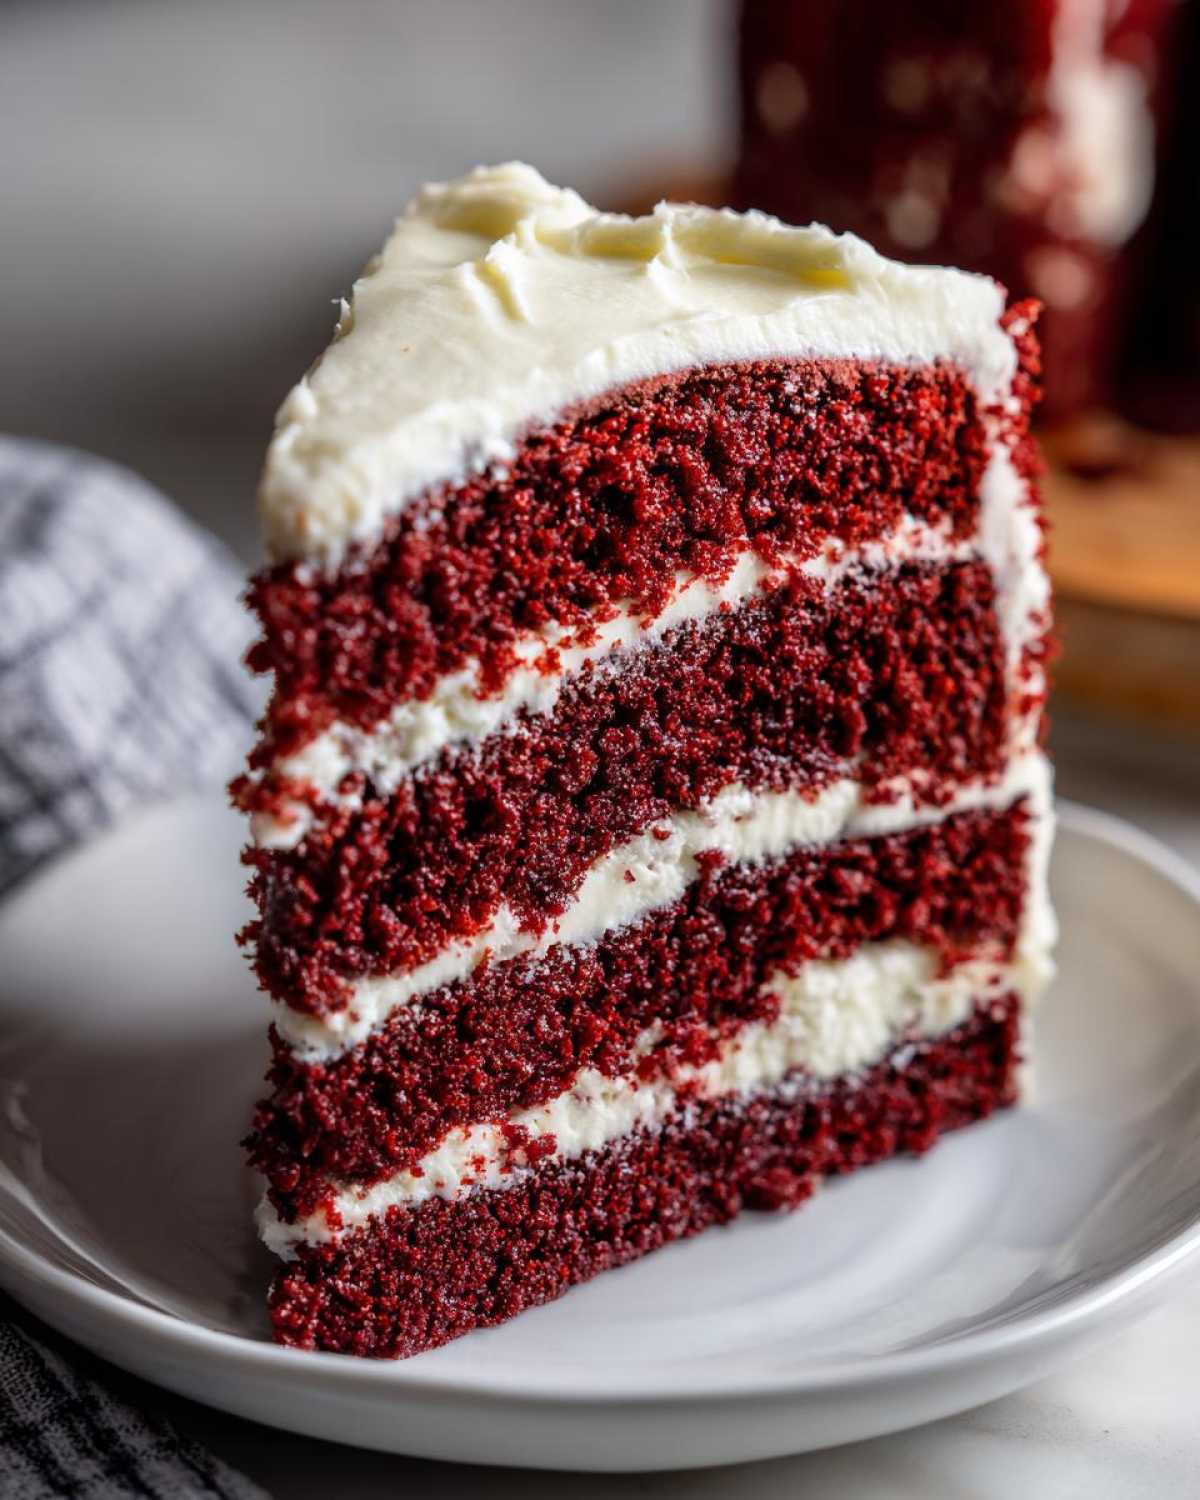
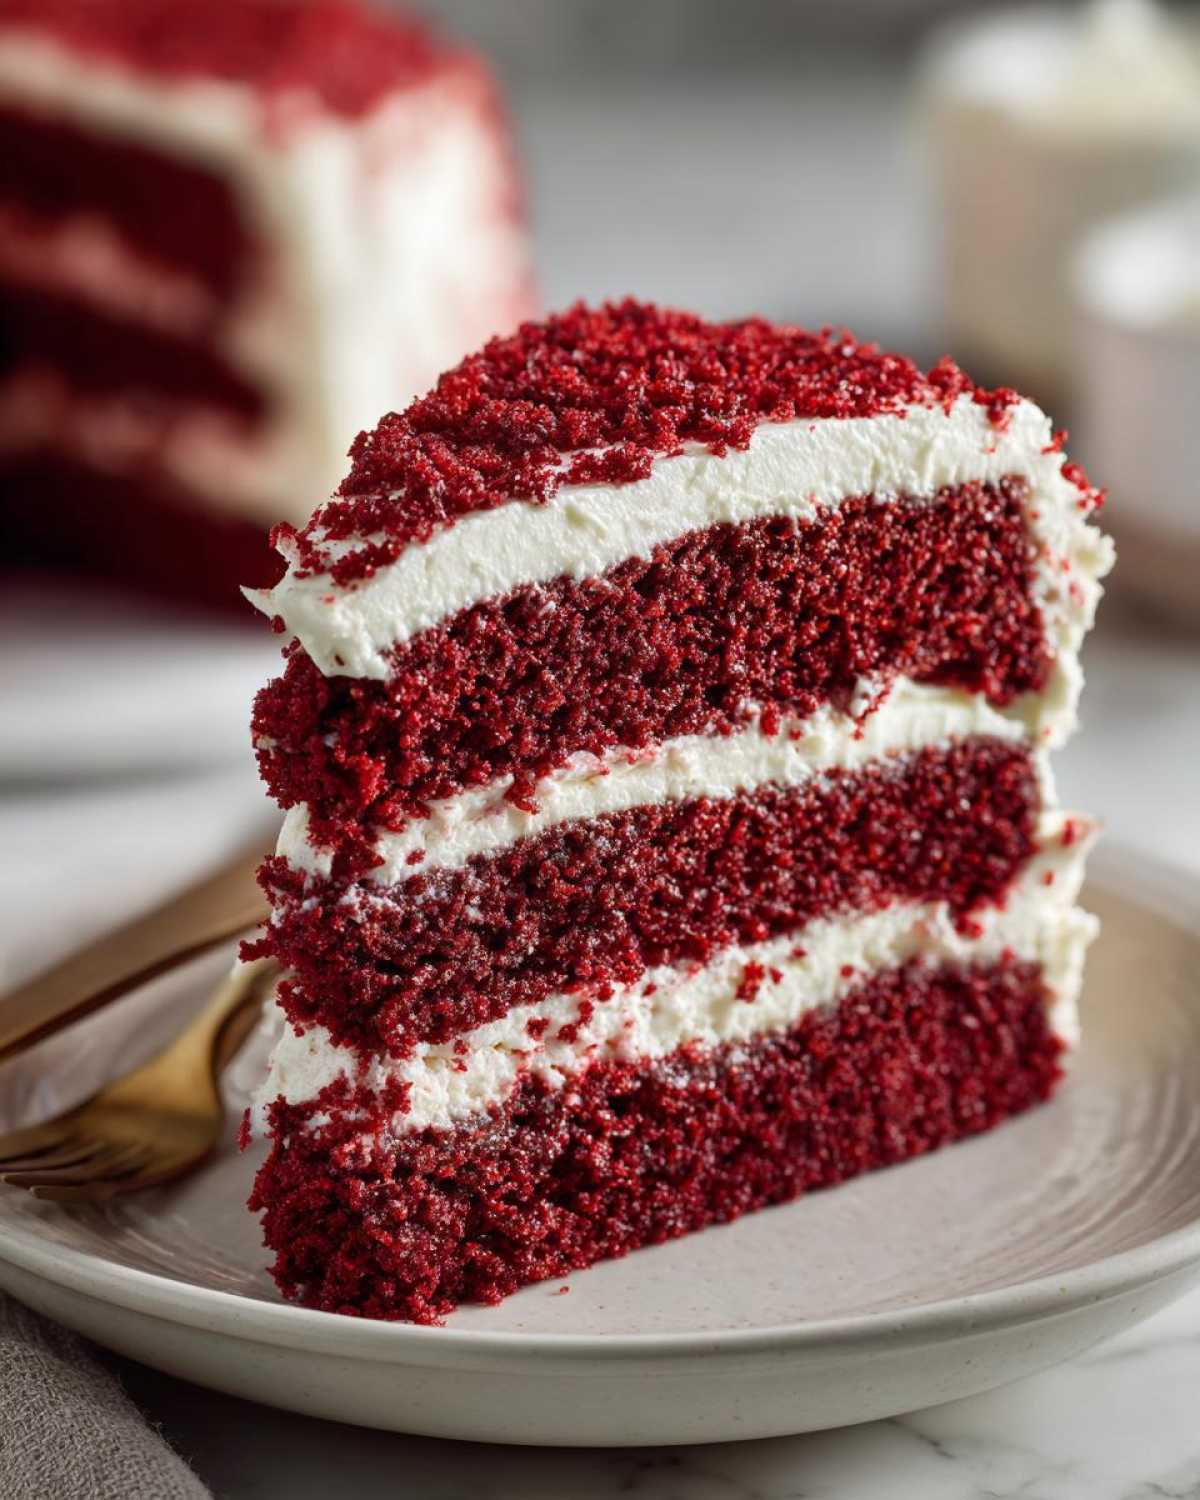
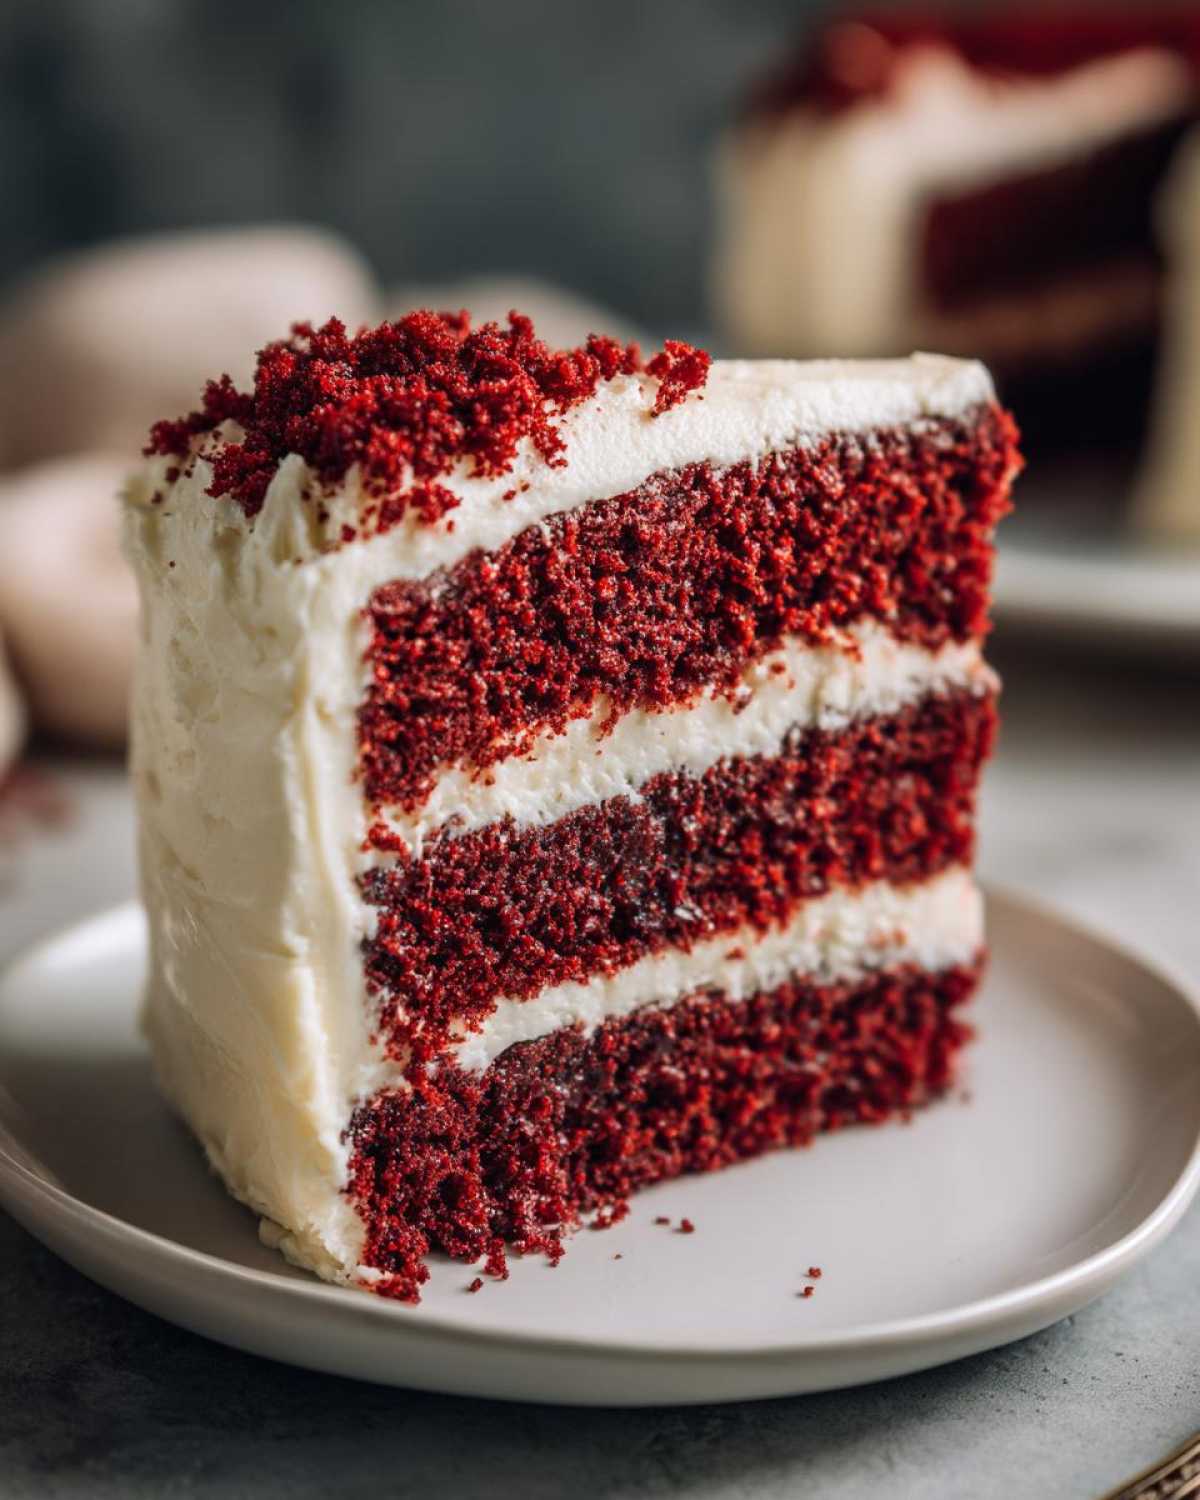
Oh my goodness, are you ready for the BEST two-layer cake you will ever make? Forget those dry, crumbly disappointments you’ve had before! We are talking about achieving that legendary, melt-in-your-mouth texture that only the true masters of Southern baking know how to unlock. This isn’t just baking; this is creating an experience. When Liam and I want to pull out all the stops for a big celebration—a birthday, maybe Christmas—this is the one we turn to: The Best Authentic Southern Red Velvet Layer Cake with Homemade Cream Cheese Frosting. Seriously, the moistness and fluffiness of this red velvet cake are just unbelievable. It truly is a showstopper dessert, and I promise you, once you bake this, you won’t look back!
Why This Authentic Southern red velvet cake Recipe Works (E-E-A-T Focus)
When you’re looking for the *best* cake, you want to know the secrets, right? Liam would tell you it’s about the science, but I say it’s about tradition! This recipe isn’t a hasty mix; it’s built on what makes a true Southern red velvet cake what it is. That signature slight tang that cuts through the richness? That comes from using buttermilk and vinegar. Those traditional elements aren’t just flavor—they work magic chemically with the baking soda to create that gorgeous, soft lift. Trust me, these steps lead straight to that incredible, deep flavor!
Achieving the Fluffy red velvet cake Texture
Getting that light, fluffy result is all about stopping the gluten friends before they show up! We want tender, not tough. That means once you start adding in the flour mixture and the buttermilk, you stop mixing the second everything *just* comes together. Seriously, look at our notes: mixing too much after the flour goes in is the fastest route to a dense brick. We’re aiming for that delicate, velvety cake texture.
The Secret to a Moist red velvet cake Recipe
Now, here’s the trick that guarantees you get the perfect moist red velvet cake recipe every single time: we use oil in the cake batter, not butter! Butter adds flavor, sure, but oil keeps things incredibly tender and moist for days, which is why it’s perfect for a fantastic layer cake. We save the butter magic for the cream cheese frosting later. This technique ensures your cake stays happy and moist long after your party is over, making for a truly satisfying tender crumb cake.
Ingredients for the Best red velvet cake from Scratch
Okay, listen up, because using the right components is basically half the battle won! We’re keeping this super traditional, which means we need to be specific about temperatures and texture. For the most stunning, vibrant red cake coloring, I always recommend grabbing a nice gel dye if you can; it just packs a better punch than the liquid stuff, which is good because we don’t want to add too much liquid!
If you want to check out where some of the inspiration for this intense attention to detail came from, take a peek over here: the flavor gurus. Now, let’s get organized!
For the classic red velvet layers
- 1 1/2 cups vegetable oil (This is key for moisture, remember?)
- 1 1/2 cups granulated sugar
- 2 large eggs
- 1 teaspoon vanilla extract
- 1 tablespoon red food coloring (Liquid or gel—your choice!)
- 1 cup buttermilk, room temperature (This has to be room temp, trust me on this!)
- 1 teaspoon white vinegar
- 2 1/2 cups all-purpose flour
- 1 teaspoon baking soda
- 1 teaspoon salt
- 1 tablespoon unsweetened cocoa powder
For the homemade cream cheese frosting
This frosting needs to be luscious and smooth—no lumps allowed! That means your creaming step for the homemade cream cheese frosting is extremely important. Make sure both of these elements are sitting out until they are perfectly softened, like actual room temperature soft, not just kind of soft.
- 1 cup cream cheese, softened
- 1/2 cup unsalted butter, softened
- 3 cups powdered sugar, sifted (Sifting prevents lumps—it’s non-negotiable!)
- 1 teaspoon vanilla extract
How to Prepare the Fluffy red velvet cake Instructions
You know, even though this looks like a fancy showstopper dessert, it’s actually quite an easy red velvet cake to pull together! Liam often does the mixing while I handle the music, and honestly, we can have this batter ready in about five minutes if we’re organized. We need to move quickly but gently to keep everything light. We start checking the oven temp first, because patience only gets you so far!
Mixing the red velvet cake Batter
First things first: heat up that oven to 350°F (175°C) and make sure those two 9-inch pans are perfectly greased and floured—we don’t want any sticking drama later! In the big bowl, we start by whisking the oil and sugar until they look happy together. Add the eggs one at a time, then the vanilla and all that glorious red coloring until it’s that beautiful, scary vibrant red! In another bowl, mix up your dry stuff (flour, cocoa, salt, soda). Then, mix your buttermilk and vinegar and let it sit for just a second to get that buttermilk action going. Now here’s the technique: alternate adding the dry mix and the buttermilk mixture. Start and end with the dry stuff. And I mean it: mix ONLY until you see the last streak of flour disappear. Stop stirring! This is how we guarantee that soft, beautiful tender crumb cake.
Baking and Cooling the classic red velvet layers
Pour that vibrant batter evenly into your prepared pans. They need about 30 to 35 minutes in the oven, but check it with a wooden pick around the 30-minute mark—it should come out clean, not wet! Once they look done, pull them out, but don’t rush things yet! Let them cool right there in the pans for about 10 minutes. This resting period is crucial because it lets them firm up just enough so they don’t collapse when you flip them. After 10 minutes, flip them onto a wire rack to cool completely. And I mean completely—hot cake meets cold frosting is a disaster we just don’t need in our lives!
Assembling the red velvet cake with Cream Cheese Frosting
While those layers are cooling down, whip up that frosting! Beat your softened cream cheese and butter until it’s super smooth—no lumps hiding! Then, slowly, slowly add that sifted powdered sugar and add the vanilla at the end for a final flourish. Once the cakes are stone cold, it’s time to build! Don’t be shy with the first layer of frosting. Place the second layer on top gently, and then go to town frosting the top and sides of your towering classic red velvet layers. If you want to see how other bakers manage their technique—maybe you’ll see a trick we missed!—check out their guide here: The Art of the Red Velvet.
Tips for a Perfect Southern red velvet cake
So, you’ve got the recipe, but how do you make sure it tastes like Great-Aunt Mildred’s legendary baking? It all comes down to respecting the process, especially when aiming for that authentic Southern red velvet cake feel! My biggest piece of advice, which Liam reminds me of constantly, is ingredient temperature. Everything needs to be room temperature—I mean it! The buttermilk, the eggs—it helps them emulsify beautifully, so you don’t end up with weird little pockets of unmixed ingredients.
Also, we talked about the color, but it bears repeating: if you want that deep, rich red for your red velvet cake, skip the thin liquid food coloring. A little dab of good quality gel coloring goes so much further! If you’re curious how other folks tackle those historic Southern techniques, this deep dive is fantastic: The Real Southern Way. Follow these small details, and you’ll have a showstopper!
Variations on the red velvet cake Theme
Now, I know what you’re thinking: “Sara, this layer cake is gorgeous, but I’m feeling a little adventurous!” And I love that energy! While this recipe gives you the best red velvet cake from scratch, sometimes you need a little detour. If you’re looking for something easier or totally different, we have options!
For those low-effort, maximum-reward days, you absolutely have to try a red velvet poke cake. You bake the layers, poke a bunch of holes (don’t be gentle!), and pour in something creamy—it soaks right down into that tender crumb cake! You can check out a super fun version of that idea here: The Poke Cake Fun.
And if you feel like going completely over the top for a big celebration? We sometimes dabble in the majestic red velvet cheesecake hybrid. Imagine the richness of this cake layered with silky cheesecake filling—it’s pure indulgence and an absolute showstopper! You can see an incredibly decadent version of that over here: Cheesecake Magic. See? So many ways to play!

Serving Suggestions for your red velvet cake Showstopper Dessert
You’ve done the work, you’ve got the layers, and now it’s time for the grand performance! Because this cake is such a looker, you really don’t need much fuss when serving your red velvet cake for birthdays or holidays. I always think it looks heavenly with just a small scattering of toasted, finely chopped pecans around the bottom edge—it adds a little crunch!
When we serve it, we usually stick to simple elegance. It pairs beautifully with a strong, black cup of coffee or maybe a sparkling glass of Prosecco if it’s a celebration! If you want to see how other bakers present this amazing dessert, I love seeing creative ideas for styling; check out some inspiration here: Presentation Inspiration. Honestly though, take a picture fast—it never lasts long enough to admire it!
Storage and Reheating Instructions for red velvet cake
Don’t panic about leftovers; this red velvet cake keeps like a dream, which is great because who ever finishes it in one sitting? The key here is remembering that cream cheese frosting needs serious cold love. Cover the cake loosely with plastic wrap—don’t press it directly onto the frosting!—and pop it into the fridge. It’s good for about four days that way.
But here’s the real pro tip for serving leftovers: take a slice out of the fridge at least 30 minutes before you plan to eat it. That chilling time makes the frosting firm up, but you want the cake layers themselves to warm up slightly. That little bit of warming brings back that perfect soft texture and moisture we worked so hard to achieve!
Frequently Asked Questions About Making red velvet cake
I know you might have some lingering questions after diving into this recipe—it’s a classic, and classics have rules! Liam and I field these all the time, so let’s tackle the most common doubts right here. Getting the color and texture just right is absolutely achievable, I promise!
Does a true red velvet cake taste like chocolate?
That’s such a great question! The answer is yes, but only in the background, like a whisper! A traditional red velvet cake gets its name from that rich, slightly acidic tang balanced by just a tiny bit of cocoa powder. That small amount of cocoa doesn’t make it taste like a chocolate cake, though. Instead, the acid in the buttermilk actually *reacts* with the cocoa and the dye to help give the cake that enhanced, deep color and a subtle, underlying richness. It’s complex, not just sweet!
Can I skip the buttermilk in this moist red velvet cake recipe?
Oh, sweetie, please don’t! If you want that classic, impossibly moist result, buttermilk is your non-negotiable friend here. It’s not just about the liquid; it’s the acid! Buttermilk provides the necessary acid to react perfectly with the baking soda, which is what gives us that beautiful rise and that wonderful, non-dense velvety cake texture. If you are absolutely out, you can mix a tablespoon of white vinegar or lemon juice into a cup of regular milk and let it sit for five minutes to curdle slightly—it’s a decent substitute, but I always push for the real thing for the best moist red velvet cake recipe.
How do I get the vibrant red color without using too much dye?
This is where the quality of your ingredients really pays off! If you use the standard liquid dye from the grocery store, you end up dumping in almost an entire bottle, which messes up your liquid balance. Instead, grab some concentrated gel food coloring! You only need a tiny bit—a quarter teaspoon will do the trick—and it gives you that incredibly deep, vibrant red cake coloring without thinning out your batter. Remember, the cocoa powder tries to fight you by making the cake look a little brownish, so you need serious color punch to overcome it!
Nutritional Estimates for this red velvet cake Slice
Alright, let’s talk numbers! Since this is such a decadent number, I wanted to give you a ballpark idea of what you’re getting in one slice of this red velvet cake heaven. Remember, Liam and I are bakers, not dietitians, so these figures are just estimates based on the quantities we used. How much frosting you decide to load on dramatically changes things, so take these as a fun guideline!
- Serving Size: 1 slice
- Calories: 450
- Sugar: 55g
- Sodium: 350mg
- Fat: 25g
- Carbohydrates: 58g
- Protein: 4g
If you load up on thick layers of frosting, you should expect those fat and sugar counts to climb a little higher! But who’s counting calories when the cake is this good?
Share Your Culinary Show Notes
Whew! If you made it to the end of this, you are officially ready to bake magic happen! Remember what I always say: our blog, Child Recipe, is all about turning serious cooking into joyful play. We want you to feel that spark of childhood discovery when you’re pulling those gorgeous classic red velvet layers out of the oven.
Now, I absolutely need to hear about it! Did you nail that velvety cake texture? Was your frosting perfectly smooth? Please take a picture and tag us, or better yet, leave us a comment right here telling me how moist your red velvet cake turned out! Rating it with stars helps other bakers feel confident trying this recipe too.
We love reading your kitchen stories! Head over to our story page if you want to know more about how Liam and I ended up here, cooking chaos into connection. Happy baking, everyone!
Print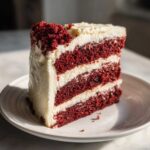
The Best Authentic Southern Red Velvet Layer Cake with Homemade Cream Cheese Frosting
- Total Time: 55 min
- Yield: 12 servings 1x
- Diet: Vegetarian
Description
Make this moist and fluffy Southern Red Velvet Cake from scratch. This classic recipe delivers a tender crumb and rich flavor, perfectly paired with luscious homemade cream cheese frosting. It is a showstopper dessert for any birthday or holiday gathering.
Ingredients
- 1 1/2 cups vegetable oil
- 1 1/2 cups granulated sugar
- 2 large eggs
- 1 teaspoon vanilla extract
- 1 tablespoon red food coloring (liquid or gel)
- 1 cup buttermilk, room temperature
- 1 teaspoon white vinegar
- 2 1/2 cups all-purpose flour
- 1 teaspoon baking soda
- 1 teaspoon salt
- 1 tablespoon unsweetened cocoa powder
- 1 cup cream cheese, softened
- 1/2 cup unsalted butter, softened
- 3 cups powdered sugar, sifted
- 1 teaspoon vanilla extract
Instructions
- Preheat your oven to 350°F (175°C). Grease and flour two 9-inch round cake pans.
- In a large bowl, whisk together the vegetable oil and granulated sugar until combined. Beat in the eggs one at a time, then stir in the vanilla extract and red food coloring until the mixture is uniformly red.
- In a separate medium bowl, whisk together the flour, baking soda, salt, and cocoa powder.
- In a small bowl, mix the buttermilk and white vinegar together; let it sit for 5 minutes to curdle slightly.
- Alternate adding the dry ingredients and the buttermilk mixture to the wet ingredients, beginning and ending with the dry ingredients. Mix only until just combined; do not overmix to keep your cake fluffy.
- Divide the batter evenly between the prepared cake pans.
- Bake for 30 to 35 minutes, or until a wooden pick inserted into the center comes out clean.
- Let the cakes cool in the pans for 10 minutes before inverting them onto a wire rack to cool completely.
- To make the cream cheese frosting, beat the softened cream cheese and butter together until smooth. Gradually add the powdered sugar, beating until light and fluffy. Stir in the vanilla extract.
- Once the cakes are completely cool, frost the first layer, place the second layer on top, and frost the top and sides of the entire cake.
Notes
- For the most vibrant red color, use a high-quality gel food coloring.
- Using room temperature buttermilk helps create a more tender crumb structure.
- Do not overmix the batter after adding the flour; this keeps the cake soft and velvety.
- Prep Time: 20 min
- Cook Time: 35 min
- Category: Dessert
- Method: Baking
- Cuisine: American
Nutrition
- Serving Size: 1 slice
- Calories: 450
- Sugar: 55g
- Sodium: 350mg
- Fat: 25g
- Saturated Fat: 10g
- Unsaturated Fat: 15g
- Trans Fat: 0g
- Carbohydrates: 58g
- Fiber: 1g
- Protein: 4g
- Cholesterol: 55mg