If you ask me what true, soul-soothing Southern comfort tastes like, I’m going to point straight to the glass dish filled with layered sweetness: this ultimate old-fashioned homemade Southern banana pudding. Forget those box mixes; we’re going all the way scratch on this one because, trust me, the taste difference is huge! This recipe is Liam’s pride and joy, perfected over months until it satisfied my picky palate (my role as the Flavorful Muse is strenuous, you know!). He brings the technical chef skills, and I bring the ‘does this make me want to dance around the kitchen’ approval factor. We created this creamy banana dessert as a cornerstone for our family gatherings, and now we’re sharing our script with you to bring that same joyful, delicious magic to your table. You can read more about how Liam cooks with such passion over on our About Me page. Hit the road, instant pudding—we don’t need you here!
Why This Old-Fashioned Southern Banana Pudding is the Ultimate Comfort Food Dessert
You need this version of banana pudding because it tastes exactly like what you remember from your best childhood summer. Liam spent ages focusing on that perfectly smooth, traditional banana dessert base. Whenever I talk about needing a true Southern fix, he knows I mean something better than a shortcut!
Here’s what makes this recipe stand tall above the rest:
- We use a completely scratch-made custard. That means no weird chemical aftertaste, ever! It results in the most creamy banana dessert you can imagine.
- The chilling time is non-negotiable because it transforms those wafers into something wonderfully cake-like.
- It’s just pure, sweet, buttery nostalgia in a dish. Find more Southern inspiration, check out the Pecan Cream Pie recipe for another showstopper!
Ingredients for the Best Homemade Banana Pudding from Scratch
Alright, let’s talk supplies! Since we’re making this the ultimate banana pudding from scratch, we need quality ingredients for that rich custard. No shortcuts here, folks, unless you’re trying out the semi-homemade twist later! Liam laid out exactly what we need to get that perfect creamy texture and sweet melt-in-your-mouth flavor profile. Make sure you have everything measured out before you turn on that stove, because once that custard starts cooking, you’ll want to move!
For the Scratch Vanilla Custard
- 1 cup granulated sugar
- 1/2 cup all-purpose flour
- 1/4 teaspoon salt
- 4 large egg yolks, lightly beaten
- 3 cups whole milk
- 2 tablespoons unsalted butter
- 1 teaspoon vanilla extract
For Assembly and Optional Meringue Topping
This is where the layering magic happens. Remember, the bananas need to be ripe—that means they should have a few speckles on the peel. Don’t go using rock-hard green ones; we need flavor!
- 4 large ripe bananas, sliced about 1/4 inch thick
- 1 box (11 ounces) vanilla wafers (Nilla Wafers)
- Optional topping: 3 large egg whites, beaten with 1/4 cup sugar (for meringue)
How to Prepare the Ultimate Banana Pudding: Step-by-Step Instructions
Okay, here is the performance! Getting this banana pudding right relies on a little bit of patience and a lot of stirring in the beginning. Don’t let the custard intimidate you—we’re going to take it slow so you end up with that amazing, silky texture. If you’re looking for other creamy desserts we’ve perfected, take a peek at how we make creamy homemade chocolate pudding!
Making the Creamy Banana Pudding Dessert Base
We start on the stovetop. First, grab your saucepan and whisk together your dry stuff: the sugar, flour, and salt. Slowly stream in the milk while you whisk like crazy until it’s totally smooth. Now, turn the heat to medium and stir constantly! I mean it, don’t wander off or you’ll scorch the bottom. Cook it until it thickens enough to coat the spoon nicely—maybe 8 to 10 minutes.
Next up is the tricky part: tempering those egg yolks. In a separate bowl, drizzle about a cup of that hot milk mixture into the yolks while you whisk the yolks frantically. Seriously, whisk fast! You’re gently warming them up without scrambling them, which is key for a good creamy banana pudding dessert. Once they’re warmed, pour that yolk back into the pot. Cook for just a couple more minutes until it gets even thicker. Remove from heat, stir in that butter until luscious, and then add the vanilla.
Liam has a special trick here to avoid that dreaded skin forming while cooling: pour the pudding into a clean bowl and immediately press plastic wrap right down onto the surface. It’s touching the pudding! Then, let it cool on the counter for about 20 minutes before we assemble everything.
Assembling Your No Bake Layered Dessert
Time for assembly! You can use a big glass trifle bowl or go rogue and make individual banana pudding cups recipe portions—both are gorgeous. This is the beauty of this no bake layered dessert; it’s mostly just building!
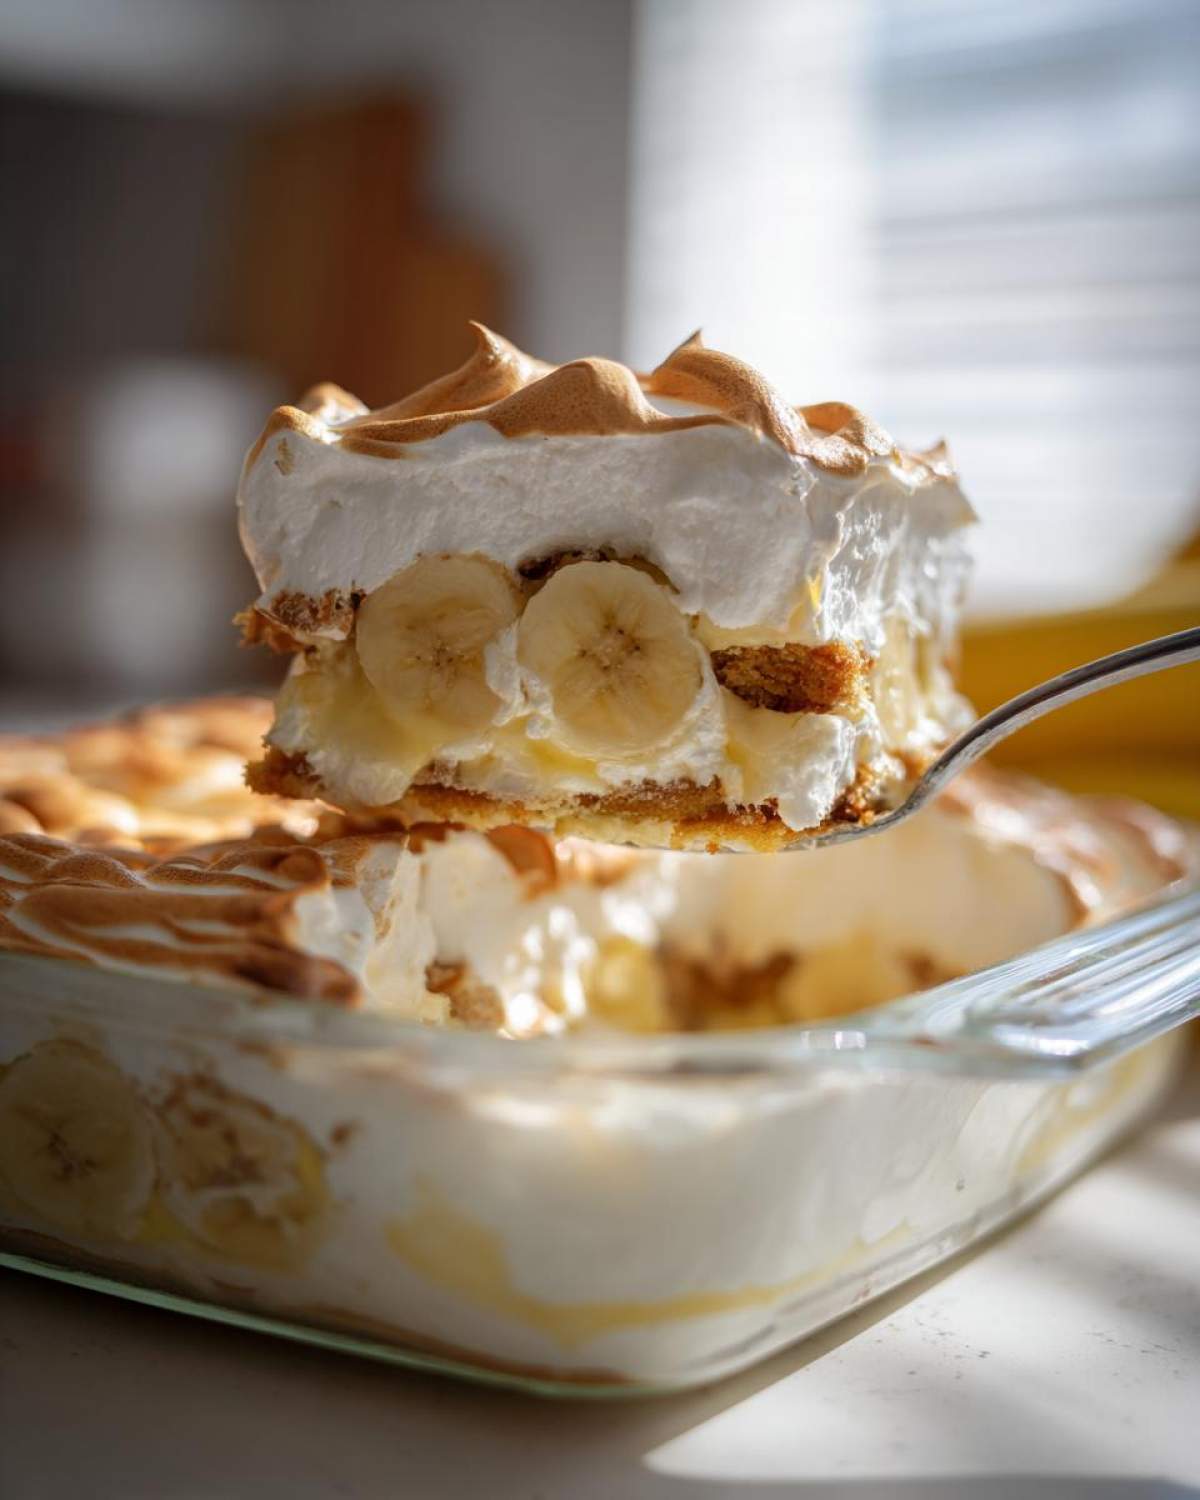
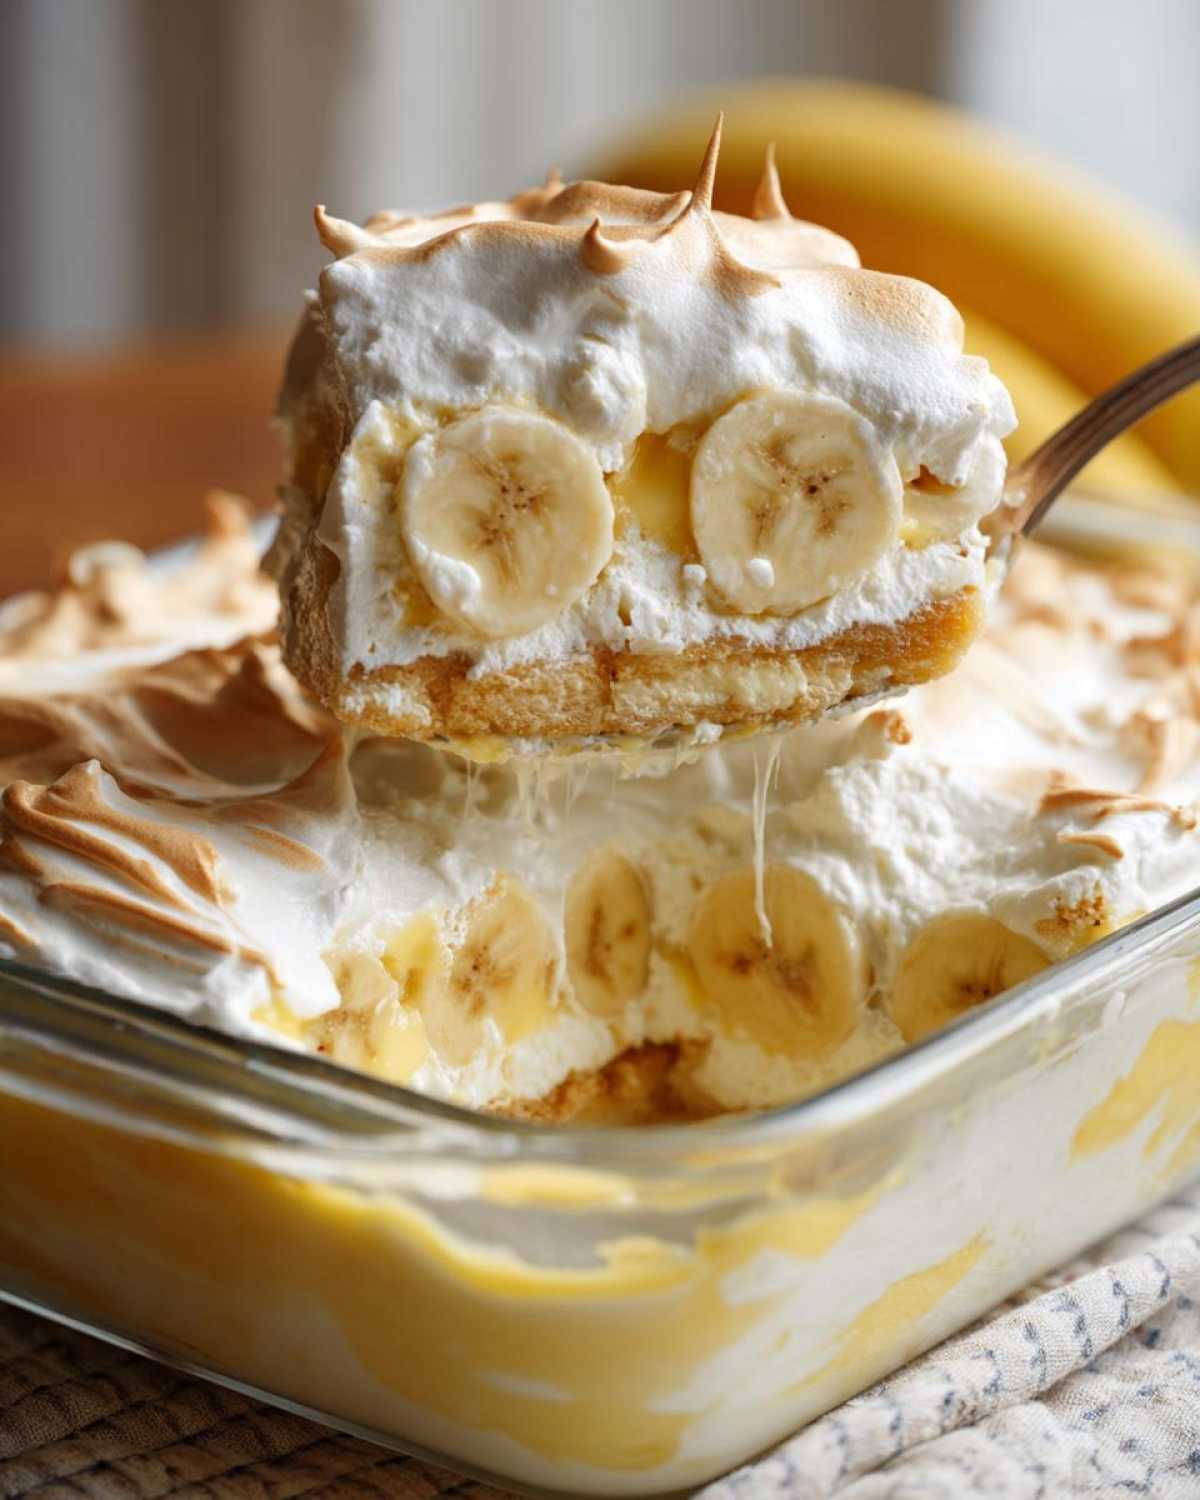
Start with a single layer of vanilla wafer banana pudding at the bottom. Then, lay down half of your sliced bananas. Pour half of that slightly cooled pudding right over the top. Repeat: wafers, the rest of the bananas, and finish it all off with the rest of that incredible pudding. That’s it for the filling!
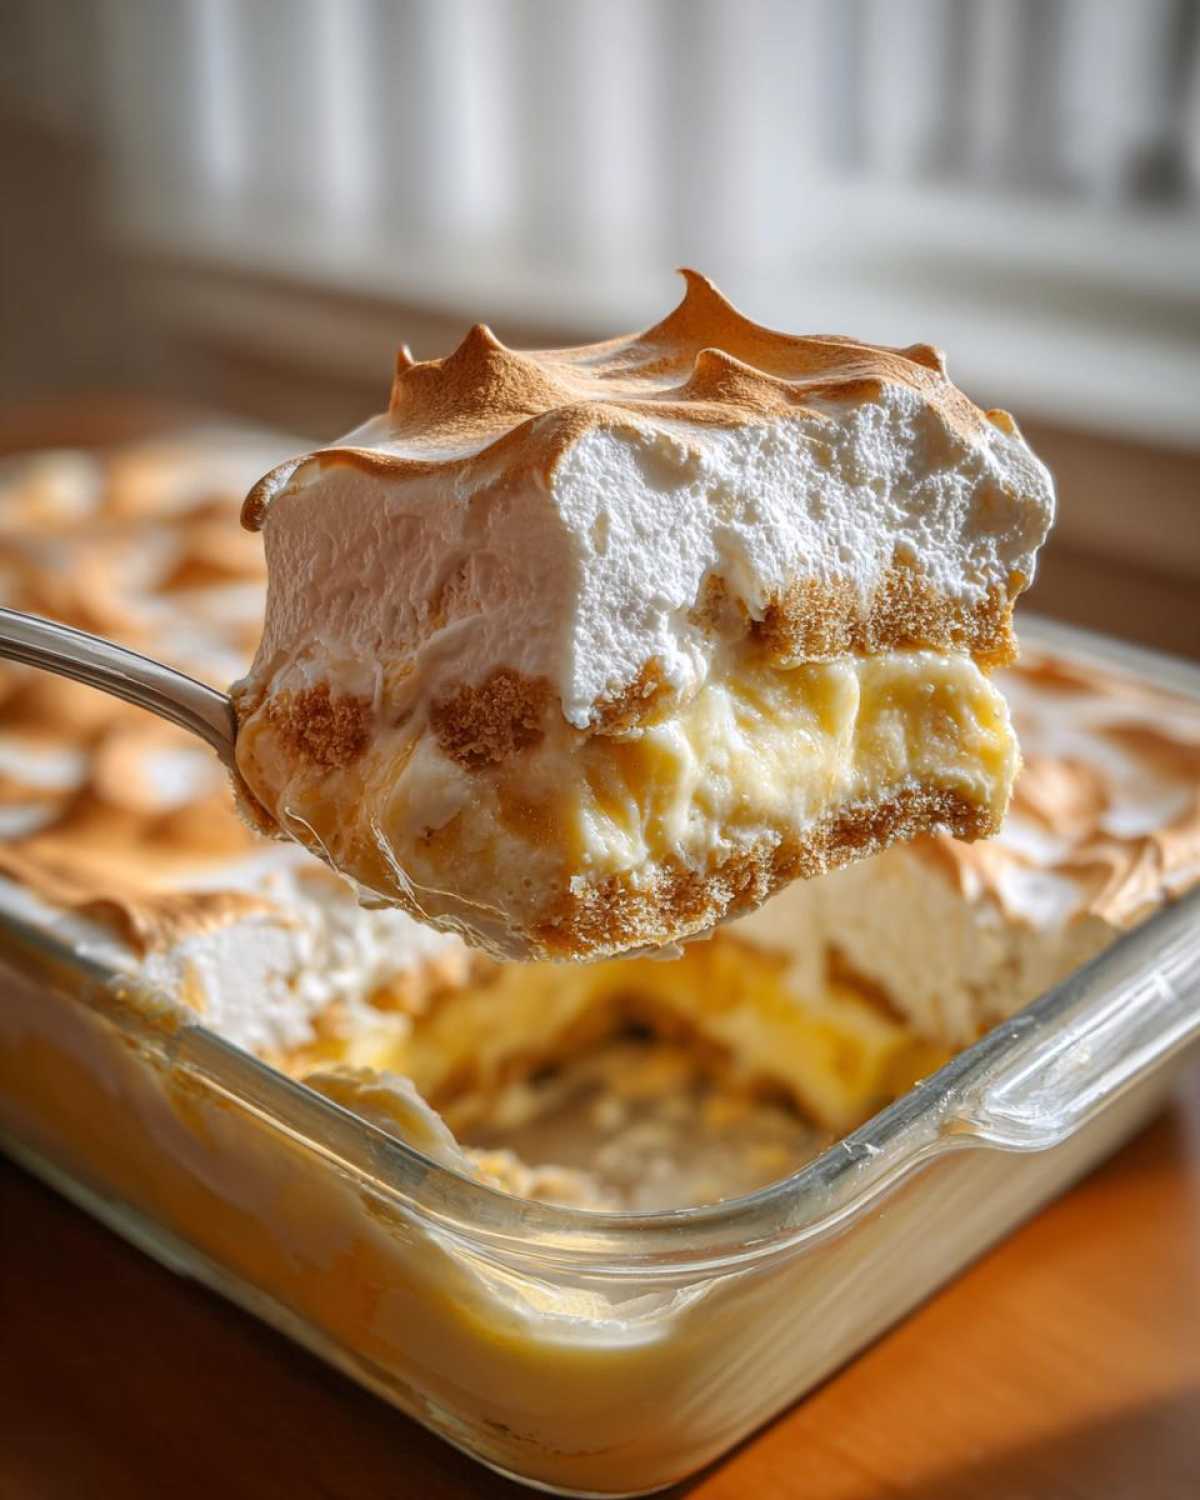
Now, cover it up gently and put it in the fridge. You need to let this chill for at least four hours, but if you can wait overnight, you’re going to have the best texture imaginable! That chilling allows the wafers to magically transform into that soft, cake-like goodness. This is what makes it such a wonderful quick family favorite dessert.
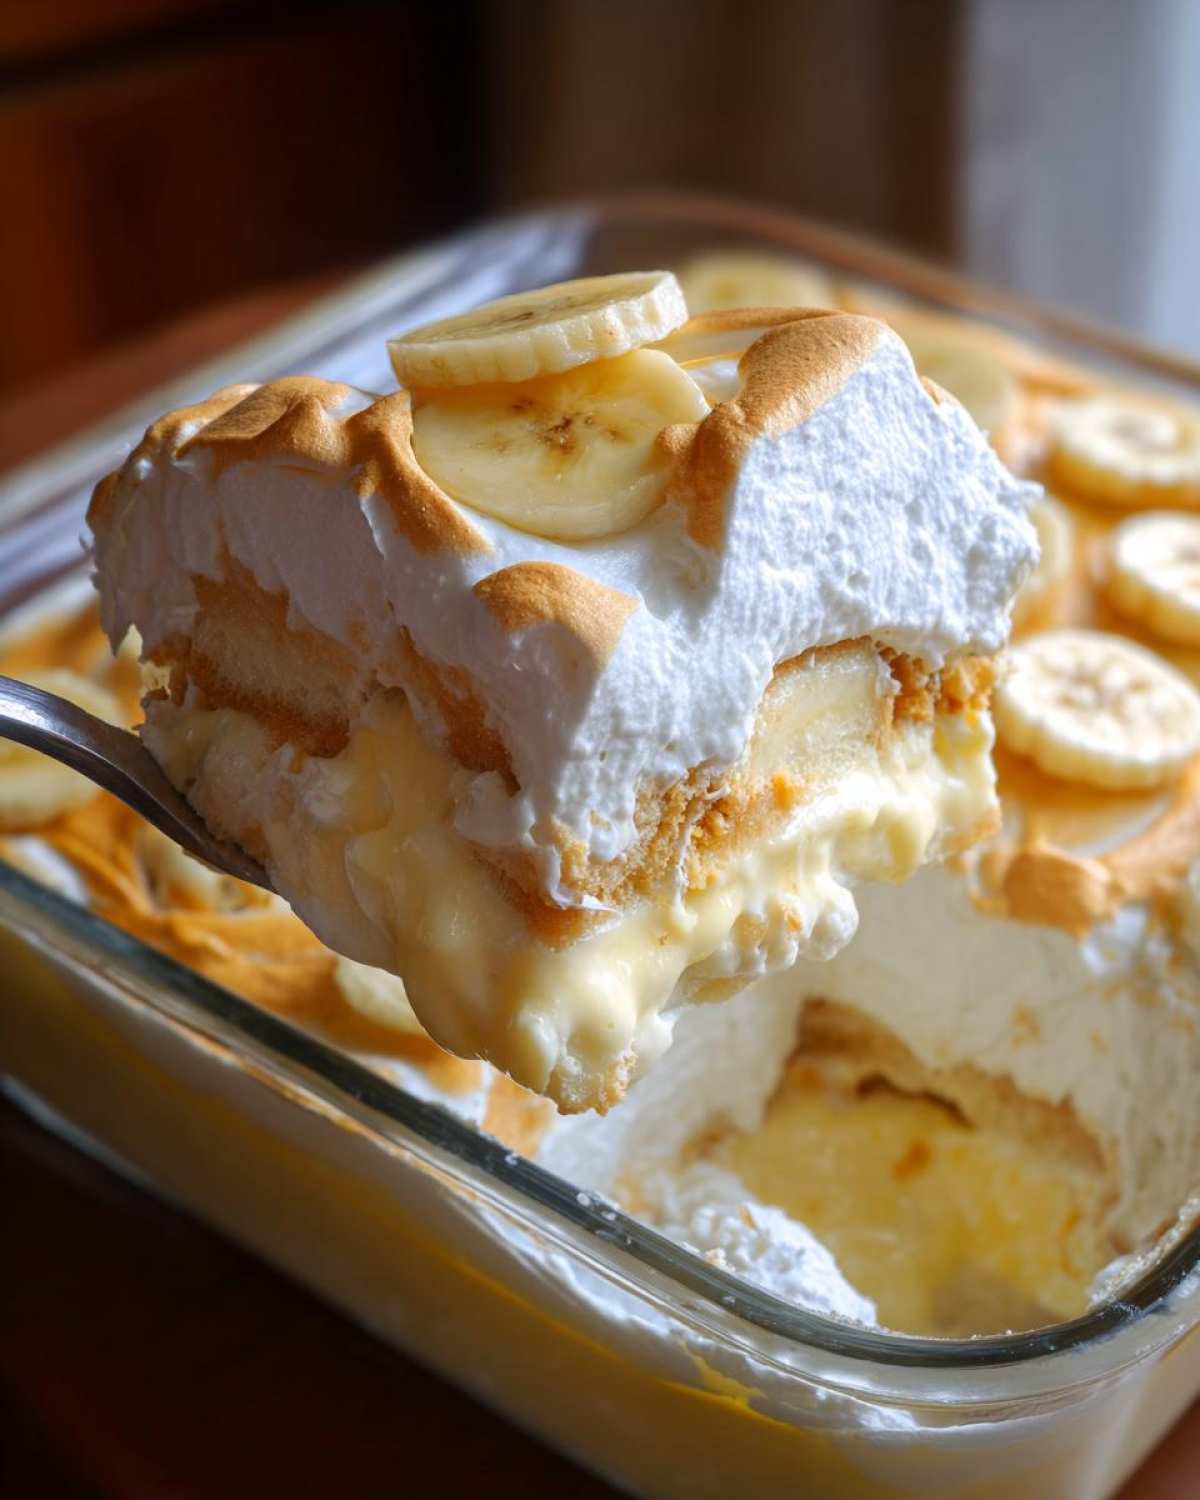
Finishing with an Optional Traditional Meringue
If you want to get really old fashioned—like, Great-Grandma style—you’ll want the meringue. If you skip this, you’re already doing great, but if you want the full performance, preheat your oven to 350°F. Beat those egg whites until they get soft peaks, then slowly whip in the sugar until they are shiny and stiff. Cover your chilled pudding completely with that meringue, making sure you seal it right to the edges of the dish. Pop it into the oven for about 10 to 12 minutes until it’s puffed up and gorgeously golden. Let it cool down again before anyone dares touch it!
Tips for Perfect Banana Pudding Success
Liam got so stressed the first few times we made this because he worried about the texture! But honestly, once you nail the chilling time, you’re golden. The number one pitfall is cutting the cream time too short. If you pull this creamy banana dessert out of the fridge after an hour, those wafers will still be crunchy, and we want that perfect cake-like give, remember?
Seriously, for the absolute best results, let this set up overnight. If you must rush it, give it a solid four hours, minimum. Also, pay attention to your bananas! I learned the hard way when I sliced some that were too green; they didn’t have enough flavor concentration.
Make sure your bananas are ripe—yellow with brown spots is the absolute sweet spot. They soften just enough to melt into the pudding but hold their shape enough to give you that lovely banana flavor. If you’re looking for another perfect pie/pudding combo, check out Liam’s easy classic banana cream pie recipe—same rule applies: patience is the secret ingredient!
Variations: Making Your Banana Pudding Your Own
Now, this is where Sara’s influence definitely comes in! While Liam insists the classic banana pudding recipe is divine as written, we absolutely encourage playing around once you’ve mastered the foundation. Since this is our stage, feel free to improvise!
If you’re feeling a little spicy, try adding a tiny pinch of cinnamon or nutmeg right into the custard before you temper the eggs. It gives the pudding a totally different, warm vibe. Or, switch out those vanilla wafers! Sometimes I use crushed shortbread cookies for assembly, or even pieces of those gingersnaps when things get chilly outside—it pairs beautifully with the bananas. We have a great spiced banana bread if you want more spice inspiration!
Don’t be afraid to try different layers for your ultimate banana pudding recipe, that’s how the best things happen in the kitchen!
Serving Suggestions for Your Creamy Banana Pudding Dessert
How do you serve the ultimate banana pudding? Well, it goes perfectly with a steaming mug of strong, dark coffee—the bitterness cuts right through that rich sweetness. If you skip the optional meringue topping, a swirl of fresh, lightly sweetened whipped cream on top before serving makes it even more decadent!
If you’re looking for an easy crowd pleasing dessert that travels well, Liam loves turning this into individual banana pudding cups recipe portions instead of one big dish. It always looks so impressive lined up on a platter for parties. Don’t forget, we have a fantastic recipe for a punch if you need a festive drink pairing!
Storage and Make Ahead Tips for Your Banana Pudding
This is definitely a dessert that loves to hang out in the fridge! If you’re planning a big gathering, this recipe is your secret weapon as a fantastic make ahead pudding dessert. You can absolutely assemble the entire thing a day before you plan to serve it. In fact, I think it tastes even better the next day because those vanilla wafers have fully softened up!
The key to storing your banana pudding leftovers, or the whole dish ahead of time, is keeping the air out. Cover it tightly, and just like when cooling the custard, press plastic wrap directly onto the surface of the pudding layer to stop any moisture loss. It keeps beautifully for up to two full days in the refrigerator. If you need a heads-up on other things you can prep early, take a look at our make ahead cheesy egg cup recipe!
And just a reminder, even if you’re short on time, if you want that perfect texture, don’t pull it out before those four minimum hours of chilling are up—seriously!
Frequently Asked Questions About Classic Banana Pudding Recipe
It’s totally normal to have a few questions when you’re diving into a classic banana pudding recipe, especially one made completely from scratch! Liam and I get asked so many things about timing and texture, so I compiled the most common ones right here. We want this to be your go-to, easy banana pudding recipe!
Can I use instant pudding instead of making banana pudding from scratch?
Oh, you totally can! If you’re in a real pinch, or trying to achieve the texture of that famous Magnolia Bakery banana pudding copycat style, you can absolutely use instant mixes combined with whipped topping. Liam will shudder a little bit, but I totally get it! However, I have to tell you, the texture of the completely scratch custard we made in the steps above is just richer, deeper, and honestly, ten times better for a true Southern dessert.
How far in advance can I assemble this banana pudding?
This is one of the best features of this dessert! Because those vanilla wafers absorb so much moisture and turn soft, you can make this an absolute champion dessert to prepare ahead of time. You can assemble the whole thing, cover it tightly (remember, plastic wrap touching the pudding!), and refrigerate it for up to two full days. It will continue to get softer and more decadent the longer it sits!
What is the best type of banana to use for this recipe?
This is crucial! You need bananas that are ripe but still firm enough to slice neatly. I look for bananas that are mostly yellow but have those cute little brown sugar speckles across the peel. Stop right there! If they are bright green, they won’t have enough sweetness to balance the custard, and if they are totally brown and mushy, they will break down into a weird goo in the dish overnight. The perfect yellow-with-brown-spots banana is what gives you that perfect layer of flavor.
If you still have questions about technique or want to tell us about your baking theater, please reach out via our contact page!
Share Your Ultimate Banana Pudding Experience
We hope this recipe inspires you to put on some great music and turn your own kitchen into a happy stage! If you try this ultimate banana pudding recipe—whether you stick to the meringue or try it as an individual serving—we absolutely want to hear about it. Head down to the comments and let us know how your easy crowd pleasing dessert turned out! Don’t forget to share photos of your culinary performance. You can always check out our Privacy Policy if you have any questions about sharing!
Print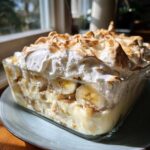
The Ultimate Old-Fashioned Southern Banana Pudding
- Total Time: 40 min
- Yield: 8 servings 1x
- Diet: Vegetarian
Description
You need this recipe for the best homemade banana pudding, made completely from scratch for creamy, comforting layers that taste like true Southern tradition. This recipe avoids instant mixes for superior flavor.
Ingredients
- 1 cup granulated sugar
- 1/2 cup all-purpose flour
- 1/4 teaspoon salt
- 4 large egg yolks, lightly beaten
- 3 cups whole milk
- 2 tablespoons unsalted butter
- 1 teaspoon vanilla extract
- 4 large ripe bananas, sliced about 1/4 inch thick
- 1 box (11 ounces) vanilla wafers (Nilla Wafers)
- Optional topping: 3 large egg whites, beaten with 1/4 cup sugar (for meringue)
Instructions
- Make the Pudding Base: In a medium saucepan, whisk together the sugar, flour, and salt. Gradually whisk in the whole milk until smooth.
- Cook the Custard: Place the saucepan over medium heat. Cook, stirring constantly with a wooden spoon or whisk, until the mixture thickens enough to coat the back of the spoon and begins to bubble gently. This takes about 8 to 10 minutes. Do not let it boil rapidly.
- Temper the Egg Yolks: In a separate bowl, lightly beat the 4 egg yolks. Slowly drizzle about 1 cup of the hot milk mixture into the yolks while whisking constantly. This prevents the yolks from scrambling.
- Return to Heat: Pour the tempered yolk mixture back into the saucepan with the remaining milk mixture. Cook over medium-low heat, stirring constantly, for 1 to 2 minutes until the pudding thickens further. Do not allow it to boil.
- Finish the Pudding: Remove the saucepan from the heat. Stir in the butter until melted and smooth. Stir in the vanilla extract. Pour the pudding into a clean bowl and press plastic wrap directly onto the surface to prevent a skin from forming. Let it cool slightly, about 20 minutes.
- Assemble the Layers (No Bake): Select a large glass trifle dish or individual banana pudding cups. Create the first layer with a single layer of vanilla wafers on the bottom. Arrange half of the sliced bananas over the wafers. Pour half of the slightly cooled pudding evenly over the bananas. Repeat the layers: wafers, remaining bananas, and top with the remaining pudding.
- Chill: Cover the dish loosely and refrigerate for at least 4 hours, or preferably overnight. Chilling allows the vanilla wafers to soften into a cake-like texture, which is key to this creamy banana dessert.
- Optional Meringue Topping (If using): Preheat your oven to 350°F (175°C). Beat the 3 egg whites until soft peaks form. Gradually beat in the 1/4 cup of sugar until stiff, glossy peaks form. Spread the meringue over the chilled pudding, making sure to seal it to the edges of the dish. Bake for 10 to 12 minutes until the meringue is lightly golden brown. Cool before serving.
Notes
- For a quick, semi-homemade version similar to Magnolia Bakery Banana Pudding, you can substitute the scratch pudding with 2 boxes of instant vanilla pudding prepared according to package directions, using only 2 cups of milk total, and folding in 8 ounces of whipped topping (Cool Whip) after cooling.
- Use firm, ripe bananas; avoid overly soft ones, as they can break down too much during chilling.
- If you are making this ahead for a crowd, assemble it completely and keep it covered in the refrigerator for up to 2 days.
- Prep Time: 25 min
- Cook Time: 15 min
- Category: Dessert
- Method: Stovetop Cooking and Chilling
- Cuisine: Southern
Nutrition
- Serving Size: 1 cup
- Calories: 380
- Sugar: 45
- Sodium: 210
- Fat: 14
- Saturated Fat: 7
- Unsaturated Fat: 7
- Trans Fat: 0
- Carbohydrates: 62
- Fiber: 2
- Protein: 7
- Cholesterol: 110