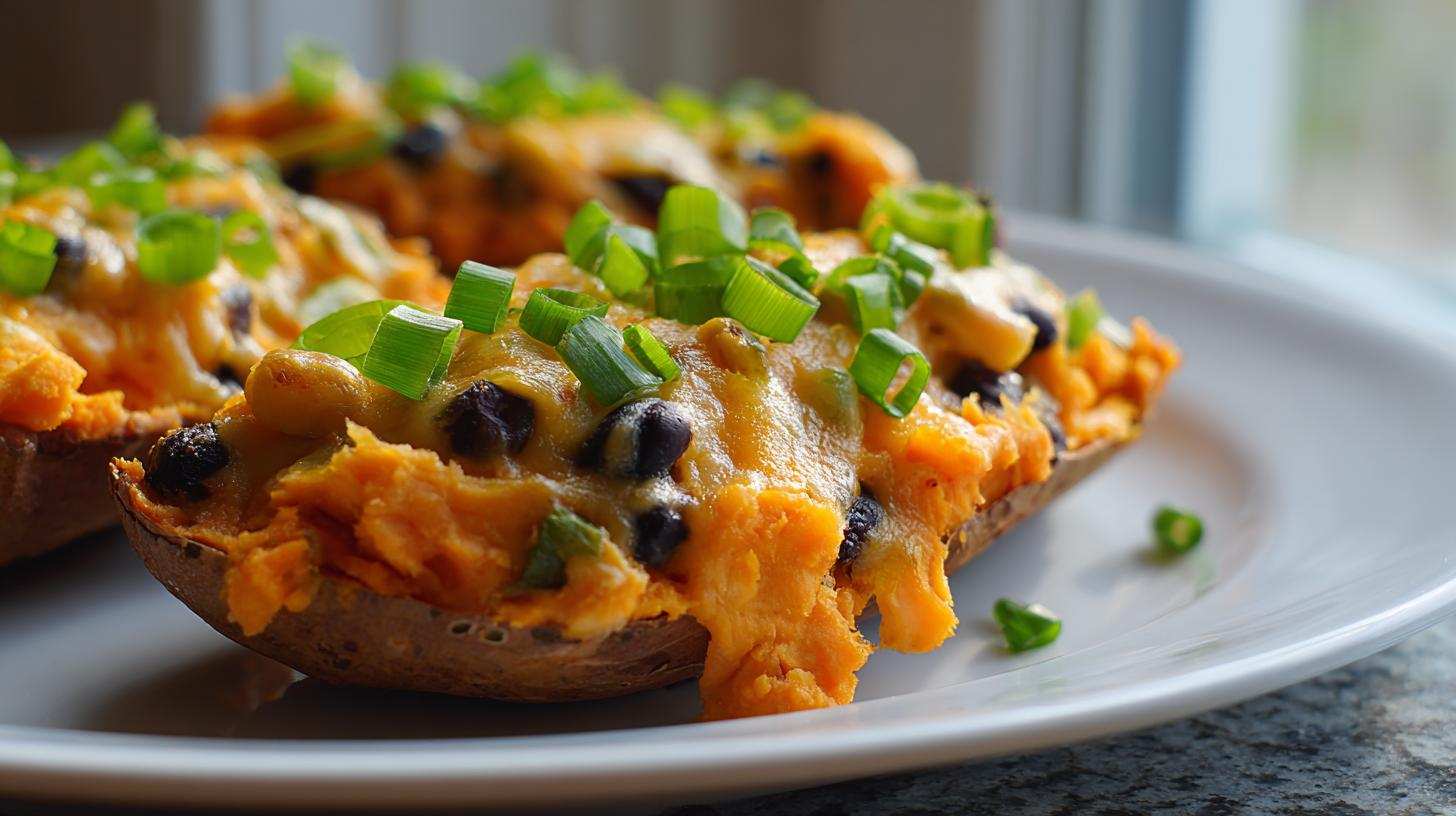
Welcome to Our Kitchen: Making Loaded Sweet Potato Skins
Welcome to our little corner of the internet! I’m Sara, Liam’s muse.
Our kitchen used to feel too serious. Now, it’s a stage for food fun.
We are so thrilled you’re here with us today.
We’re diving into something truly cozy. Think hearty, warm, and deeply satisfying.
Today we’re making our amazing Loaded Sweet Potato Skins.
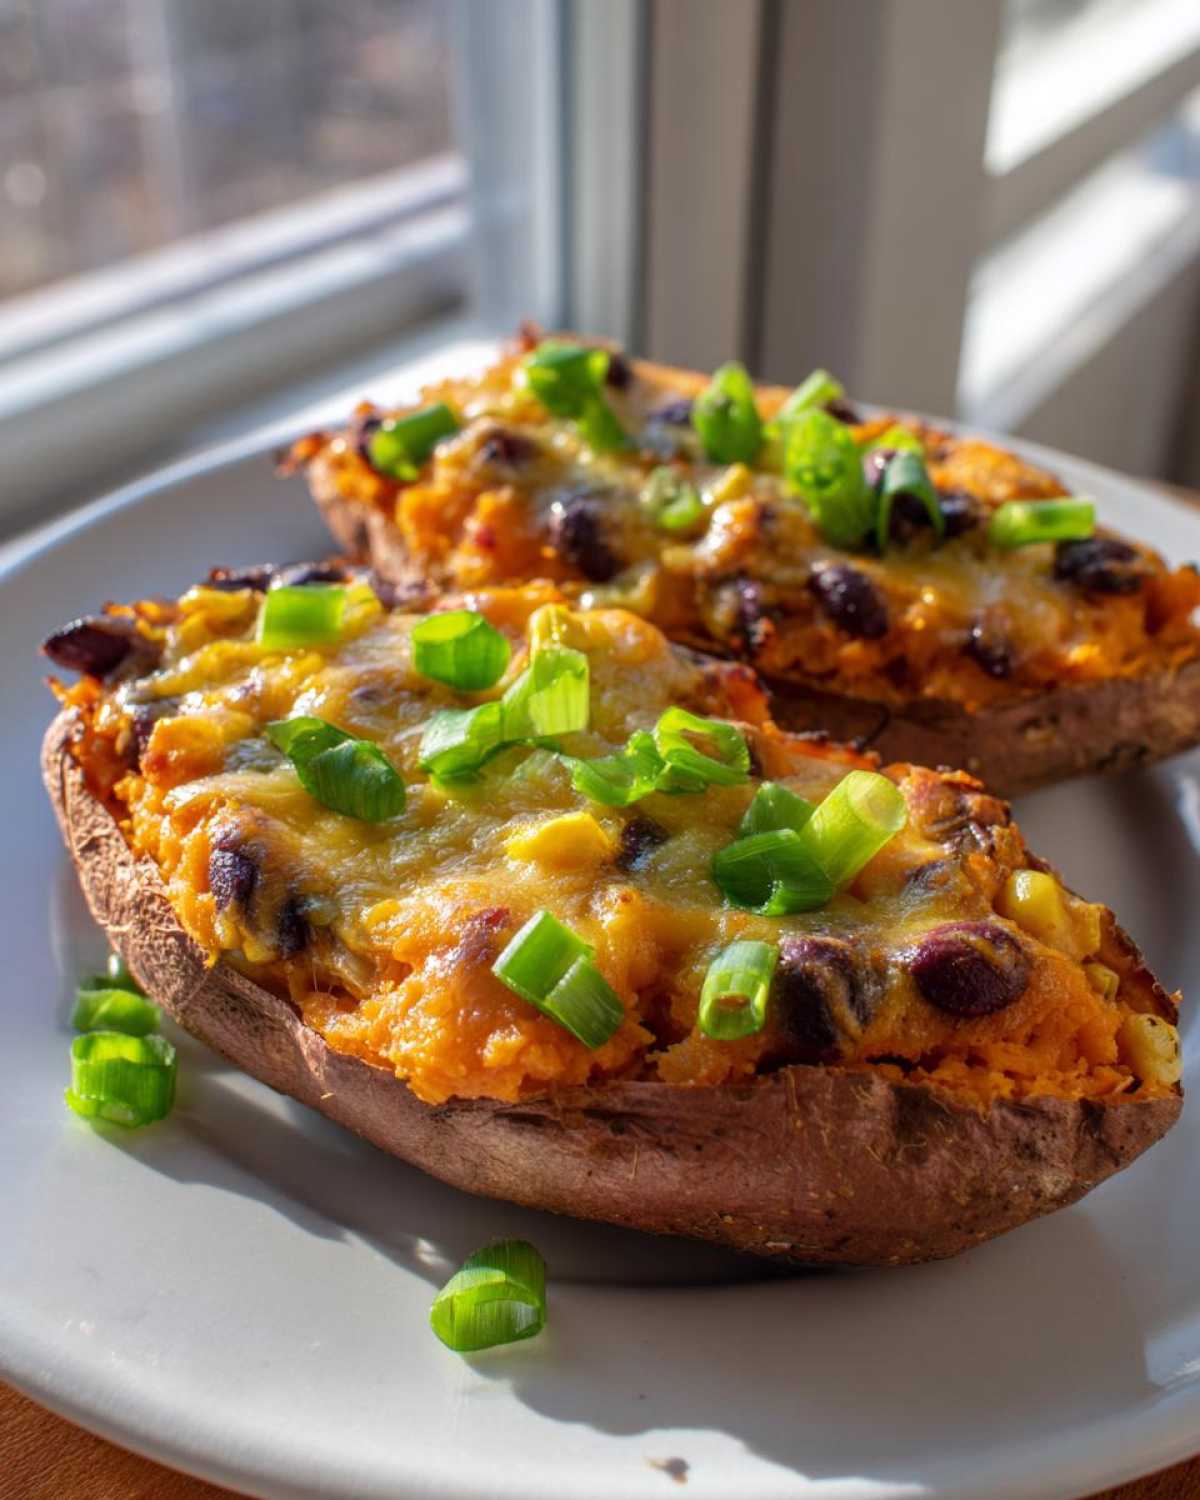
This recipe is perfect for a chilly afternoon snack.
It truly brings back that playful joy in cooking.
Liam and I promise this recipe is pure comfort food.
It’s a savory winter lunch waiting to happen.
Let’s get cooking and make some magic happen!
Why You Will Love These Loaded Sweet Potato Skins
Seriously, these are a weeknight hero snack.
They hit that sweet spot for a savory winter lunch.
I adore how simple they are to put together.
Here is why these baked sweet potatoes are a must-try:
- Super fast prep time.
- Incredibly satisfying and warm.
- They make fantastic leftovers too.
Quick Prep, Big Flavor
We clocked the hands-on prep time at just 15 minutes.
That’s lightning fast for such a comforting meal.
The chili powder adds a warming spice kick.
It’s the ideal savory snack when the weather turns cold.
You get big flavor without the fuss.
Ingredients for Perfect Loaded Sweet Potato Skins
Flexibility is key in our kitchen, remember?
Use what you have on hand for the fillings.
This recipe is built to adapt to your pantry.
Don’t stress about exact measurements here.
Gathering Your Ingredients for Loaded Sweet Potato Skins
Okay, let’s talk supplies for these wonderful Loaded Sweet Potato Skins.
Getting your mise en place ready is half the fun.
I always lay everything out before I start baking.
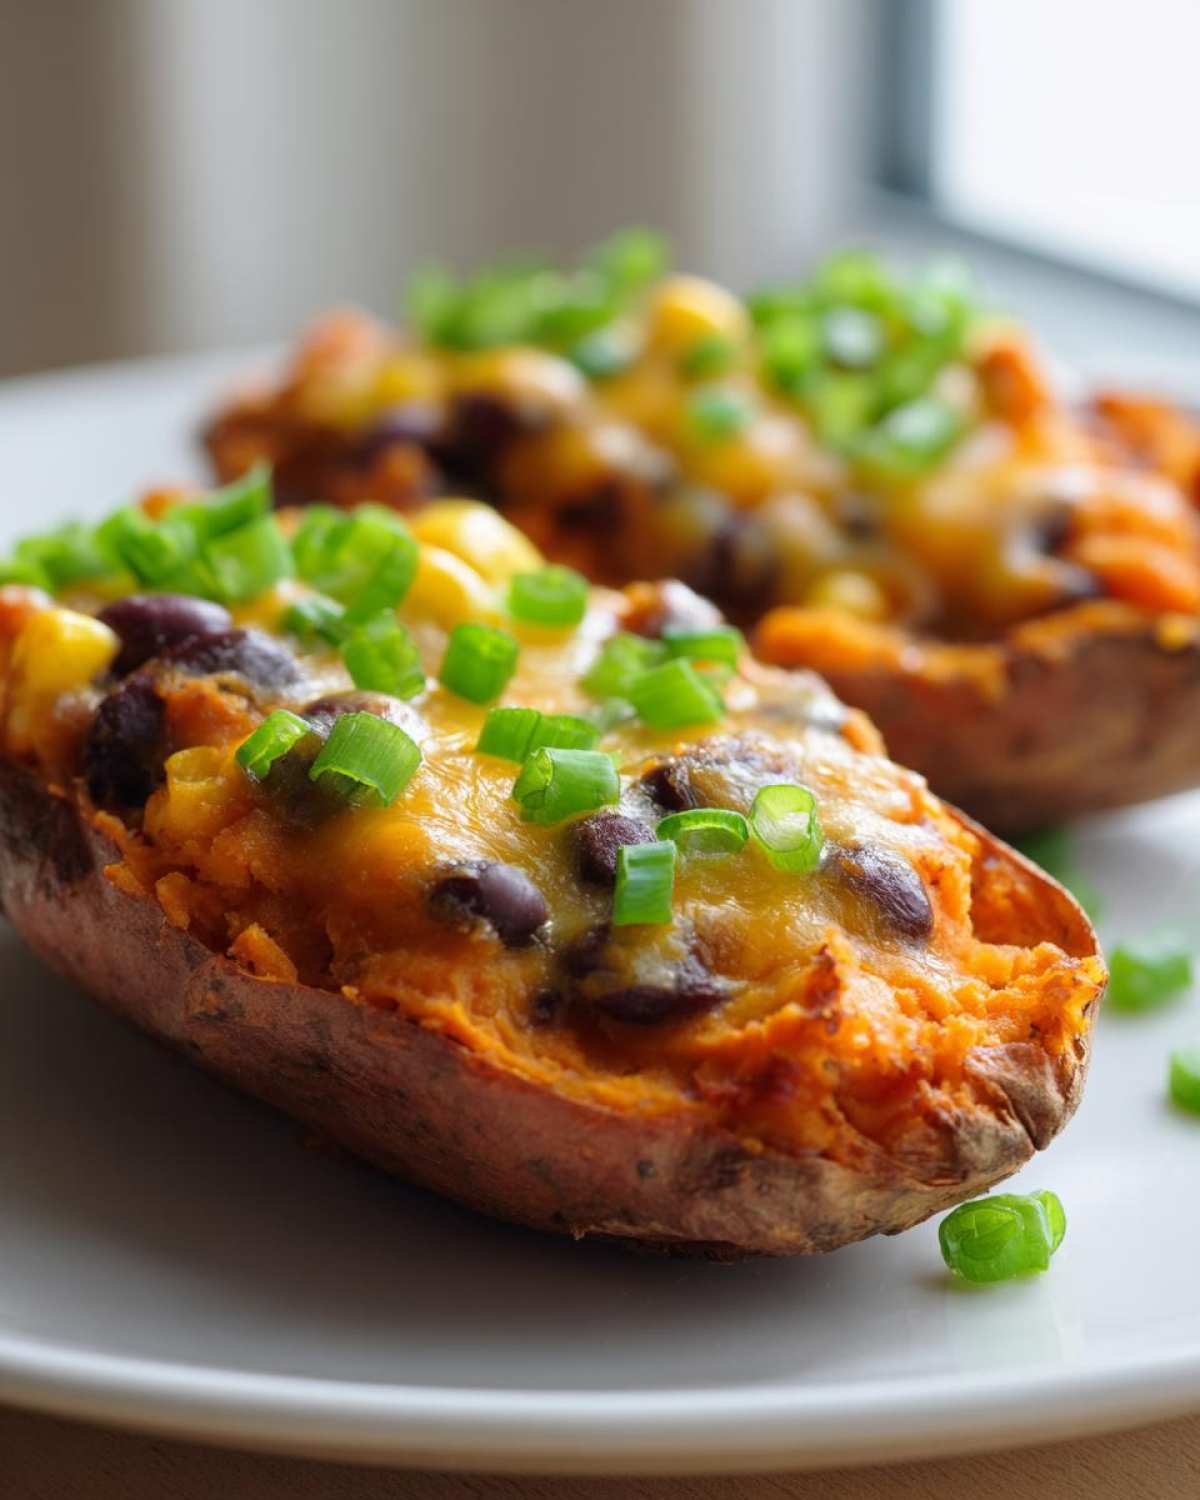
This makes sure nothing gets forgotten during assembly.
Having clear ingredients means success for you.
Remember, we are aiming for a savory winter lunch experience.
Core Components
Grab four medium sweet potatoes first.
You need 1/2 cup of black beans.
Make sure those beans are rinsed and drained well.
We also need 1/2 cup of corn kernels.
These form the hearty base of the filling.
Topping and Flavor Boosters
For the cheese, use 1/2 cup shredded cheddar.
Feel free to swap if you need a different melt.
Seasoning is easy here.
Grab your chili powder, salt, and pepper.
Don’t forget the green onions for brightness later.
Plain yogurt is great if you want a cooling finish.
The Step-by-Step Guide to Amazing Loaded Sweet Potato Skins
Now for the fun part, the actual cooking show!
This process turns simple baked sweet potatoes into something special.
Follow these steps closely for the best results.
We’re building layers of savory flavor here.
This is where those wonderful Loaded Sweet Potato Skins come to life.
Baking the Foundation Potatoes
First, crank your oven up to 400\u00b0F (200\u00b0C).
Take your sweet potatoes and prick them all over.
Use a fork for this job; it lets the steam escape.
Rub each one with a bit of olive oil and salt.
Bake them right on the rack for 45 to 60 minutes.
They are done when they squeeze soft, no hard centers!
Preparing the Potato Shells
Once baked, pull them out carefully.
Let them cool down just enough to touch them.
Slice them right down the middle lengthwise.
Be very gentle here; we need sturdy boats.
Scoop out most of the soft insides.
Leave a solid 1/4-inch shell all around.
Mixing and Filling Your Loaded Sweet Potato Skins
Put that scooped potato flesh in a bowl.
Mix it with your rinsed black beans and corn.
Toss in the chili powder, salt, and pepper now.
Stir everything until it’s nicely combined.
Spoon that tasty filling back into the shells.
Make sure you divide the mixture evenly among them all.
The Final Melt: Finishing the Loaded Sweet Potato Skins
Generously top each skin with your shredded cheese.
Send them back into the hot oven again.
You only need about 8 to 10 minutes more.
We want that cheese looking bubbly and golden brown.
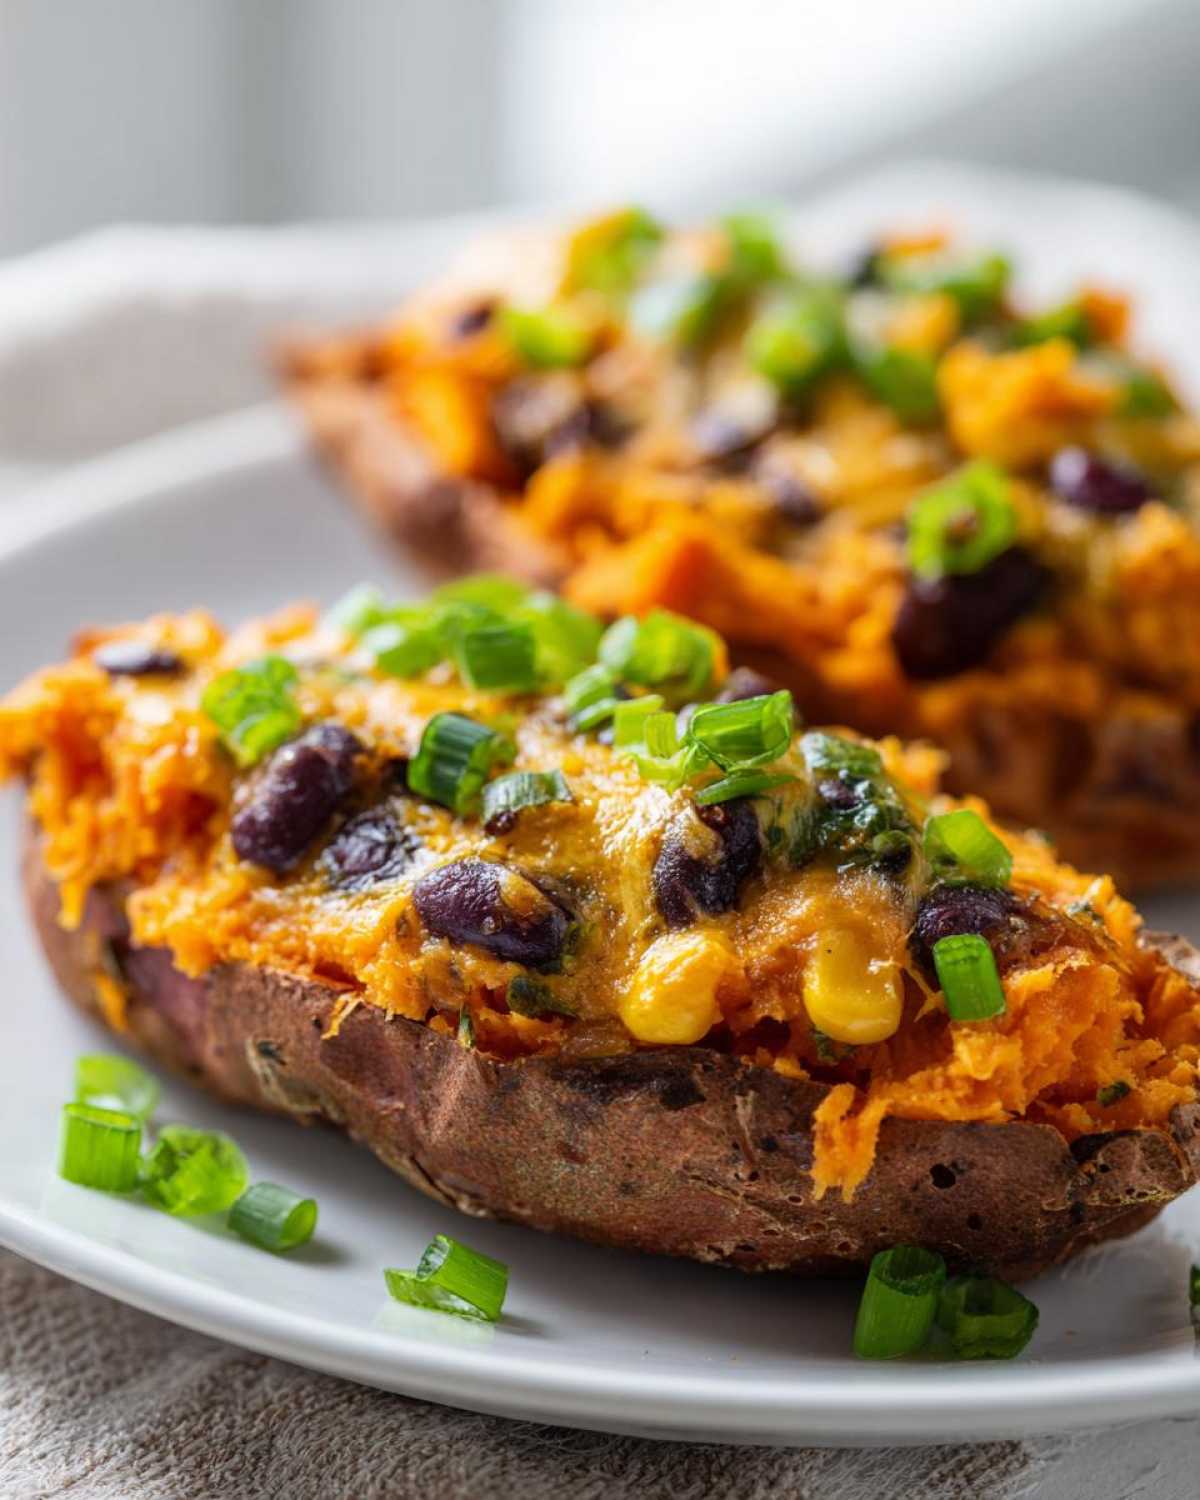
Pull them out and immediately sprinkle on the green onions.
Serve these immediately while they are piping hot!
Tips for Success Making Loaded Sweet Potato Skins
We want your kitchen performance to shine brightly.
These little tips come from my many kitchen adventures.
They help ensure your skins are perfect every time.
Don’t be afraid to make this recipe your own.
That’s the spirit of Child Recipe we love.
Flavor Customization and Substitutions
Feel free to swap out the beans sometimes.
Try shredded chicken or ground turkey instead.
You can also mix protein right in with the beans.
If you like things spicy, add hot sauce now.
A dash of your favorite sauce works wonders.
Achieving the Best Potato Texture
The initial bake is super important for texture.
Make sure your potatoes are truly fork-tender first.
This means the insides are soft for mixing.
Never skip pricking the skin multiple times.
This steam release prevents overly damp fillings.
We want crisp edges, not mushy centers!
Serving Your Savory Loaded Sweet Potato Skins
The moment of truth is finally here.
These beauties need to go straight from the oven to the plate.
Remember those fresh green onions we saved?
Sprinkle them on right before you serve them up hot.
That little bit of fresh green really pops.
It finishes the look of your savory snack.
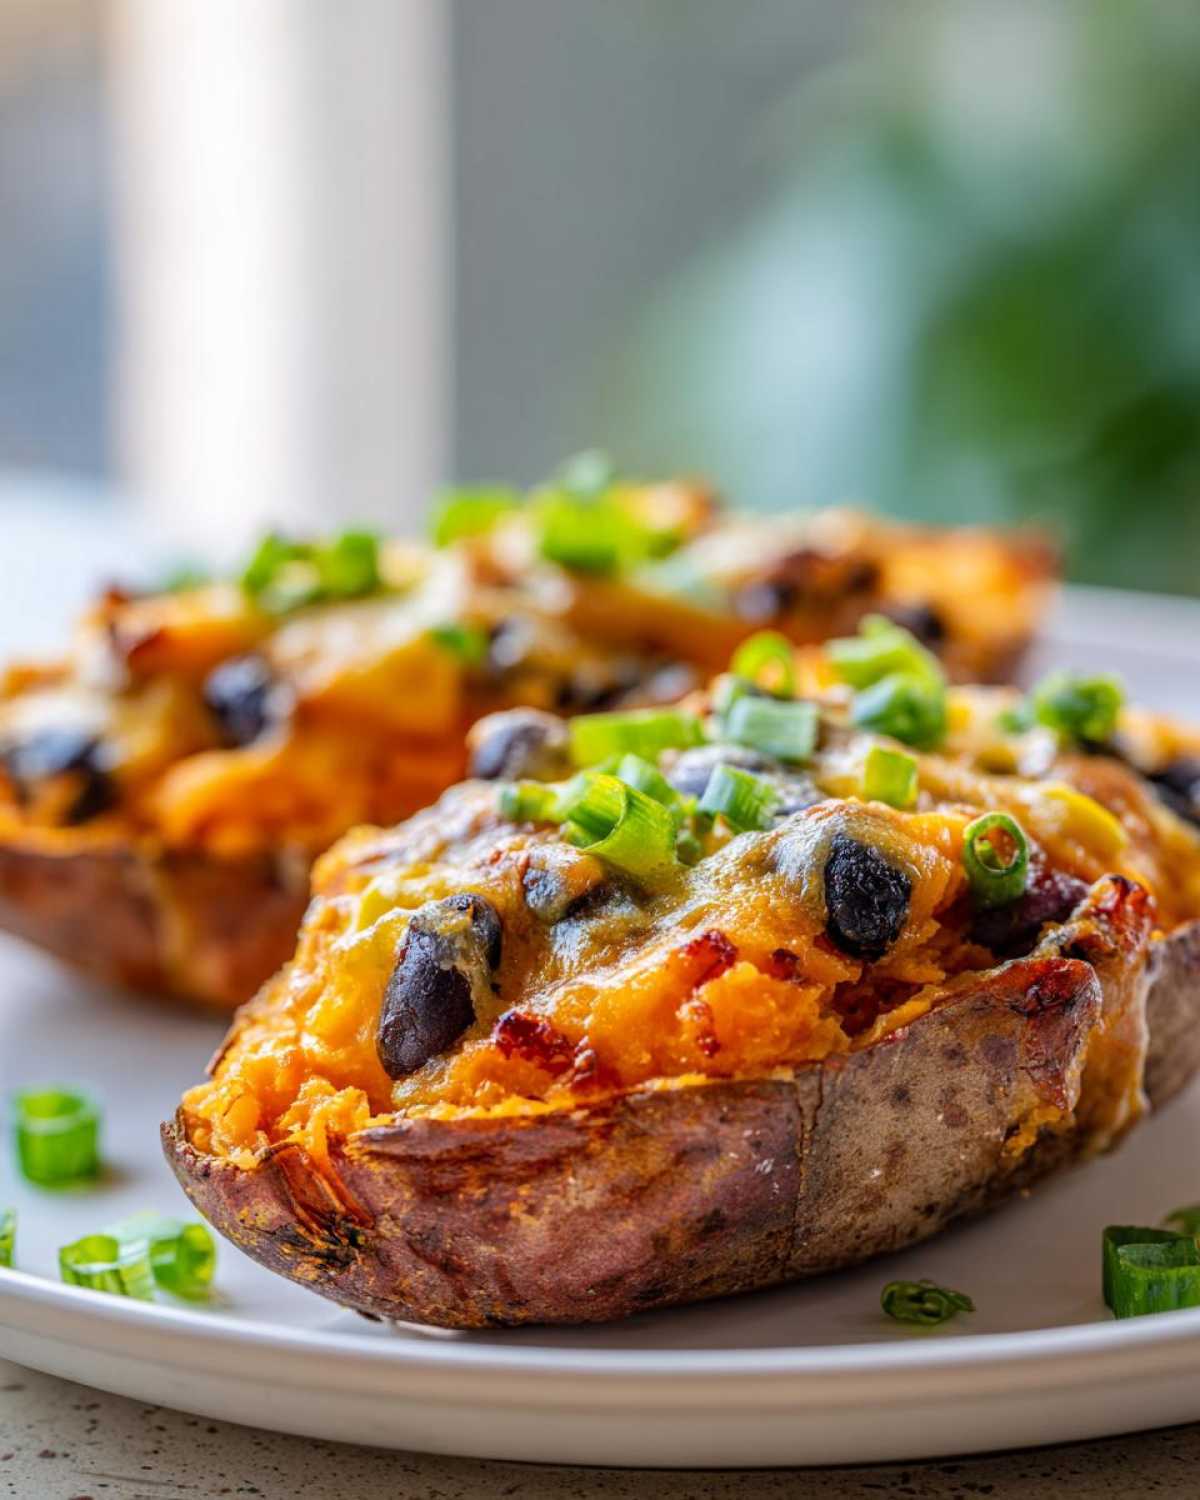
Pairing Suggestions for a Winter Lunch
These skins are so hearty on their own.
They make a great centerpiece for lunch.
I often pair mine with a simple side salad.
A light vinaigrette cuts through the richness nicely.
A small bowl of black bean soup is also wonderful.
This creates a truly filling winter lunch spread.
Storing and Reheating Your Leftover Loaded Sweet Potato Skins
Did you make too many? Happens to us often!
Store leftovers in an airtight container promptly.
Keep them in the fridge for up to three days max.
Reheating is key to keeping that skin crispness.
Avoid the microwave if you can, please.
It turns those lovely skins soft and sad.
Frequently Asked Questions About Loaded Sweet Potato Skins
We know you might have a few last-minute thoughts.
It is smart to plan ahead for a great savory snack.
Here are some quick answers based on our experience.
These should help you make your kitchen time easier.
Let’s solve those final cooking mysteries.
Can I make the potato shells ahead of time?
Yes, you absolutely can prep ahead!
Bake the sweet potatoes completely first.
Let them cool, then scoop out the flesh.
Store the empty shells in the fridge overnight.
Fill and bake them fresh the next day instead.
Are these Loaded Sweet Potato Skins gluten-free?
The base recipe is naturally gluten-free.
Potatoes, beans, corn, and spices are safe.
Just check your shredded cheese label carefully.
Most cheddar cheese is fine, though.
This makes them a great vegetarian comfort food option.
What is the best way to reheat the skins without microwaving?
For crispy skins, skip the microwave entirely.
Pop the leftovers into a 350\u00b0F oven.
Bake them for about 10 minutes there.
If you have an air fryer, even better!
Use 325\u00b0F for 5 to 7 minutes.
It crisps the potato shell beautifully.
Share Your Culinary Performance
That’s a wrap on our show for today!
We poured our hearts into these savory skins.
Now it’s your turn to take center stage.
Did you add a funny topping or spice?
Share your results with us, please!
Let’s keep that childlike joy alive in the kitchen.
Nutritional Estimates for Loaded Sweet Potato Skins
We know you grown-ups think about fuel too!
Liam always checks the numbers after the fun part.
These estimates are based on our standard recipe version.
They are just guides for your vegetarian comfort food meal.
Serving size is two of those delicious skins.
Here is a quick look at what you can expect:
- Calories: Around 350 per serving.
- Total Fat: About 12 grams total.
- Protein: Roughly 15 grams, which is great!
- Carbohydrates: Approximately 55 grams.
Remember, these figures change with toppings.
Using Greek yogurt adds protein, for example.
If you skip the cheese, fat content drops fast.
These baked sweet potatoes offer good fiber too.
Enjoy this satisfying savory snack responsibly!
This is just an estimate, not a strict guarantee.
Print
Blissful Loaded Sweet Potato Skins: 4 Savory Meals
- Total Time: 75 minutes
- Yield: 4 servings (8 skins) 1x
- Diet: Vegetarian
Description
Enjoy these warm, satisfying Loaded Sweet Potato Skins, perfect for a savory winter lunch or snack. This recipe encourages you to play in the kitchen and rediscover the joy of cooking.
Ingredients
- 4 medium sweet potatoes
- 1 tablespoon olive oil
- 1/2 cup cooked black beans, rinsed and drained
- 1/2 cup shredded cheddar cheese (or dairy-free alternative)
- 1/4 cup cooked corn kernels
- 2 tablespoons chopped green onion
- 1/4 teaspoon chili powder
- Salt and pepper to taste
- Optional toppings: Plain Greek yogurt or sour cream, salsa
Instructions
- Preheat your oven to 400°F (200°C).
- Prick the sweet potatoes several times with a fork. Rub them lightly with olive oil and a pinch of salt.
- Bake the sweet potatoes directly on the oven rack for 45 to 60 minutes, until tender when squeezed.
- Remove the potatoes from the oven and let them cool slightly until you can handle them safely.
- Slice each potato lengthwise down the center, being careful not to cut all the way through. Gently scoop out most of the flesh, leaving about a 1/4-inch shell intact. Keep the scooped flesh separate.
- In a bowl, mix the scooped sweet potato flesh with the black beans, corn, chili powder, salt, and pepper.
- Spoon the mixture back into the potato skins, dividing it evenly.
- Top each skin generously with the shredded cheese.
- Return the loaded skins to the oven for 8 to 10 minutes, or until the cheese is melted and bubbly.
- Remove from the oven. Top with green onions and any optional toppings before serving immediately.
Notes
- Feel free to substitute your favorite cooked protein, like shredded chicken or ground turkey, for part of the bean mixture.
- If you like a little heat, add a dash of your favorite hot sauce to the filling mixture.
- This recipe is wonderful for using up leftover cooked beans or corn from earlier meals.
- Prep Time: 15 minutes
- Cook Time: 60 minutes
- Category: Appetizer/Lunch
- Method: Baking
- Cuisine: American
Nutrition
- Serving Size: 2 skins
- Calories: Approx. 350
- Sugar: Approx. 10g
- Sodium: Approx. 300mg
- Fat: Approx. 12g
- Saturated Fat: Approx. 5g
- Unsaturated Fat: Varies
- Trans Fat: 0g
- Carbohydrates: Approx. 55g
- Fiber: Approx. 10g
- Protein: Approx. 15g
- Cholesterol: Approx. 20mg