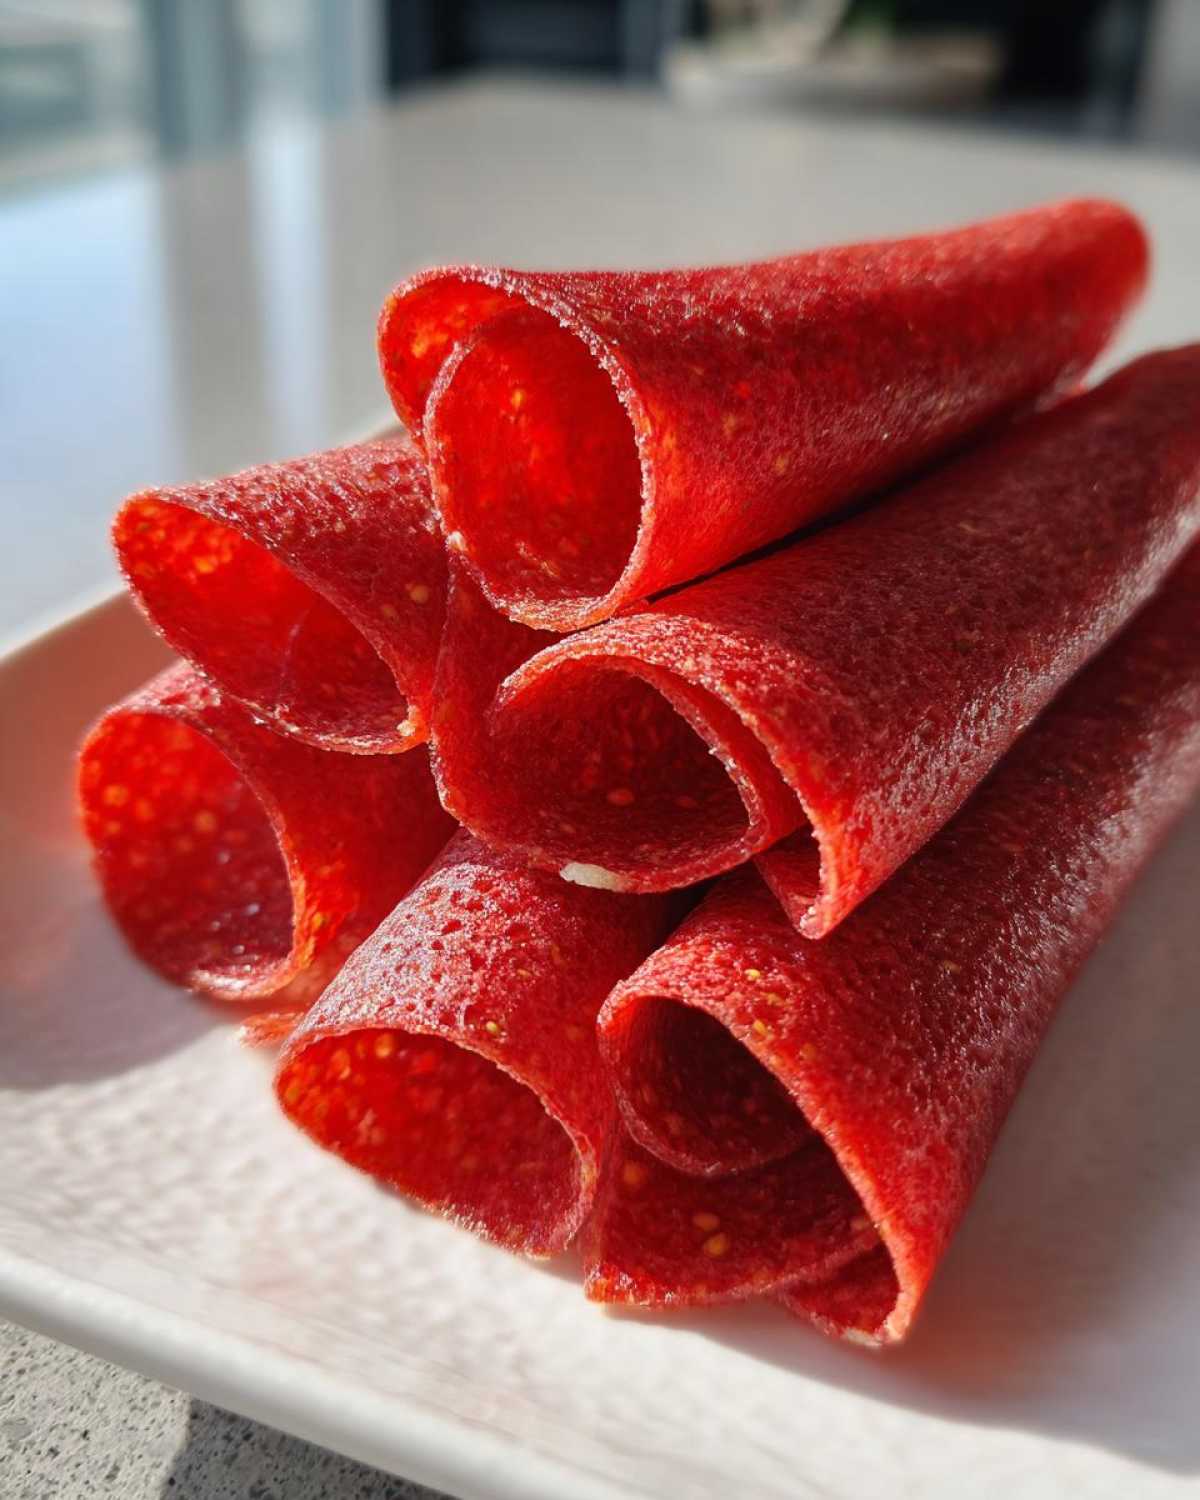
Oh, busy parents, let me tell you a secret! There’s a snack that has been a total game-changer in my house. It’s the ultimate answer to those “I’m hungry, but I don’t want that” moments. I’m talking about Kid-Friendly DIY Homemade Fruit Roll-Ups.
As a mom to Leo and Mia, I know the struggle is real. Finding healthy snacks that actually get eaten? It feels like winning the lottery! Store-bought versions are often loaded with sugar and artificial stuff. So, I set out to make my own. This recipe has been a lifesaver, truly. It lets me sneak in extra fruit, and my kids absolutely devour them.
Leo loves picking out the berries, and Mia enjoys helping spread the puree. It’s a fun activity, and the result is a wholesome treat. No more worrying about hidden ingredients! This snack tackles picky eaters head-on, turning fruit into something exciting. It’s truly a win-win for everyone.
Why You’ll Love These Kid-Friendly DIY Homemade Fruit Roll-Ups
Making these fruit roll-ups has been a revelation for my family. They are truly a perfect snack solution for busy parents. You get to control every ingredient, which is a huge plus for me. No more worrying about weird colors or too much sugar!
Here’s why they’ll become your new favorite:
- They’re packed with real fruit.
- Super easy to make at home.
- Kids absolutely adore them.
- Perfect for lunchboxes or after-school munchies.
- A great way to use up extra fruit.
This recipe aligns perfectly with my mission at ChildRecipe.com. It’s about making healthy eating simple and enjoyable for everyone.
The Joy of Kid-Friendly DIY Homemade Fruit Roll-Ups
There’s a special joy in creating something delicious from scratch. These kid-friendly DIY homemade fruit roll-ups are so much fun to make. You can get your little ones involved too. Plus, you can customize the flavors using their favorite fruits. It’s a sweet, healthy treat that brings smiles all around.
Gathering Ingredients for Your Kid-Friendly DIY Homemade Fruit Roll-Ups
Before we dive into the fun part, let’s get our ingredients ready. One of the best things about these kid-friendly DIY homemade fruit roll-ups is how simple the list is! You likely have most of these on hand. This makes whipping up a batch super convenient. I always keep frozen berries ready for this.
Essential Ingredients for Kid-Friendly DIY Homemade Fruit Roll-Ups
- 2 cups fresh or frozen mixed berries: Think strawberries, raspberries, or blueberries. Make sure they are ripe for the best flavor.
- 1 tablespoon honey or maple syrup: This is totally optional. Adjust to your child’s sweetness preference.
- 1 teaspoon lemon juice: This brightens the fruit flavor. It’s a little secret ingredient!
Equipment for Making Kid-Friendly DIY Homemade Fruit Roll-Ups
Having the right tools makes all the difference. For these yummy kid-friendly DIY homemade fruit roll-ups, you don’t need anything fancy. Most of these items are probably already in your kitchen. If not, they are easy to find. Proper equipment helps ensure perfect results every time.
Tools for Perfect Kid-Friendly DIY Homemade Fruit Roll-Ups
- Baking sheet: A standard size works great.
- Parchment paper or silicone baking mat: These give me perfect results.
- Blender or food processor: Essential for a smooth fruit puree.
- Kitchen shears: For cutting your roll-ups easily.
How to Prepare Kid-Friendly DIY Homemade Fruit Roll-Ups
Alright, let’s get to the good stuff! Making these kid-friendly DIY homemade fruit roll-ups is simpler than you might think. It’s mostly hands-off time, which is perfect for busy parents. Just follow these steps, and you’ll have delicious, healthy snacks ready in no time. I promise, it’s worth every minute!
Step-by-Step Guide to Kid-Friendly DIY Homemade Fruit Roll-Ups
- Preheat your oven: Set it to its lowest temperature. Mine goes to 170°F (75°C). If yours doesn’t go that low, a dehydrator works great too.
- Blend the fruit: Grab your blender. Add the fruit, optional honey or maple syrup, and lemon juice. Blend until it’s super smooth. No chunks allowed! Leo loves watching the fruit swirl around.
- Prepare for baking: Line a baking sheet with parchment paper. A silicone mat also works wonders.
- Spread the puree: Pour the smooth fruit puree onto the lined sheet. Spread it evenly. Aim for about 1/8 to 1/4 inch thick. Thinner means faster drying.
- Bake until dry: Pop it in the preheated oven. Bake for 3-5 hours. It’s done when it’s not sticky. It should peel off easily.
- Cool completely: Once it’s dry, take it out. Let it cool all the way down. This is important for easy peeling.
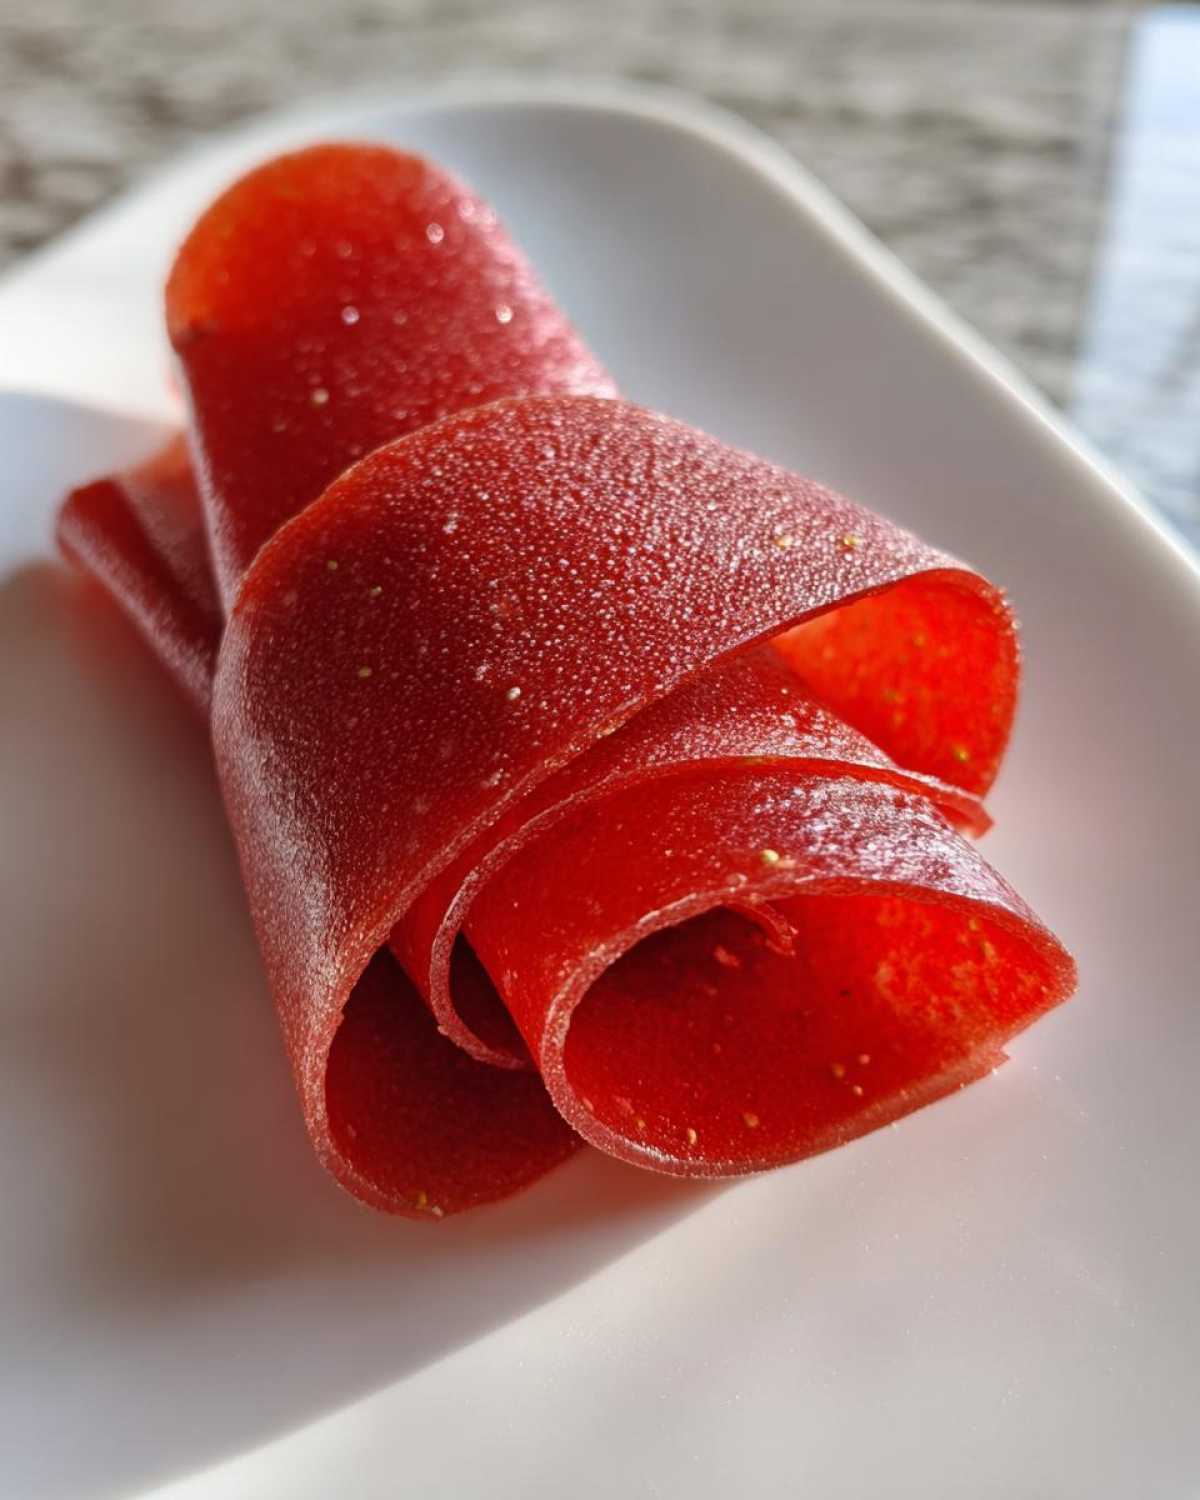
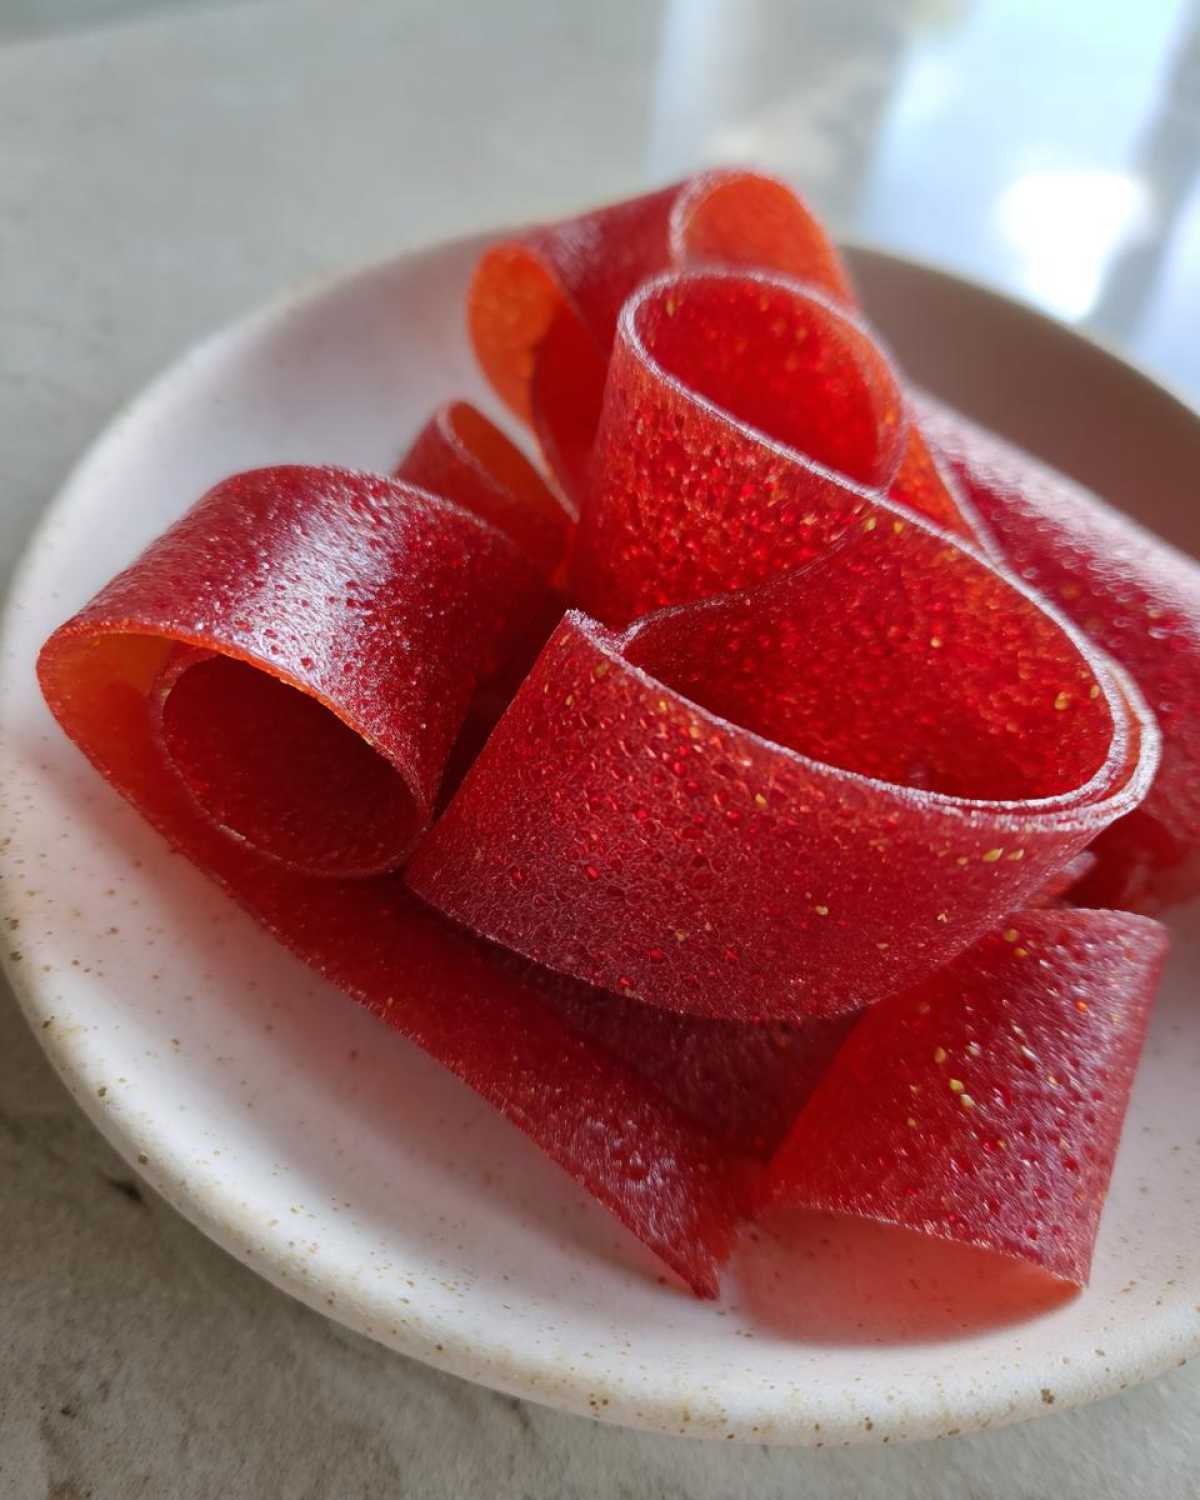
- Cut and roll: Carefully peel the fruit leather. Use kitchen shears to cut it into strips. Then, roll them up!
Tips for Perfect Kid-Friendly DIY Homemade Fruit Roll-Ups
I’ve learned a few tricks along the way. To get the best results, remember these tips.
- Spread it thin: A thinner layer dries quicker. It also makes for a crispier roll-up.
- Check for stickiness: Don’t rush it! Make sure the fruit leather isn’t sticky. If it is, it needs more time.
- Cool completely: This step is super important. It helps prevent sticking when you roll them.
- Experiment with fruits: Don’t be afraid to try different combinations. Mia prefers a slightly chewier roll-up. So, I sometimes leave her batch a tiny bit thicker.
Kid-Friendly DIY Homemade Fruit Roll-Ups: Storage and Variations
You’ve made a batch of these amazing kid-friendly DIY homemade fruit roll-ups. Now, how do you keep them fresh? And what about trying new flavors? This section helps you store your delicious creations. It also gives you ideas for mixing things up. It’s all about making the most of your efforts.
Storing Your Kid-Friendly DIY Homemade Fruit Roll-Ups
Once your fruit roll-ups are cool and rolled, proper storage is key. Place them in an airtight container. They will last up to two weeks at room temperature. For longer storage, up to a month, keep them in the refrigerator. This helps keep them fresh and chewy. It’s great for meal prep!
Creative Variations for Kid-Friendly Fruit Roll-Ups
The fun doesn’t stop with berries! These fruit roll-ups are so versatile. You can try blending mango for a tropical twist. Peach or even apple puree works wonderfully too. I’ve experimented with different fruit combinations with Leo and Mia. They love discovering new flavors. Just remember to adjust sweetness as needed!

Common Questions About Kid-Friendly DIY Homemade Fruit Roll-Ups
I get a lot of questions about these kid-friendly DIY homemade fruit roll-ups. It warms my heart that so many of you are trying them! Here are some common queries I hear. I hope these answers help you on your fruit leather journey. Don’t hesitate to ask if you have more!
Can I use different fruits for my Kid-Friendly DIY Homemade Fruit Roll-Ups?
Absolutely, yes! You can totally switch up the fruits for your homemade fruit roll-ups. Mango, peach, or even a mix of apple and cinnamon work great. Just make sure the fruit is ripe for the best flavor. Some fruits might need a little extra lemon juice.
How do I know when my Kid-Friendly DIY Homemade Fruit Roll-Ups are done?
You’ll know your fruit roll-ups are ready when they are no longer sticky to the touch. They should peel away easily from the parchment paper. It will feel like a soft, pliable leather. If it’s still gooey, it needs more drying time in the oven.
My Kid-Friendly DIY Homemade Fruit Roll-Ups are too sticky. What went wrong?
Don’t worry, this is a common issue! If your fruit roll-ups are too sticky, they likely need more drying time. Or, perhaps the puree was spread too thick. Aim for a thin, even layer next time. A little extra time in the oven usually fixes it right up!
Nutritional Information for Kid-Friendly DIY Homemade Fruit Roll-Ups
I know many of you are curious about the nutrition in these kid-friendly DIY homemade fruit roll-ups. Please remember, these values are estimates. They can change based on the specific fruits you use. Brand variations for honey or maple syrup also play a role. It’s always great to know generally what you’re feeding your little ones!
Share Your Kid-Friendly DIY Homemade Fruit Roll-Ups Success!
I absolutely love hearing from you! Have you tried making these kid-friendly DIY homemade fruit roll-ups? I’d love to know how they turned out. Did your kids love them as much as Leo and Mia love theirs? Please share your experiences in the comments below. You can also rate the recipe! Your feedback helps other parents. Let’s build a supportive community together!
Print
Finally, 1 Amazing Kid-Friendly DIY Homemade Fruit Roll-Ups
- Total Time: 3 hours 15 minutes - 6 hours 15 minutes
- Yield: 10-12 roll-ups (depending on size) 1x
- Diet: Vegetarian
Description
Make delicious homemade fruit roll-ups with ease. This recipe is simple, uses minimal ingredients, and is a great way to use ripe fruit. It’s a perfect snack for kids, tested and approved by my own children, Leo and Mia.
Ingredients
- 2 cups fresh or frozen fruit (strawberries, raspberries, mango, mixed berries work well)
- 1–2 tablespoons honey or maple syrup (optional, adjust to fruit sweetness)
- 1 tablespoon lemon juice (optional, for brightness and to prevent browning)
Instructions
- Preheat your oven to 170°F (77°C) or its lowest setting. Line a baking sheet with parchment paper or a silicone baking mat.
- Wash and chop your fruit. If using frozen fruit, thaw it first.
- Combine the fruit, honey or maple syrup (if using), and lemon juice (if using) in a blender or food processor. Blend until completely smooth. My son, Leo, loves helping me push the buttons on the blender!
- Pour the fruit puree onto the prepared baking sheet. Spread it evenly into a thin layer, about 1/8 to 1/4 inch thick. Try to get it as uniform as possible for consistent drying.
- Bake for 3-6 hours, or until the fruit leather is no longer sticky and peels easily from the parchment paper. The exact time depends on the thickness of your puree and your oven. I usually check on it after a few hours, just like I check on Mia’s naps!
- Once fully dried, remove the fruit leather from the oven. Let it cool completely.
- Carefully peel the fruit leather from the parchment paper. Place it on a cutting board.
- Using kitchen shears or a pizza cutter, cut the fruit leather into strips. Roll up each strip.
- Store the fruit roll-ups in an airtight container at room temperature for up to 2 weeks, or in the refrigerator for longer freshness.
Notes
- For a thicker roll-up, spread the puree a bit thicker, but be aware it will take longer to dry.
- If your fruit is very sweet, you might not need to add any sweetener. Taste the puree before baking.
- Experiment with different fruit combinations for unique flavors.
- If the fruit leather is still sticky after cooling, you can put it back in the oven for a little longer.
- Prep Time: 15 minutes
- Cook Time: 3-6 hours
- Category: Snack
- Method: Baking
- Cuisine: American
Nutrition
- Serving Size: 1 roll-up
- Calories: 40-60
- Sugar: 8-12g
- Sodium: 0-5mg
- Fat: 0g
- Saturated Fat: 0g
- Unsaturated Fat: 0g
- Trans Fat: 0g
- Carbohydrates: 10-15g
- Fiber: 1-2g
- Protein: 0-1g
- Cholesterol: 0mg