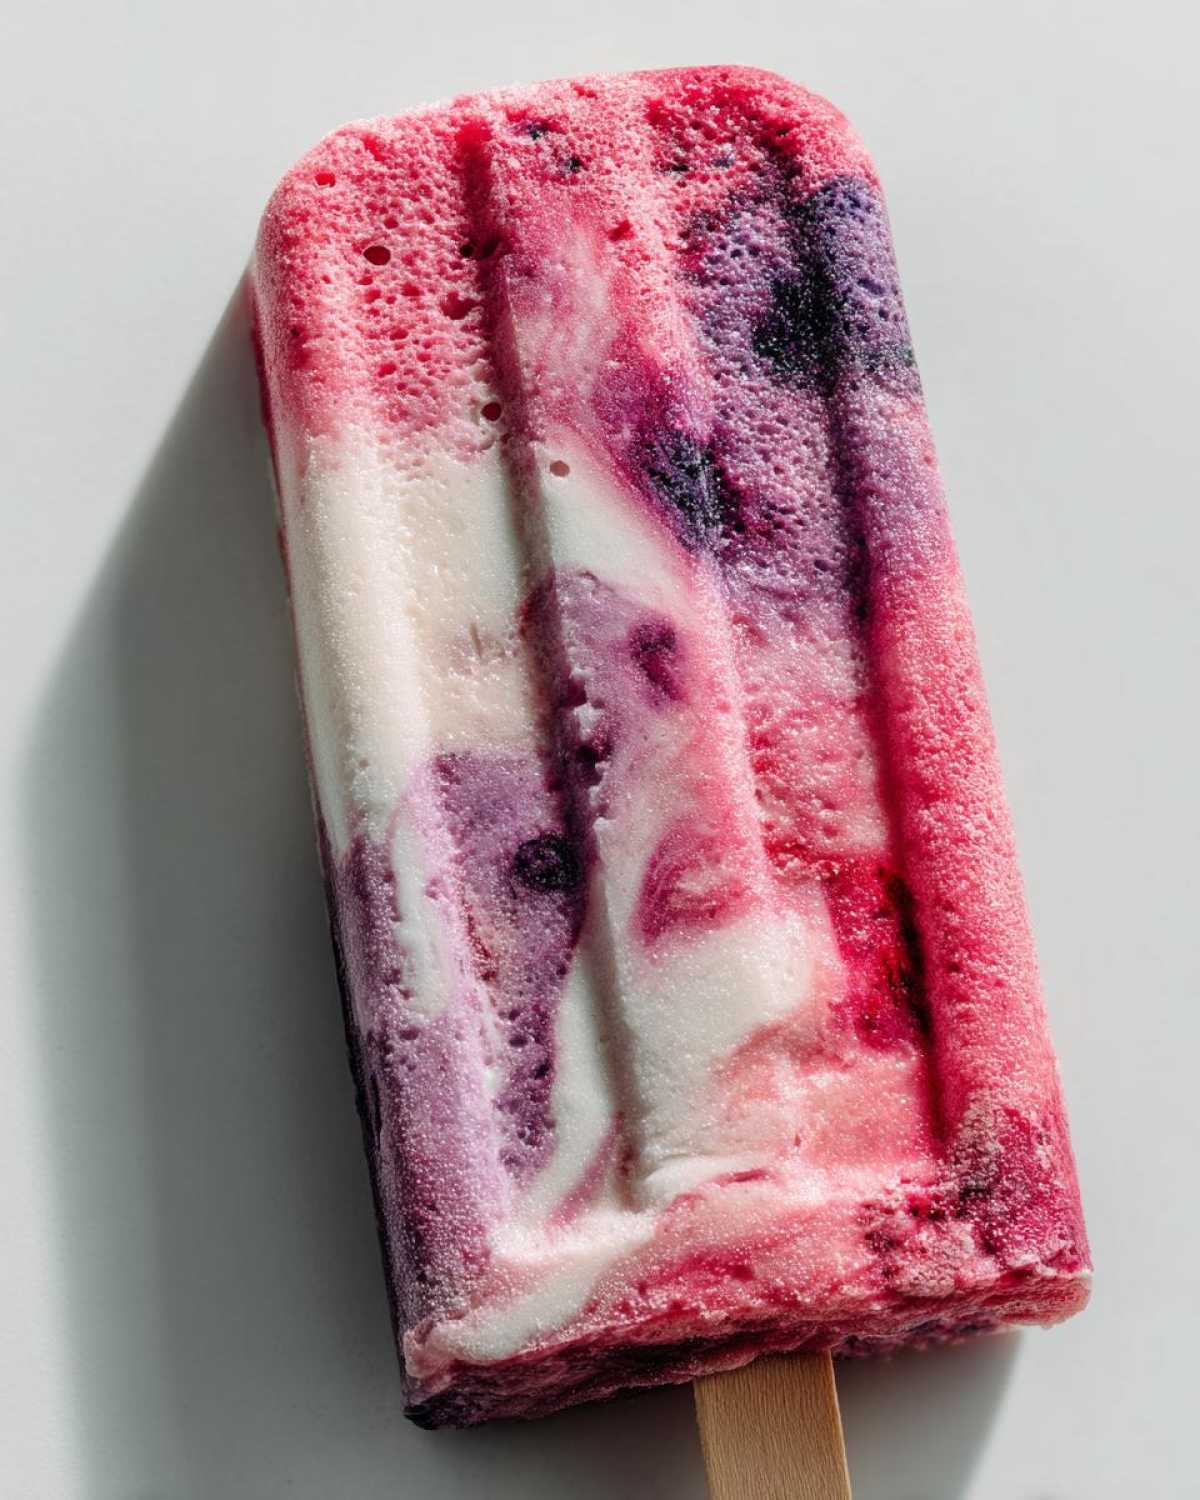
Hey there, fellow parents! It’s Sarah from Child Recipe. Are you always on the hunt for snacks your kids will actually eat? Finding healthy options that don’t involve a battle can feel like a full-time job, right? Especially when the weather gets warm and they’re begging for something cold and sweet. That’s exactly why I came up with these Kid-Friendly Berry Greek Yogurt Popsicles. They’re my go-to for a tasty treat I feel good about giving Leo and Mia.
Honestly, the first time I made these, I wasn’t sure if Mia would go for them. She can be a little picky with textures. But she devoured one in minutes and asked for another! Leo loves them too, especially after running around outside. They’re packed with good stuff like fruit and protein, and they’re so simple to whip up.
Here at Child Recipe, my mission is to make feeding your family a little easier and a lot more fun. These berry Greek yogurt popsicles are a perfect example of that! Let’s dive into how you can make these frozen delights for your own little ones.

Why You’ll Love These Kid-Friendly Berry Greek Yogurt Popsicles
Trust me, these aren’t just any frozen treats. As a busy parent, you’ll find so many reasons to make these Kid-Friendly Berry Greek Yogurt Popsicles a regular in your freezer rotation. They really hit all the right notes!
- They’re seriously easy. Just blend and freeze!
- Packed with good stuff. Lots of fruit and protein from the Greek yogurt.
- So customizable. Use whatever berries your kids love.
- A win for picky eaters. Frozen treats are usually a hit!
- Perfectly refreshing. Great for a hot day or after playing.
It’s a snack that makes both you and your little ones happy.
Ingredients for Kid-Friendly Berry Greek Yogurt Popsicles
Making these yummy berry popsicles doesn’t need a long shopping list. You probably have most of this already! Here’s what you’ll need to make your Kid-Friendly Berry Greek Yogurt Popsicles:
- Plain Greek yogurt (full-fat works great for creaminess!)
- Mixed berries (fresh or frozen work perfectly)
- Sweetener (like a drizzle of honey, maple syrup, or even a ripe banana)
- A little splash of milk or juice (apple or orange juice is good!)
See? Simple stuff for a super tasty treat!
Equipment You’ll Need
Alright, before we get blending, let’s gather up the few things you’ll need. Making these Kid-Friendly Berry Greek Yogurt Popsicles is pretty straightforward. You likely have these kitchen basics already!
- A good blender (doesn’t need to be fancy!)
- Popsicle molds (any shape or size works)
- Popsicle sticks (if your molds don’t have built-in ones)
That’s it! Just a few simple tools to make these delightful frozen treats.

How to Make Kid-Friendly Berry Greek Yogurt Popsicles
Okay, let’s get to the fun part! Making these Kid-Friendly Berry Greek Yogurt Popsicles is seriously so easy, you’ll wonder why you didn’t make them sooner. It’s just a few simple steps to frozen goodness.
Step 1: Blend the Ingredients
First things first, grab your blender. Toss in the Greek yogurt, your mixed berries, and whatever sweetener you’re using. If you’re using a banana, add that now too! Give it a good blend until everything is super smooth and creamy. Sometimes, depending on your yogurt and berries, it can be a little thick. If it seems too thick to pour easily, add a little splash of milk or juice. Just a tablespoon or two at a time! Blend again until it’s just right. You want it pourable but not watery.
Step 2: Fill the Popsicle Molds
Now it’s time to fill those molds! Carefully pour the berry and yogurt mixture into each popsicle mold. Don’t overfill them, or they might spill when you put the lids or sticks in. I find using a small spoon or a funnel helps keep things tidy, but a little mess is okay too! That’s part of the fun in my kitchen.
Step 3: Freeze Until Solid
Pop the tops onto your molds or insert the popsicle sticks. Make sure the sticks are centered. Now, gently transfer the filled molds to your freezer. Find a spot where they can sit upright and won’t get knocked over. This is the hardest part – waiting! They’ll need to freeze until they are completely solid. This usually takes about 4 to 6 hours, but I often just leave them in the freezer overnight to be sure. Patience is key for perfect popsicles!
Tips for the Perfect Kid-Friendly Berry Greek Yogurt Popsicles
Want to make your Kid-Friendly Berry Greek Yogurt Popsicles absolutely perfect every time? I’ve learned a few tricks along the way! Here are my best tips for these frozen treats.
Using frozen berries? They can make the mixture extra thick, which is great! Just make sure your blender can handle them. If you like a sweeter pop, taste the mixture before freezing and add a little more sweetener if needed. Removing them from the molds can be tricky. My go-to trick? Run the mold under warm water for just a few seconds. They should slide right out! Also, always make sure your popsicle molds are clean and completely dry before you fill them. This helps prevent ice crystals and helps the popsicles freeze nicely.
Ingredient Notes and Substitutions
One of the best things about these Kid-Friendly Berry Greek Yogurt Popsicles is how flexible they are! You can totally play around with the ingredients to suit your kids’ tastes or what you have on hand.
Don’t have Greek yogurt? Regular plain yogurt works too, but Greek yogurt is thicker so the popsicles will be creamier. You could even try a dairy-free yogurt if needed! Not a berry fan? Swap them for other soft fruits like ripe bananas or peaches. Instead of honey or maple syrup, a really ripe banana adds natural sweetness. You can use milk for a creamier pop or juice (like apple) for a slightly tangier, fruitier one. A tiny pinch of vanilla extract can add a lovely extra flavor too!
Serving Suggestions
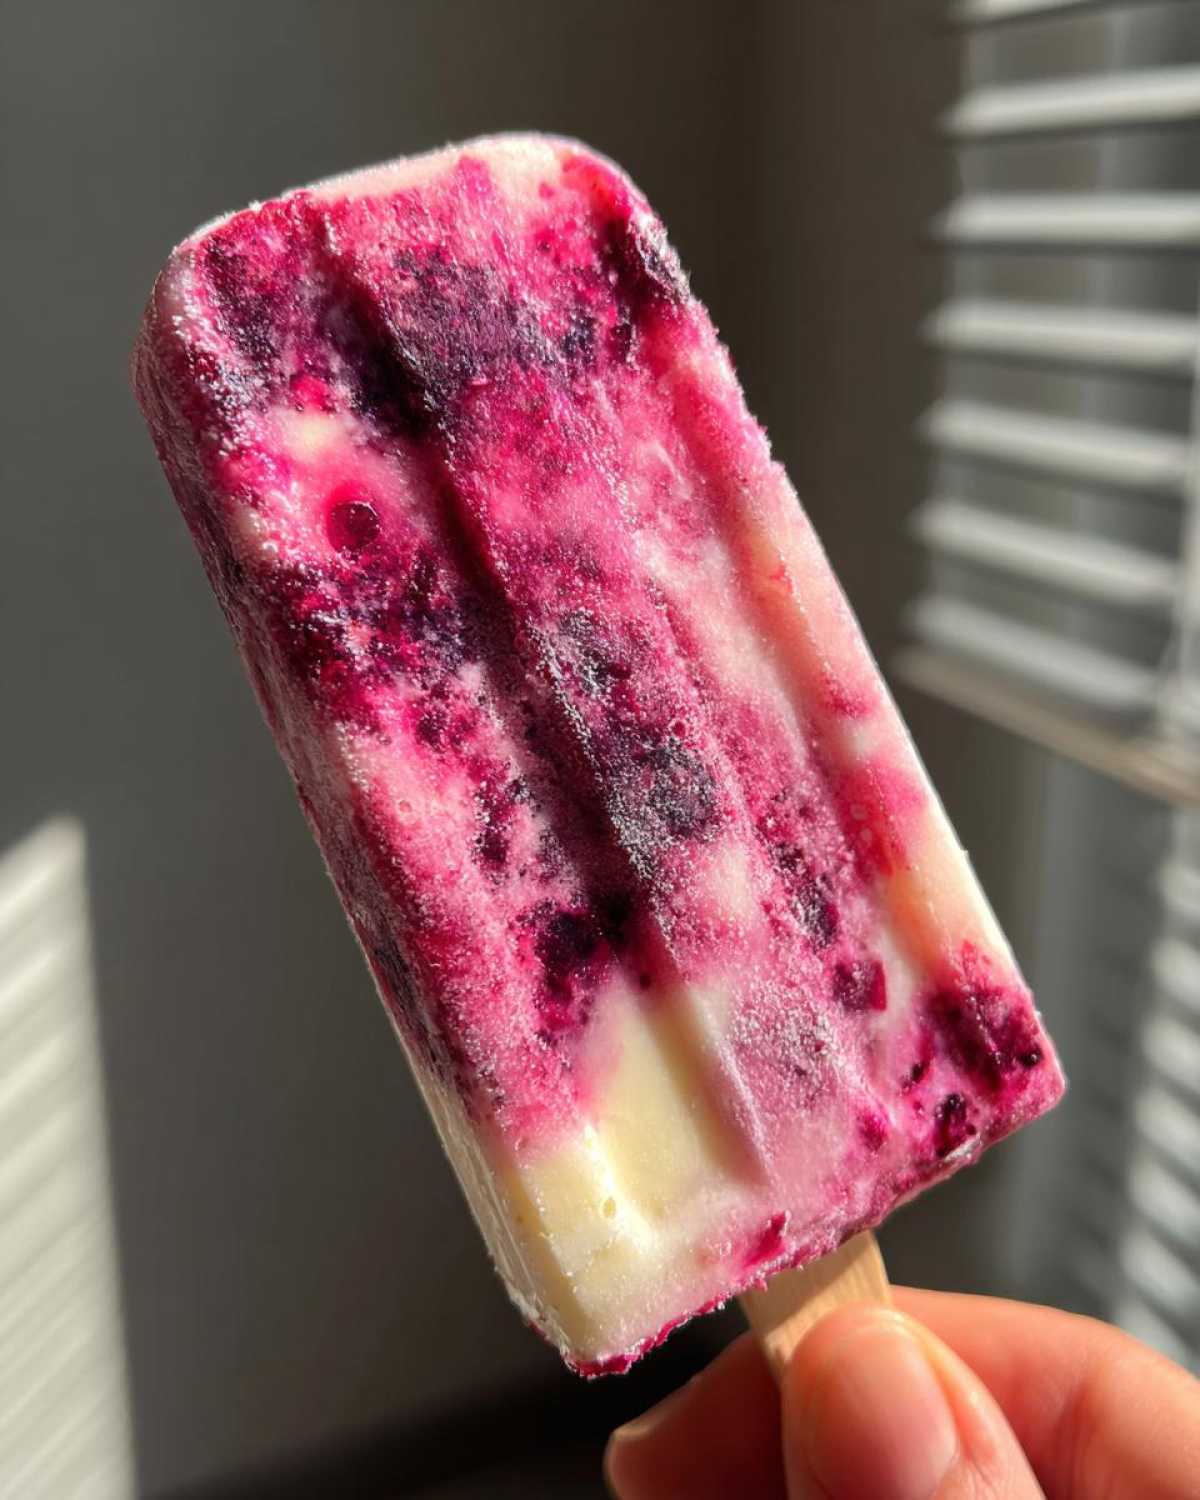
So, you’ve waited (impatiently, I know!) and your Kid-Friendly Berry Greek Yogurt Popsicles are finally frozen solid. How do you serve these little bursts of joy? It’s pretty simple!
Just pop one out of the mold and hand it over! They’re perfect on their own as a healthy snack. We love having them after playtime outside on a warm day. They also make a great, not-too-sweet dessert after dinner. Leo and Mia think they’re a special treat, and I love that they’re getting good stuff in them!
Storage and Reheating
Storing your delicious Kid-Friendly Berry Greek Yogurt Popsicles is super easy. Once they’re completely frozen, you can keep them right in their molds in the freezer. If you need the molds for another batch or just want to save space, you can pop the frozen popsicles out and wrap each one individually in plastic wrap or beeswax wraps. Then, store them in a freezer-safe bag or container.
As for reheating? Nope! These are meant to be enjoyed frozen, straight from the freezer. No need to warm them up at all!
Frequently Asked Questions About Kid-Friendly Berry Greek Yogurt Popsicles
Got questions about these Kid-Friendly Berry Greek Yogurt Popsicles? I get asked a few things pretty often, so let’s tackle them! Making these healthy snacks for kids should be easy, not confusing.
Can I use frozen fruit? Absolutely! I often use frozen mixed berries. They’re usually cheaper and just as nutritious. Plus, using frozen fruit can make the mixture thicker and colder, which helps them freeze faster. Just make sure your blender can handle it!
How long do they last in the freezer? If stored properly (wrapped or in a sealed container), these yogurt pops will last for about 1-2 months in the freezer. They might start to get a little icy after that, but they’re still safe to eat.
Can I make them without added sweetener? Yes! If your berries are really ripe and sweet, you might not need any extra sweetener at all. A ripe banana also adds natural sweetness without added sugar. Taste the mix before freezing and see what you think.
How do I get picky eaters to try them? Presentation can help! Use fun popsicle molds. Let them help make them – kids are often more willing to try food they’ve helped prepare. Call them “berry nice cream pops” or “frozen fruit clouds.” Sometimes a fun name makes all the difference for kid snacks!
Estimated Nutritional Information
Okay, I know many of you busy parents think about nutrition when choosing snacks. While I’m not a registered dietitian and can’t give exact numbers for your specific batch (it depends on the yogurt, berries, and sweetener you use!), I can give you a general idea of what these Kid-Friendly Berry Greek Yogurt Popsicles offer.
These little frozen treats are a good source of protein from the Greek yogurt, which helps keep little tummies full. You also get vitamins and fiber from the berries. The calories, sugar, and fat will vary based on your ingredients. Using full-fat yogurt will mean more fat, and adding honey or maple syrup will increase the sugar content. If you use a banana for sweetness, it adds natural sugars and some potassium too! Think of these as a much healthier alternative to store-bought sugary popsicles.
Share Your Success!
I just love seeing your kitchen creations! If you make these Kid-Friendly Berry Greek Yogurt Popsicles, please let me know how they turned out. Did your kids love them? What berries did you use? Leave a comment below and tell me all about it! You can also rate the recipe. And if you snap a picture, share it on social media and tag me! Let’s celebrate making healthy snacks fun together.
Print
Simple Kid-Friendly Berry Greek Yogurt Popsicles Kids Adore
- Total Time: 4-6 hours (includes freezing time)
- Diet: Vegetarian
Description
Simple and healthy popsicles made with berries and Greek yogurt, perfect for kids.
Ingredients
- Greek yogurt
- Mixed berries
- Sweetener (optional, e.g., honey, maple syrup, or a ripe banana)
- Splash of milk or juice (optional, for consistency)
Instructions
- Combine Greek yogurt, berries, and sweetener (if using) in a blender.
- Blend until smooth. Add a splash of milk or juice if needed to reach desired consistency.
- Pour the mixture into popsicle molds.
- Insert popsicle sticks.
- Freeze until solid, typically 4-6 hours or overnight.
Notes
- Use any combination of berries your kids like.
- Adjust sweetness based on the ripeness of the fruit and your preference.
- These are a great way to sneak in some protein and fruit.
- Prep Time: 10 minutes
- Cook Time: 0 minutes
- Category: Snack, Dessert
- Method: Blending, Freezing
- Cuisine: Kid-Friendly