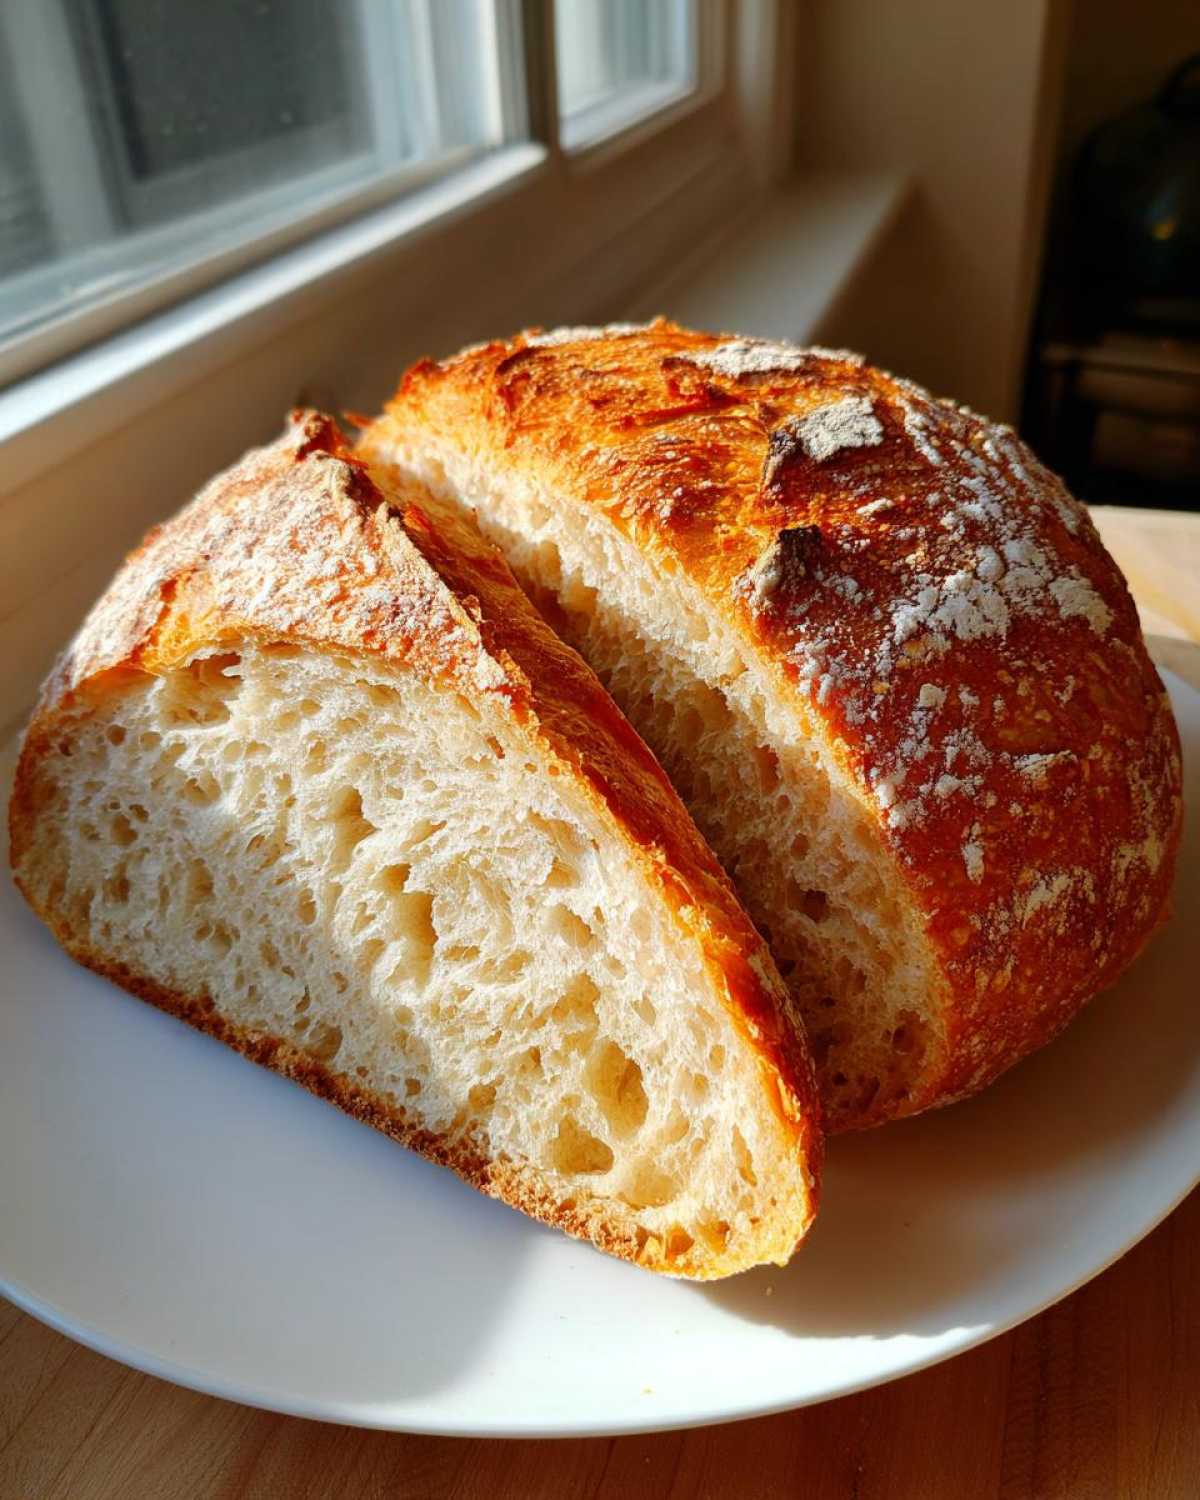
Oh, listen to that sound! That slightly hollow thud when you tap the bottom of a freshly baked loaf? That’s the symphony of the oven, and trust me, nothing beats the smell of true homemade French bread filling your whole house. Liam, bless his heart, used to approach bread baking like a chemistry experiment—everything measured to the microgram. But I kept reminding him that baking is supposed to be fun, right? So, we found the sweet spot: a recipe that delivers that incredible, crackly crust and airy inside, making **bakery style bread at home** totally achievable, even if you’re an absolute beginner. This **French bread** recipe is our happy, messy compromise!
Why This Classic Crusty Homemade French Bread Recipe Works for Everyone
When I first tried this recipe, I was skeptical. Liam called it an authentic French baguette recipe, and I thought, ‘Yeah, right, not in my kitchen!’ But this one really delivers! It’s just so straightforward. We aren’t messing around with fancy starters or overnight cold ferments here, which is why I love it for quick weeknight baking.
Here’s why this loaf is the one that stuck around:
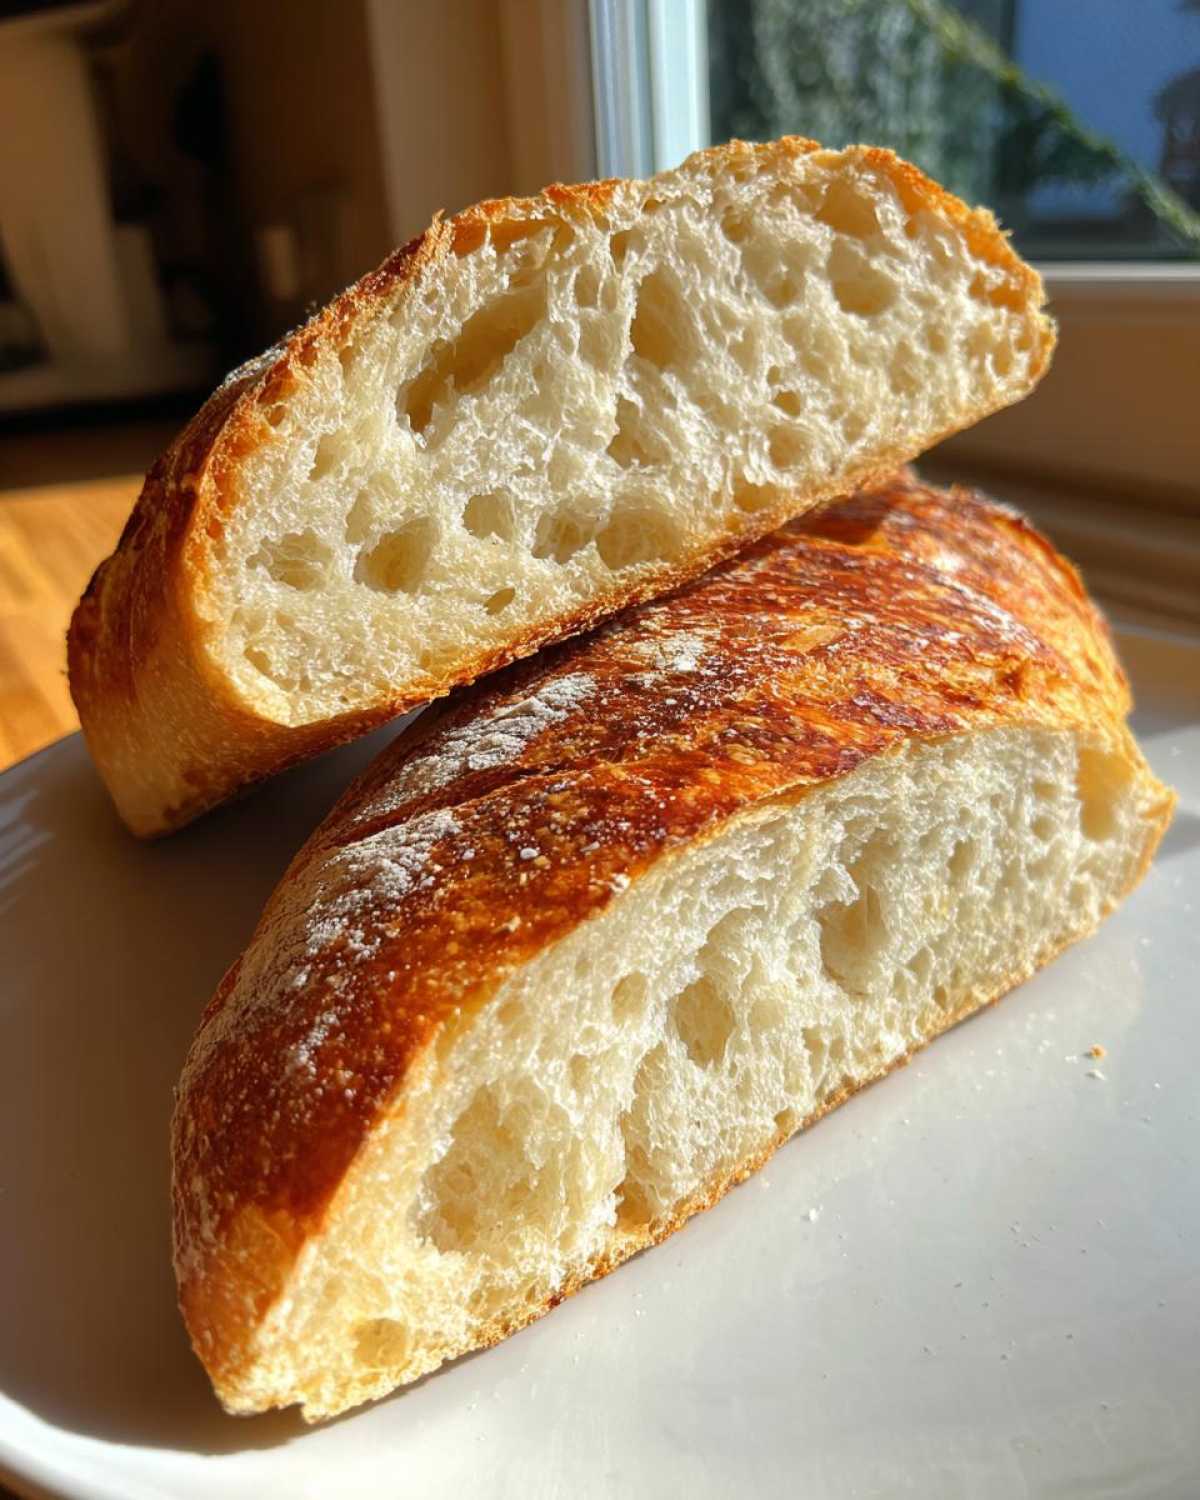
- It nails that perfect duality: that beautifully crisp exterior that cracks when you squeeze it, paired with a soft, airy interior.
- It’s totally beginner-friendly. If you can mix four things in a bowl, you can make this. Liam respects the precision, but I prove you don’t need tons of fuss!
- We’re looking at an incredibly fast turnaround—we’re talking less than two hours total time, scratching that itch for a quick French bread recipe under 2 hours. Bravo!
Gathering Ingredients for Your Homemade French Bread Recipe
Honestly, this is where the magic starts, and it proves that gourmet doesn’t mean complicated. This unbelievably simple **french bread** asks for just four core components. Can you believe it? We skip all the fancy add-ins so you can really taste the quality of the bake itself. Just make sure your water is right—that’s the key to waking up our little helper, the yeast!
Core Components for the French Bread Loaves
Grab these essentials for your two loaves. You can find more inspiration for that perfect **crusty bread tutorial** over here, but for now, stick to this list:
- 3 cups all-purpose flour – No need to sift, just measure it out!
- 1 1/2 teaspoons salt – Don’t skip this; it builds the flavor!
- 1 teaspoon instant yeast – Speed demon yeast for the win!
- 1 1/2 cups warm water (aiming right for that 105–115°F sweet spot).
If you’re looking for other simple loaves to try after this, I saw a fabulous rustic French bread loaf that uses similar simple techniques.
Step-by-Step Instructions: Mastering Bakery Style Bread at Home
Okay, deep breath! This is where we turn water and flour into something that smells like a Parisian bakery. Liam gets very intense during this part, but I promise you, these instructions are easy to follow. We are aiming for that beautiful **artisan bread baking** result without all the fuss. The final product must have that glorious **French bread with crispy crust**, and steam is how we get there! If you’re getting fancy, remember to check out how we handle herbs in our focaccia bread recipe for inspiration.
Mixing and the First Rise for Perfect French Bread
First things first: Get all your dry stuff—flour, salt, and that instant yeast—whisked together in one big bowl. Don’t stand there staring at it; just combine them! Then, pour in your warm water. When you mix it with a wooden spoon, it’s going to look like a disaster. Seriously, stop mixing when it gets shaggy. It *should* be sticky, and I mean sticky! Don’t try to knead it right away; that’s Liam’s old habit. Just cover that bowl up and let it chill out for a full hour. That’s the first rise for your loaf.
Shaping and Proofing Your Loaves
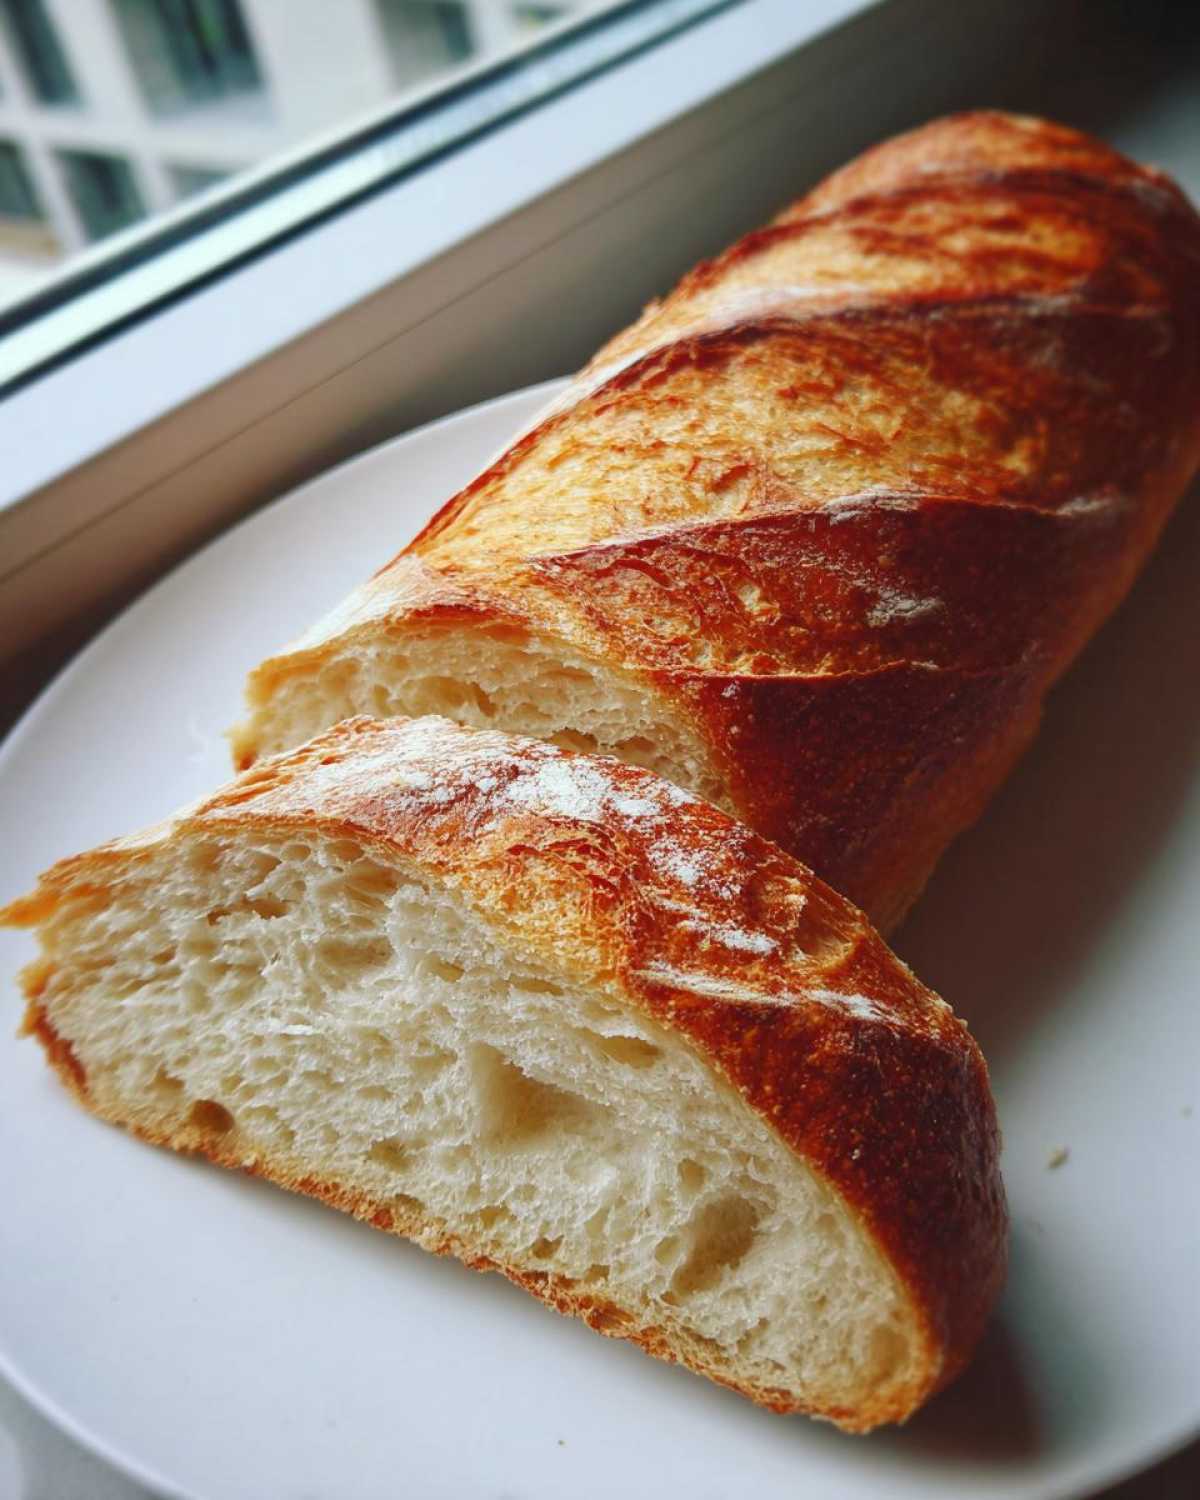
When the hour is up, gently coax that dough out onto a lightly floured surface. Don’t punch it down harshly; we want to keep those precious air bubbles we just made! Divide it into two equal pieces. Shaping is my weak spot—I always make one look lumpy—but the trick for that classic baguette look is creating surface tension. As you roll it into a long shape, gently pull the dough back toward you; this tightens the outside skin. This tight skin is what helps it look gorgeous when it bakes! Pop the two babies onto parchment paper and cover them again for just the second rise: 30 minutes. Set your oven to 450°F while these are resting—it needs to be screaming hot!
Creating the Crispy Crust: The Steam Technique for French Bread
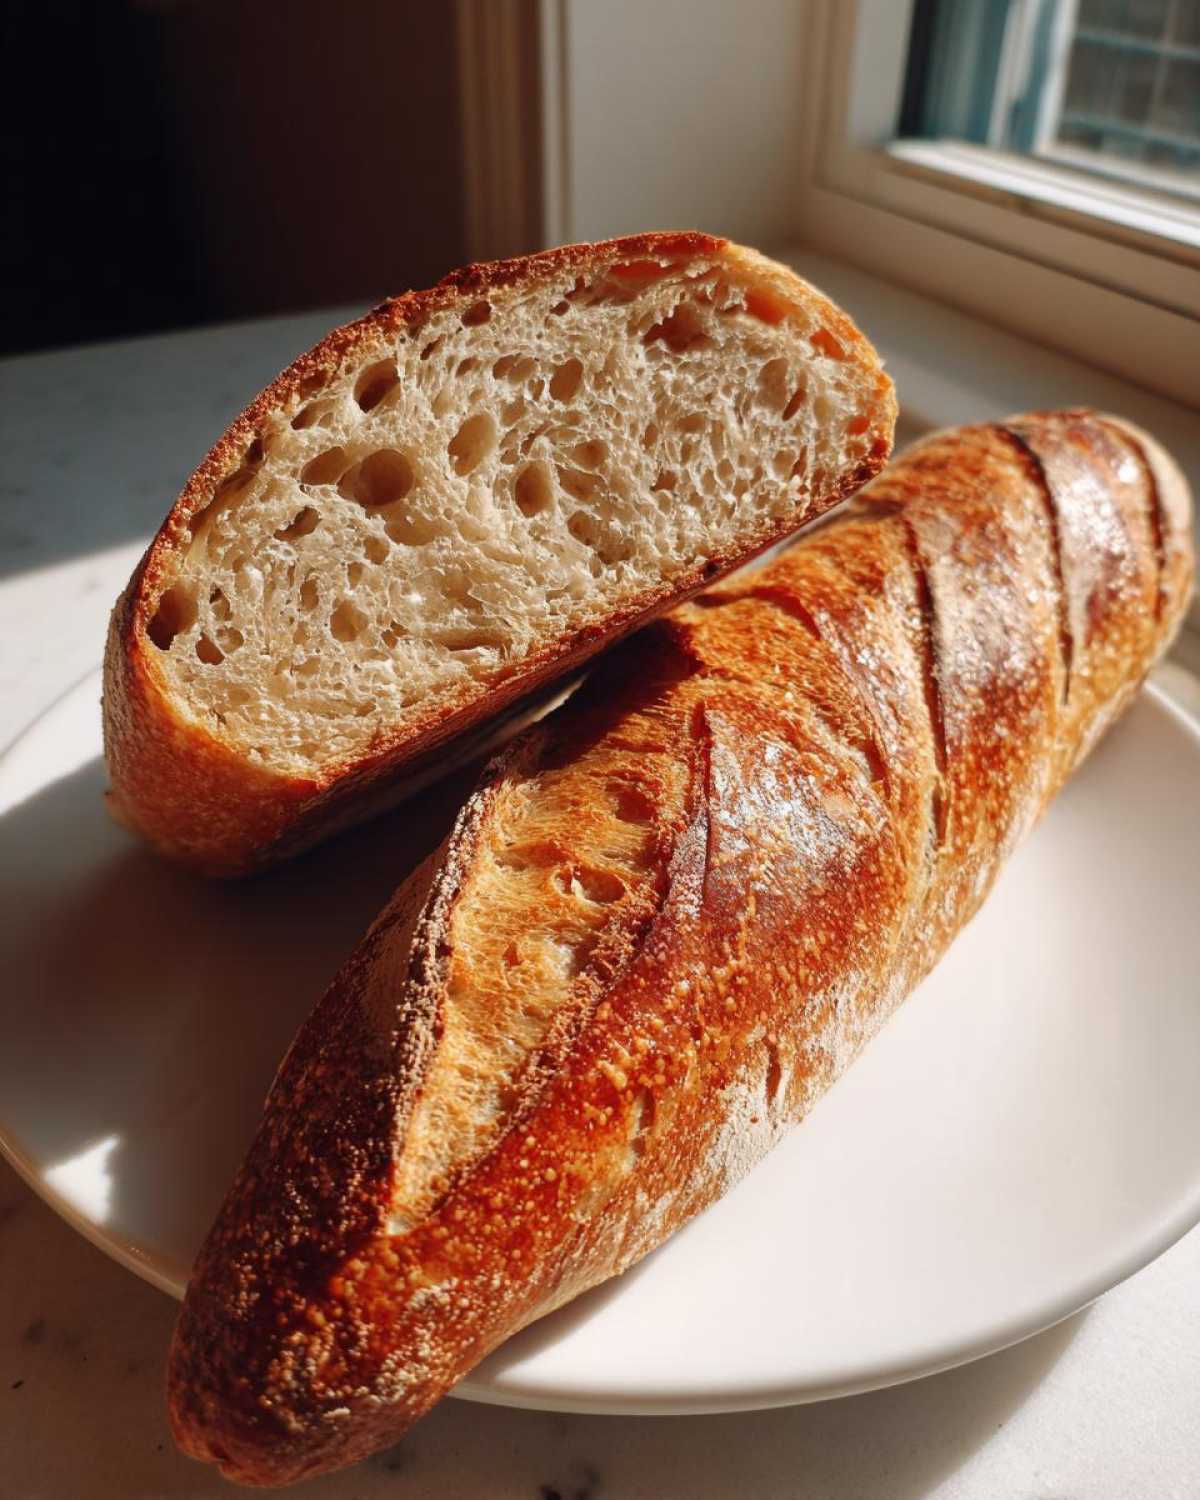
This is the absolute game-changer for getting that crispy exterior that rivals those found over at classic French baking shops. When your oven is totally preheated, you need to use steam. Place a shallow pan on the bottom rack while it preheats. Just before you slide the loaves in, use a very sharp knife—be careful!—to score three diagonal lines down the top of each loaf. Then, quickly and carefully, pour about a cup of hot water into that lower pan and slam the door shut! That steam locks in moisture so the crust stays soft long enough to expand before hardening into that glorious crunch. Bake for about 20 to 25 minutes. Don’t peek too much!
Tips for Success with Your Artisan Bread Baking
Even though this is such an **easy French bread for beginners**, there are always ways to tweak it if you’re feeling adventurous, or if you just didn’t want that super crackly baguette vibe! Liam is all about the crust, but I totally get that sometimes you want something softer for dipping. As a good muse, I always look at the notes to see how we can steer the ship slightly! We want that great texture, whether it’s crackly or soft, which is why I love looking at things like the focaccia bread recipe for texture variation ideas.
Adjusting the Recipe for Soft and Fluffy French Bread
If you prefer your loaves to be that wonderful **soft and fluffy French bread** texture—perfect for slathering with butter right out of the oven—then ditch the steam pan! That pan is purely for crunch. Once the bread comes out golden brown, while it’s still piping hot, brush the tops lightly with some melted butter. It gives a beautiful sheen and ensures that crust stays tender until you demolish it. See? Not complicated at all!
Making This a Quick French Bread Recipe Under 2 Hours
I know we already nailed the timing, but if you need that bread *faster* than our standard 1 hour 40 minutes, here’s the trick woven into the recipe notes: use slightly warmer water when you mix the dough, maybe closer to 120°F. Since we’re using instant yeast, it loves that little warmth boost, which can speed up that first rise just enough to make this truly a no-fuss French loaf on a tighter schedule. Just make sure your kitchen isn’t freezing cold, or the yeast won’t cooperate!
Ingredient Notes and Substitutions for Your French Bread
Since this whole **Homemade French Bread Recipe** hinges on just four things, we have to treat those four things with respect! You might be tempted to grab whatever flour is lurking in the back of the pantry, but let’s be clear: all-purpose flour is what we need here. Liam actually tried whole wheat once—it made a very dense, not-at-all-airy brick. Stick to the all-purpose for that light texture.
And we talked about the water temperature, but seriously, don’t skip measuring it. Too cold, and your yeast—that eager little helper—stays asleep. Too hot, and you cook it! We want that exact 105–115°F range so it gets going right away.
Why instant yeast? Because this is a **no-fuss French loaf**, remember? Instant yeast is formulated to be mixed right in with the dry ingredients without needing to be bloomed in water first. That saves us that one crucial step Liam used to obsess over. If you only have active dry, I’ll tell you exactly how to swap it in down in the FAQ section because we can always make a change if we have to!
Serving Suggestions for Homemade French Bread Recipe
Okay, the *hardest* part is over—the baking! Now comes my favorite part: deciding what we’re going to slather all over this gorgeous, crusty loaf. I mean, you could just stand over the cooling rack and eat it plain, right? I won’t judge; I’ve definitely done that. But this **Homemade French Bread Recipe** is too good not to share with the right accompaniments!
The best thing about a truly crusty loaf is its ability to stand up to anything wet. It’s not fragile! It has structure! That’s why it’s absolutely perfect for dipping. Forget salad croutons; make slices of this warm bread and toast them lightly. You should seriously try dipping them into a big bowl of chili or, my personal favorite when the weather gets chilly, a hearty chowder. If you’re looking for something comforting to pair it with, Liam has the most amazing recipe for Seafood Chowder with Cornbread Croutons—though I tell him our French bread chunks work even better!
And if you’re feeling fancy but want zero effort? Honestly, just slice it thick, toast it slightly, and top it with good quality salted butter that’s been left out long enough to get soft. Maybe a drizzle of good olive oil and some flaky sea salt. Simple is always best when the bread itself is this good. Don’t overthink it!
Storage and Reheating Instructions for Crusty French Bread
So, you baked two loaves—yay! Now comes the tough part: not eating both in one sitting! This is where a lot of people mess up their delicious **french bread**; they store it wrong, and suddenly that heavenly crust turns soft and rubbery overnight. We don’t want that sad outcome, not after all that steaming!
If you think you’ll be eating the whole thing within eight hours, just leave it out on the counter, maybe on a cut side down on a cutting board, or nestled in a clean tea towel. Do *not* put it in a plastic bag! Plastic traps moisture, and moisture kills crusts. I learned that the hard way when I tried to keep a loaf fresh for my mom—it ended up soggy and disappointing.
For leftovers that last a day or two, you need to keep air moving around it. Liam suggests storing it cut-side down on a wooden cutting board, loosely tented with a paper bag. A paper bag allows some moisture to escape while offering a little protection. Never, ever refrigerate bread; it just speeds up staling.
How to Reheat Your Crusty French Bread to Bring It Back to Life
If you wake up the next morning and your beautiful loaf seems a little lackluster, don’t throw it out! That hollow sound you want is still waiting for you; you just need to re-crisp it. This is so easy, and it makes the bread taste like it just came out of the oven!
Here’s what you do: just cut the loaf into the pieces you plan to eat right now. Pop those slices directly onto the middle rack of your oven—no need to oil or anything! Crank that oven up to about 350°F, and let them bake for maybe 5 to 8 minutes. Watch them closely! You aren’t baking them again; you’re just evaporating that surface moisture that made them soft.
When they come out, they’ll snap! Honestly, it’s amazing how much life you can bring back into day-old bakery bread this way. It’s practically magic, and certainly better than those store-bought loaves!
Frequently Asked Questions About Making French Bread
We get so many great questions after people try this recipe for the first time! Most folks are usually just double-checking their texture guesses or time estimates, which is totally smart. Liam always says that reading the FAQ is almost as important as reading the steps themselves, especially when you are trying to achieve genuine **artisan bread baking** results at home. It’s all about playing the game right! I even looked up a few ways to adjust the texture after baking, which helped me understand why some folks prefer that soft fluffy french bread style.
Can I use active dry yeast instead of instant yeast in this French Bread recipe?
Oh, I knew someone would ask this! Yes, you absolutely can swap active dry yeast for the instant yeast, but you can’t just dump it in with the flour like we did. Active dry yeast is a bit more fragile and needs a wake-up call first. You’ll want to take about 1/2 cup of that warm water (make sure it’s still on the warm side, not hot!) and dissolve 1 teaspoon of sugar (uh oh, cheating slightly on the 4 ingredients, but trust me!) into it. Then sprinkle the active dry yeast on top and just let it hang out for about 5 to 10 minutes. If it gets foamy and bubbly on top, great! It’s alive and ready to work its magic in the rest of the water.
What is the secret to a truly crispy crust on my homemade French bread?
If you want that beautiful, crackly exterior we talked about—that hallmark of excellent **French bread with crispy crust**—then you cannot skip the steam! Seriously, steam is your best friend. When you put that sheet pan in the oven before you put the bread in, and then pour the hot water in to create that burst of steam, you are giving the surface of your dough a moment of humidity. That moment keeps the crust from setting too hard, too fast. It allows the loaf to fully expand (oven spring!) before the heat sets it into that gorgeous, deep golden shell. High heat (450°F is perfect) combined with that steamy oven is the only way to get that bakery look!
My dough didn’t rise much; what went wrong with my Simple Yeasted Bread?
Don’t panic if your dough barely moved! It breaks my heart every time, but 99 times out of 100, it’s a temperature issue. Remember we talked about that 105–115°F water? If your water was too cold, the yeast went dormant—it went to sleep and wouldn’t wake up to do its job of eating the sugars and making the bread fluffy. If your water was too hot (over 125°F), you actually killed the yeast, which is heartbreaking! Also, check the date on your yeast container. Even though this is a **simple yeasted bread**, old yeast doesn’t have the power to puff things up. If your kitchen is freezing cold, try using slightly warmer water—maybe 120°F—to encourage a happier rise, or even let Liam check out this focaccia bread post where we talk more about environmental factors!
Share Your Culinary Connection
Now, you’ve got the script, and you know the performance! I truly hope you take these steps for **classic French baking** and give this **homemade French bread recipe** a try. Liam and I live for the moment when someone tries one of our recipes and it sparks that little bit of joy—that’s the “Child Recipe” philosophy in action, right there!
When you pull those golden loaves out, that heavenly aroma filling your space—that’s your moment! Don’t keep that joy bottled up! I want to hear all about your perfect loaves!
Did you manage that tricky scoring? Did your steam pan work like a charm, giving you that incredible **artisan bread baking** crust we talked about? Or maybe you decided to ignore the crackly crust advice and went straight for the soft loaf with butter—if so, I need details!
Please, share your successes, your little happy mishaps, and your thoughts in the comments below. Drop a rating if you loved how simple and delicious this loaf was. We read every single word, and seeing your results reminds us why we love sharing our kitchen chaos with you. If you want to know a little more about how we ended up creating this space, you can always sneak a peek at our story!
Happy baking, my friends. Go make something wonderful!
Print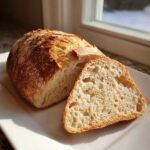
Classic Crusty Homemade French Bread (Baguette Style)
- Total Time: 1 hour 40 min
- Yield: 2 loaves 1x
- Diet: Vegetarian
Description
Bake bakery-style French bread at home. This recipe delivers a wonderfully crisp crust and a soft, airy interior, perfect for any meal.
Ingredients
- 3 cups all-purpose flour
- 1 1/2 teaspoons salt
- 1 teaspoon instant yeast
- 1 1/2 cups warm water (about 105-115°F)
Instructions
- In a large bowl, whisk together the flour, salt, and instant yeast.
- Pour in the warm water and mix with a wooden spoon until a shaggy dough forms. Do not overmix; the dough will be sticky.
- Cover the bowl with plastic wrap and let the dough rest at room temperature for 1 hour. This is the first rise.
- Gently turn the dough out onto a lightly floured surface. Divide the dough into two equal pieces.
- Shape each piece into a long, narrow loaf, similar to a baguette. Try to create surface tension by gently pulling the dough toward you as you shape it.
- Place the shaped loaves onto a baking sheet lined with parchment paper, leaving space between them.
- Cover the loaves loosely with a clean kitchen towel. Let them proof (second rise) for 30 minutes.
- Preheat your oven to 450°F (232°C) about 20 minutes before the end of the proofing time. Place a shallow pan on the bottom rack to create steam later.
- Just before baking, use a sharp knife or razor blade to make three diagonal slashes across the top of each loaf.
- Carefully pour about 1 cup of hot water into the preheated shallow pan on the bottom rack to create steam. Quickly close the oven door.
- Bake for 20 to 25 minutes, or until the crust is deep golden brown and sounds hollow when tapped.
- Remove the bread from the oven and let it cool completely on a wire rack before slicing. Enjoy your artisan bread baking success!
Notes
- For an extra crispy crust, spray the oven walls with water a couple of times during the first 10 minutes of baking.
- If you want soft and fluffy French bread instead of crusty, omit the steam pan and brush the loaves lightly with melted butter immediately after removing them from the oven.
- This recipe can be adapted for a quick French bread recipe under 2 hours by using warmer water (120°F) and allowing a slightly shorter rise time if your kitchen is warm.
- Prep Time: 15 min
- Cook Time: 25 min
- Category: Baking
- Method: Baking
- Cuisine: French
Nutrition
- Serving Size: 1 slice
- Calories: 150
- Sugar: 0.5
- Sodium: 280
- Fat: 0.5
- Saturated Fat: 0.1
- Unsaturated Fat: 0.4
- Trans Fat: 0
- Carbohydrates: 31
- Fiber: 1
- Protein: 5
- Cholesterol: 0