Okay, let’s talk school lunches. Is it just me, or does packing a healthy, fun lunch that your child will actually eat feel like a daily battle? I remember staring into the fridge many mornings, completely out of ideas. It felt like I was stuck in a rut of the same old sandwiches and snacks. My son, Leo, especially, would get tired of things so fast. And don’t even get me started on Mia’s picky phases!
I knew there had to be a better way. Something easy for me, but exciting for them. That’s when I stumbled upon the idea of DIY Pizza Lunchables for Kids: Healthier & Customizable. It was a total game-changer in our house.
Think about it – kids love pizza, and they love building things! These DIY Pizza Lunchables for Kids combine both. It’s a brilliant solution that lets them be in charge of their lunch, which always seems to make them more likely to eat it. Plus, I can control what goes in, making them much healthier than store-bought versions. It’s a win-win!
Why You’ll Love These DIY Pizza Lunchables for Kids
Okay, so why am I so excited about these DIY Pizza Lunchables for Kids? As a busy parent, I know you need things that work. Here’s the scoop on why these are a total lifesaver:
- They are super quick to put together. Seriously, minimal effort here!
- Picky eaters rejoice! Kids get to pick their own toppings.
- You control the ingredients, making them way healthier than the store stuff.
- It makes lunch feel like a fun activity, not a chore.
Trust me, anything that makes lunch packing easier and gets kids excited to eat is a winner in my book!
Essential Ingredients for Easy DIY Pizza Lunchables for Kids
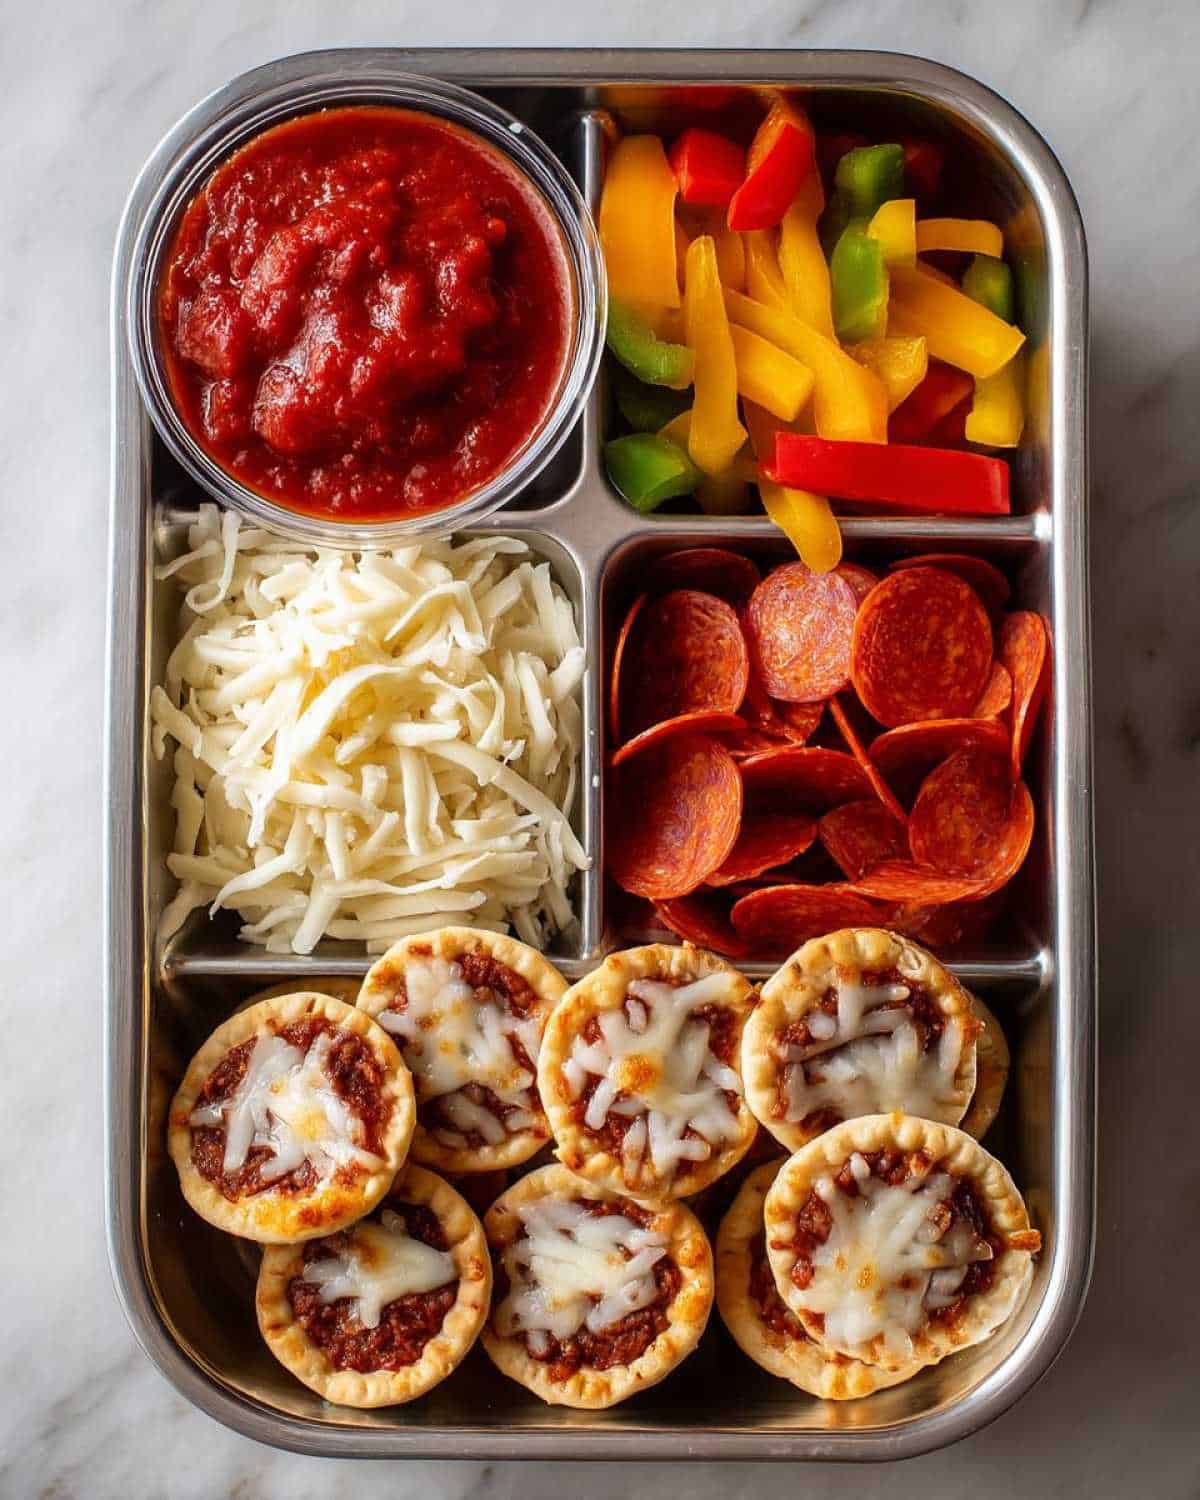
Alright, let’s gather our goodies for these fun DIY Pizza Lunchables for Kids! The beauty here is the simplicity. You don’t need a ton of fancy stuff. Just grab these basics:
- Mini pizza crusts or pita bread: About one or two per lunchable, depending on appetite. These are the base for the mini pizzas.
- Pizza sauce: A couple of tablespoons per lunchable. This adds that classic pizza flavor.
- Shredded mozzarella cheese: About a quarter cup per lunchable. Melty cheese is a must!
- Toppings: This is where the fun happens! Small amounts of cooked pepperoni, diced cooked chicken, finely chopped bell peppers, mushrooms, or olives.
Using whole wheat crusts adds some extra fiber, which is always a bonus in my book!
Ingredient Notes and Smart Swaps for DIY Pizza Lunchables for Kids
Don’t have mini crusts? No problem! Pita bread works perfectly too. You can also use English muffins cut in half. Feel free to swap mozzarella for cheddar or a blend. If your child has allergies, like dairy, look for good plant-based cheeses. For vegetarian options, load up on veggies!
Equipment You’ll Need for DIY Pizza Lunchables for Kids
Putting together these DIY Pizza Lunchables for Kids is pretty straightforward. You won’t need any special gadgets! Just make sure you have some small containers or a bento box with different compartments. You’ll also need tiny containers or cups for the sauce and smaller toppings. That’s it!
How to Assemble Your DIY Pizza Lunchables for Kids
Putting these DIY Pizza Lunchables for Kids together is a breeze. It’s so fast, you can even do it the night before! Here’s how I do it:
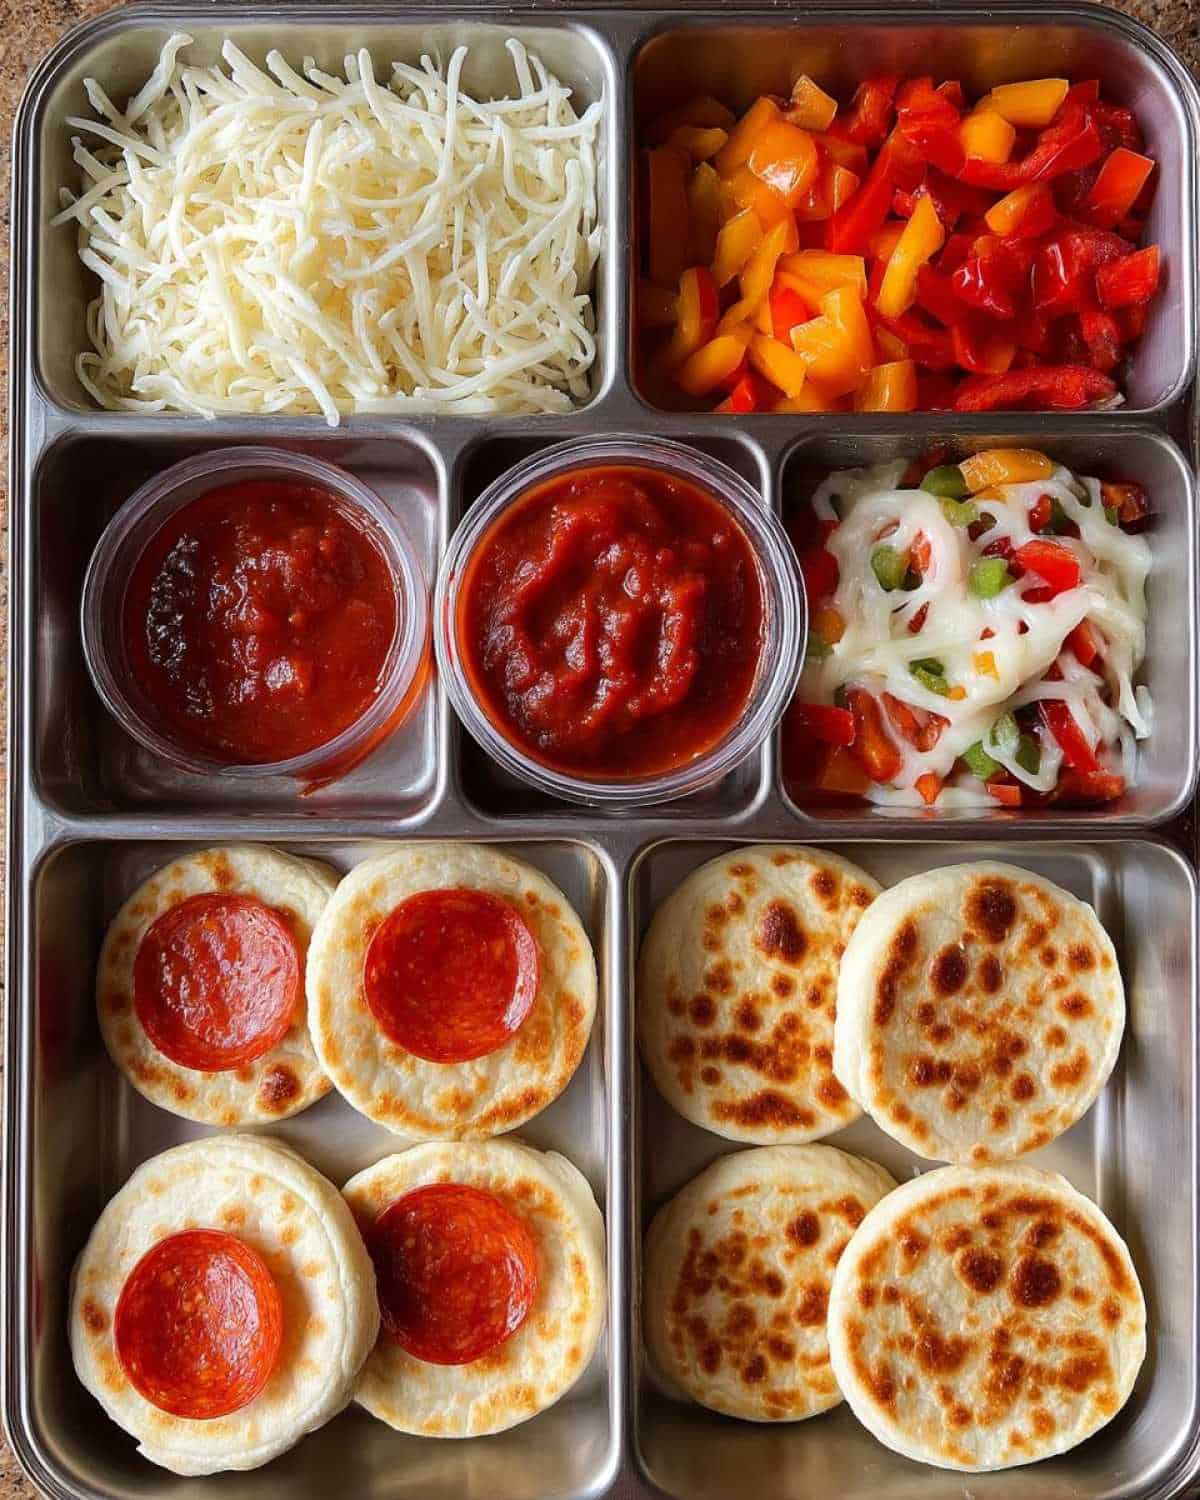
- First, grab your containers. I like using bento boxes with sections, but any small containers work.
- Place the mini pizza crusts or pita bread in the largest part of the container. One or two usually fit nicely.
- Next, put a little bit of pizza sauce into a small, separate container. Two tablespoons is usually plenty.
- Add a portion of shredded mozzarella cheese to another small container. About a quarter cup does the trick.
- Now for the fun part – the toppings! Put each topping, like pepperoni or chopped peppers, into its own small container. This keeps everything neat.
- If you’re adding a side of fruit or veggies, pop those into another section or small container.
- Close everything up tightly! Make sure the lids on the sauce and toppings are secure so nothing spills.
Seriously, that’s it! It takes maybe ten minutes total. I often have Leo or Mia help me choose the toppings the night before. It makes them feel involved and excited for lunch the next day.
Tips for Perfect DIY Pizza Lunchables for Kids Every Time
I’ve packed a lot of these DIY Pizza Lunchables for Kids over the years, and I’ve learned a few things. Prepping your toppings ahead of time is a huge help. Chop those veggies on Sunday! Always keep the wet ingredients, like sauce, separate from the crusts and cheese. This stops things from getting soggy. Make sure your containers are airtight too. I learned the hard way with a leaky sauce container in Leo’s backpack once! Using good quality, sturdy containers makes a big difference.
Common Questions About Making DIY Pizza Lunchables for Kids
I get asked a few things pretty often about these DIY Pizza Lunchables for Kids. Here are some common questions and my answers:
How long do these last? I usually pack them the night before, and they are perfect for lunch the next day. You could probably prep them up to two days ahead if your toppings are fresh and everything is sealed well.
What are the best toppings for travel? Cooked items like pepperoni or chicken work great. Chopped bell peppers, olives, and mushrooms travel well too. Avoid anything too watery or that might make the crust soggy before it’s time to eat.
Can I make these allergy-friendly? Absolutely! Use gluten-free crusts if needed. For dairy allergies, there are some fantastic plant-based mozzarella shreds available now. Just be mindful of cross-contamination if allergies are severe.
Do they need to be heated? Nope! These are designed to be eaten cold or at room temperature. Kids just assemble and enjoy!
Estimated Nutritional Information
Okay, a quick note on nutrition for these DIY Pizza Lunchables for Kids. Since everyone uses different brands and amounts, the exact numbers can vary a lot. Things like the type of crust, how much cheese, and what toppings you add all change the nutritional value.
Because of this, I can’t give you precise calorie counts or detailed info here. Just know that by making them yourself, you’re in control of the ingredients!
Sharing the Lunchtime Love
I really hope you give these DIY Pizza Lunchables for Kids a try! They’ve made lunchtime so much easier and more fun in our house. If you make them, please let me know how it goes! Leave a comment below, rate the recipe, or share a picture on social media. I’d love to see your kids’ creations!
Happy cooking and happy lunch packing!
Sarah
Print
DIY Pizza Lunchables for Kids is a 1 brilliant fix
- Total Time: 10 minutes
- Yield: 1 serving
Description
Make your own fun and healthy pizza lunchables for kids.
Ingredients
- Mini pizza crusts or pita bread
- Pizza sauce
- Shredded mozzarella cheese
- Toppings like pepperoni, cooked chicken, bell peppers, mushrooms, or olives
- Small containers or bento box
Instructions
- Gather all your ingredients and containers.
- Place the mini pizza crusts or pita bread in the containers.
- Add a small container of pizza sauce.
- Include a portion of shredded mozzarella cheese.
- Add small containers of various toppings for your child to choose from.
- Pack it all up for a fun and customizable lunch.
Notes
- Use whole wheat crusts for extra fiber.
- Include a side of fruit or vegetables.
- Prepare toppings ahead of time for quick assembly.
- Prep Time: 10 minutes
- Cook Time: 0 minutes
- Category: Lunch
- Method: Assembly
- Cuisine: American
Nutrition
- Serving Size: 1 lunchable