Okay, fellow parents, let’s talk dinner time. Some nights it feels like a battle, right? Especially in the summer when everyone’s buzzing with energy and the last thing you want is to be stuck in a hot kitchen. I know that feeling all too well. Trying to find something that both Leo and Mia will happily eat, that’s also easy and gets us outside? It felt like a tall order for a while.
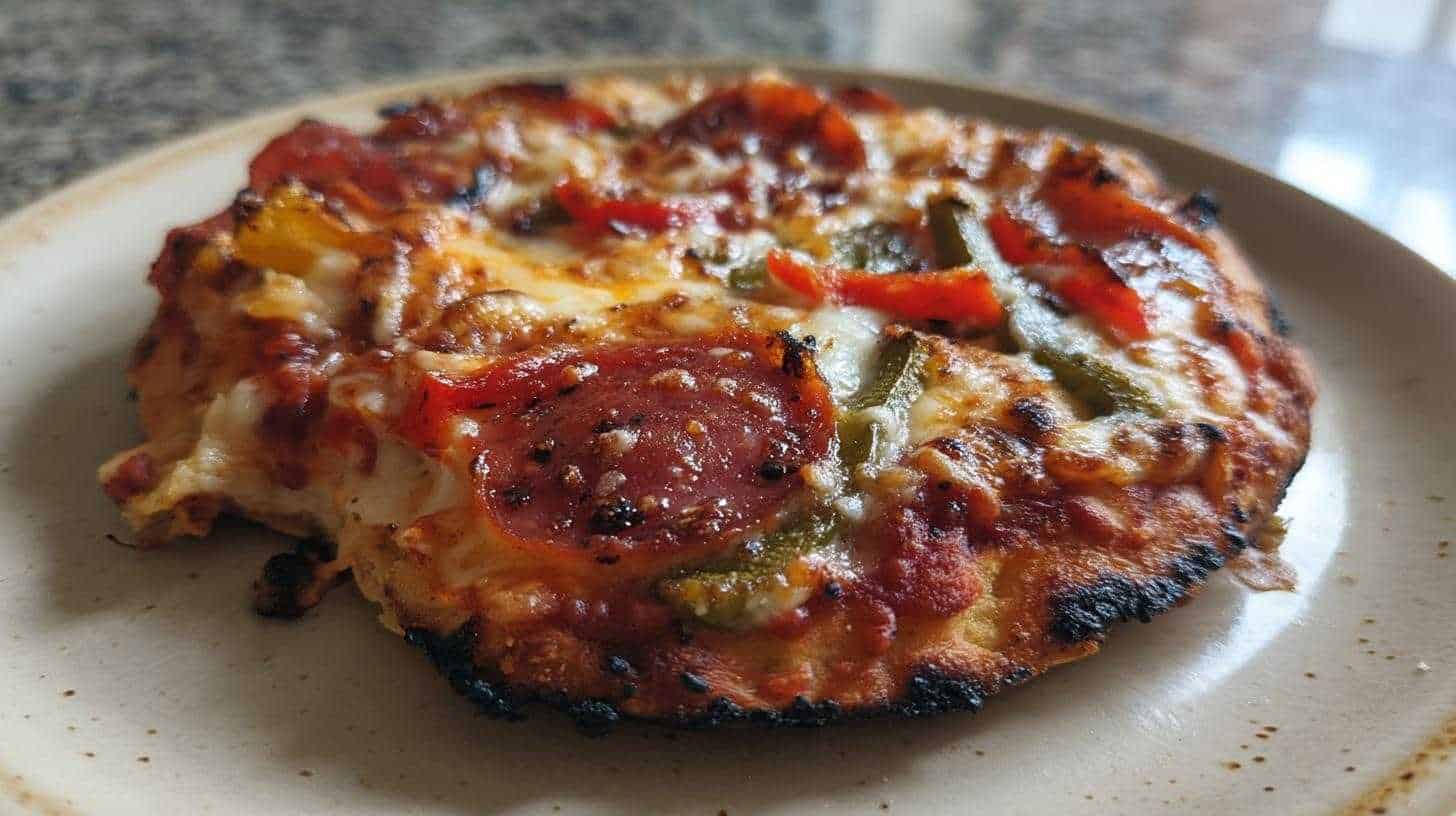
That’s why I absolutely fell in love with this idea of DIY Grilled Pizzas for Kids: Fun Summer Family Dinner Activity. Seriously, it’s a game changer. It turns dinner into an adventure! Instead of just putting food on the table, we’re all out by the grill, everyone getting involved.
Leo loves feeling like a little chef, carefully placing his pepperoni just so. And even my sometimes-picky Mia gets excited because she gets to choose exactly what goes on her pizza. No hidden veggies unless she puts them there! It takes the pressure off me and puts the fun back into eating together. Plus, grilling just feels like summer, doesn’t it?
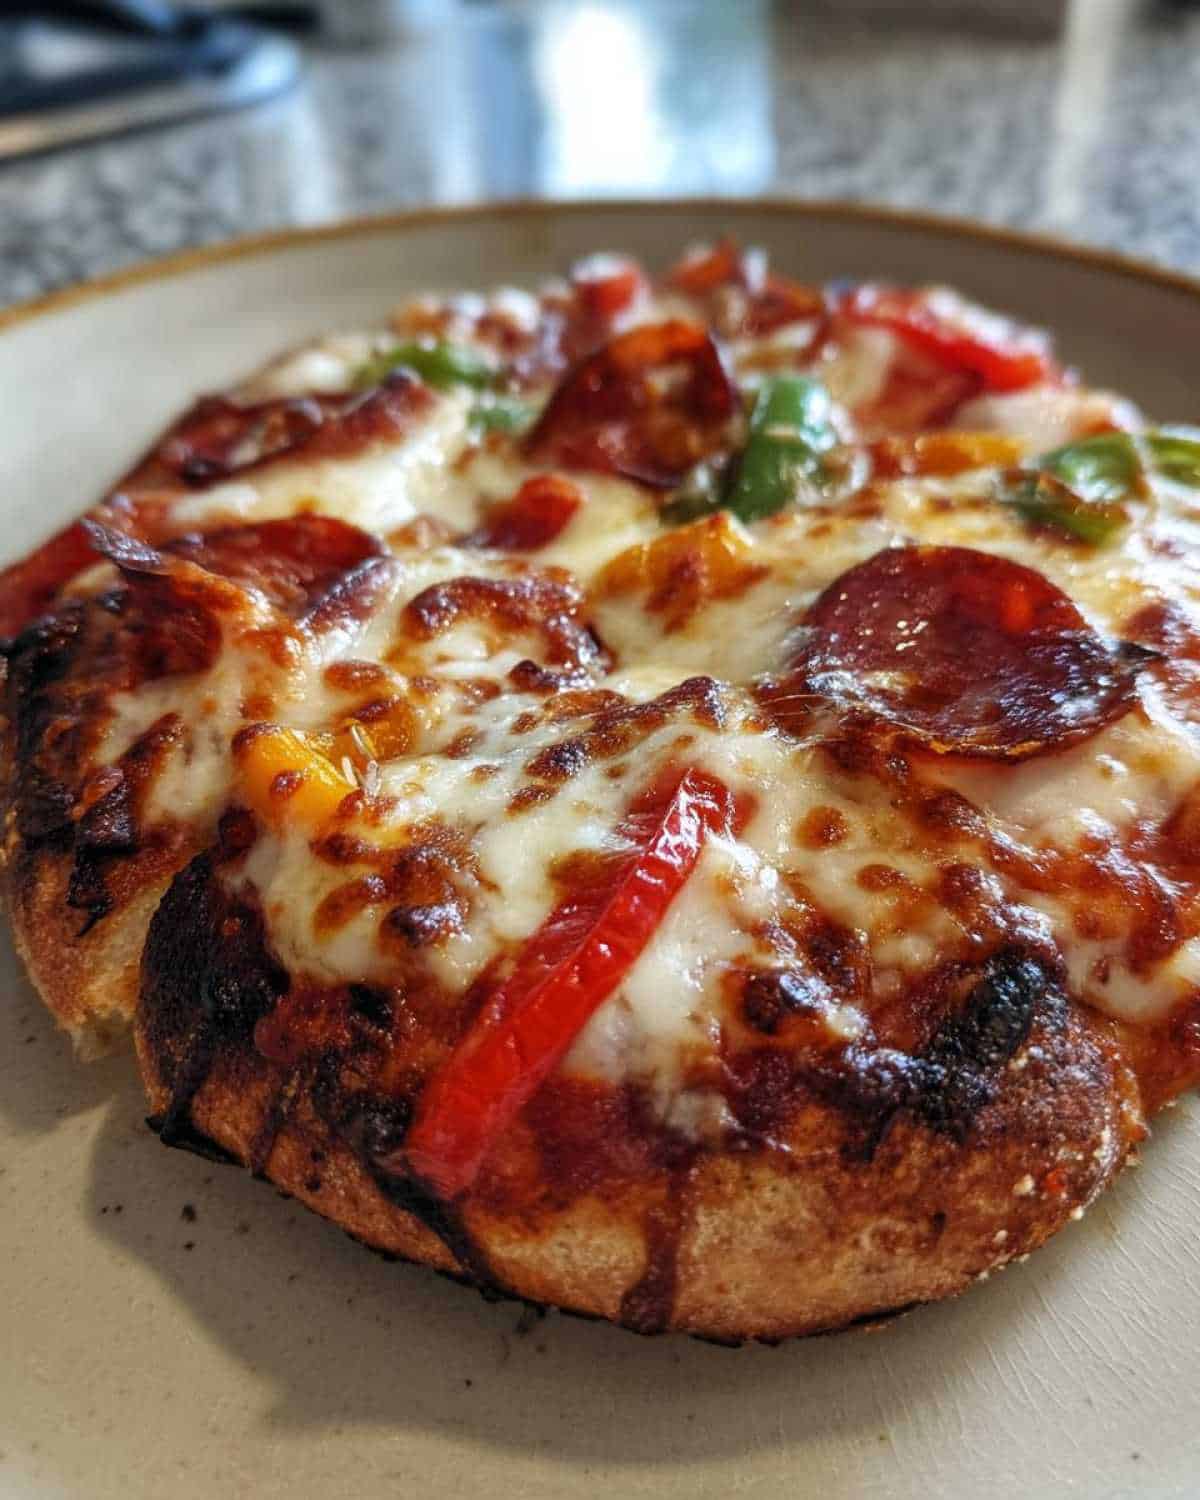
Why You’ll Love These DIY Grilled Pizzas for Kids
I promise you, this isn’t just another recipe; it’s an experience! It’s one of those meals that kids actually get excited about. And honestly, it makes my life so much easier on those warm summer evenings.
- It’s super easy! We’re talking minimal fuss and quick cooking time.
- Major fun factor! Kids get to be creative and build their own dinner.
- Perfect for picky eaters – they control the toppings, so no complaints!
- Gets everyone outside enjoying the fresh air while dinner cooks.
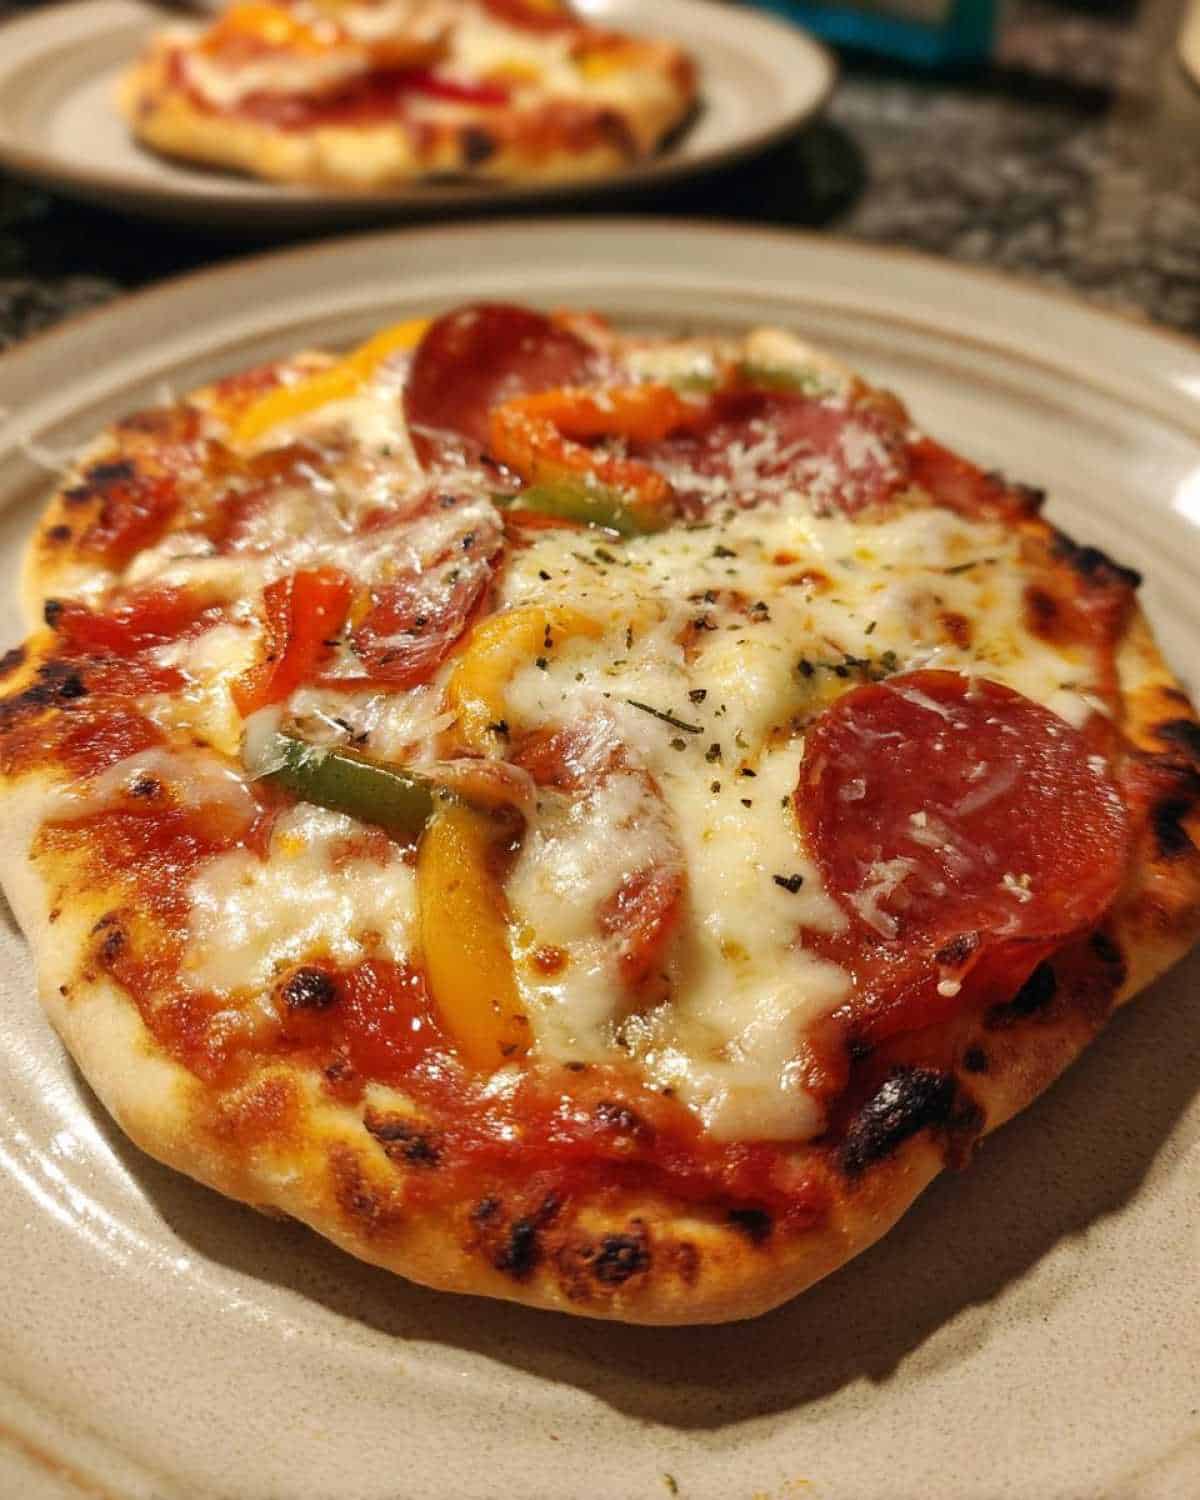
What You Need for DIY Grilled Pizzas for Kids
Gathering your ingredients is the first step to our pizza party! The beauty here is the simplicity. You don’t need a ton of fancy stuff, just the basics to get those yummy pizzas going on the grill.
Getting Your Ingredients Ready
Having everything prepped makes the grilling process smooth and stress-free. You’ll need your favorite pizza dough, some tasty pizza sauce, and plenty of shredded mozzarella cheese. For toppings, think assorted toppings like thinly sliced pepperoni, pre-cooked crumbled sausage, sliced mushrooms, or diced bell peppers. Don’t forget a little olive oil and some cornmeal or flour for dusting.
Equipment for Making DIY Grilled Pizzas for Kids
You don’t need a gourmet kitchen for this! The main star of the show is, of course, your grill. Make sure it’s clean and ready. You’ll also want a good spatula for flipping and transferring the pizzas, and a cutting board for prepping those fun toppings.
Making DIY Grilled Pizzas for Kids: Step-by-Step
Alright, let’s get these pizzas on the grill! This is where the magic happens. Don’t worry if your first one isn’t perfectly round; the kids won’t care, I promise!
First things first, get your grill ready. You want it at a medium heat. If you’re using a gas grill, give the grates a good cleaning and brush them with a little oil. If you’re using charcoal, spread those hot coals out evenly.
Now, take your pizza dough. I usually divide it into smaller, kid-friendly portions. Think personal pizza size. On a lightly floured surface, let the kids help roll or stretch their dough. They can make circles, squares, or even crazy shapes! Mia loves making heart-shaped ones.
Brush one side of the dough with a little olive oil. This helps prevent sticking and gives it a nice crispy bottom. Carefully lay the oiled side of the dough onto the hot grill grates. Close the lid and let it cook for about 2 to 3 minutes.
You’ll see the bottom start to get lightly browned and firm. That’s your cue to flip it! Now, quickly spread your pizza sauce over the grilled side. Leave a little edge for the crust.
This is the kids’ favorite part! Sprinkle on that mozzarella cheese and let them go wild with their toppings. Pepperoni, peppers, olives – whatever they love! Just be quick about it.
Close the grill lid again. This helps the cheese melt and the toppings heat through. Cook for another 3 to 5 minutes. Keep an eye on it; grilled pizza cooks fast! You’ll know it’s done when the cheese is all melty and bubbly and the crust looks cooked through.
Carefully slide the pizzas off the grill. Let them cool for just a minute or two before letting those hungry little hands dig in. If you find the dough wants to stick, try dusting the grill grates with a little cornmeal or flour before you put the dough down next time.
Tips for Perfect DIY Grilled Pizzas for Kids
Making these grilled pizzas is already pretty simple, but a few little tricks can make it even smoother and more fun for everyone.
First, get all your toppings prepped and ready before you even heat the grill. Have them in bowls that are easy for little hands to manage.
Setting up a “pizza bar” is key! Arrange the bowls of sauce, cheese, and toppings on a table near the grill. This way, the kids can easily build their creations right there.
And most importantly, keep a close eye on the pizzas while they’re on the grill. They cook much faster than in the oven! I learned this the hard way with Leo’s first attempt – one minute it was perfect, the next the crust was a little too crispy! Mia always insists on just cheese and pepperoni, so hers are usually the quickest to finish.
Frequently Asked Questions About DIY Grilled Pizzas for Kids
I get asked a lot of questions about making grilled pizza, especially when kids are involved. Here are a few common ones that might help you out!
What kind of pizza dough should I use? You can totally use store-bought dough! It makes this an easy recipe. Most grocery stores carry it. Or, if you’re feeling ambitious, homemade is great too!
What are the best toppings for picky eaters? Keep it simple! Cheese is always a winner. Pepperoni is a classic. For picky eaters, sometimes just offering a few familiar options is best. You can always add more adventurous toppings for the grown-ups.
How hot should the grill be? Medium heat is perfect. You want it hot enough to cook the crust quickly but not so hot that it burns before the toppings are ready. Aim for around 350-400°F if your grill has a thermometer.
Can I use a pizza stone on the grill? Yes, you can! Using a pizza stone can give you a crispier crust. Just make sure the stone is preheated on the grill before you put the pizza on it.
Serving and Storing Your DIY Grilled Pizzas for Kids
Once those amazing grilled pizzas are done, let them cool for just a minute on a cutting board before slicing. I usually cut them into smaller pieces for the kids, especially for Mia. Serve them up right away to enjoy that fresh-off-the-grill goodness!
If you happen to have any leftovers (a rare occurrence in my house!), let them cool completely. Then, just pop them in an airtight container or wrap them tightly in plastic wrap and foil. They’ll keep in the fridge for a couple of days. To reheat, I like to put them back on the grill for a few minutes or warm them in a toaster oven to keep the crust crispy.
Nutritional Information Disclaimer
Just a quick note about the nutritional info for these DIY grilled pizzas. Since everyone uses different dough, sauces, cheeses, and toppings, the exact calorie counts and other details can really vary. The information provided is just an estimate, so please keep that in mind! It’s all about enjoying the process and the yummy results.
Share Your DIY Grilled Pizza Creations!
I absolutely love seeing what you all make! If you give these DIY grilled pizzas a try with your kids, please let me know how it goes. Leave a comment below and tell me about your favorite topping combinations. You can also rate the recipe! And if you snap any photos, share them on social media and tag me. I can’t wait to see all your fun pizza masterpieces!
Print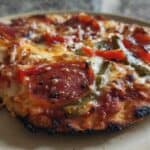
DIY Grilled Pizzas bring 1 joyful summer night
- Total Time: 35 minutes
- Yield: Varies depending on dough portions
- Diet: Vegetarian
Description
Make dinner a fun family activity with DIY grilled pizzas. Kids love customizing their own creations.
Ingredients
- Pizza dough (store-bought or homemade)
- Pizza sauce
- Shredded mozzarella cheese
- Assorted toppings (pepperoni, cooked sausage, mushrooms, bell peppers, olives, etc.)
- Olive oil
- Cornmeal or flour for dusting
Instructions
- Prepare your grill for medium heat. If using a gas grill, clean the grates and brush with oil. If using charcoal, spread hot coals evenly.
- Divide your pizza dough into individual portions, suitable for kid-sized pizzas.
- Lightly flour a surface and roll or stretch each dough portion into your desired shape and thickness.
- Brush one side of the dough with olive oil.
- Carefully place the oiled side of the dough onto the hot grill grates.
- Grill for 2-3 minutes, or until the bottom is lightly browned and firm.
- Flip the dough over.
- Quickly spread pizza sauce over the grilled side, leaving a small border for the crust.
- Sprinkle with mozzarella cheese and add your desired toppings.
- Close the grill lid and cook for another 3-5 minutes, or until the cheese is melted and bubbly and the crust is cooked through.
- Carefully remove the pizzas from the grill and let cool slightly before serving.
Notes
- Have all your toppings prepped and ready before you start grilling.
- Set up a ‘pizza bar’ with bowls of toppings so kids can easily choose their favorites.
- Keep a close eye on the pizzas while grilling as they cook quickly.
- If the dough is sticking, try dusting the grill grates with a little cornmeal or flour before adding the dough.
- Prep Time: 20 minutes
- Cook Time: 15 minutes
- Category: Dinner
- Method: Grilling
- Cuisine: Italian
Nutrition
- Serving Size: 1 individual pizza
- Calories: Varies
- Sugar: Varies
- Sodium: Varies
- Fat: Varies
- Saturated Fat: Varies
- Unsaturated Fat: Varies
- Trans Fat: Varies
- Carbohydrates: Varies
- Fiber: Varies
- Protein: Varies
- Cholesterol: Varies