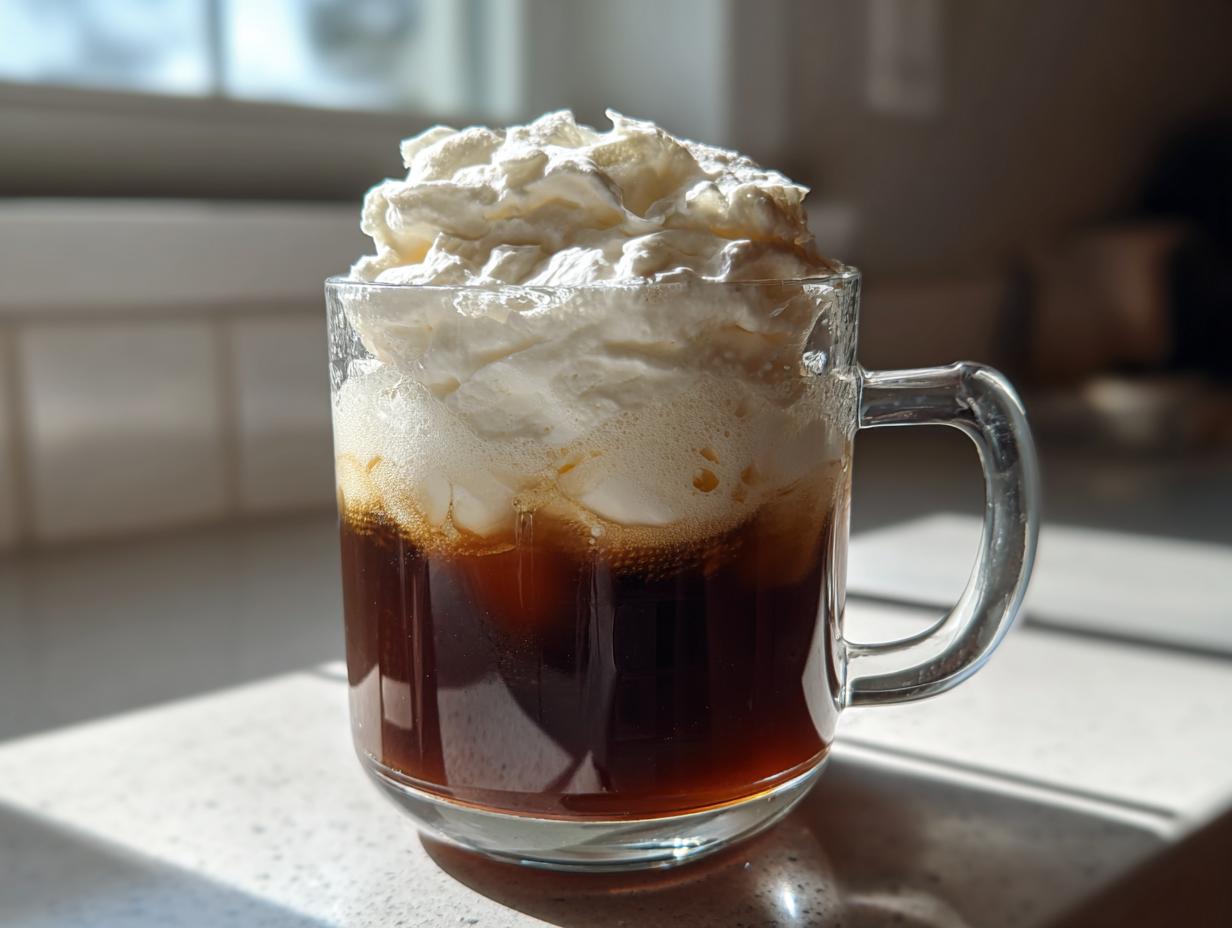
Oh my gosh, are you out there staring longingly at the drive-thru line, wishing you didn’t have to spend four dollars on your morning caffeine fix? I totally get it. That thick, cloud-like, perfectly sweet topping they put on the cold brew? It’s heavenly, but sometimes my wallet just says no! So, I spent ages testing and tasting until I nailed the *exact* texture you get there. I’m talking about the authentic **Copycat Starbucks Vanilla Sweet Cream Cold Foam**!
Forget those watery versions you see online. This recipe uses super simple ingredients—I bet you already have them—but the secret is in how you whip it. I finally figured out the exact balance of dairy that keeps this foam stable and airy, not runny, for ages. Trust me, this DIY vanilla sweet cream version is easy, fast, and honestly, I think it’s even better now that I can control the sweetness!
Why This Copycat Starbucks Vanilla Sweet Cream Cold Foam Recipe Works
You’re going to love this because it’s so ridiculously fast. We’re talking less than two minutes before you’re spooning this incredible topping onto your drink! It’s the accuracy of the dairy ratios that really seals the deal and gives us that signature texture.
- It’s ready in about 2 minutes—perfect for those rushed mornings!
- We use just the right dairy blend to create the **best homemade cold foam topping** that holds its shape.
- You get the exact smooth, sweet flavor profile you crave from that famous drive-thru drink.
You might want to check out my Peppermint Mocha Cold Brew Copycat when you need a winter twist!
Essential Sweet Cream Cold Foam Ingredients for Your Copycat Starbucks Vanilla Sweet Cream Cold Foam
Okay, let’s talk ingredients, because this is where most people mess up the **sweet cream cold foam ingredients**. You need high-fat dairy for structure, plain and simple. If you use half-and-half or lower, you’ll end up with slightly sweet, fancy milk instead of beautiful foam, and we just can’t have that!
Ingredient Breakdown and Notes
I use a mix of heavy whipping cream and regular milk. The heavy cream is non-negotiable; it needs that high-fat content to whip up stiff and airy. Don’t try to substitute it with lower-fat cream, or you’ll be sad!
- We need about half a cup of heavy whipping cream. That’s the backbone of the whole topping.
- Next, we add two tablespoons of 2% milk. This slightly lowers the overall fat content just enough so it stays a little looser than whipped cream, which is what makes it pourable. Whole milk works just as well if that’s what you have on hand!
- For the vanilla flavor, the easiest way is using 1 tablespoon of vanilla syrup. But if you are out of syrup, don’t panic! Just use 1 teaspoon of pure vanilla extract and 2 teaspoons of fine granulated sugar. That combination mimics the syrup perfectly without adding too much extra liquid. That balance is key for stability!
Equipment Needed for Thick Cold Foam Instructions
The great news here is that you don’t need a giant espresso machine with a built-in frother! This is why this **easy vanilla cold foam recipe** is such a winner for home cooks. You probably already own the best tool for the job, which makes achieving that **coffee shop style foam** texture so simple.
You only need two things, really:
- A mixing vessel: This can be a medium-sized bowl or, even better, a tall, narrow jar or glass. The narrower the container, the better the frother can spin and incorporate air quickly.
- The magic wand: A handheld electric milk frother. Seriously, if you ever bought one for lattes, now is its shining moment! If you don’t have one, a regular wire whisk will work, but be prepared to do some serious arm work—it takes longer!
That’s it! No messy blenders needed for this specific topping. We’re keeping it quick, clean, and focused on getting you that beautiful, thick topping fast.
How to Make Cold Foam at Home: Thick Cold Foam Instructions for Your Copycat Starbucks Vanilla Sweet Cream Cold Foam
Alright, here’s the fun part where we turn boring dairy into fluffy gold! This process is super fast, especially if you grab that electric frother. It’s really important that you don’t go too long, though, because we want smooth, creamy foam, not stiff whipped cream! Consistency is everything when you’re aiming for that signature topping.
- First things first: Get your ingredients together in a mixing bowl or, even better, a tall glass that lets your frother spin freely. Pour in the heavy cream, the smaller amount of milk, and your vanilla syrup or your homemade vanilla/sugar mix.
- Now, power up that frother! Stick the head of the frother just below the surface of the liquid and blend vigorously. If you’re doing this by hand with a whisk, expect to put some energy into it for a couple of minutes!
- Keep blending until you see the mixture dramatically increase in volume and it starts holding soft peaks. For most electric frothers, this takes only about 30 to 60 seconds. Don’t overdo it—we want that light, airy yet decadent texture, not something you could pipe onto a cupcake!
- When you lift the frother, the foam should just barely sit on top of the liquid underneath without immediately collapsing. That’s your cue to stop mixing!
Need a fun drink idea? Try drizzling this foam over my Iced Vanilla Chai Tea Latte!
Achieving the Perfect Coffee Shop Style Foam Texture
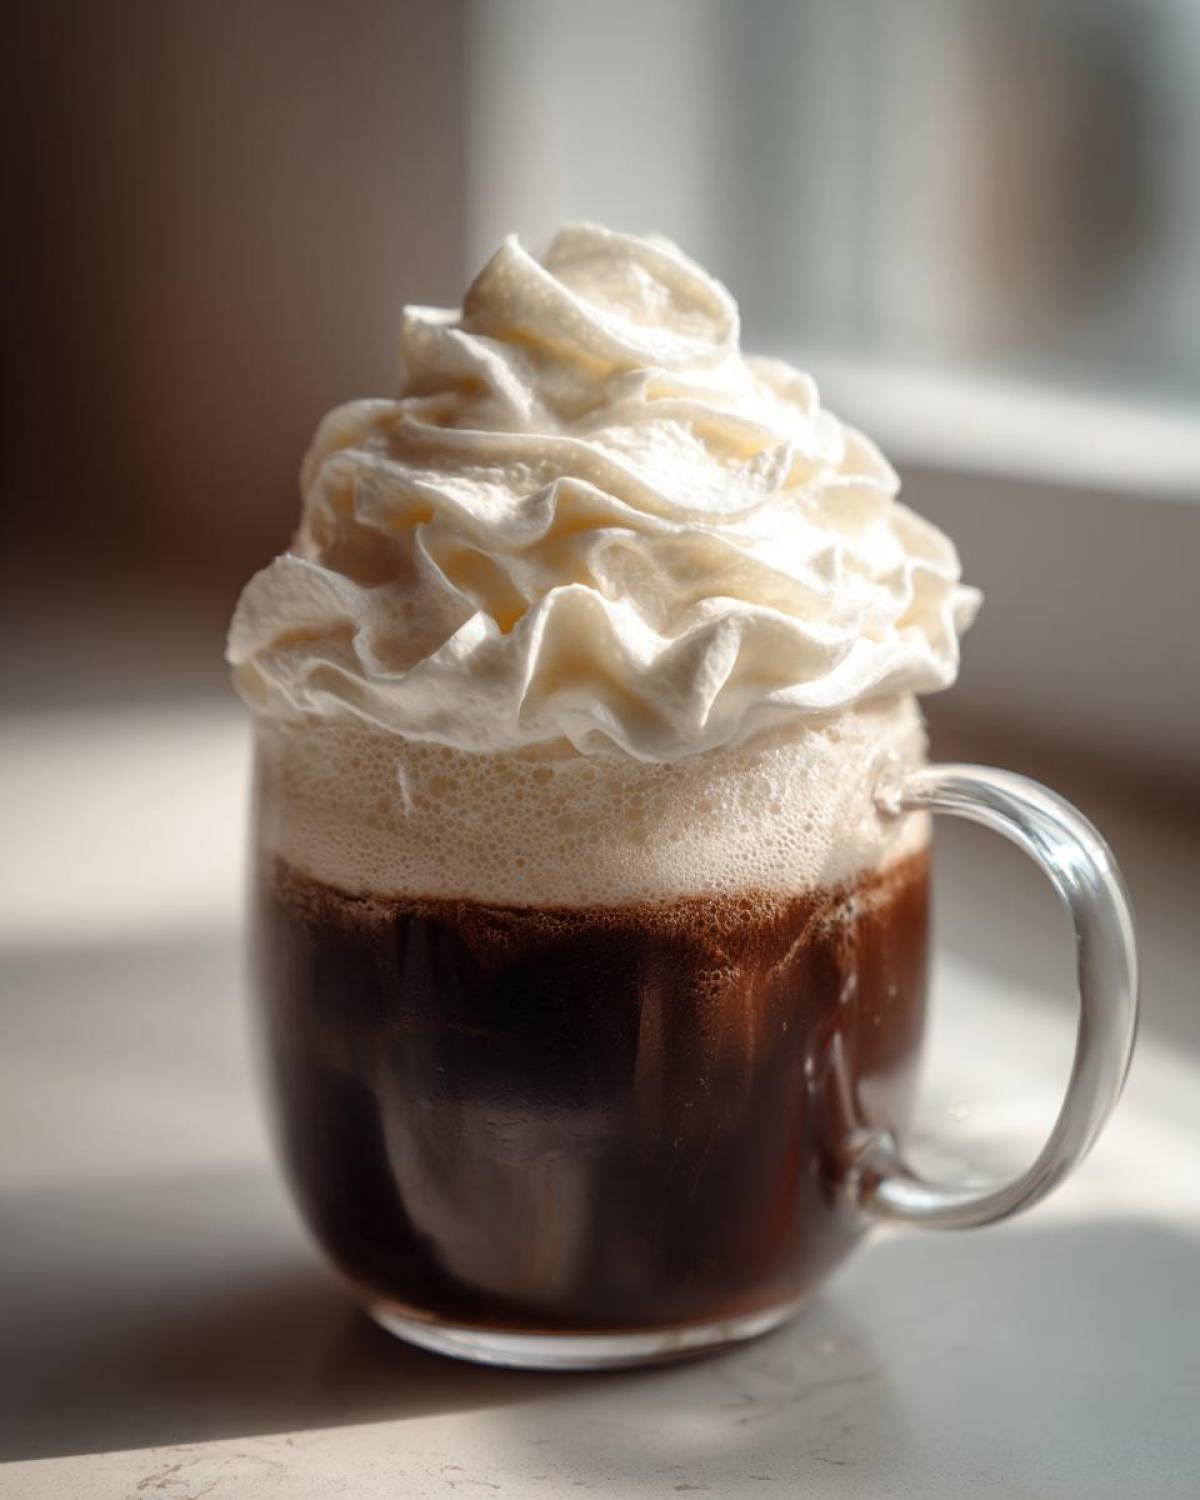
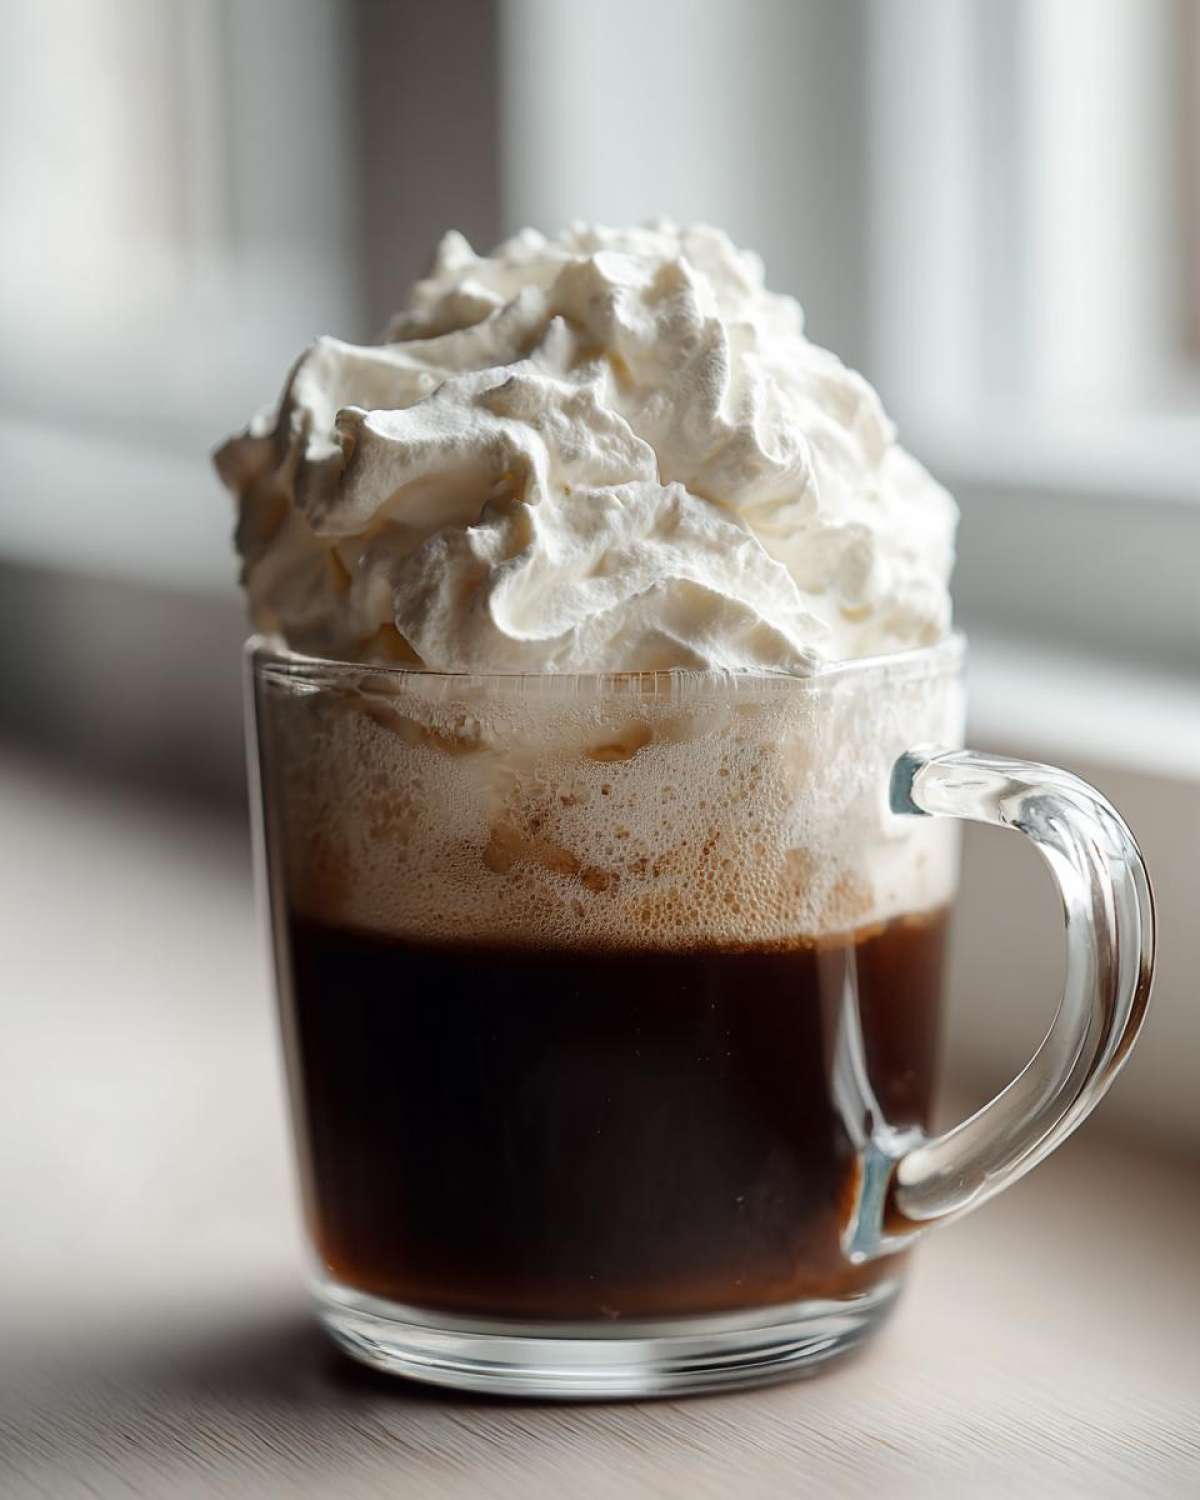
The most crucial visual cue is the ‘soft peak’ stage. When you pull your frother out, the foam should leave a little mound that slowly settles down, but it shouldn’t disappear instantly. If it’s glossy and holds its shape when you tilt the bowl, you’ve got it exactly right. It should look like beautifully aerated velvet. If you accidentally mix it past this point and it becomes too stiff, don’t worry! Just stir in an extra tiny splash of milk to loosen it back up just enough so it will gently cascade over your iced coffee.
Serving Suggestions: How to Use Your Copycat Starbucks Vanilla Sweet Cream Cold Foam
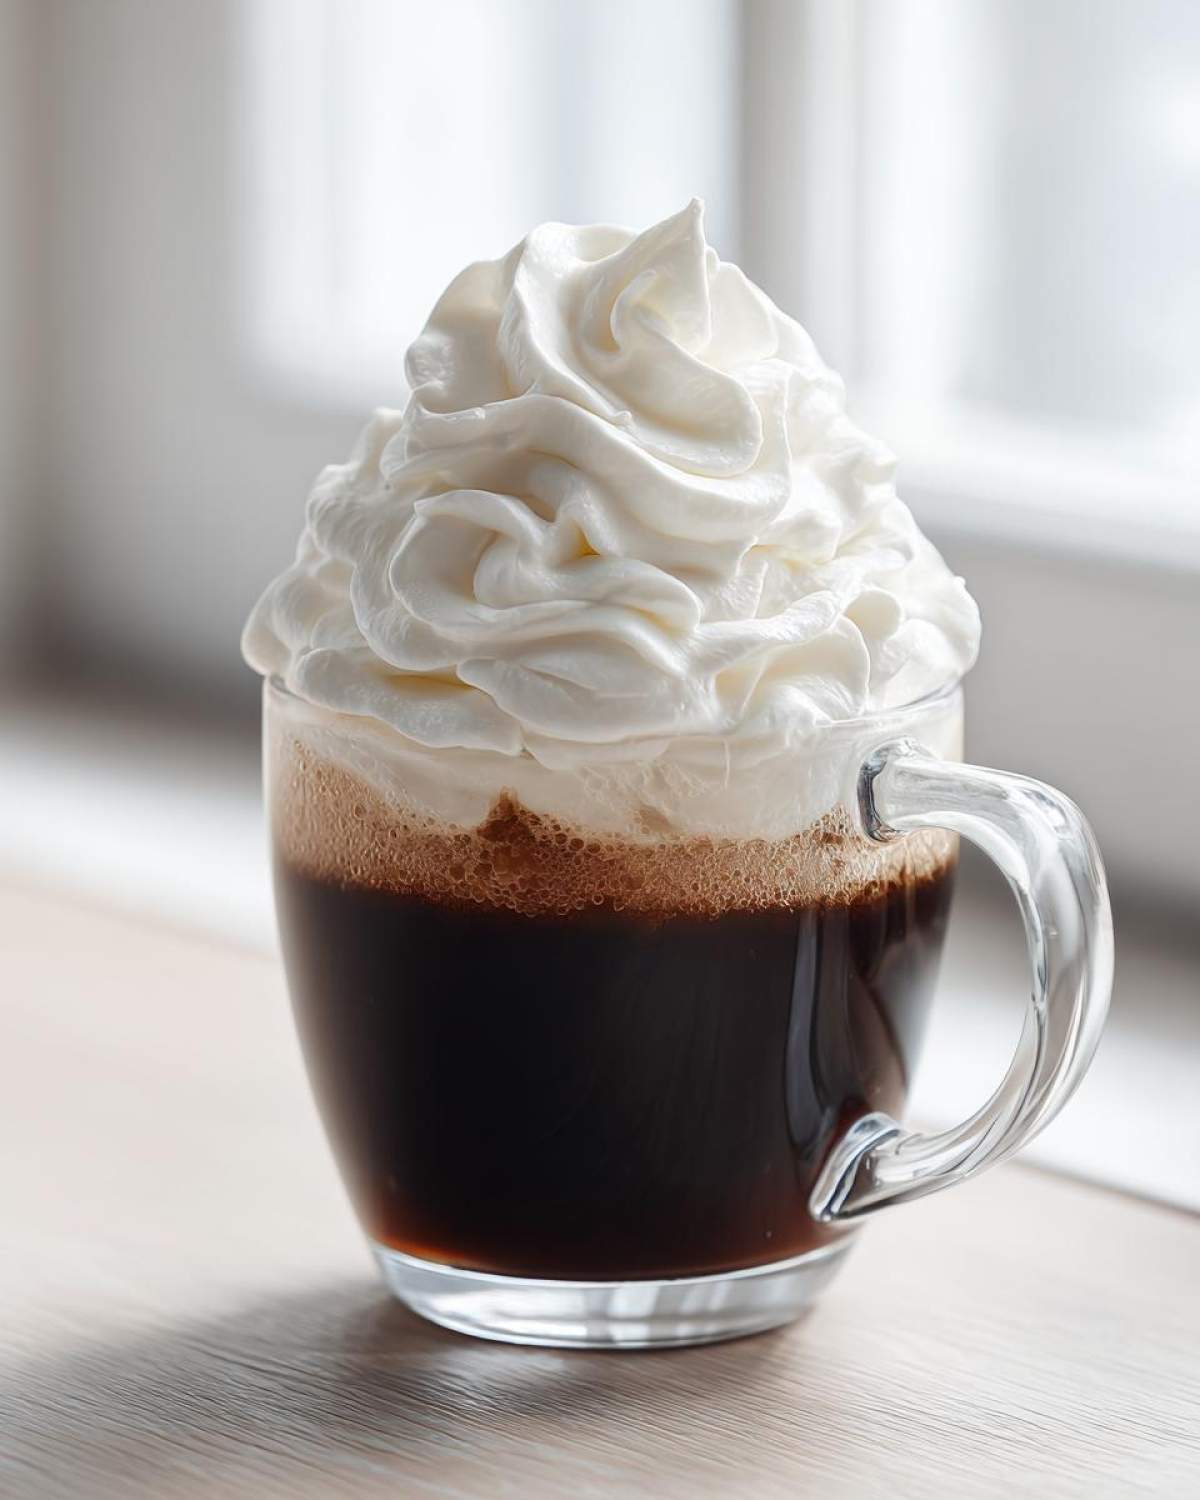
Okay, you’ve made the magic, now let’s put it to work! This is the key step in the whole process: applying it to your drink. This topping shines brightest when spooned generously over very cold liquid. I find it’s absolutely unbeatable on a simple, strong cold brew—no syrups needed in the coffee itself, because the foam is the star!
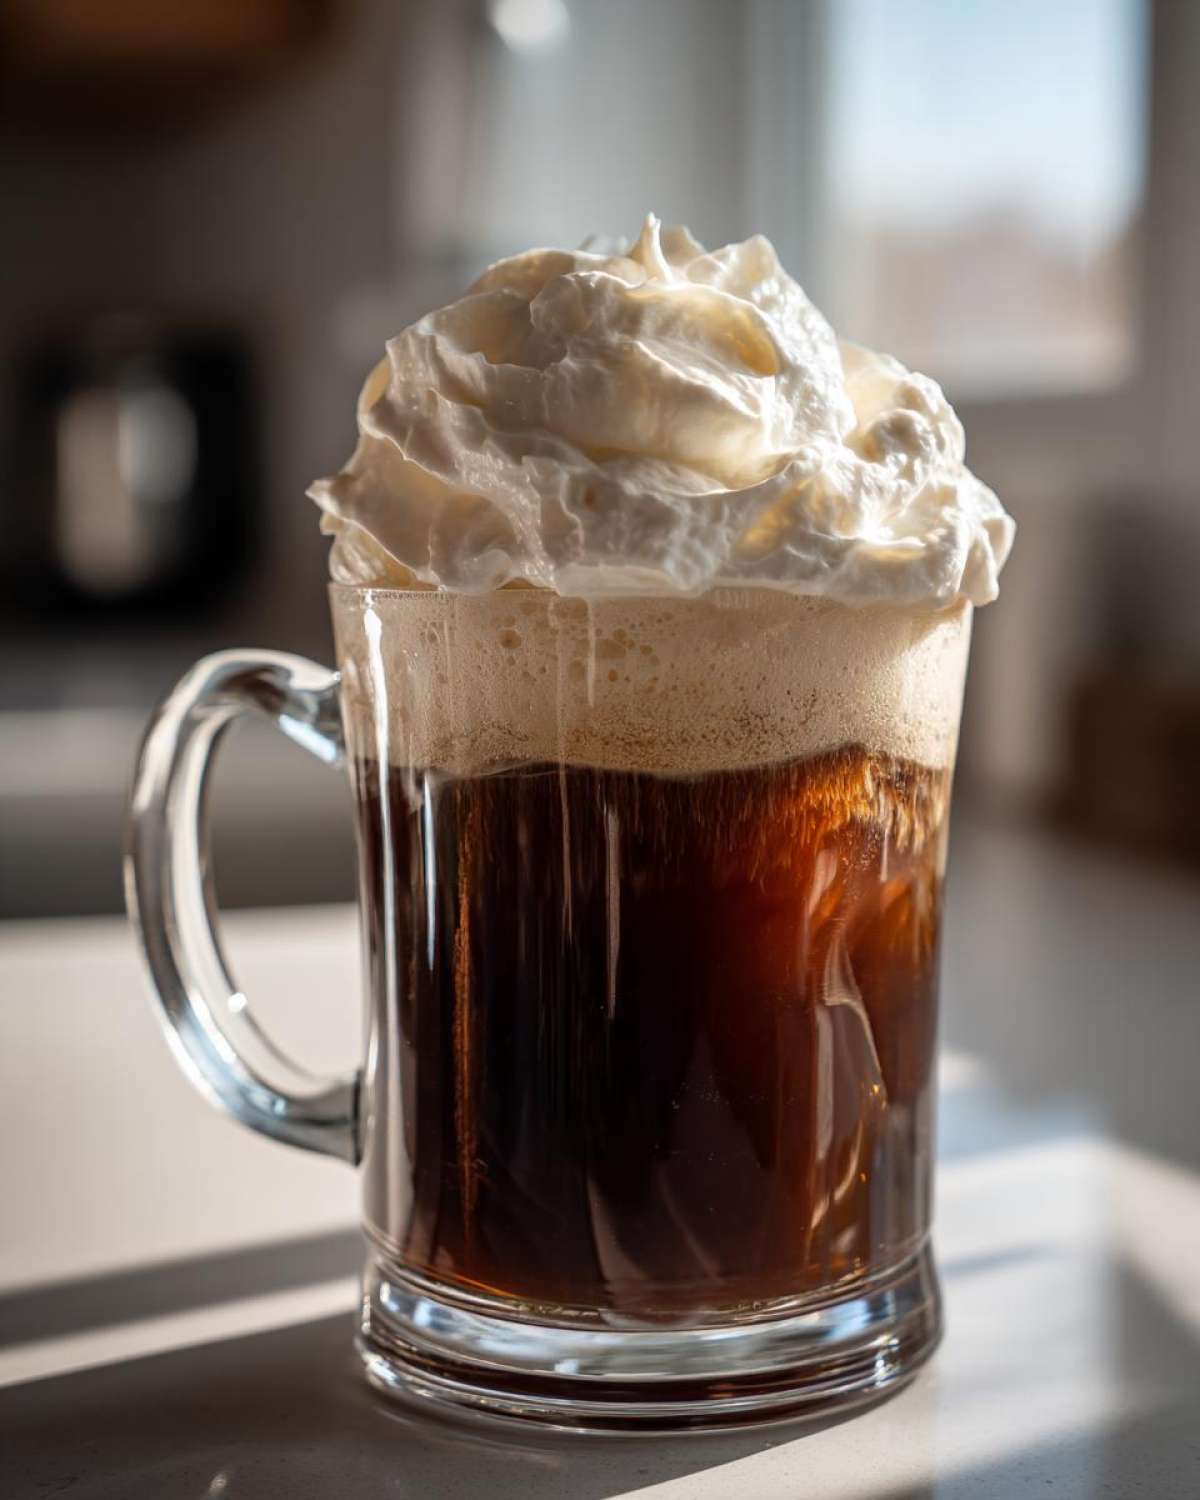
Just take a big spoon and gently dollop the foam right on top of your iced coffee or cold brew. You want a nice, thick layer—I’d say about two good spoonfuls per standard 16-ounce drink. Watch how slowly it melts into the coffee; it’s gorgeous! If you want to try it in something heavier, it’s also amazing swirling into a simple iced latte, or even over my quick coffee smoothie!
Ingredient Notes and Substitutions for DIY Vanilla Sweet Cream Cold Foam
I know sometimes we don’t have exactly the right thing in the fridge, and that’s okay! Ingredient substitutions are part of being a real home cook, not just a recipe follower. But when it comes to this **DIY vanilla sweet cream cold foam**, we have to be smart about what we swap out, especially regarding the fat content, if we want that signature *thick* texture.
If you’re avoiding dairy, listen up closely: traditional milk alternatives like oat milk or almond milk simply won’t whip up into a stable foam like this. They are too watery, even on their ‘barista blend’ settings! However, if you are committed to a non-dairy option, your best bet is using a can of full-fat coconut cream—the thick stuff that rises to the top when chilled. You must use the refrigerated cream, not the thin liquid underneath. It whips up beautifully, but be warned, it will definitely have a subtle coconut flavor, which actually tastes pretty good with vanilla!
And just in case you missed it in the ingredients list, let me reiterate the sweetener situation. Since we are aiming for that smooth, creamy texture, we really prefer vanilla syrup because it’s already liquid and integrates without adding grit. If you’re using extract and granulated sugar instead, make sure that sugar is fine, almost like powdered sugar, so it dissolves instantly when you start frothing. If you use coarse sugar, you’ll just end up with sweet, gritty chunks floating in your nice foam!
Storage & Reheating Instructions for Leftover Copycat Starbucks Vanilla Sweet Cream Cold Foam
Now, this is the part you need to hear: this topping is absolutely best used immediately. Seriously, the second you stop frothing, get it spooned onto your cold brew! Because it’s mostly air right now, the bubbles start to break down pretty fast, even in the fridge.
If you somehow manage to have leftovers—maybe you made a giant batch for a party—pop it into a completely airtight container and stick it in the refrigerator. It’ll stay okay, texture-wise, for about 24 hours, tops. When you pull it out the next day, don’t despair! It will look flat and sad. You just need to reintroduce it to your electric milk frother for about 10 seconds. A quick spin will bring those air bubbles right back to life, and you can use that **homemade cold foam topping** all over again!
Frequently Asked Questions About Making Homemade Cold Foam Topping
I know you probably have a few burning moments while you’re waiting for the coffee to brew! It’s common to wonder about the little details when trying to nail a perfect **Starbucks cold foam recipe** at home. I’ve gathered the questions I get asked most often about achieving this creamy topping!
Can I make this Copycat Starbucks Vanilla Sweet Cream Cold Foam without a hand frother?
Oh yes, you absolutely can, but be prepared for a little workout! If you don’t have that electric milk frother, you’ll need a good, sturdy wire whisk. The difference is time and sheer effort. Whisking by hand is much slower—it might take you a solid three to five minutes of fast, aggressive whisking to get anywhere near the volume and foam stability you need. If you use a whisk, make sure your bowl is somewhat deep so you don’t end up splattering your vanilla goodness all over the kitchen!
What is the best milk to use with the heavy cream?
This is an important one for structure! We use 2% milk in this **easy vanilla cold foam recipe** because it strikes the perfect balance. Heavy cream is very high-fat, which is great for structure, but if we used only heavy cream, you’d end up with basic whipped cream that sits *too* stiffly on your drink. Adding a couple of tablespoons of 2% milk (or standard whole milk if you have it) lowers the overall fat just a touch, making the mixture light enough to pour and create that signature ‘float’ on top of your cold brew.
I’ve also had folks ask about skim milk—please, don’t go that low on fat for the liquid portion! It just doesn’t give the heavy cream the right scaffolding to build those beautiful tiny air bubbles.
If you’re looking for other fun coffee adventures, you have to try my recipe for the Caramel Brulee Latte Copycat next!
Share Your Creamy Coffee Topping Recipe Success
Now that you’ve mastered the secret to making the best **Copycat Starbucks Vanilla Sweet Cream Cold Foam** right in your kitchen—and I really hope you’re enjoying a coffee topped with it right now!—I’d love to hear how it went for you!
Did the hand frother make quick work of it? Did you manage to get those perfect soft peaks that hold their shape beautifully? When you try something that feels like a total kitchen win, you have to share the excitement!
Please drop back here and leave a rating! If this recipe delivered that lovely, airy, sweet topping you were looking for, please give it five stars. It helps other coffee lovers find the real deal without wasting time on weak recipes. And if you snapped a picture of your glorious, foamy cold brew, tag me online! I live for seeing your successes. Happy frothing, my friend!
If you’re already planning your next coffee obsession, don’t skip checking out my other simple recipe here: Easy Vanilla Sweet Cream Cold Foam for a quicker, slightly different take!
Print
Copycat Starbucks Vanilla Sweet Cream Cold Foam
- Total Time: 2 min
- Yield: About 3/4 cup foam 1x
- Diet: Vegetarian
Description
Make the thick, sweet, and airy vanilla cold foam topping used at Starbucks using simple ingredients and a hand frother.
Ingredients
- 1/2 cup heavy whipping cream
- 2 tablespoons 2% milk (or whole milk)
- 1 tablespoon vanilla syrup (or 1 teaspoon vanilla extract plus 2 teaspoons granulated sugar)
Instructions
- Combine the heavy whipping cream, milk, and vanilla syrup (or extract and sugar) in a medium bowl or a tall, narrow container suitable for a milk frother.
- Use a handheld electric milk frother or a wire whisk to mix the ingredients vigorously.
- If using a frother, blend until the mixture thickens significantly and holds soft peaks, about 30 to 60 seconds. If whisking, continue until the texture is light and airy, which may take several minutes.
- Stop mixing when the foam is thick enough to sit on top of a liquid without immediately sinking.
- Spoon the finished cold foam over your favorite iced coffee or cold brew.
Notes
- For a slightly sweeter foam, increase the vanilla syrup amount slightly, but be careful not to add too much liquid, which prevents proper whipping.
- If you do not have vanilla syrup, use 1 teaspoon of pure vanilla extract and 2 teaspoons of fine granulated sugar or powdered sugar.
- This foam is best used immediately after preparation for the thickest texture.
- Prep Time: 2 min
- Cook Time: 0 min
- Category: Beverage Topping
- Method: Frothing
- Cuisine: American
Nutrition
- Serving Size: 1/4 cup
- Calories: 210
- Sugar: 10
- Sodium: 18
- Fat: 21
- Saturated Fat: 13
- Unsaturated Fat: 8
- Trans Fat: 0
- Carbohydrates: 10
- Fiber: 0
- Protein: 2
- Cholesterol: 75