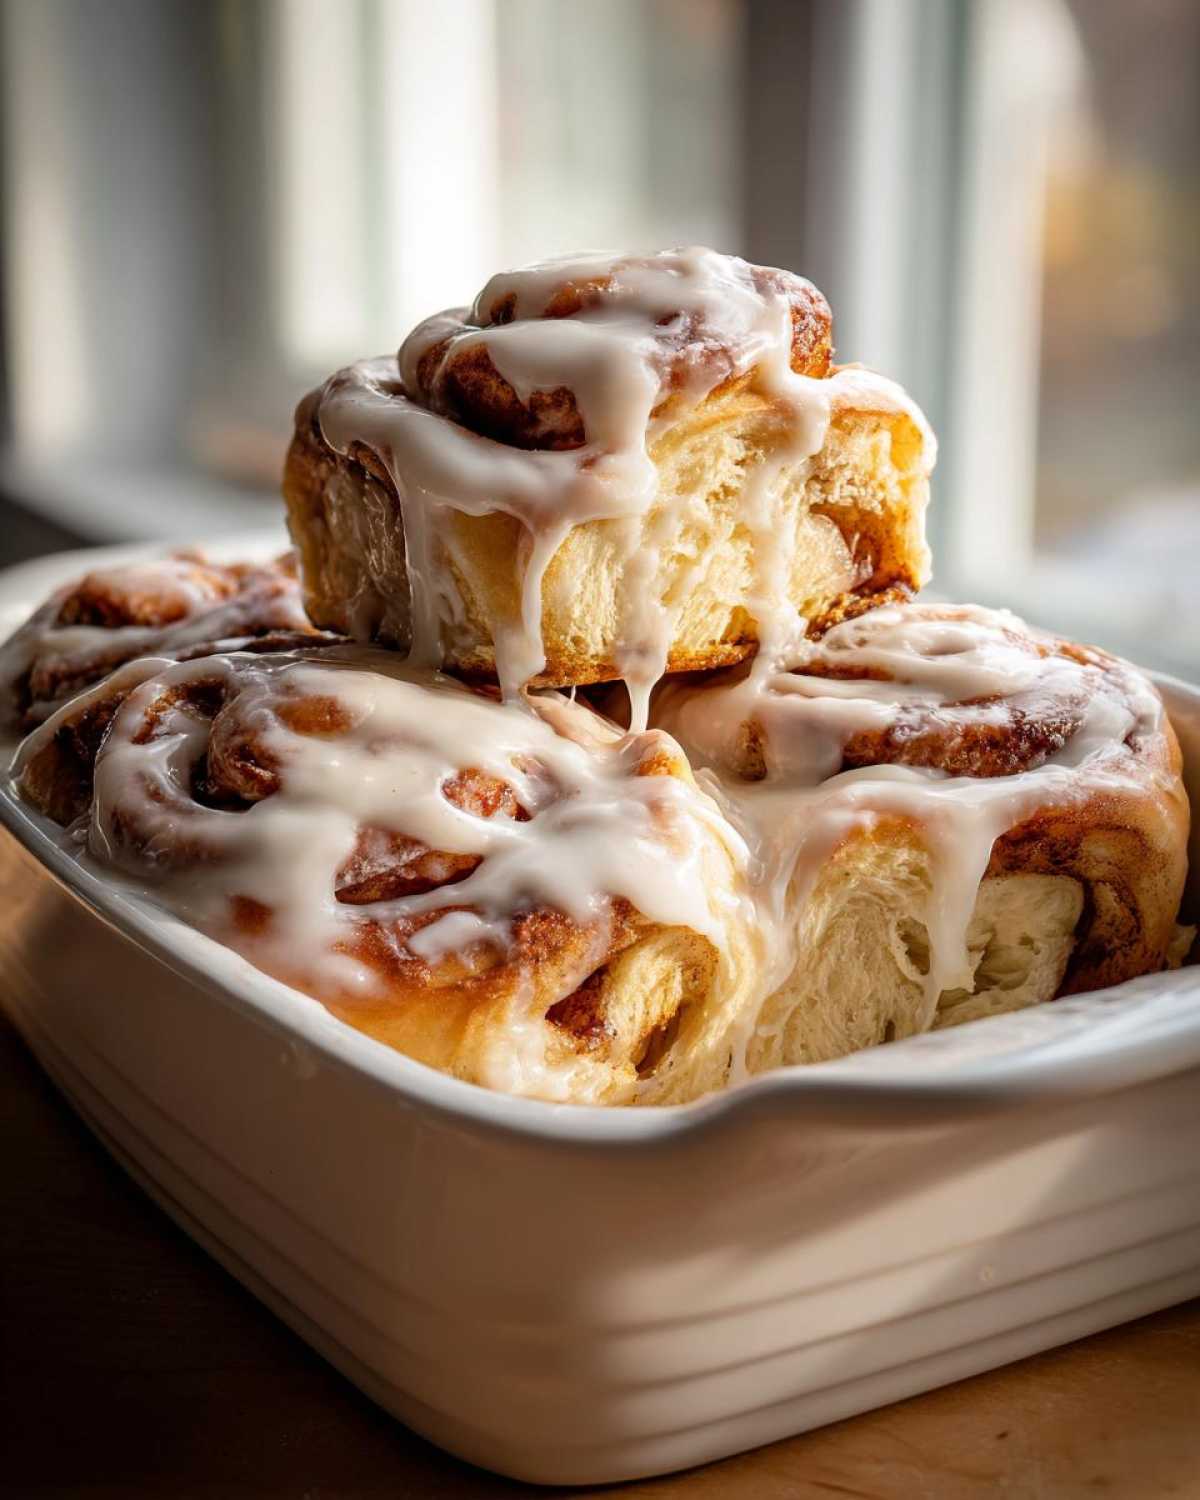
Oh my gosh, is there any smell in the world better than yeast dough rising, followed by that rich, buttery scent of cinnamon baking in the oven? I swear, those aromas are my favorite part of being alive! Liam used to follow recipes perfectly, but they always lacked that soul we look for here at Child Recipe. Trust me when I say this homemade cinnamon roll recipe is different. It’s the only one that consistently gives us big, fluffy, bakery-quality rolls without any of the fuss. This is the recipe that truly transformed our mornings, and now it’s ready to transform yours!
Why This is the Best Cinnamon Roll Recipe You Will Ever Make
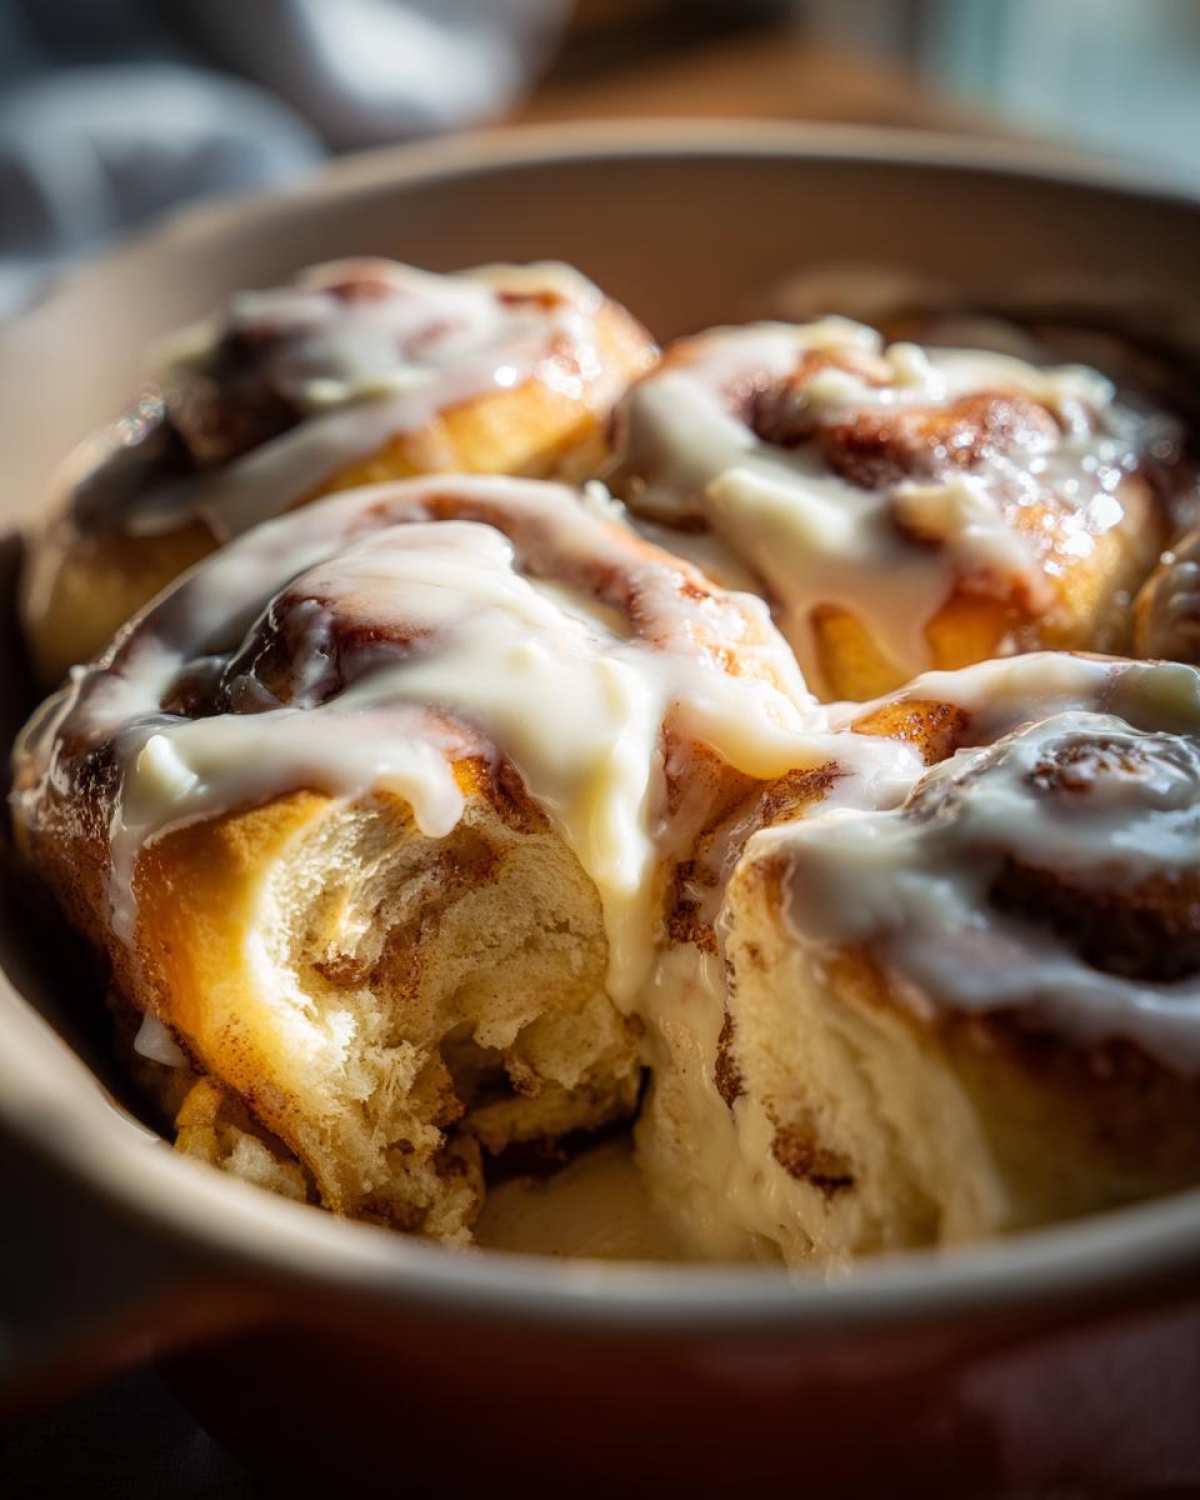
If you’re done with tough, dry spirals that just crumble when you touch them, you are in the right place. This recipe is engineered for maximum softness and that gooey, sticky center that makes your eyes roll back in your head. Honestly, making them feels like creating the world’s most comforting sweet breakfast recipe.
Liam used to worry about the rolls leaking filling because he was too precise. I always tell him to embrace the joyful chaos! A little leakage just means there’s plenty of goodness melting into the bottom of your pan, which is what you want for that pull-apart texture we all chase.
Achieving Bakery-Quality Softness in Your Homemade Cinnamon Roll
The secret to that cloud-like texture isn’t complicated, but it is demanding. We use plenty of rich fats—butter and eggs—to tenderize the dough structure, rather than relying on chemical leaveners. Also, that crucial 8 to 10 minutes of kneading we do? That perfectly develops the gluten strands. Those strong, elastic strands are what trap the gases produced by the yeast, resulting in that airy yet sturdy structure that makes these rolls so delightfully soft.
Essential Ingredients for Perfect Cinnamon Roll Dough and Filling
Okay, time to get down to business. If you want these rolls to be legendary, you have to respect the ingredients list. Liam writes it out like a chemist because every component is serving a specific purpose to make this the best cinnamon roll. We’ve broken down what you need for the main dough, the filling that makes your house smell amazing, and, of course, that glorious glaze.
For the dough, you’ll need:
- 1 cup whole milk, warmed to about 110 degrees F
- 2 1/4 teaspoons active dry yeast
- 1/2 cup granulated sugar, plus 1 tablespoon for yeast
- 1/2 cup unsalted butter, softened
- 2 large eggs, room temperature
- 4 1/2 cups all-purpose flour, plus more for dusting
- 1 teaspoon salt
Then for that spicy center:
- 1 cup packed light brown sugar
- 2 tablespoons ground cinnamon
- 1/2 cup unsalted butter, melted
And don’t forget the topping:
- 8 ounces cream cheese, softened
- 1/2 cup unsalted butter, softened
- 3 cups powdered sugar, sifted
- 1 teaspoon vanilla extract
- 2-4 tablespoons milk
Ingredient Notes and Substitutions for Your Cinnamon Roll
Listen closely about the milk: it absolutely has to be warm, around 110 degrees F. If it’s too hot, you kill your yeast—and then you have sad, dense bread. Too cold, and the yeast just sleeps! This is non-negotiable for a successful yeast roll recipe.
When measuring your brown sugar for the filling, make sure you pack it tightly into the cup. That packed measurement is key for that rich flavor layer. Also, I insist on using whole milk; skim milk just won’t give you the necessary richness in this specific cinnamon roll dough. Creaminess matters!
Step-by-Step Instructions for Soft Cinnamon Roll Dough
Now we get to the fun part—making the dough come alive! I know yeast can seem intimidating, but I promise Liam and I have demystified this part entirely. We start by waking up our yeast. In a small bowl, gently mix that warm milk (remember, 110 degrees F—not hot bath temperature, just cozy warm!), the tablespoon of sugar, and the yeast packet. After 5 to 10 minutes, if it’s foamy and bubbly on top, pat yourself on the back! Your yeast is ready to rock.
Next, dump all the remaining dough ingredients into your stand mixer bowl—the mixer saves my arms, but you can totally do this by hand, too! We start slow, just until things look messy, and then the real work begins. That 8 to 10 minutes of kneading is so important for developing the proper gluten structure. I always watch Liam’s dough transform from shaggy and sticky to smooth and slightly elastic. Stick with it—that long knead is what leads to a beautiful homemade pastry.
The First Rise: Patience for the Best Cinnamon Roll
Once the dough is smooth, we have to let it rest and build flavor. Lightly oil a big bowl—this keeps your dough from sticking up a storm later! Place the dough ball in, give it a quick turn so it gets coated in fat, and cover it up. I always use plastic wrap, making sure it’s snug over the top. You need a warm spot for this first rise—maybe near a sunny window or right on top of the warm (but turned off!) oven. Give it a good hour to an hour and a half until it’s doubled in size. Don’t rush it; this is where the magic is happening!
Assembling and Shaping Your Gooey Cinnamon Roll Log
The dough is fluffy and ready to become the star of the show! This assembly stage is where you turn that pillow of dough into the perfect spiral. Gently punch down the dough—it’s very satisfying, like squeezing a giant stress ball—and turn it out onto a surface dusted lightly with flour. Now, get your rolling pin ready. We need a large rectangle here, approximately 12 by 18 inches. Try to keep those edges even; it really helps for uniform rolls later, which is key for presentation on your table.
Once you have your beautiful canvas, take your half-cup of melted butter and spread it evenly right to the very edges. Don’t skimp! This butter is what helps the cinnamon sugar mixture adhere and creates that luscious, moist texture in your final homemade pastry. Immediately after the butter, shower the surface generously with your pre-mixed brown sugar and cinnamon concoction. Now, roll it up tightly along that long edge to form a log. Pinch that seam closed—we don’t want any leaks!
Tips for Cutting Even Cinnamon Rolls
Cutting the log neatly is a challenge everyone faces, especially when the dough is soft and the filling wants to ooze out! Liam used to slice them with a regular knife, but I found that squashes them flat. My secret weapon is unflavored dental floss! Slide the floss under the log where you want your first cut, cross the ends over the top, and pull firmly. It slices cleanly right through without squeezing the filling out. If you don’t have floss, grab your sharpest, un-serrated knife and press down firmly rather than sawing back and forth. Aim for pieces about 1.5 inches thick.
The Second Rise and Baking Your Cinnamon Roll to Golden Perfection
We’ve shaped these beauties, and now they need one last nap! That second rise is crucial; the rolls should look noticeably puffy and soft again, about 30 to 45 minutes later. They should be touching sides in the pan, ready to marry together as they bake. Remember Liam’s famous precision? This is where it matters most: Preheat your oven exactly to 375 degrees F.
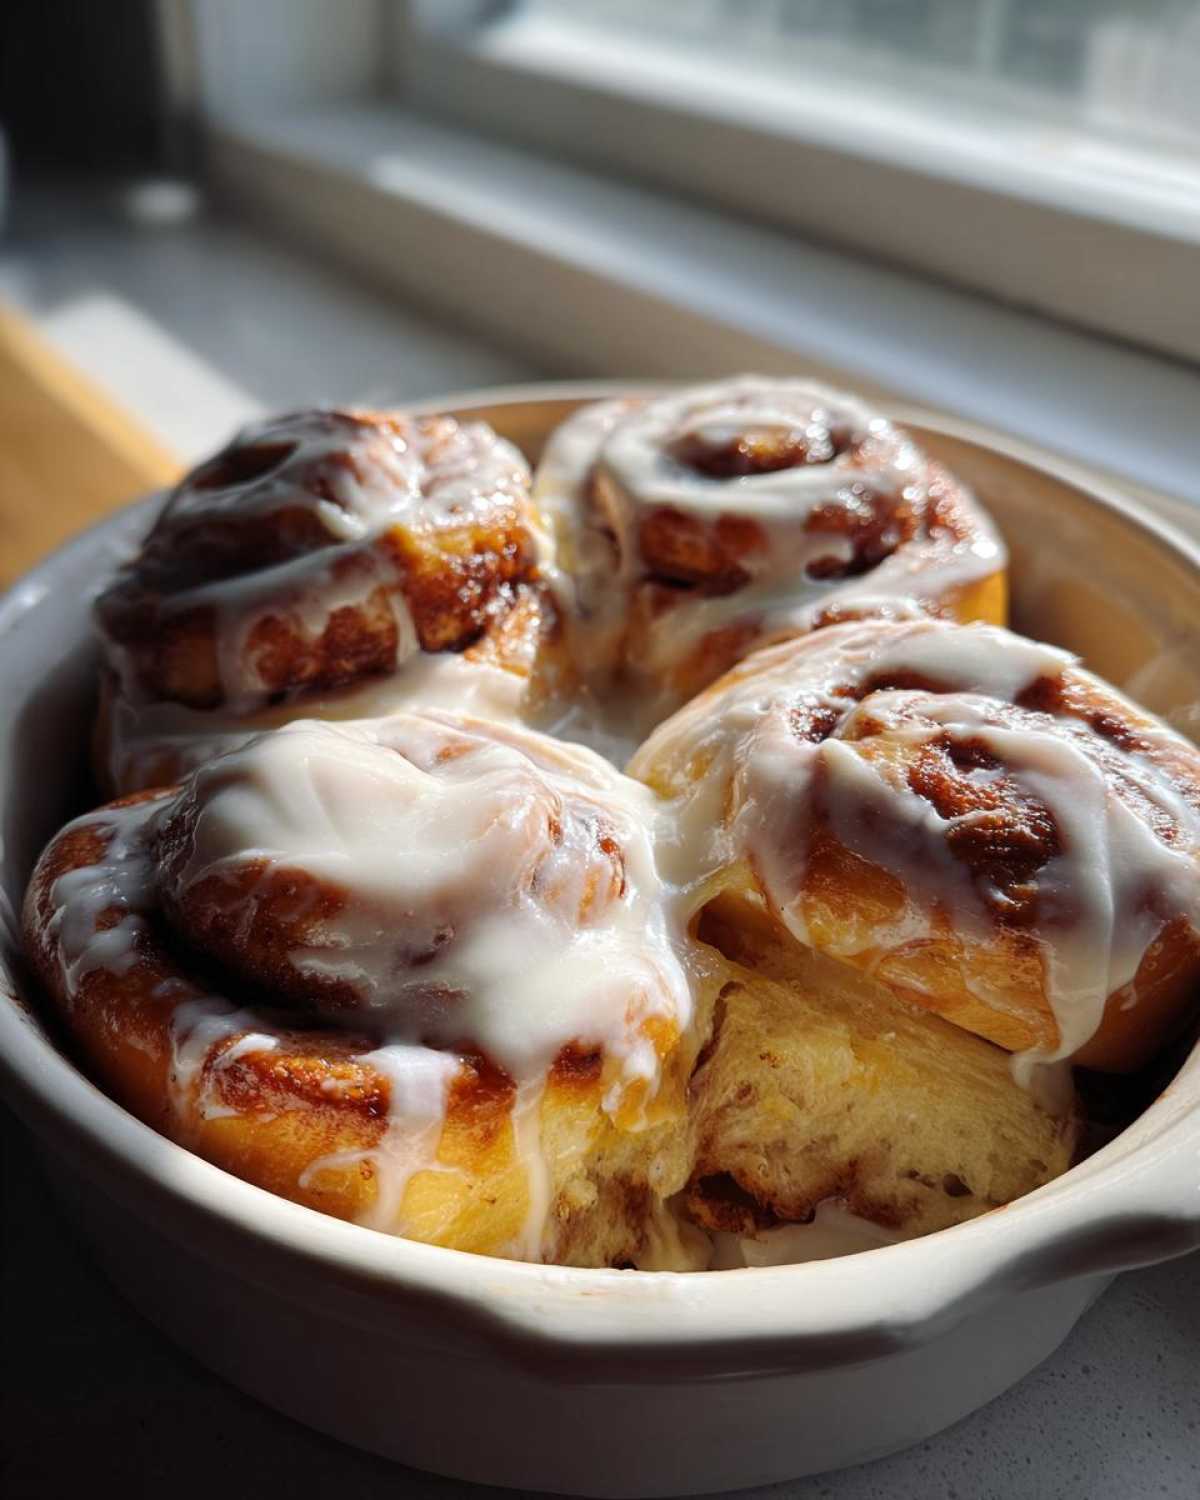
Bake them for 20 to 25 minutes, or until those tops are a gorgeous golden brown. But seriously, listen up—do NOT overbake these! Overbaking is the enemy of softness. Pull them when they look done on top, even if you think the very center might need just one more minute. They will continue to cook slightly after you pull them out. If you want those amazing, melt-in-your-mouth soft cinnamon roll centers, trust the timing and pull them just as they start getting color!
Crafting the Ultimate Cream Cheese Glaze for Your Cinnamon Roll
The rolls are out of the oven, golden and smelling heavenly, right? Now we need the crowning glory—the irresistible cream cheese glaze! While waiting for the rolls to cool slightly, grab your bowl and mixer. The absolute biggest rule here is that the cream cheese *and* the butter must be properly softened. If they are even slightly melted, your glaze will be thin and oily, and we can’t have that mess on our beautiful homemade pastry.
Beat those two together until they are light and supremely smooth. Only *then* do you begin adding the sifted powdered sugar, vanilla, and that initial two tablespoons of milk. Now, you might need more—or maybe less! Watch the texture as you mix. You are looking for a thick consistency that won’t just run off the back of your spoon immediately. Only add extra milk one teaspoon at a time until you hit that perfect, thick, spreadable magic that sets nicely on top of a warm yeast roll recipe. Seriously, you have to spread this generously while the rolls are still warm!
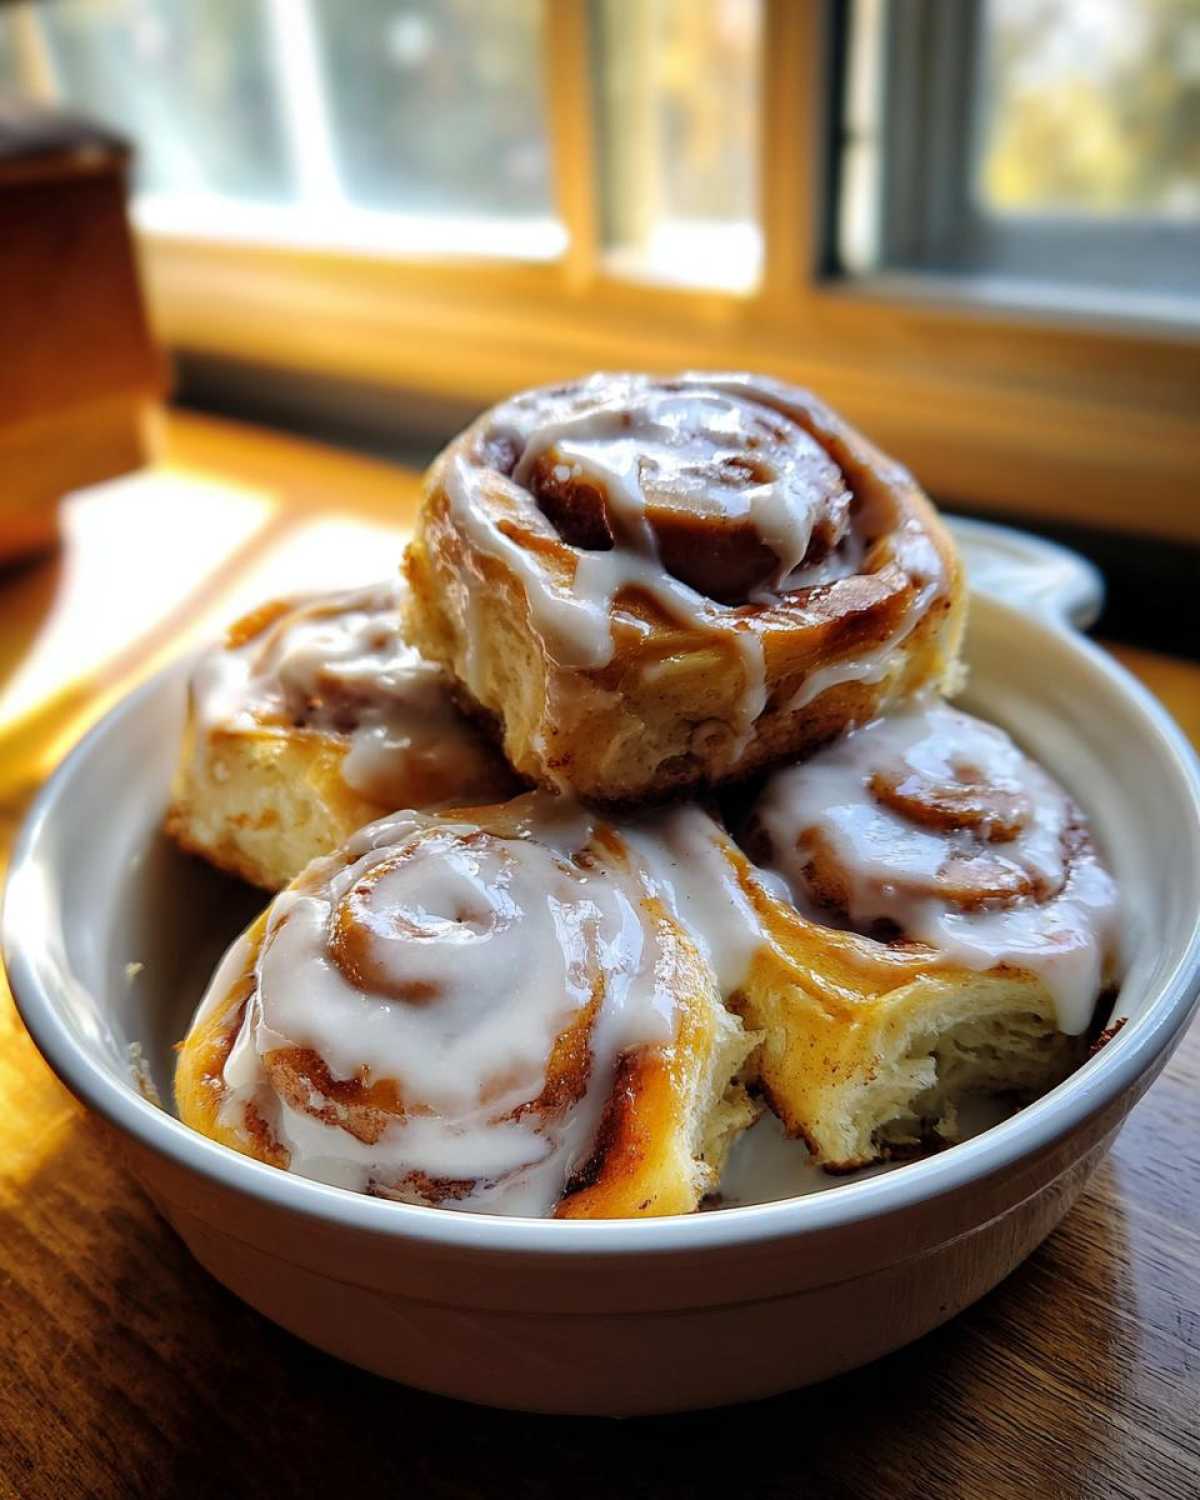
Serving Suggestions for Your Fresh Cinnamon Roll Breakfast
The moment these rolls come out coated in that glistening glaze, you know you deserve a celebration, even if it’s just Tuesday morning! This is truly the ultimate sweet breakfast recipe, but Liam and I have a few favorite ways to make the meal feel complete.
First off, you need great coffee. Strong, dark-roast coffee cuts through the richness of the cream cheese icing perfectly. If you’re looking for something a little lighter to balance the sweetness, I love having a side of sharp, tart fruit—think raspberries or thinly sliced Granny Smith apples on the side.
I remember the first time Liam made these for me after we started dating. I didn’t even wait for the glaze to fully set. I just grabbed the warmest one I could handle, burned my fingers slightly (whoops!), and dove in right there at the counter. That moment of pure, sticky joy? That’s what this recipe is all about. Pair it with something simple, sit down, and just enjoy the quiet before the day gets crazy!
Make-Ahead and Storage Tips for Leftover Cinnamon Roll Treats
So, you have extras? Lucky you! If you somehow manage to have any leftovers—which is rare around here—store them tightly covered in an airtight container at room temperature for up to three days. The glaze might start to get a little sticky, but they stay wonderfully soft.
If you want some truly easy cinnamon rolls later in the week, you can completely prepare the dough the day before! Follow the instructions right up until the end of the first rise. Punch it down, wrap that dough really tightly in plastic wrap, and let it chill overnight in the fridge. Then just let it warm up slightly the next morning, roll it out, fill it, and proceed with the second rise and baking. It’s perfect!
Frequently Asked Questions About Making Cinnamon Rolls
We know that when you invest the time to make a glorious batch of cinnamon rolls from scratch, you want perfection. Maybe you’ve made them once before and they ended up a little flatter than you hoped, or perhaps you’re wondering about swapping ingredients. As a very visual and experiential baker, I find that knowing the “why” behind the steps helps so much! Here are the questions Liam and I get asked the most about achieving that perfect bakery-quality texture for this yeast roll recipe.
Why are my homemade cinnamon rolls dense instead of fluffy?
This almost always comes down to two things, and it drives Liam absolutely bonkers when it happens! First, check your yeast activation. If it didn’t foam up in Step 1, the yeast was dead, and you tried to bake bread with flour and sugar instead of living yeast. Second, check your kneading time. If you stopped too early, the dough didn’t develop enough strength to trap the gas, leading to a pancake roll instead of a tall, proud spiral. Make sure you hit that 8 to 10 minutes of kneading—it’s worth the effort for a truly soft result!
Can I use instant yeast instead of active dry yeast?
Yes, you totally can skip the proofing step if you’re in a hurry! If you use instant yeast, you don’t need to proof it in the warm milk first. Just mix the instant yeast directly into your four and a half cups of dry flour, and then proceed with the rest of the recipe when you add your wet ingredients. It simplifies the process a bit, making for even more easy cinnamon rolls.
How should I reheat leftovers to bring back that fresh-baked flavor?
Never, ever try to microwave these for too long, or they turn into rubbery hockey pucks! If you have a single roll, a quick 15-second zap is usually enough. If you have several, wrapping them loosely in foil and heating them in a 300-degree F oven for about 8 to 10 minutes works wonders. The foil traps the moisture, letting them warm through evenly, and they come out tasting like they just left the oven!
Troubleshooting Issues with Your Yeast Roll Recipe
If your final rolls are flat or seem to have collapsed slightly after the second rise, your dough might have been too warm during the first rise. If the environment is too hot, the yeast works too fast, producing gas faster than the structure can handle, causing it to exhaust itself by the time you’re ready to bake. Keep that first rise area cozy, but not scorching hot—think slightly warmer than room temperature. Also, if you over-kneaded the dough past that 10-minute mark, you can sometimes develop too much strength, which means the dough resists rising loftily.
Print
Liam’s Softest Homemade Cinnamon Rolls with Cream Cheese Glaze
- Total Time: 170 min
- Yield: 12 servings 1x
- Diet: Vegetarian
Description
Follow this easy cinnamon rolls recipe for bakery-quality, soft, fluffy yeast rolls swirled with sweet cinnamon filling and topped with a rich cream cheese icing. This is the best cinnamon roll recipe for a celebratory breakfast.
Ingredients
- 1 cup whole milk, warmed to about 110 degrees F
- 2 1/4 teaspoons active dry yeast
- 1/2 cup granulated sugar, plus 1 tablespoon for yeast
- 1/2 cup unsalted butter, softened
- 2 large eggs, room temperature
- 4 1/2 cups all-purpose flour, plus more for dusting
- 1 teaspoon salt
- For the Filling:
- 1 cup packed light brown sugar
- 2 tablespoons ground cinnamon
- 1/2 cup unsalted butter, melted
- For the Glaze:
- 8 ounces cream cheese, softened
- 1/2 cup unsalted butter, softened
- 3 cups powdered sugar, sifted
- 1 teaspoon vanilla extract
- 2–4 tablespoons milk
Instructions
- Activate the yeast: In a small bowl, combine the warm milk, 1 tablespoon of sugar, and the yeast. Let it sit for 5 to 10 minutes until foamy.
- Mix the dough: In a large bowl or stand mixer, combine the remaining sugar, softened butter, eggs, salt, and the yeast mixture. Mix until just combined.
- Add the flour gradually, mixing on low speed until a shaggy dough forms. Knead the dough on a lightly floured surface or with a dough hook for 8 to 10 minutes until it is smooth and elastic.
- First Rise: Place the dough in a lightly oiled bowl, turning once to coat. Cover the bowl with plastic wrap and let it rise in a warm place for 1 to 1.5 hours, or until doubled in size.
- Prepare the filling: While the dough rises, mix the brown sugar and cinnamon together in a small bowl. Set aside.
- Shape the rolls: Punch down the risen dough gently. Turn it out onto a lightly floured surface and roll it into a large rectangle, about 12 by 18 inches.
- Spread the melted butter evenly over the entire surface of the dough. Sprinkle the cinnamon-sugar mixture generously over the buttered dough.
- Roll the dough tightly along the long edge to form a log. Pinch the seam closed.
- Cut the log into 12 equal pieces, about 1.5 inches thick. Place the rolls cut-side up in a greased 9×13 inch baking pan.
- Second Rise: Cover the pan loosely and let the rolls rise again in a warm spot for 30 to 45 minutes, or until puffy.
- Bake: Preheat your oven to 375 degrees F. Bake for 20 to 25 minutes, or until the tops are golden brown.
- Make the glaze: While the rolls cool slightly, beat the softened cream cheese and butter together until smooth. Gradually add the powdered sugar, vanilla extract, and 2 tablespoons of milk. Beat until creamy. Add more milk, one teaspoon at a time, until you reach a thick, spreadable consistency.
- Ice the rolls: Spread the cream cheese glaze generously over the warm rolls immediately after removing them from the oven. Serve warm.
Notes
- For extra soft rolls, ensure your milk is warm, not hot, to keep the yeast happy.
- If you want gooey rolls, do not overbake them; pull them out when the centers are just set.
- You can make the dough the day before; let it rise once, punch it down, wrap it tightly, and refrigerate overnight. Roll and bake the next morning.
- Prep Time: 45 min
- Cook Time: 25 min
- Category: Breakfast
- Method: Baking
- Cuisine: American
Nutrition
- Serving Size: 1 roll
- Calories: 450
- Sugar: 45
- Sodium: 300
- Fat: 22
- Saturated Fat: 14
- Unsaturated Fat: 8
- Trans Fat: 0
- Carbohydrates: 58
- Fiber: 2
- Protein: 6
- Cholesterol: 65